Configuring DNS Suffix Using Static IP
Configuring a DNS suffix in a static IP setup helps ensure smooth and efficient network operations, improving both accessibility and manageability.
Configure the DNS suffix with static IP only if the CAPS is configured with static IP and minimum CAPS peers are not defined.
The following are the steps to configure the DNS suffix in your network interface using static IP addresses.
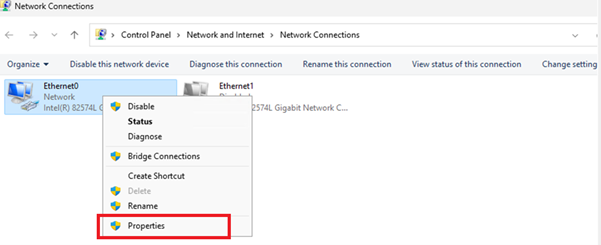
- Open the control panel on your agent host and navigate to the Control Panel > Network and Internet > Network Connections.
- Select a proper network for your host and click Properties. It opens the Properties window for your network adapter.
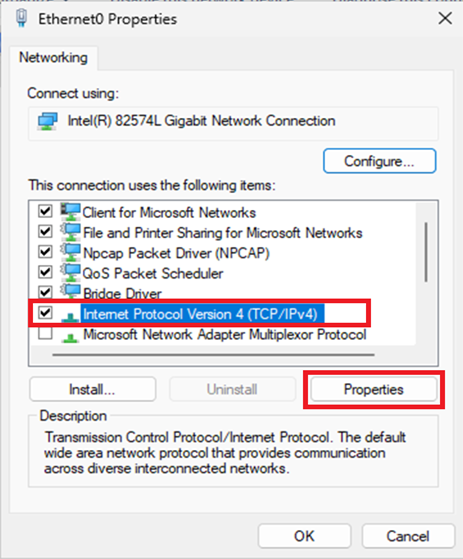
- In the Properties window, select the Internet Protocol Version 4 (TCP/IPv4) checkbox.
- Click the Properties tab. The IPv4 Properties window opens.
- In the IPv4 Properties windows, click the Advanced. The Advanced TCP/IP Settings window opens.
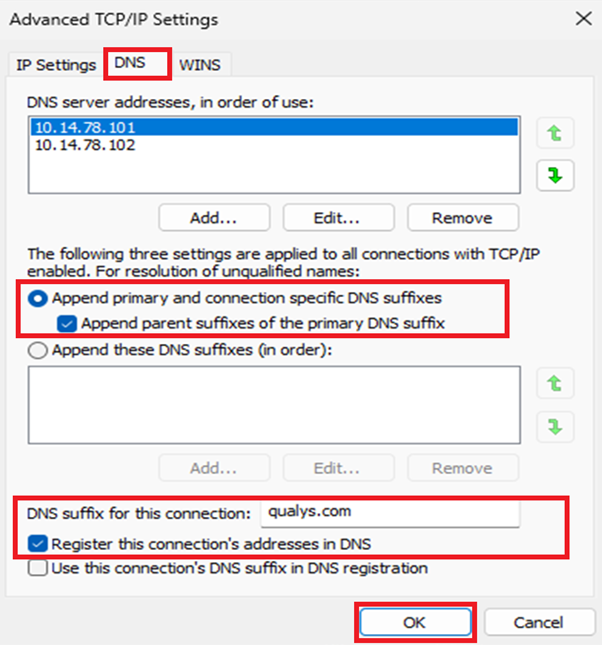
- In the Advanced TCP/IP Settings window open the DNS tab:
- Select the Append primary and connection specific DNS suffixes radio button.
- Select the Append parent suffixes of the primary DNS suffix checkbox.
- Enter the DNS suffix name in the DNS suffix for this connection: field.
- Select the Register this connection’s address in DNS checkbox.
- Click OK to save this DNS configuration.
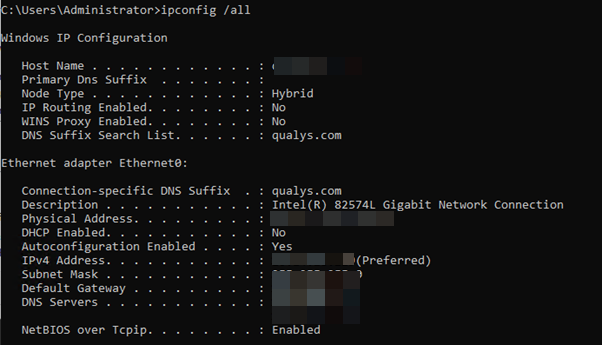
- Open the command prompt and verify the output of
ipconfig /all. - Configured DNS suffix is displayed in the output of
ipconfig /all.