Deployment with JAMF
You can deploy the Qualys Cloud Agent for MacOS using JAMF. The following are the main steps to deploy Cloud Agent using JAMF.
Create a Policy for Trust JSS Certificates
Login to the JAMF Portal
Log in to the JAMF Admin Portal.
Create a Policy for Trust JSS Certificates for Computer Enrollment
- To create a policy for Trust JSS certificate for computer enrollment, navigate to Policies tab on the Computer screen.
- Click New to configure Truss JSS Certificates settings.
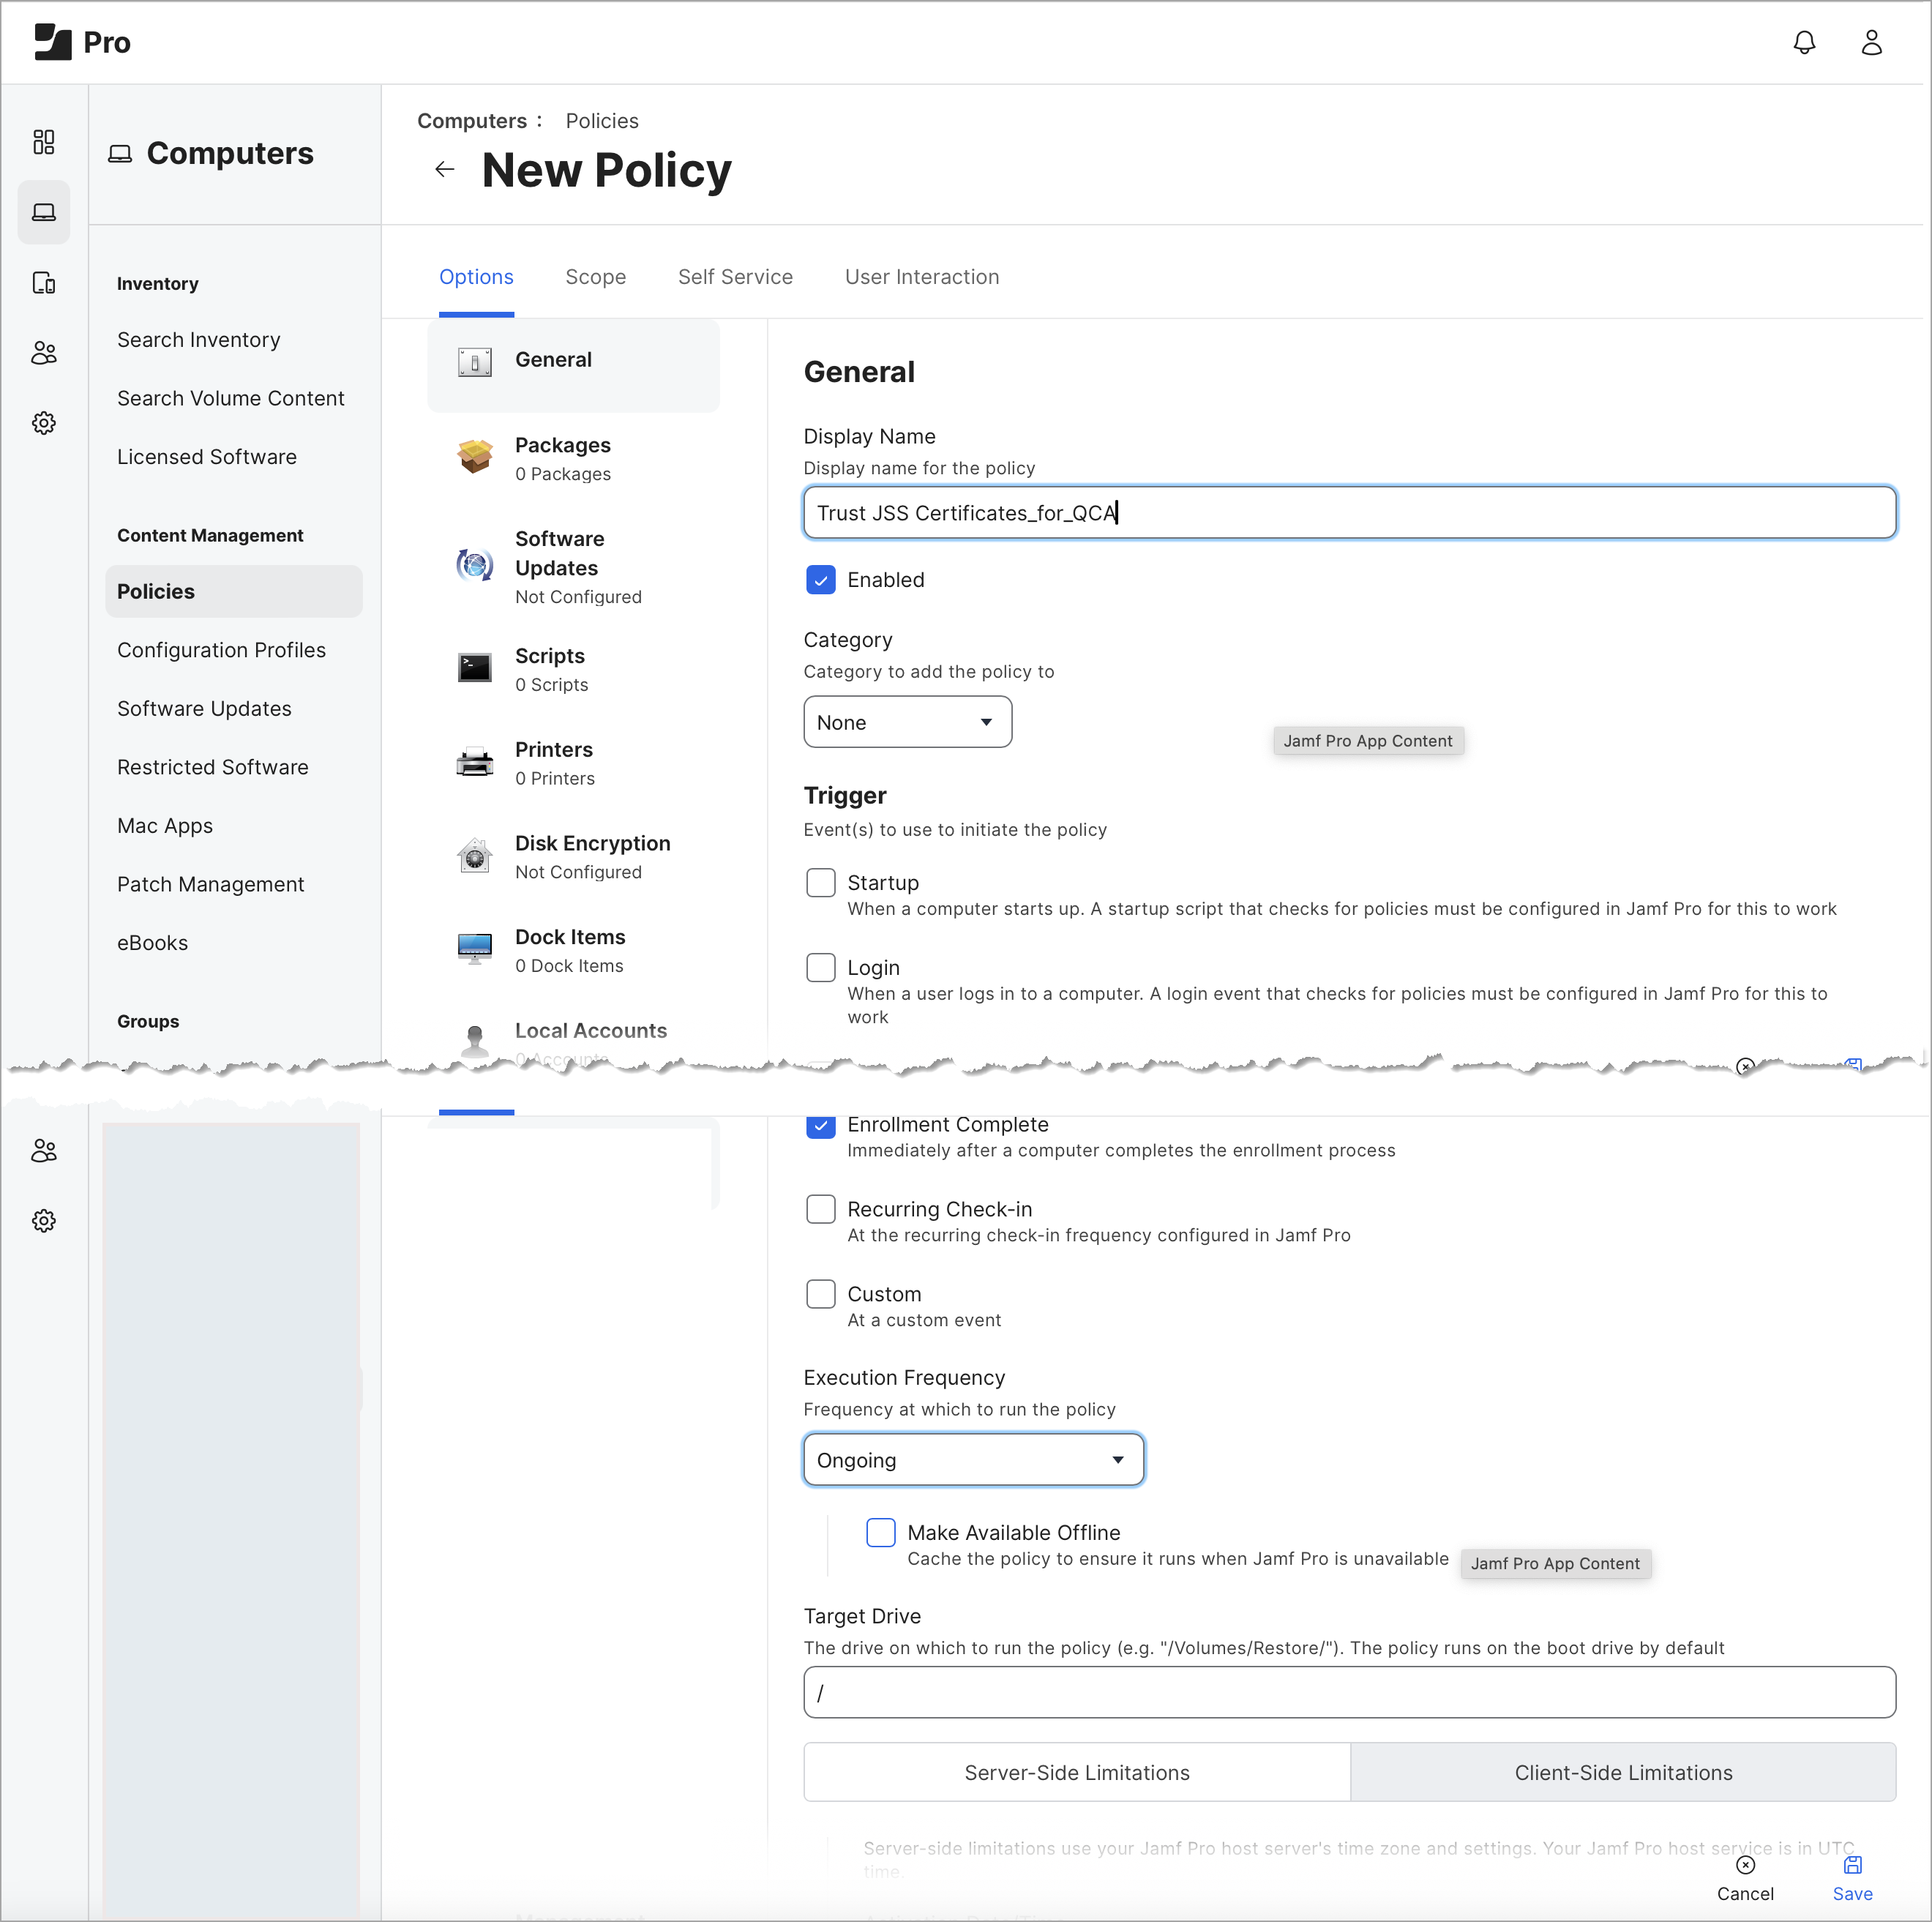
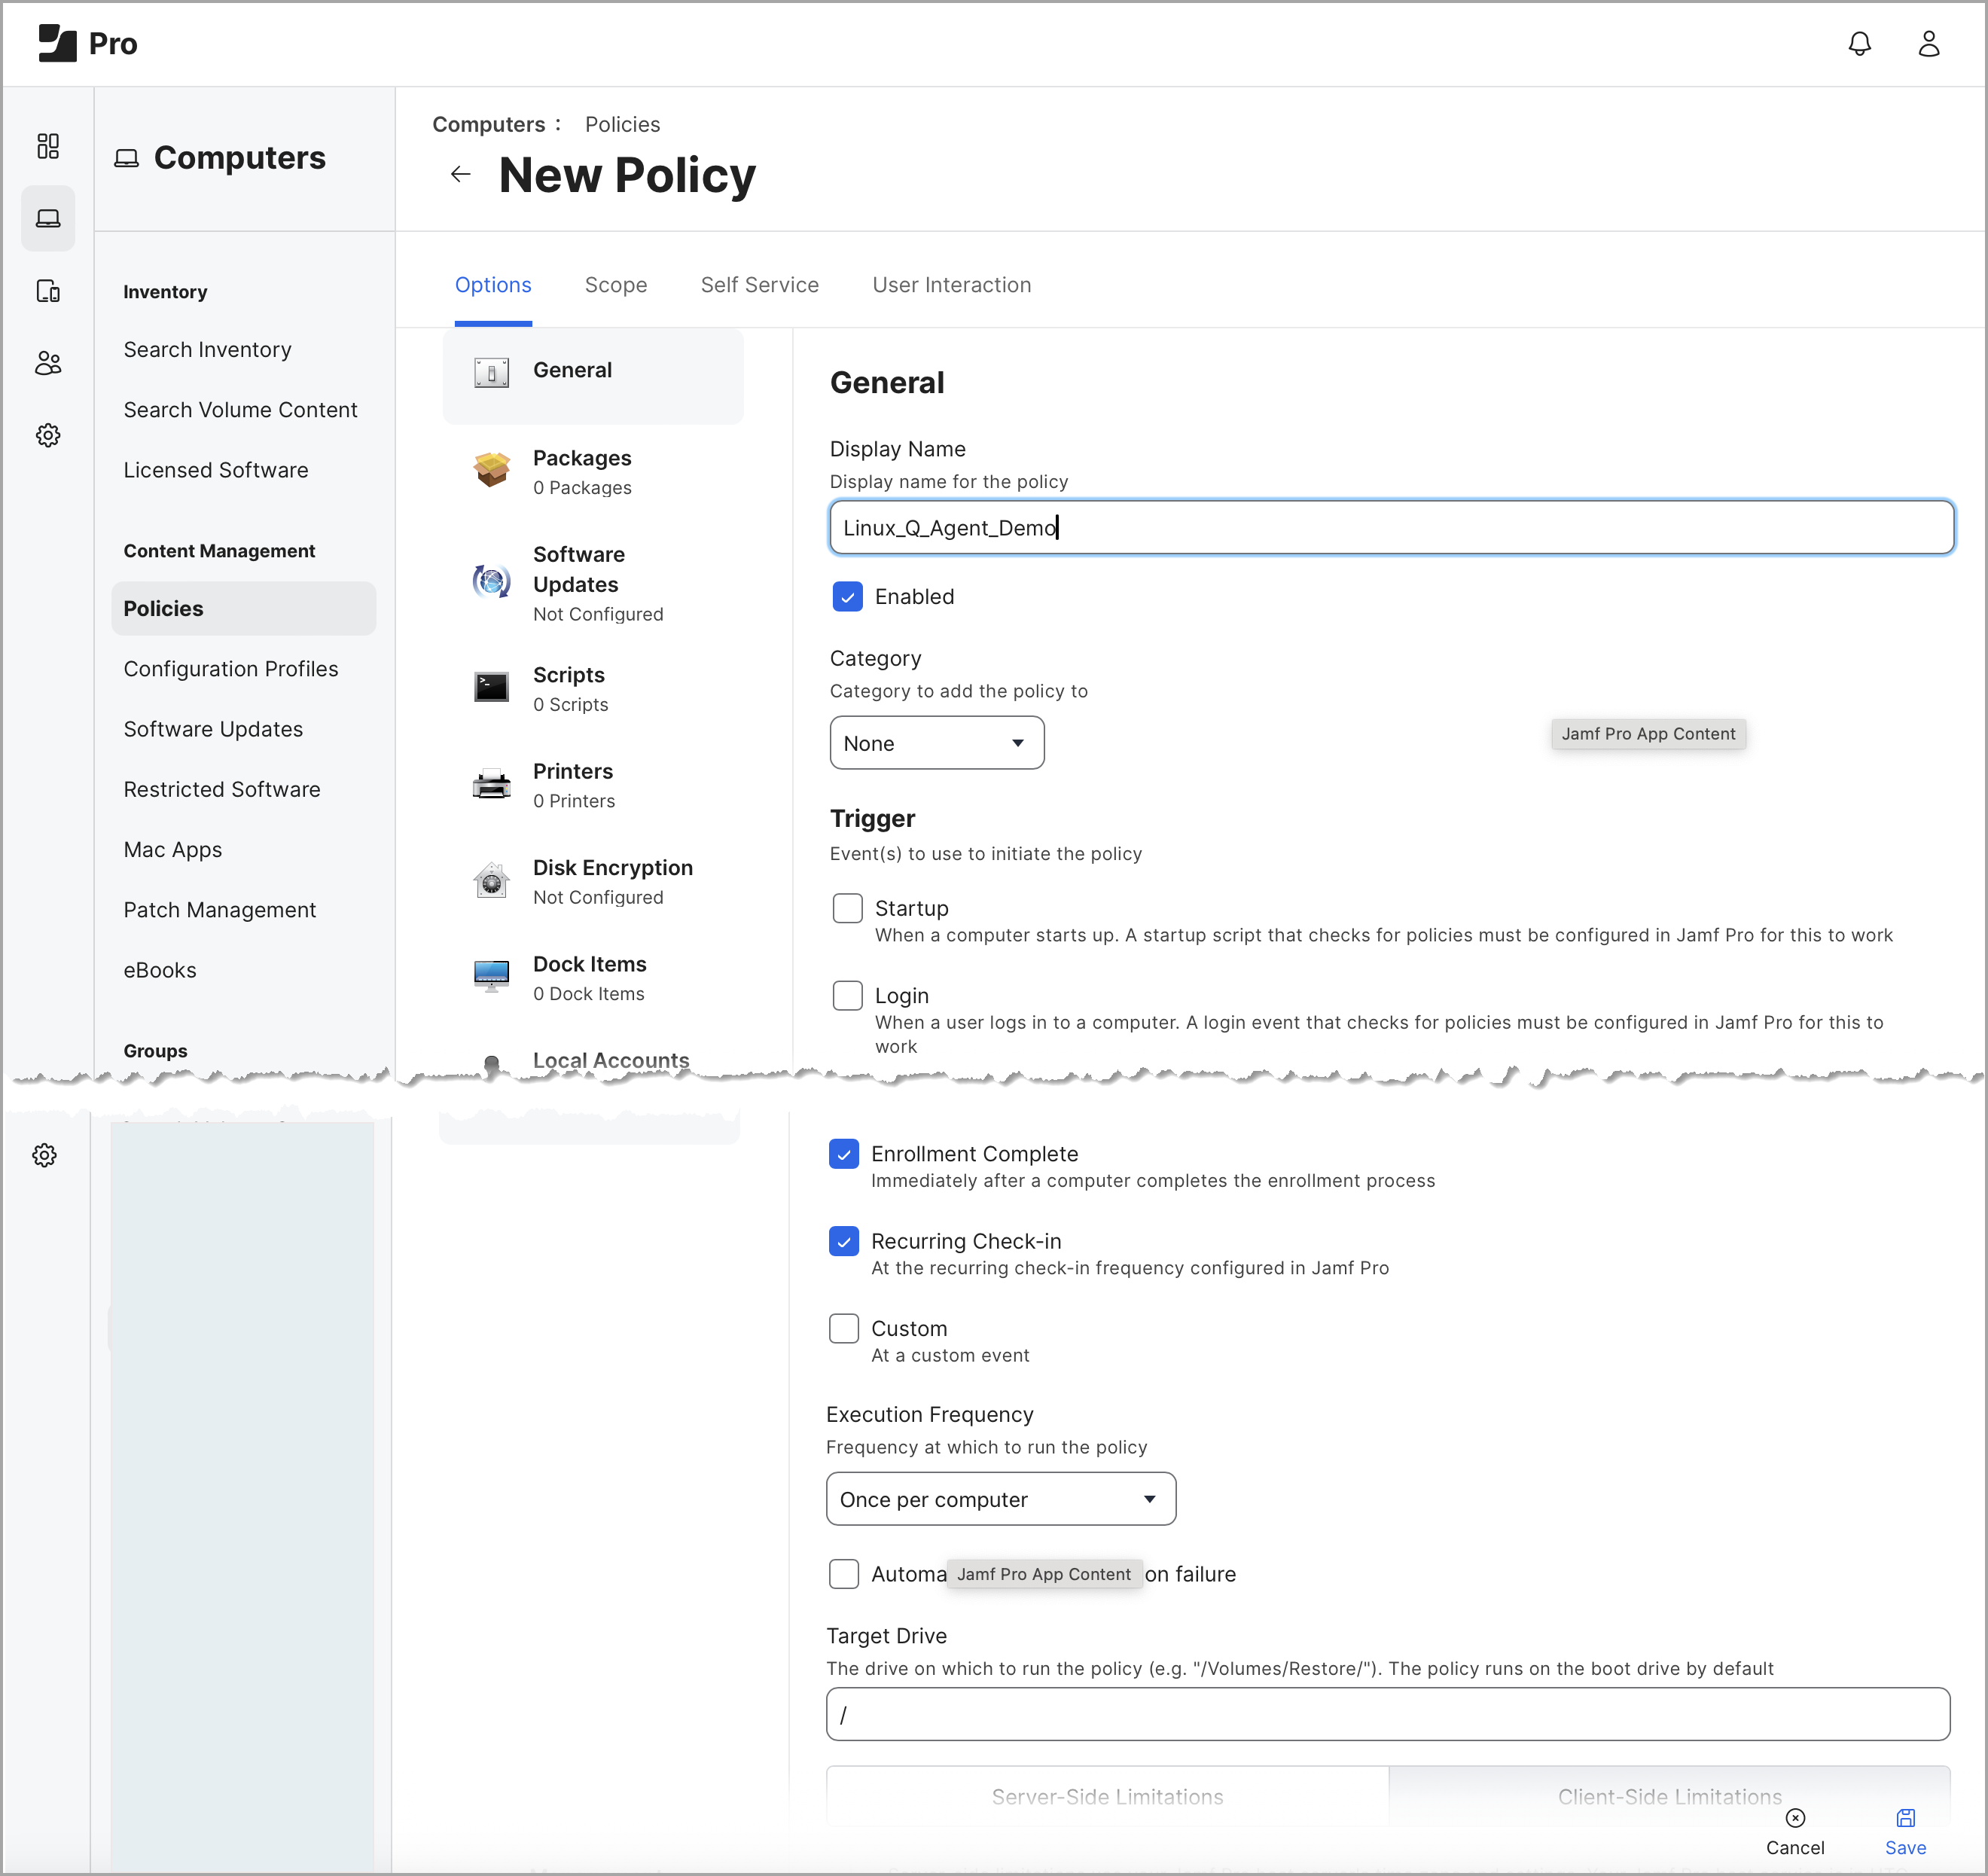
- Add the following details in the General tab of the configuration screen.
Display Name: Enter the display name for a new policy.
Category: Select Enrollment from the available options.
Enrollment Complete: Select this option to set the enrollment completion time.
Execution Frequency: Select Ongoing from available options.
Target Drive: Enter the value as / . - Click Save to save this configuration option.
Configure Script for Trust JSS Certificates
- To configure the script, navigate to All Settings > Computer Management.
- On the Computer Management screen, click on the Script tab.
- Click New to create a new script.
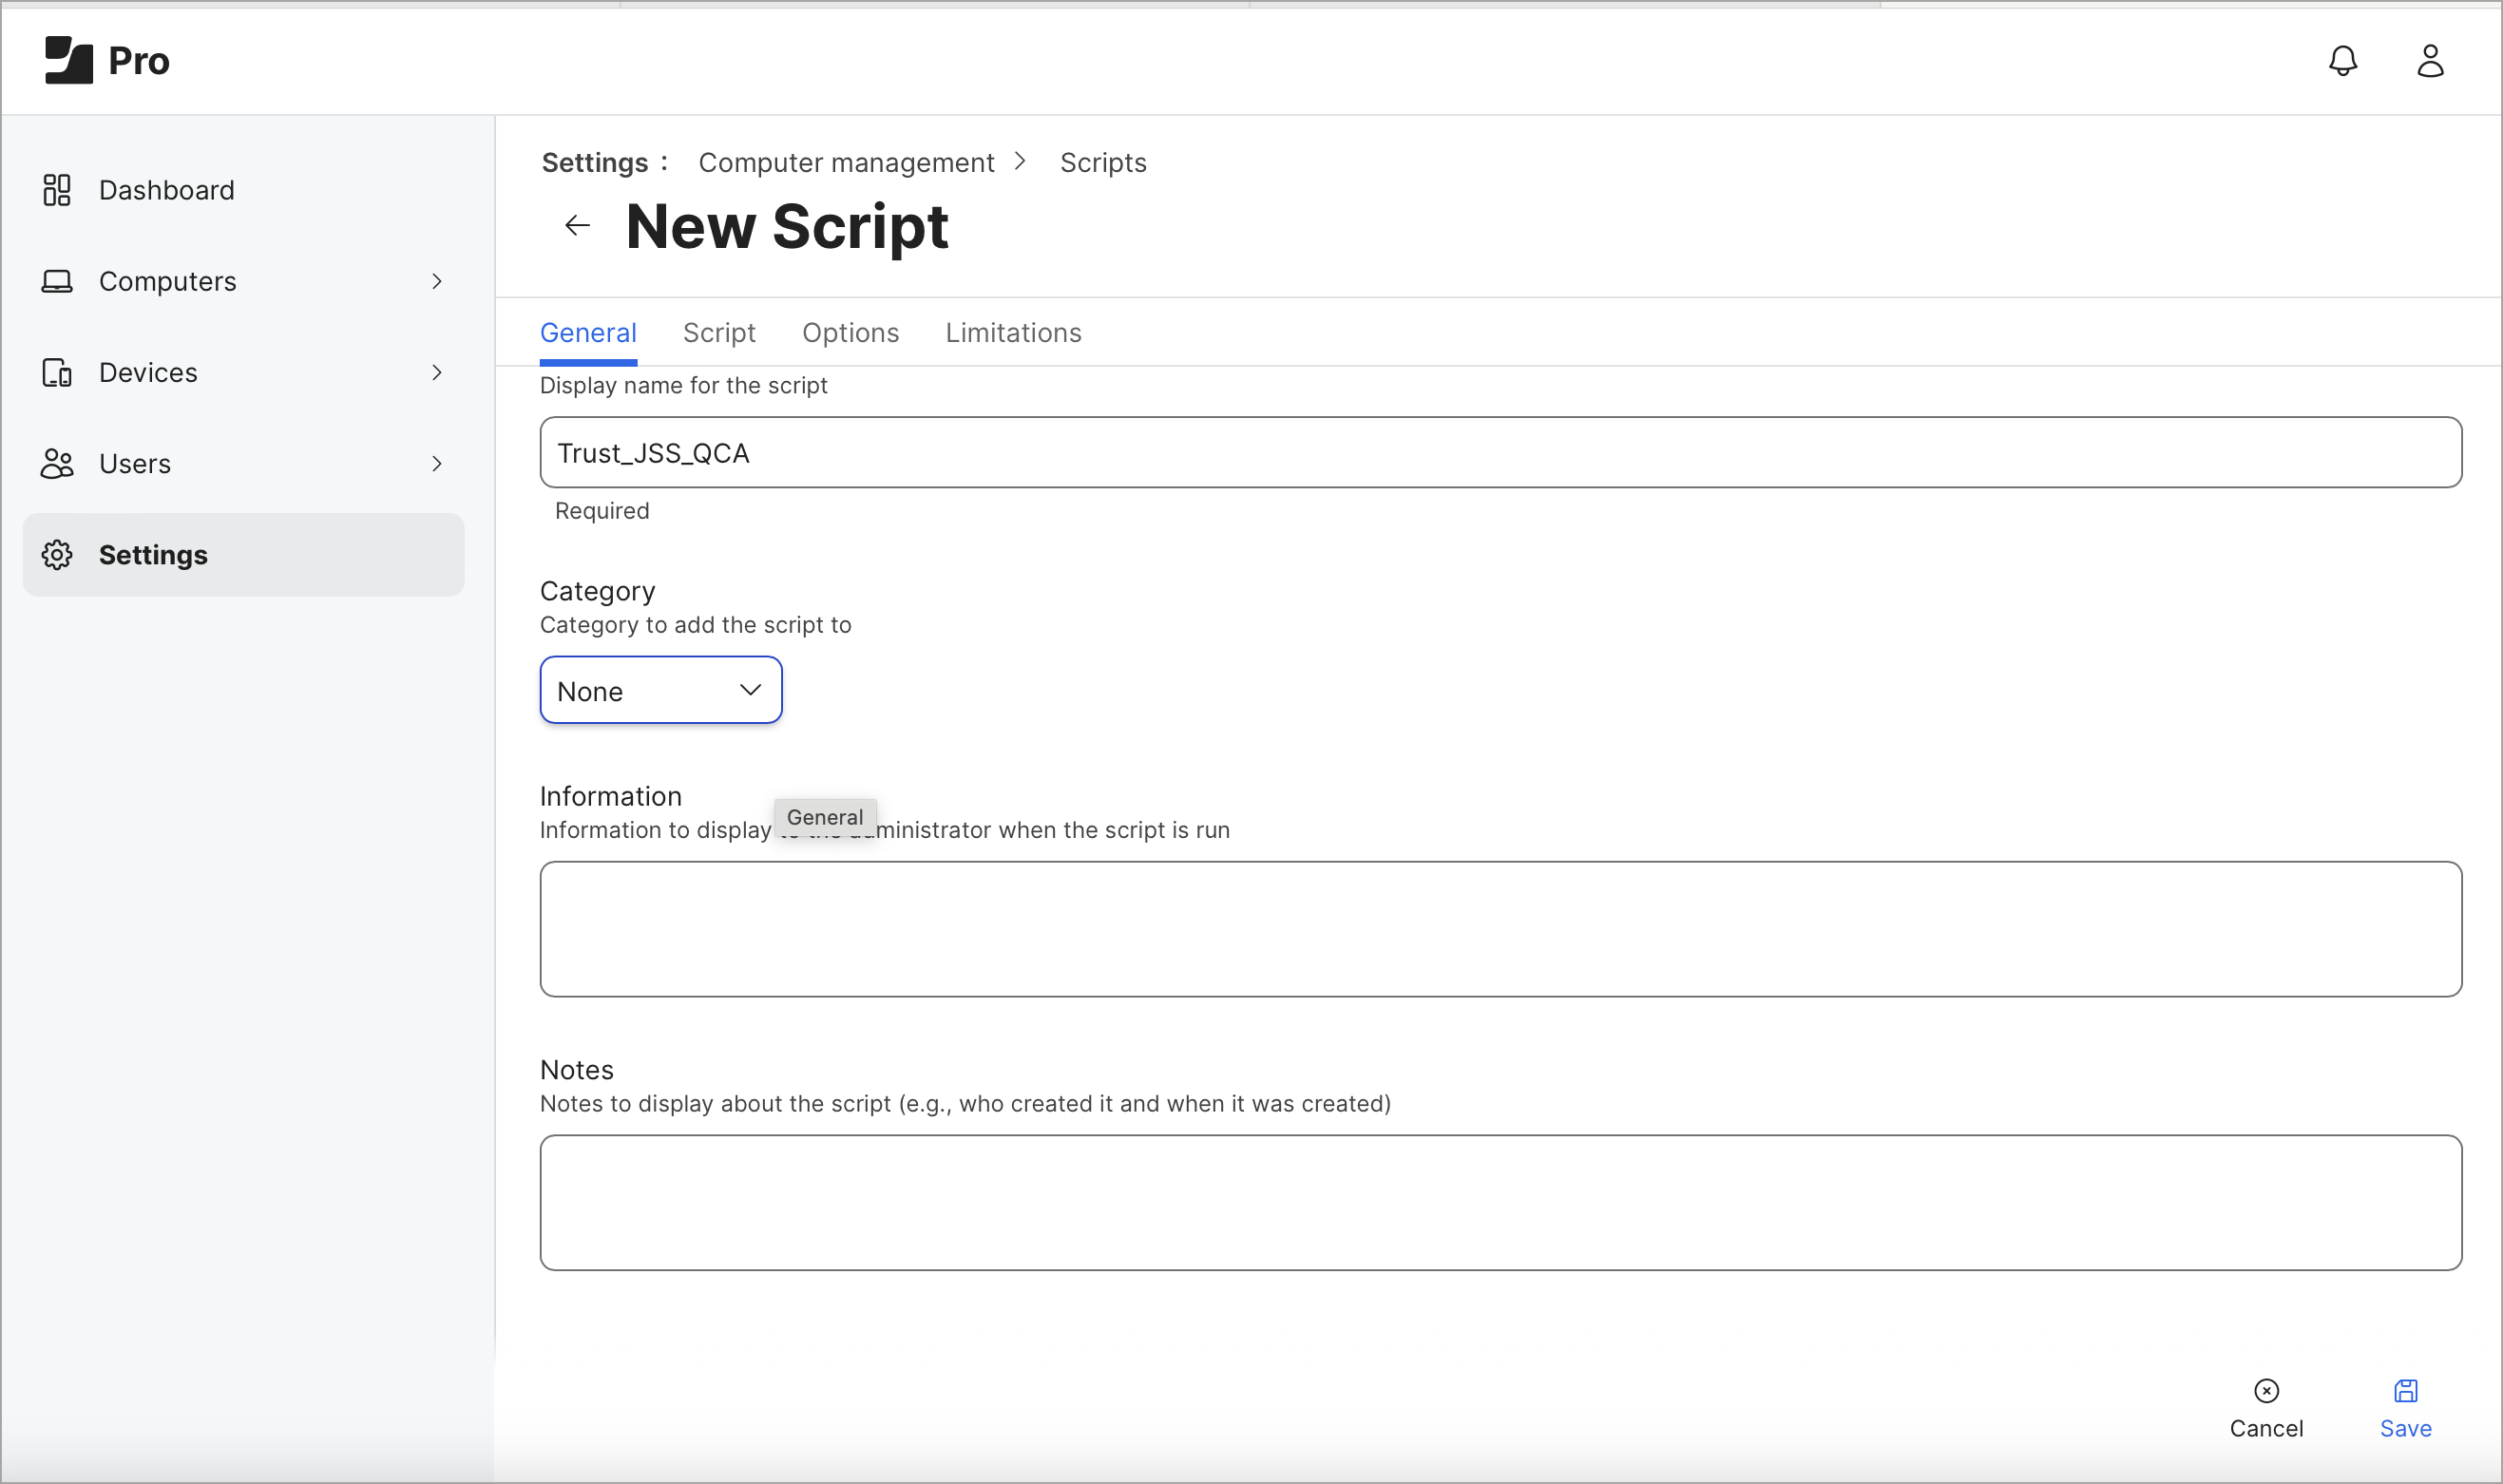
- Open the General tab and enter the following information:
Display Name: Enter the display name for the script.
Category: Select the Enrollment from the available options.
Click Save. - Open the Script tab and enter the following parameters.
#!/bin/sh

	jamf -recon

	jamf -trustJSS
These parameters are automatically sent to the script in the defined sequence. - Click Save.
Script Options
Enter the following information in the Options window:
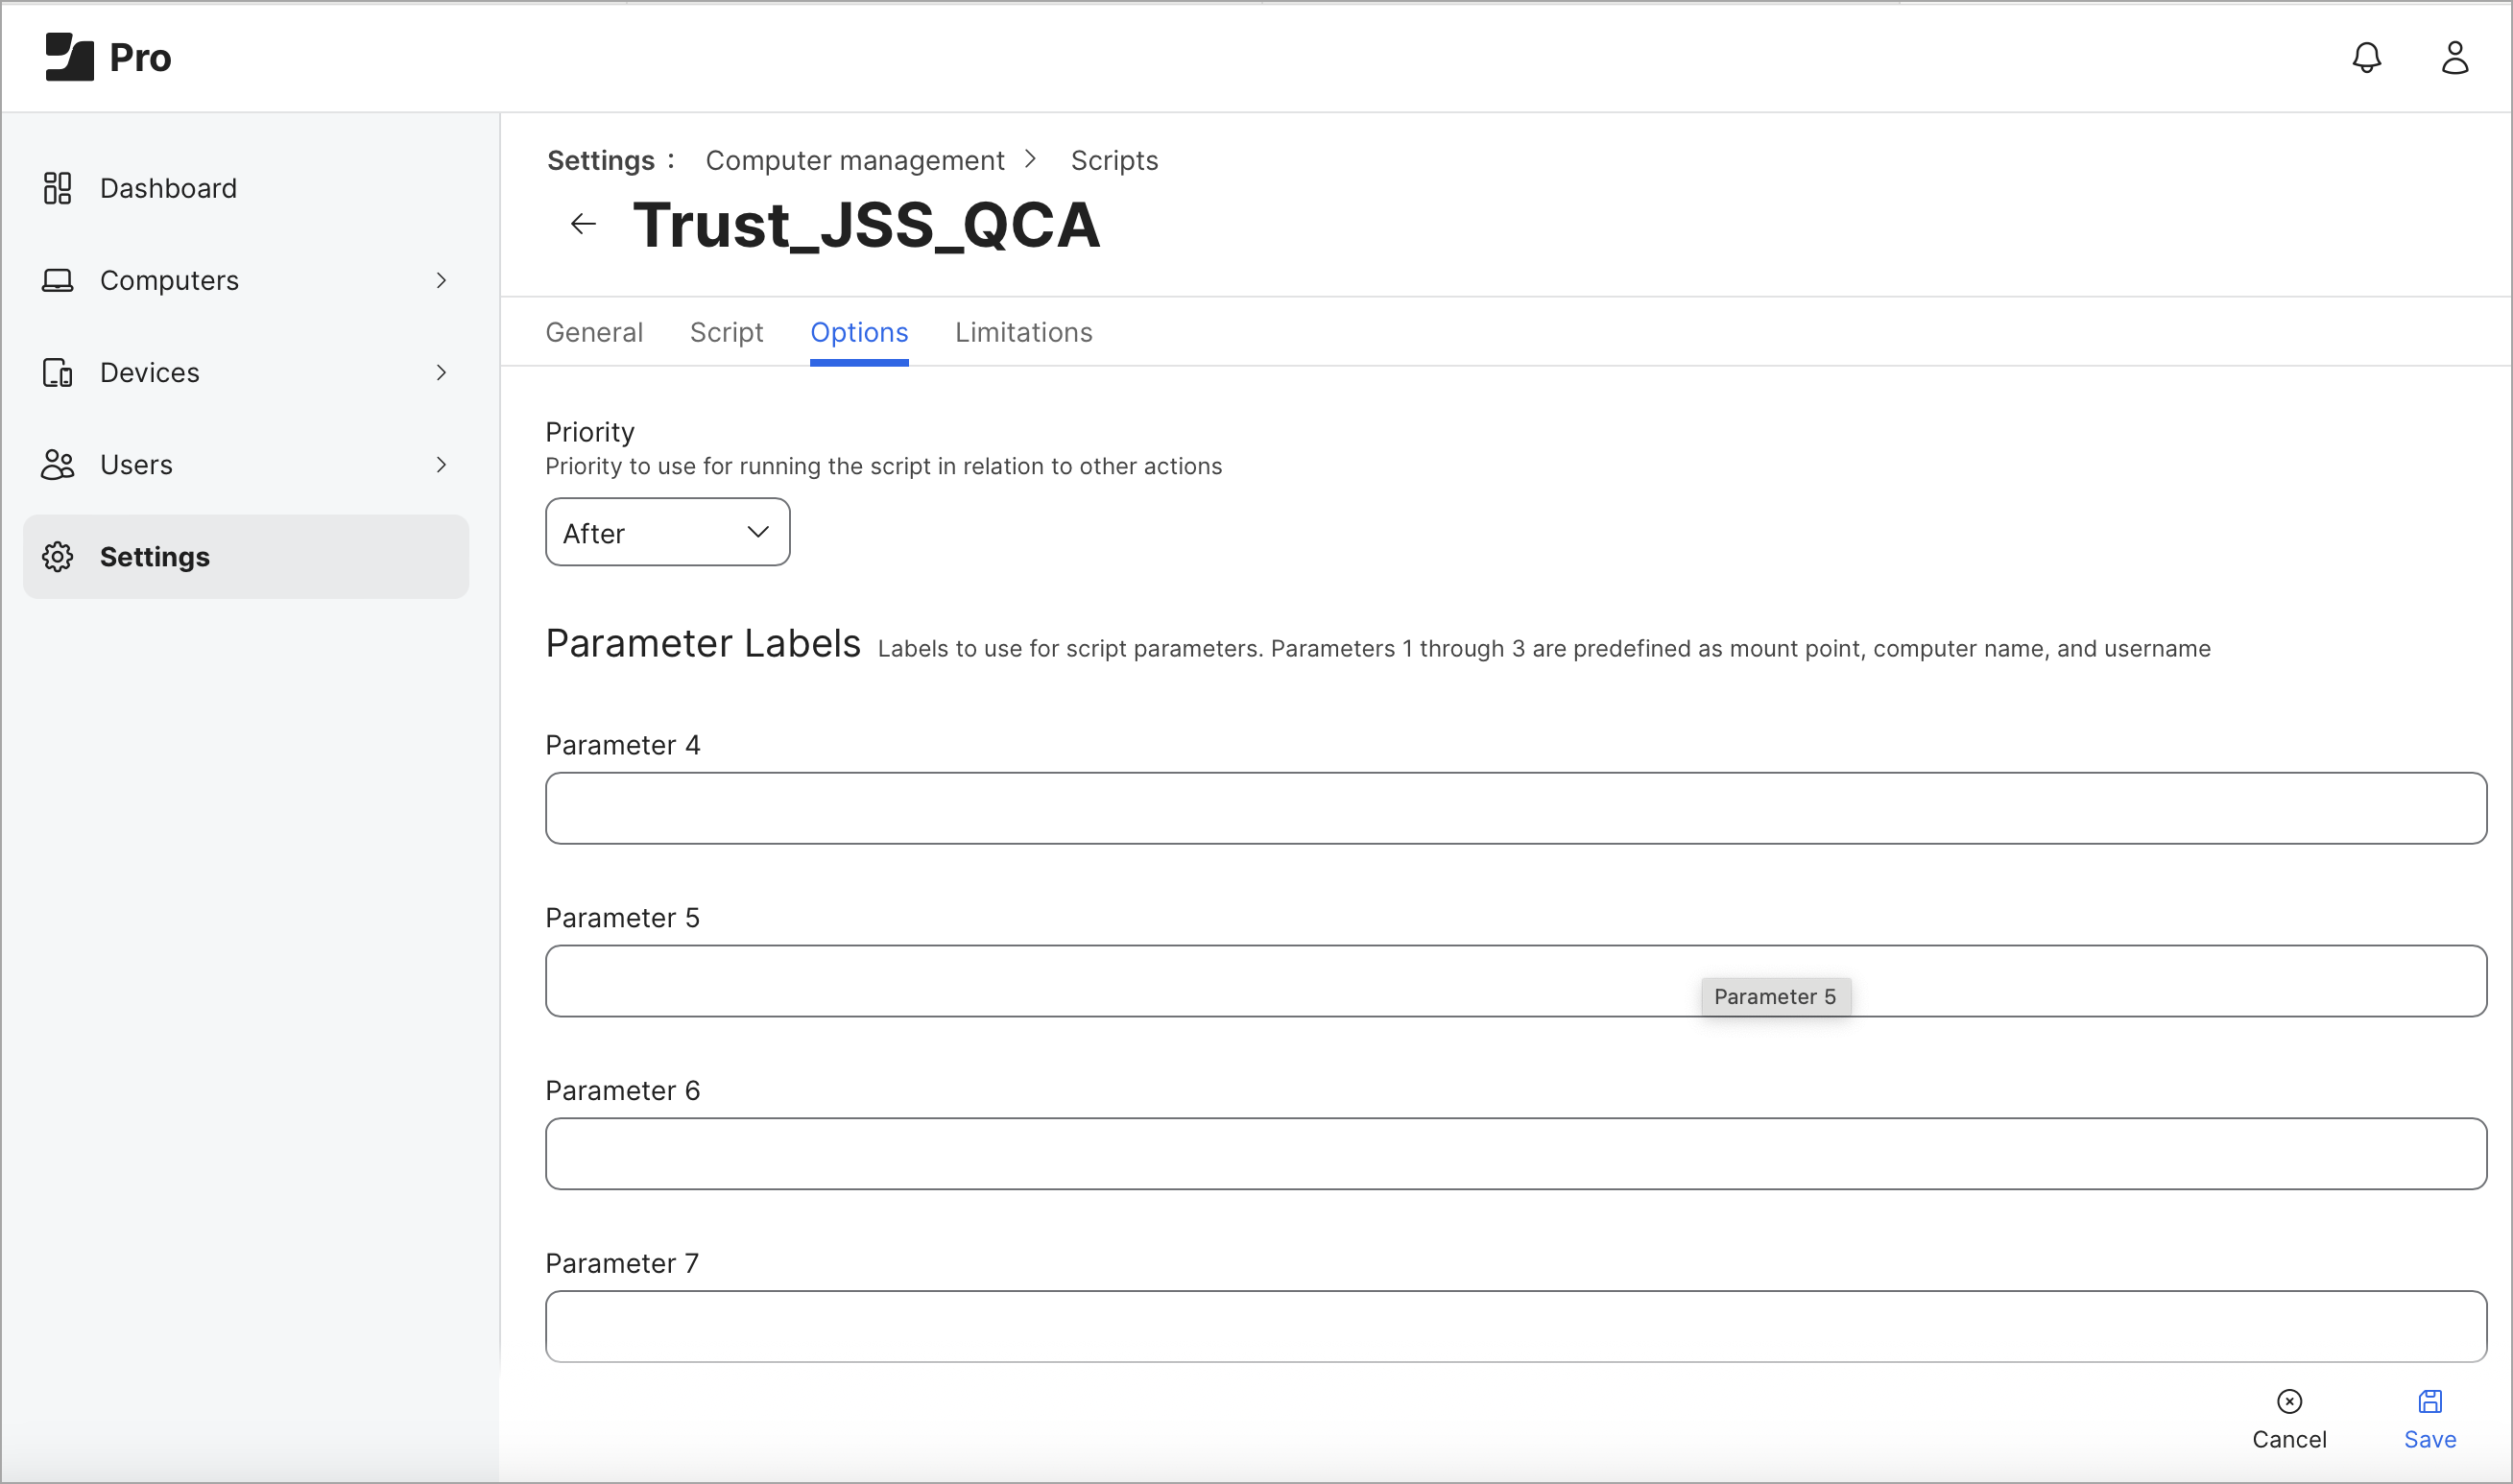
- In the Priority field, select After from the available options. This defines the priority of script execution during imaging.
- Click Save to save the priority settings.
Select Configuration Script
- Navigate to Computer > Policies and click Script.
- On the Script tab, click Configure. The window to select the script opens.
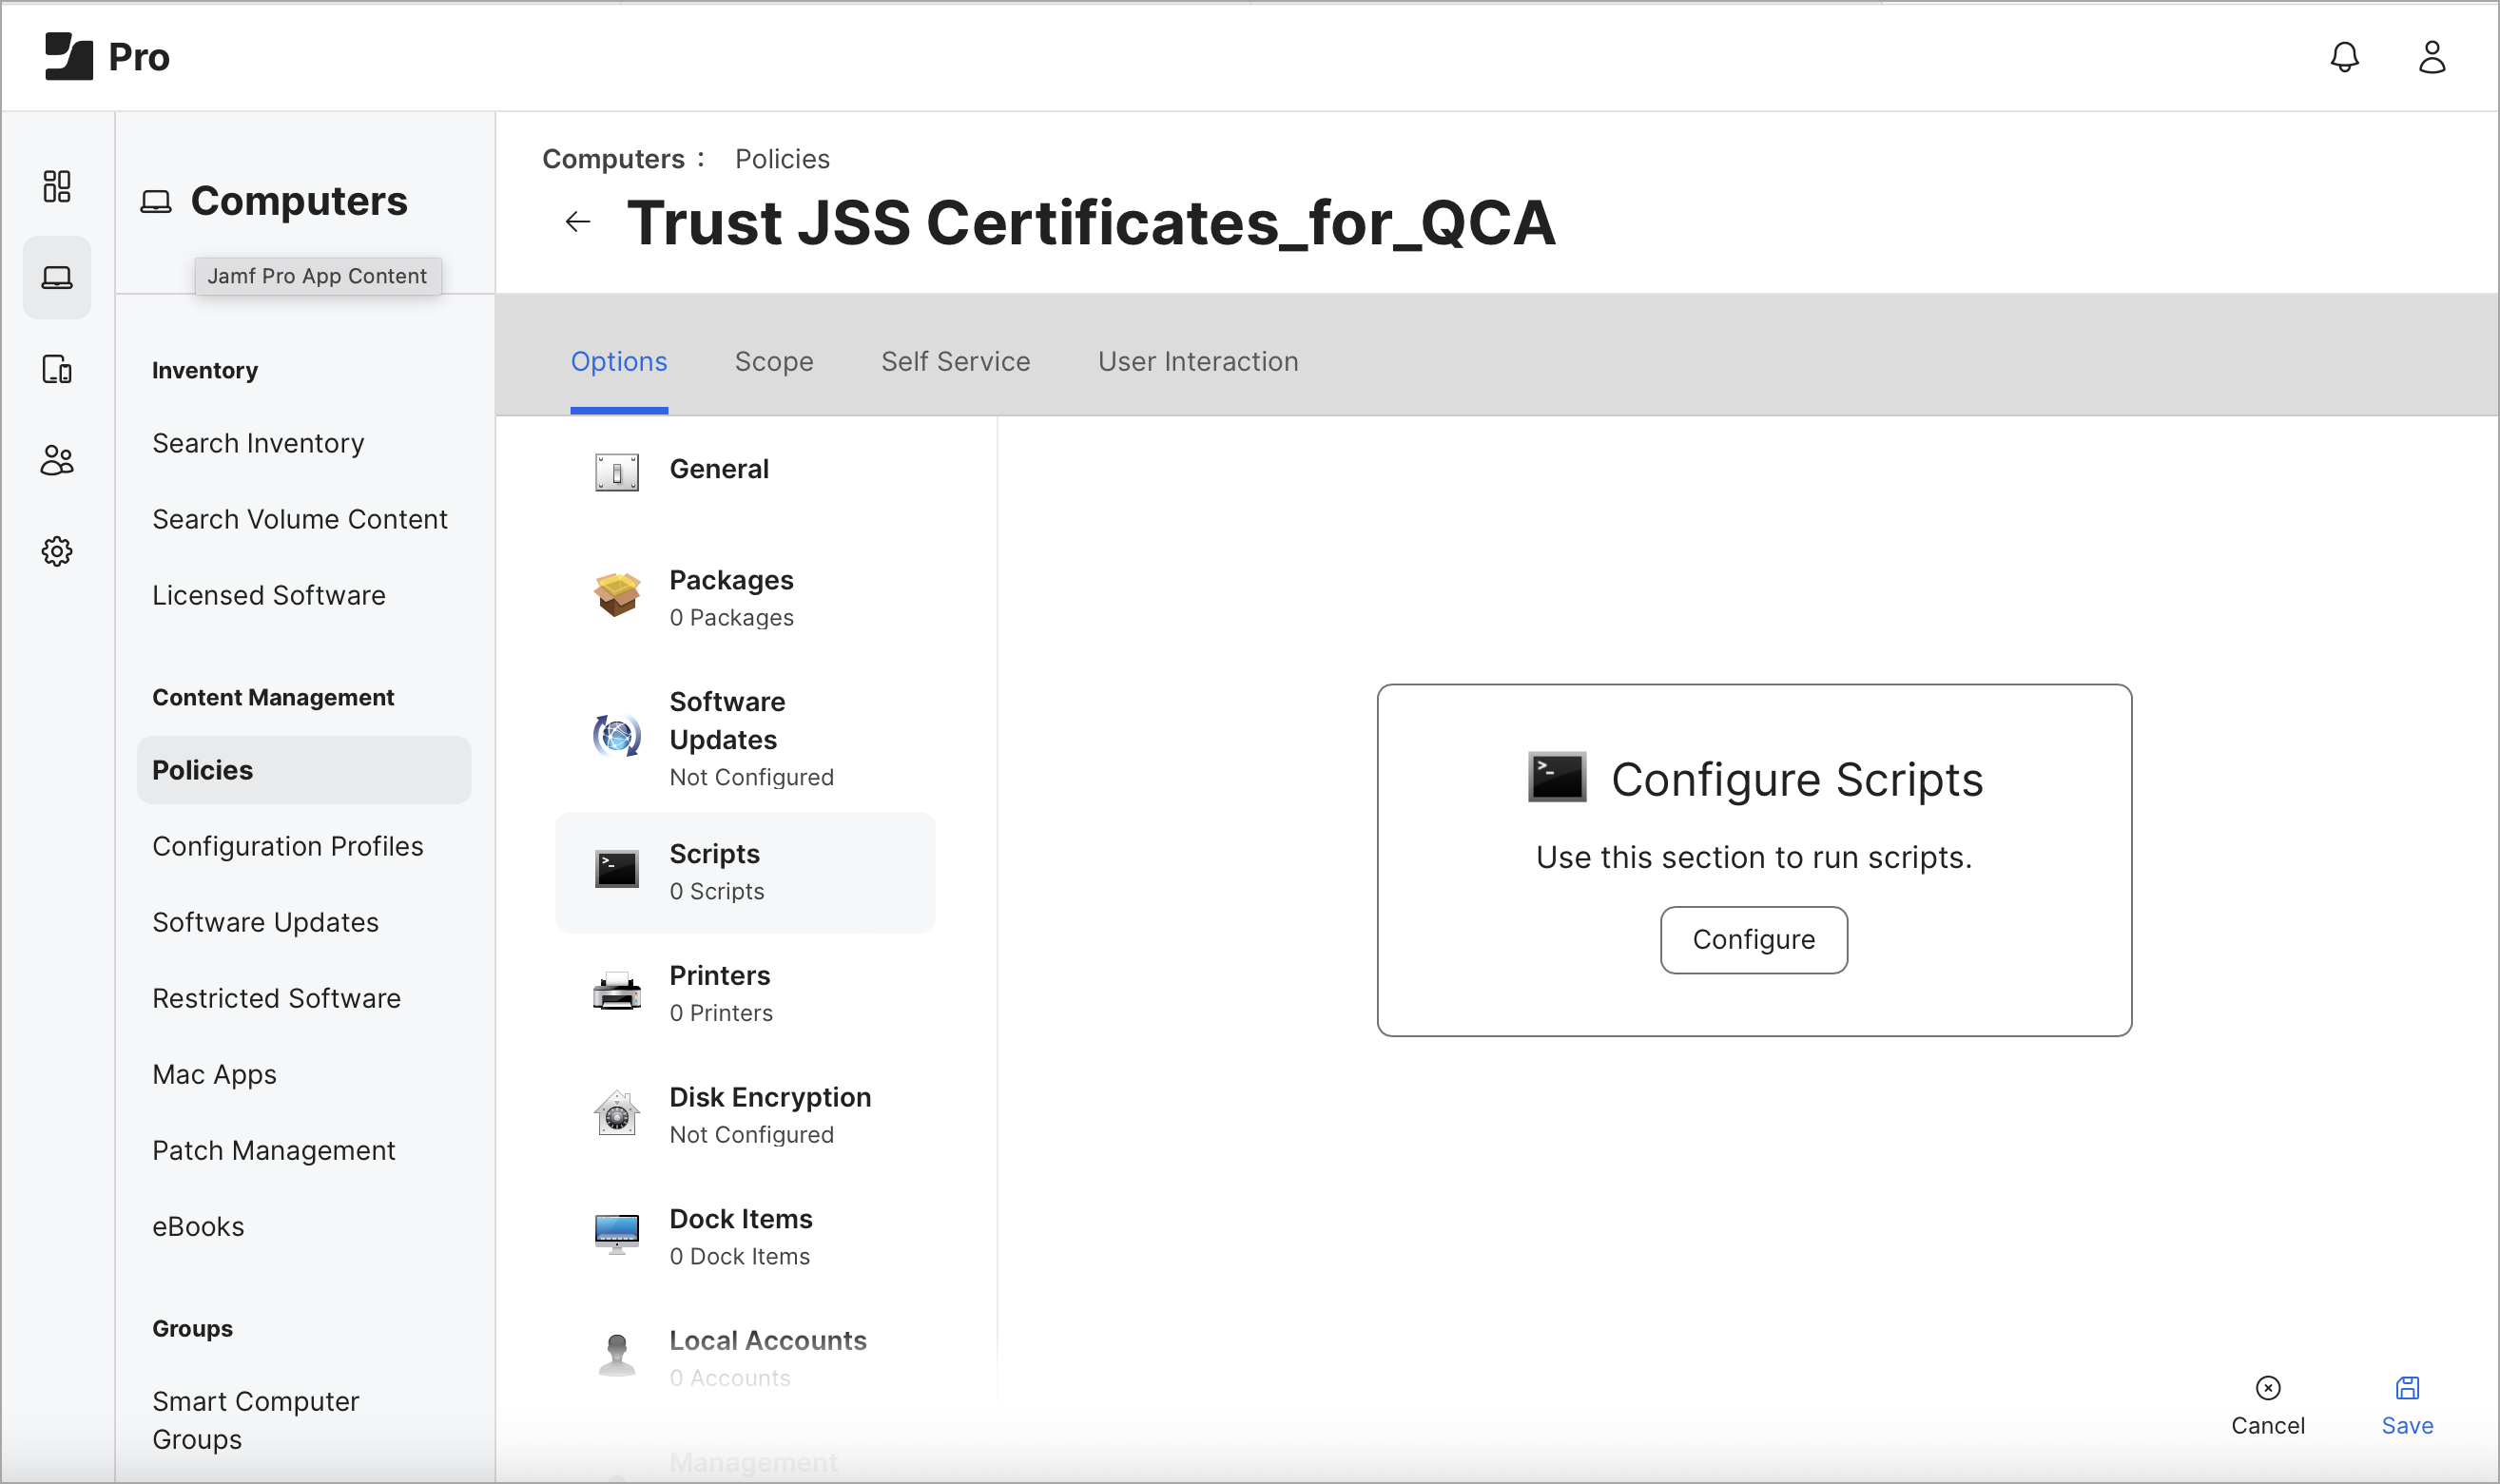
- Select the newly created script and click Add.
- Click Save.
Download Cloud Agent
Refer to the Download Cloud Agent Installer to learn how to download the Cloud Agent installer package.
Configure Policy for Qualys Cloud Agent
Following are the steps to configure the deployment policy for Qualys Cloud Agent.
- On the JAMF dashboard, navigate to Computers > Policies.
- Click New. The General window opens.
- In the General window, enter the following details.
Display Name: Enter the display name for the script.
Select the Enabled checkbox.
Category: Select the category for which you want to add the policy. For example, Application, Security, Unknown, and so on.
Enrollment Complete: Select this checkbox. This defines the enrollment completion time.
Recurring Check-in: Select this checkbox. It enables the recurring check-in frequency defined in JAMF Pro.
Execution Frequency: Define the frequency to run the policy.
Target Drive: Enter the field value as /. This field defines the target drive to run the policy. By default, the policy runs on a boot drive.
Click Save.
Upload Package
Following are the steps to upload Qualys Cloud Agent with the newly created policy.
- On the JAMF Admin Portal, navigate to All Settings > Computer Management.
- On the Computer Management screen, open the Packages window.
- In the Packages window, click New. The New Package screen opens.
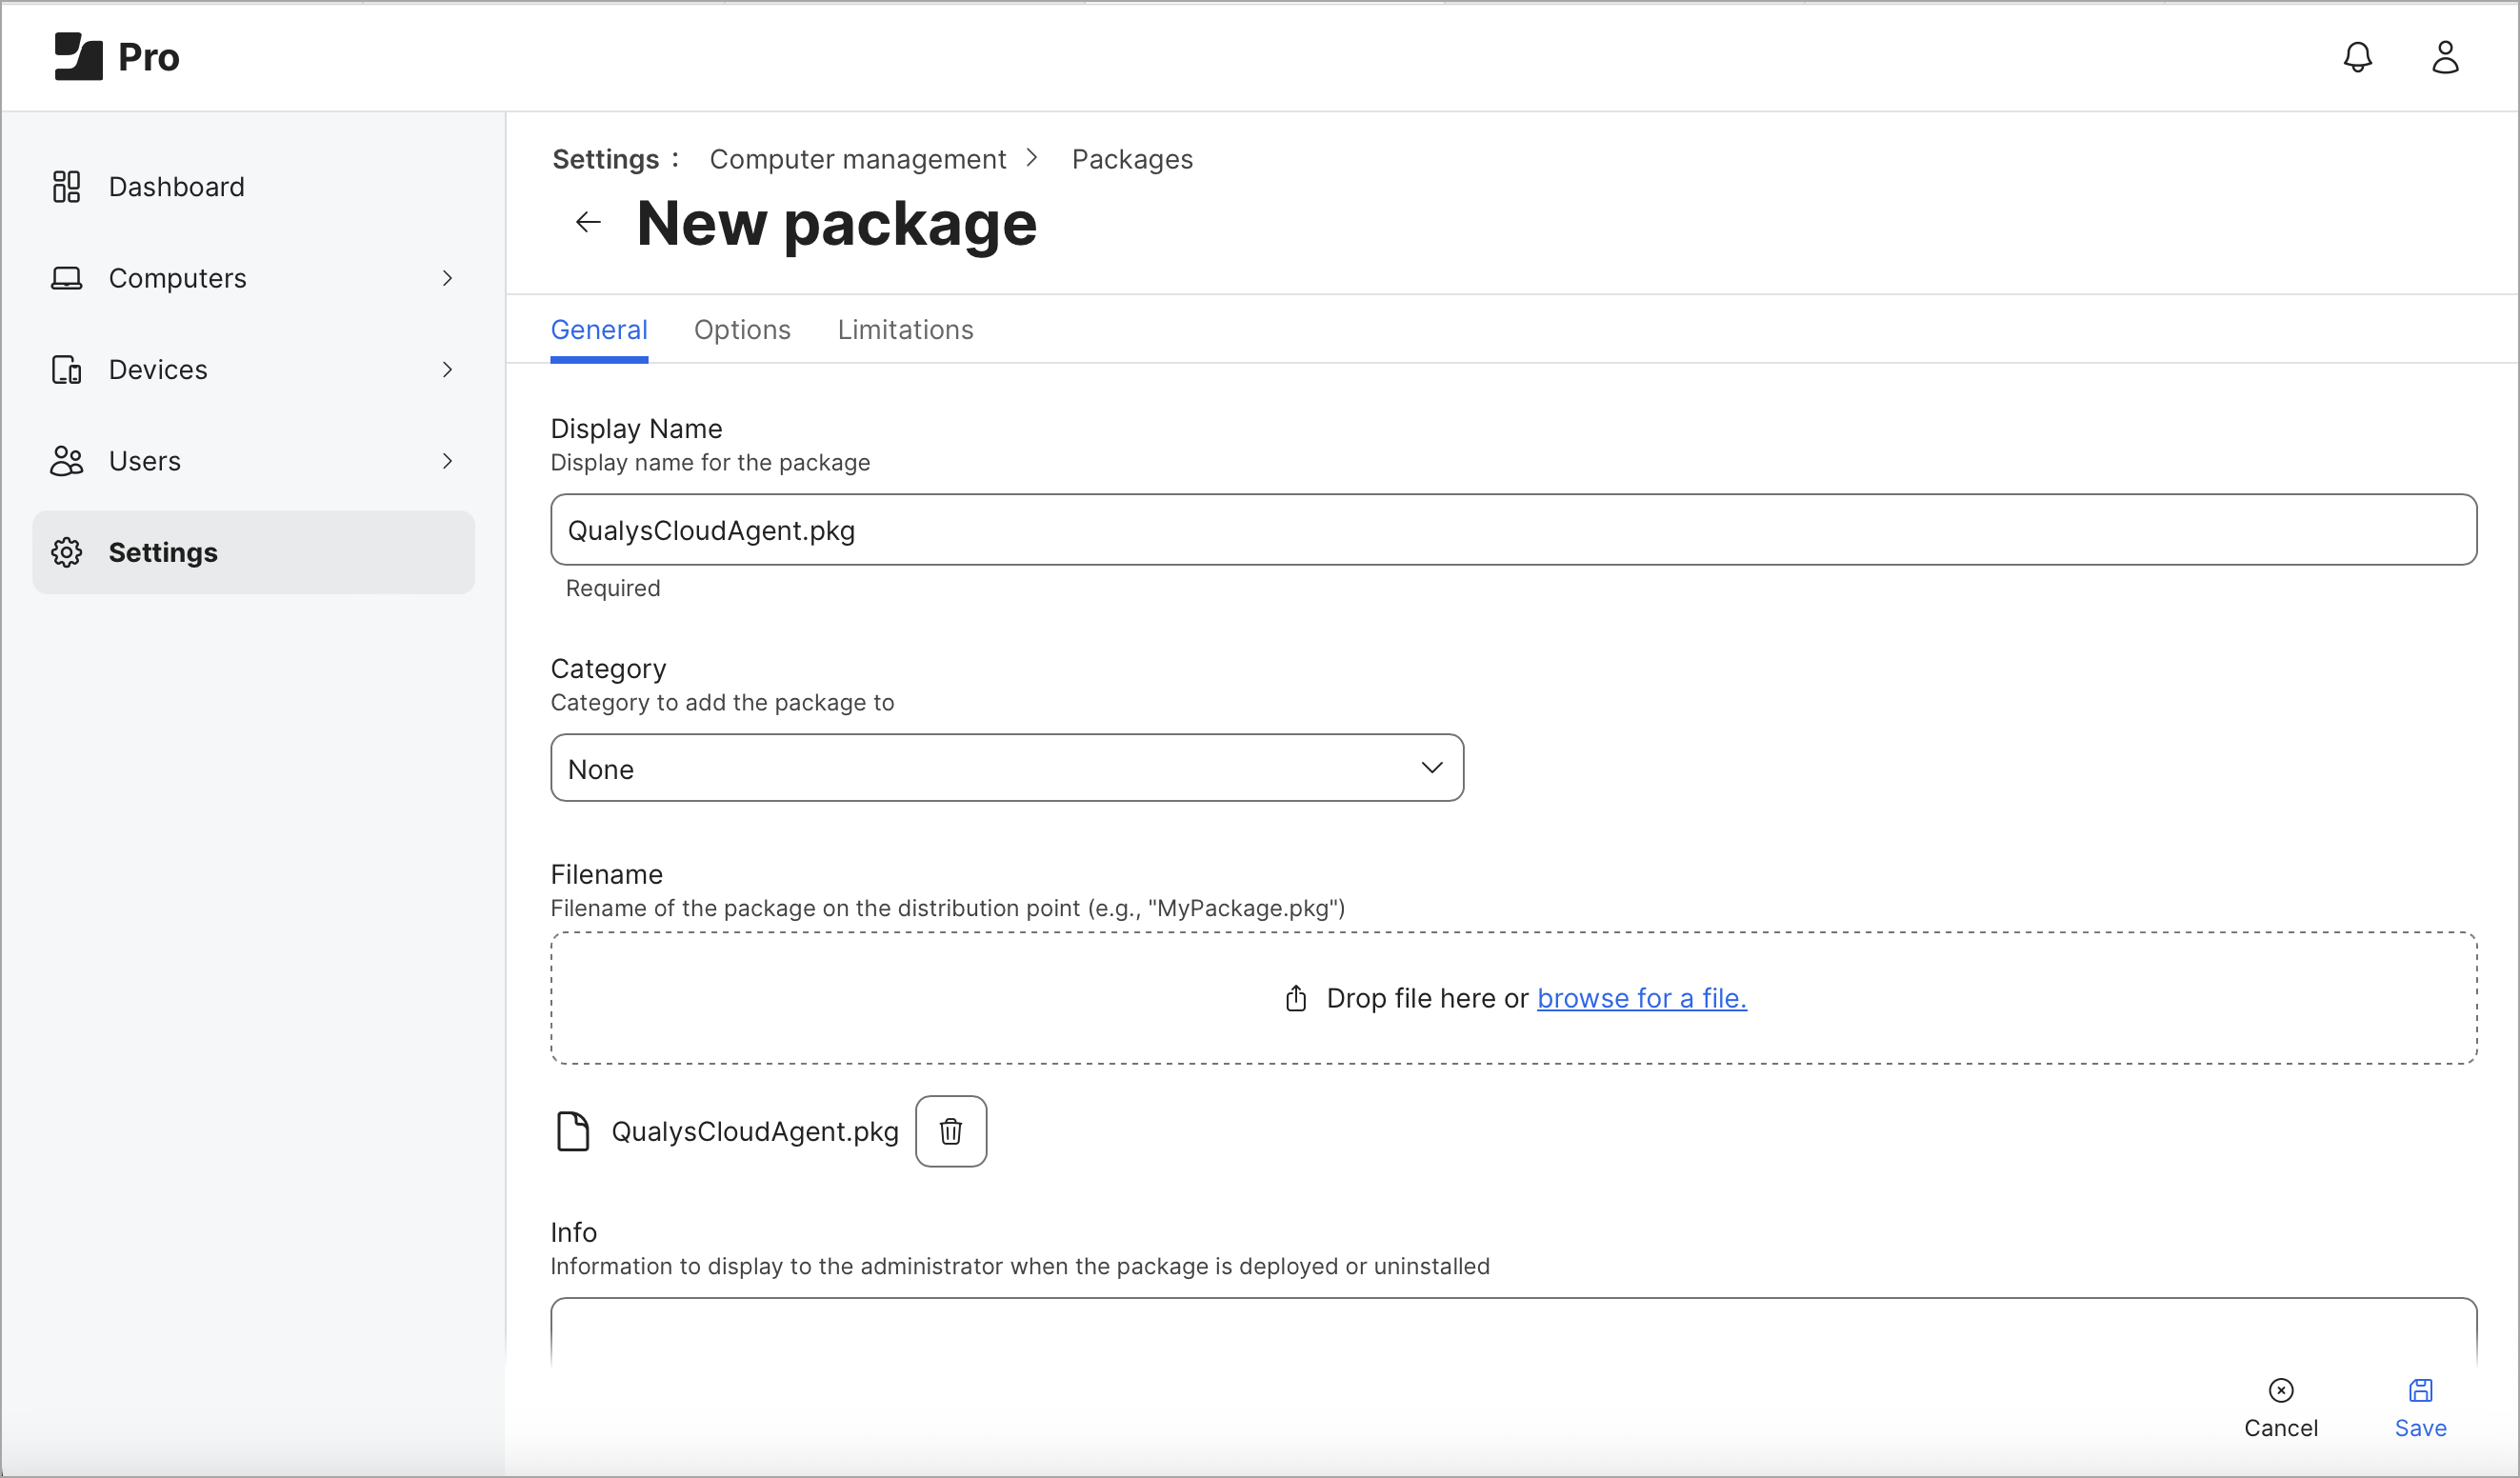
- Enter the following details in the New Package screen:
Display Name: Enter the Cloud Agent display name.
Category: Select the category for Cloud Agent Package.
File name: Select the package file name available on the distribution point. - Click Save to save the package configuration.
Configure Script for Payload Configuration
The script payload configuration allows you to select script execution time in relation to other tasks in the policy. You can also enter values for script parameters.
Following are the steps for script payload configuration:
- On JAMF Admin portal, navigate to All Settings > Computer Management.
- Open the Scripts window and click New. It opens the script configuration screen.
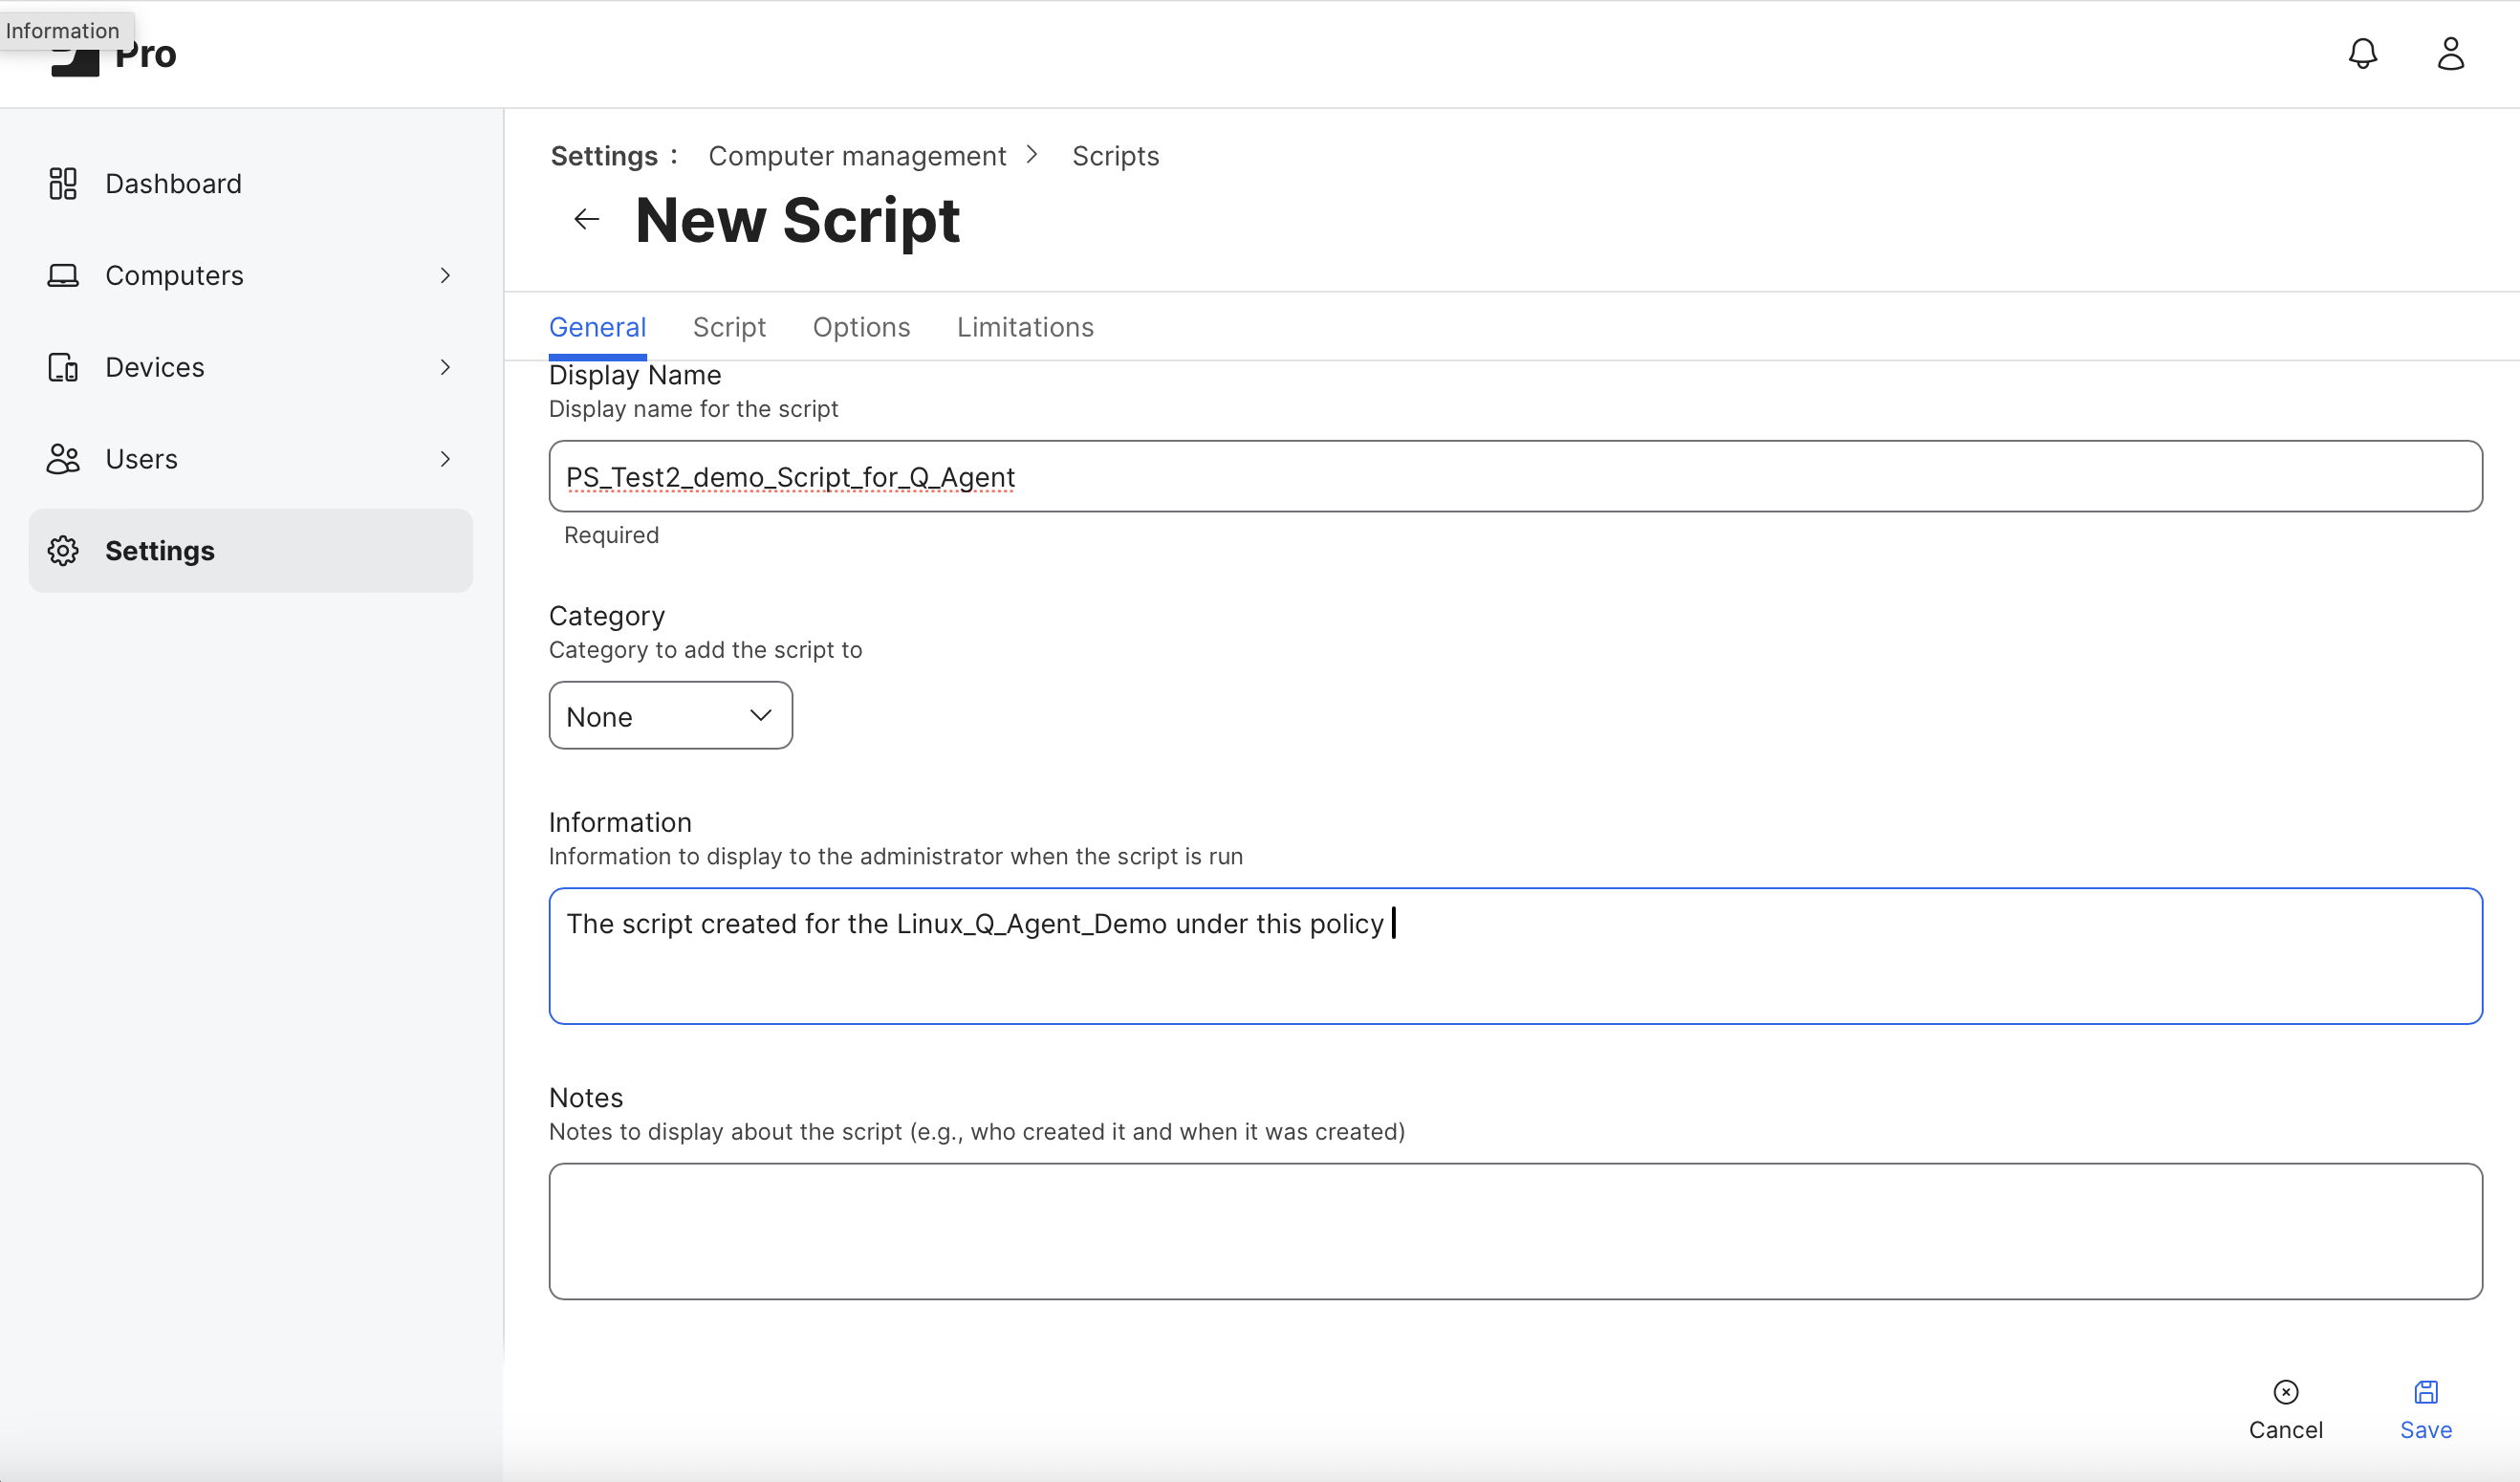
- Enter the following details in the General tab of script configuration screen.
Display Name: Enter the script name.
Category: Select the category to add the script.
Click Save. - Open the Scripts tab on the script configuration screen.

- Enter the parameters for script configuration. following are the sample parameters for script configuration.
sudo /Applications/QualysCloudAgent.app/Contents/MacOS/qualys-cloud-agent.sh ActivationId=848b31ad-3b93-49ea-9bf2-4f55d25ab6e2 CustomerId=6581ba99- ef16-4931-81fd-1c0493577d21
These parameters are automatically passed to the script in defined order.
Click Save to save the script configuration. - Open the Options tab.
- In the Priority field, select After as a field value. It defines the priority of the script execution over other tasks during imaging.
Click Save. - Navigate to Computer > Policies and open the Script tab.
- In the Configure Script screen, click Configure. The Policies screen opens.
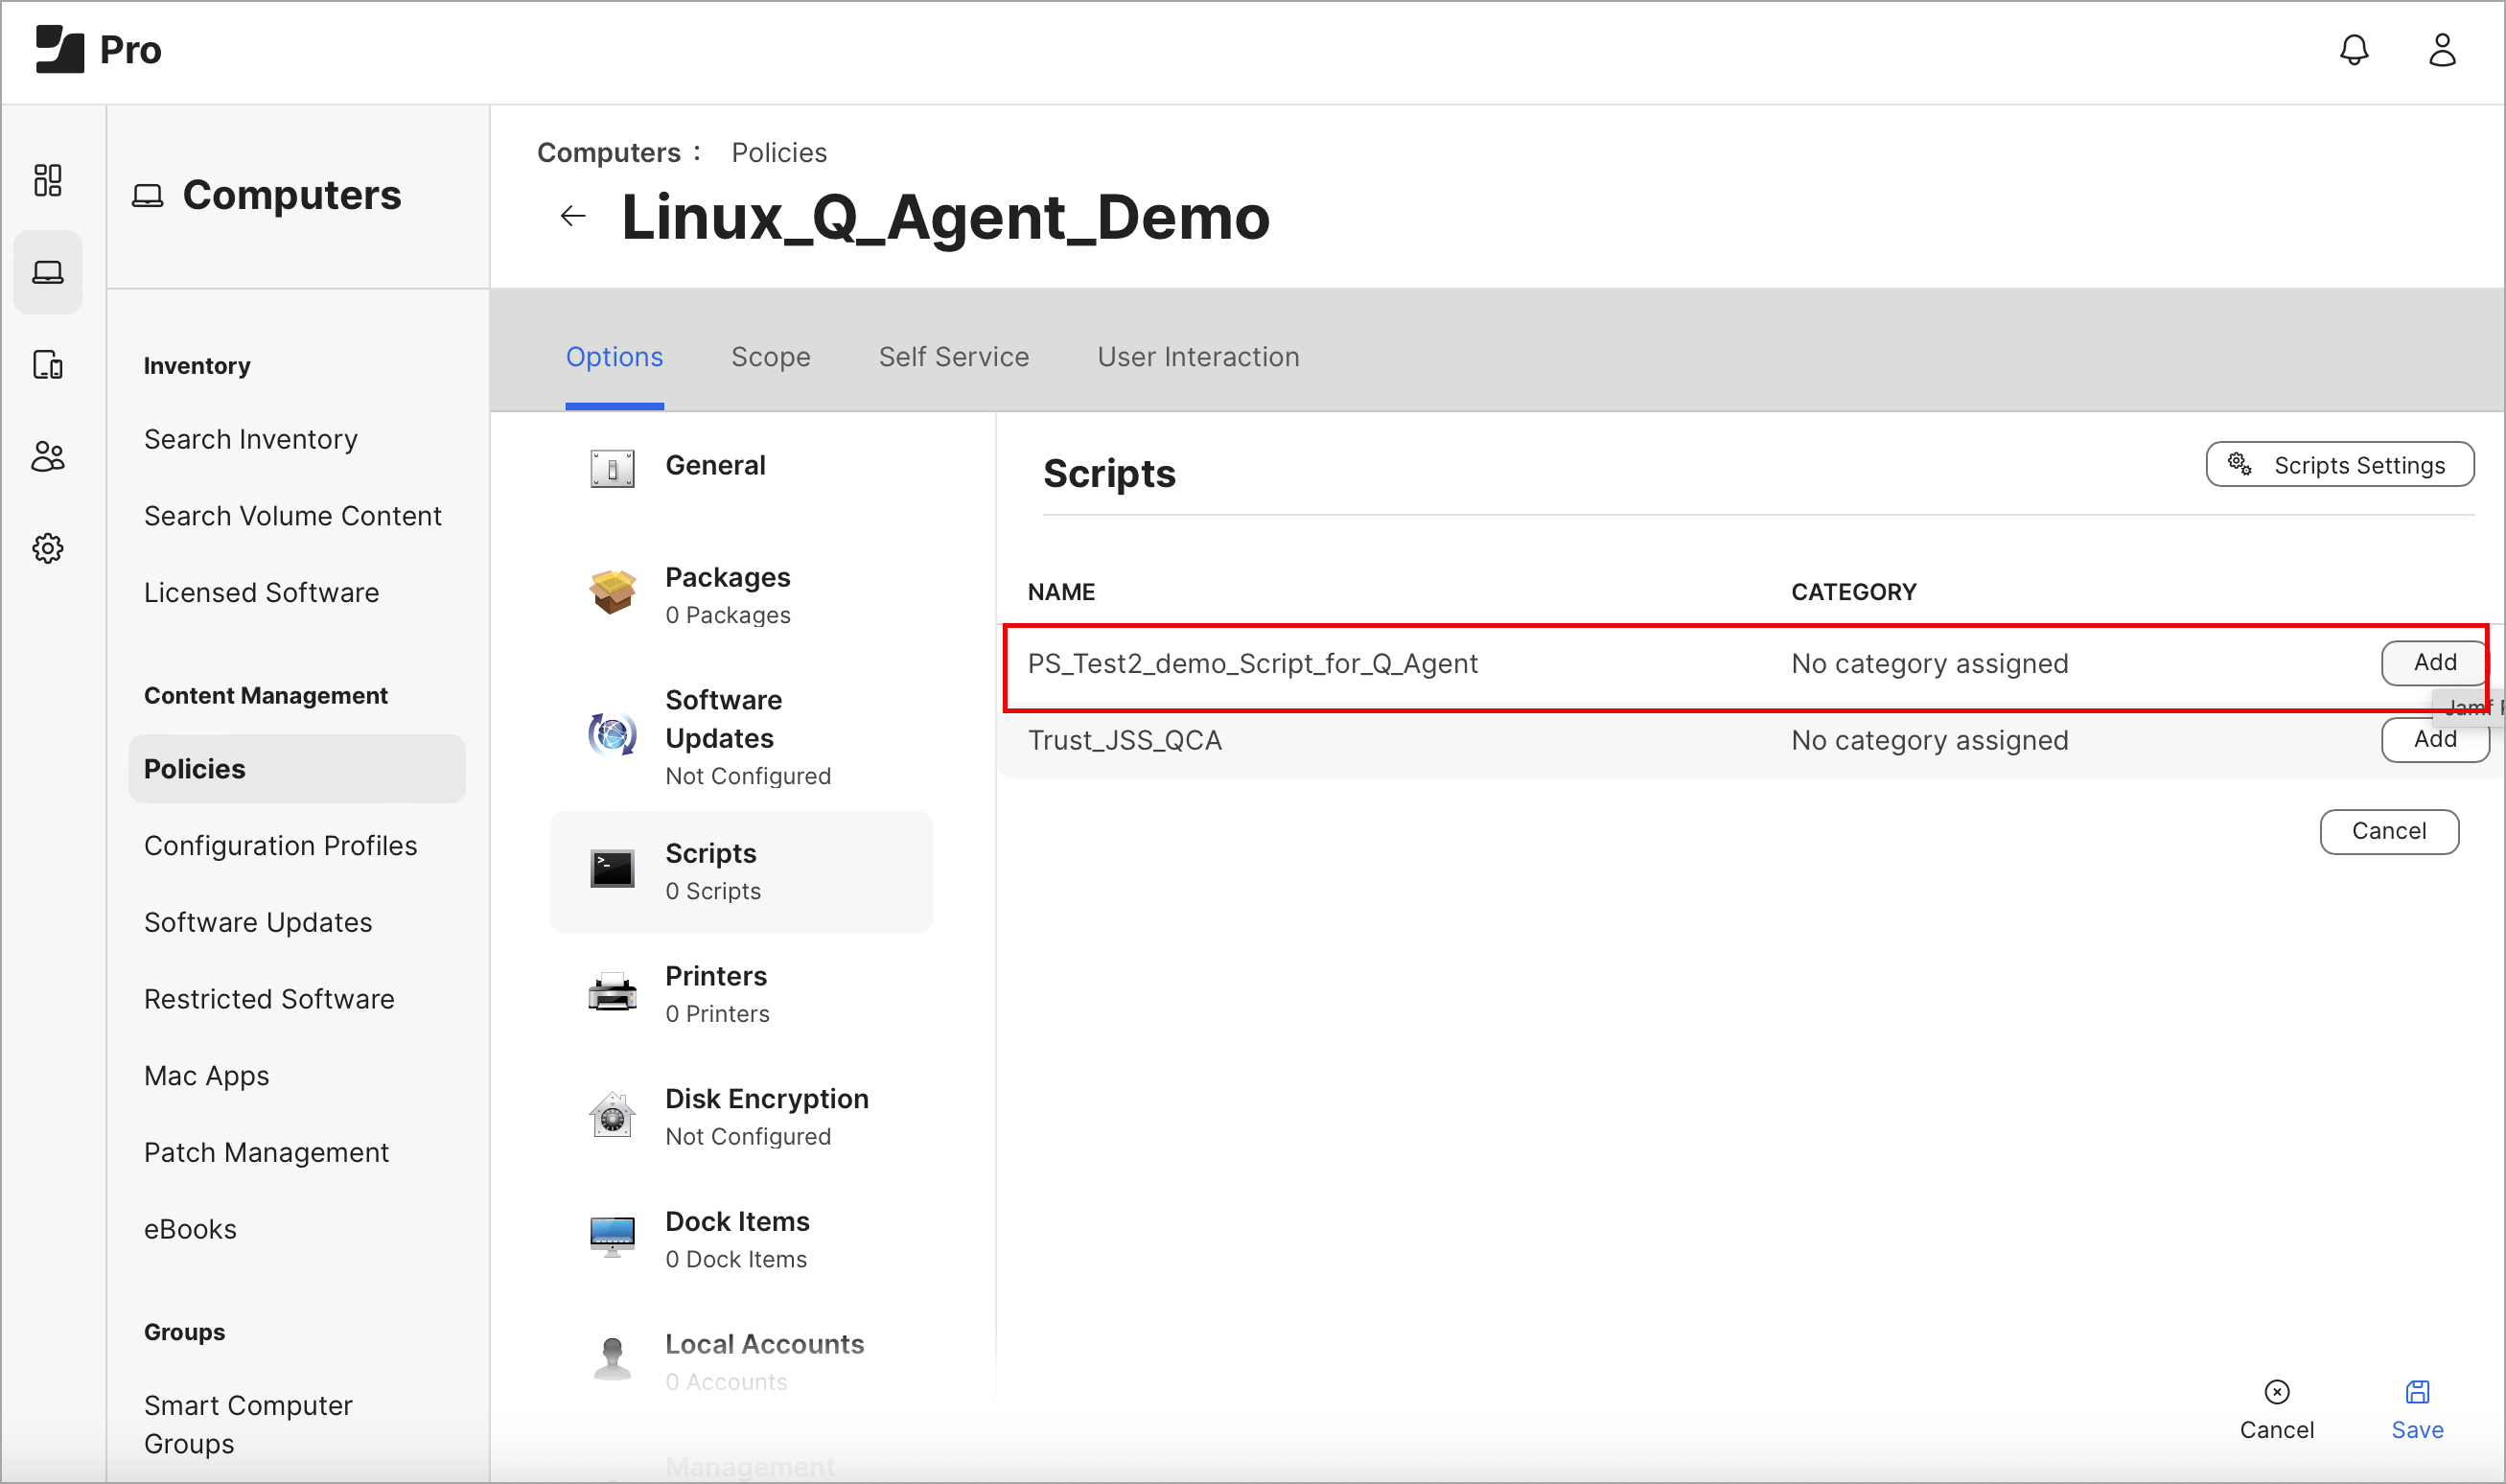
- Select the newly created Script and click the Add button next to it.
Payload Configuration for Privacy Preferences Policy Control (PPPC)
To configure the payload for privacy preferences, perform the following steps.
- Navigate to Computers > Configuration Profiles and click New.
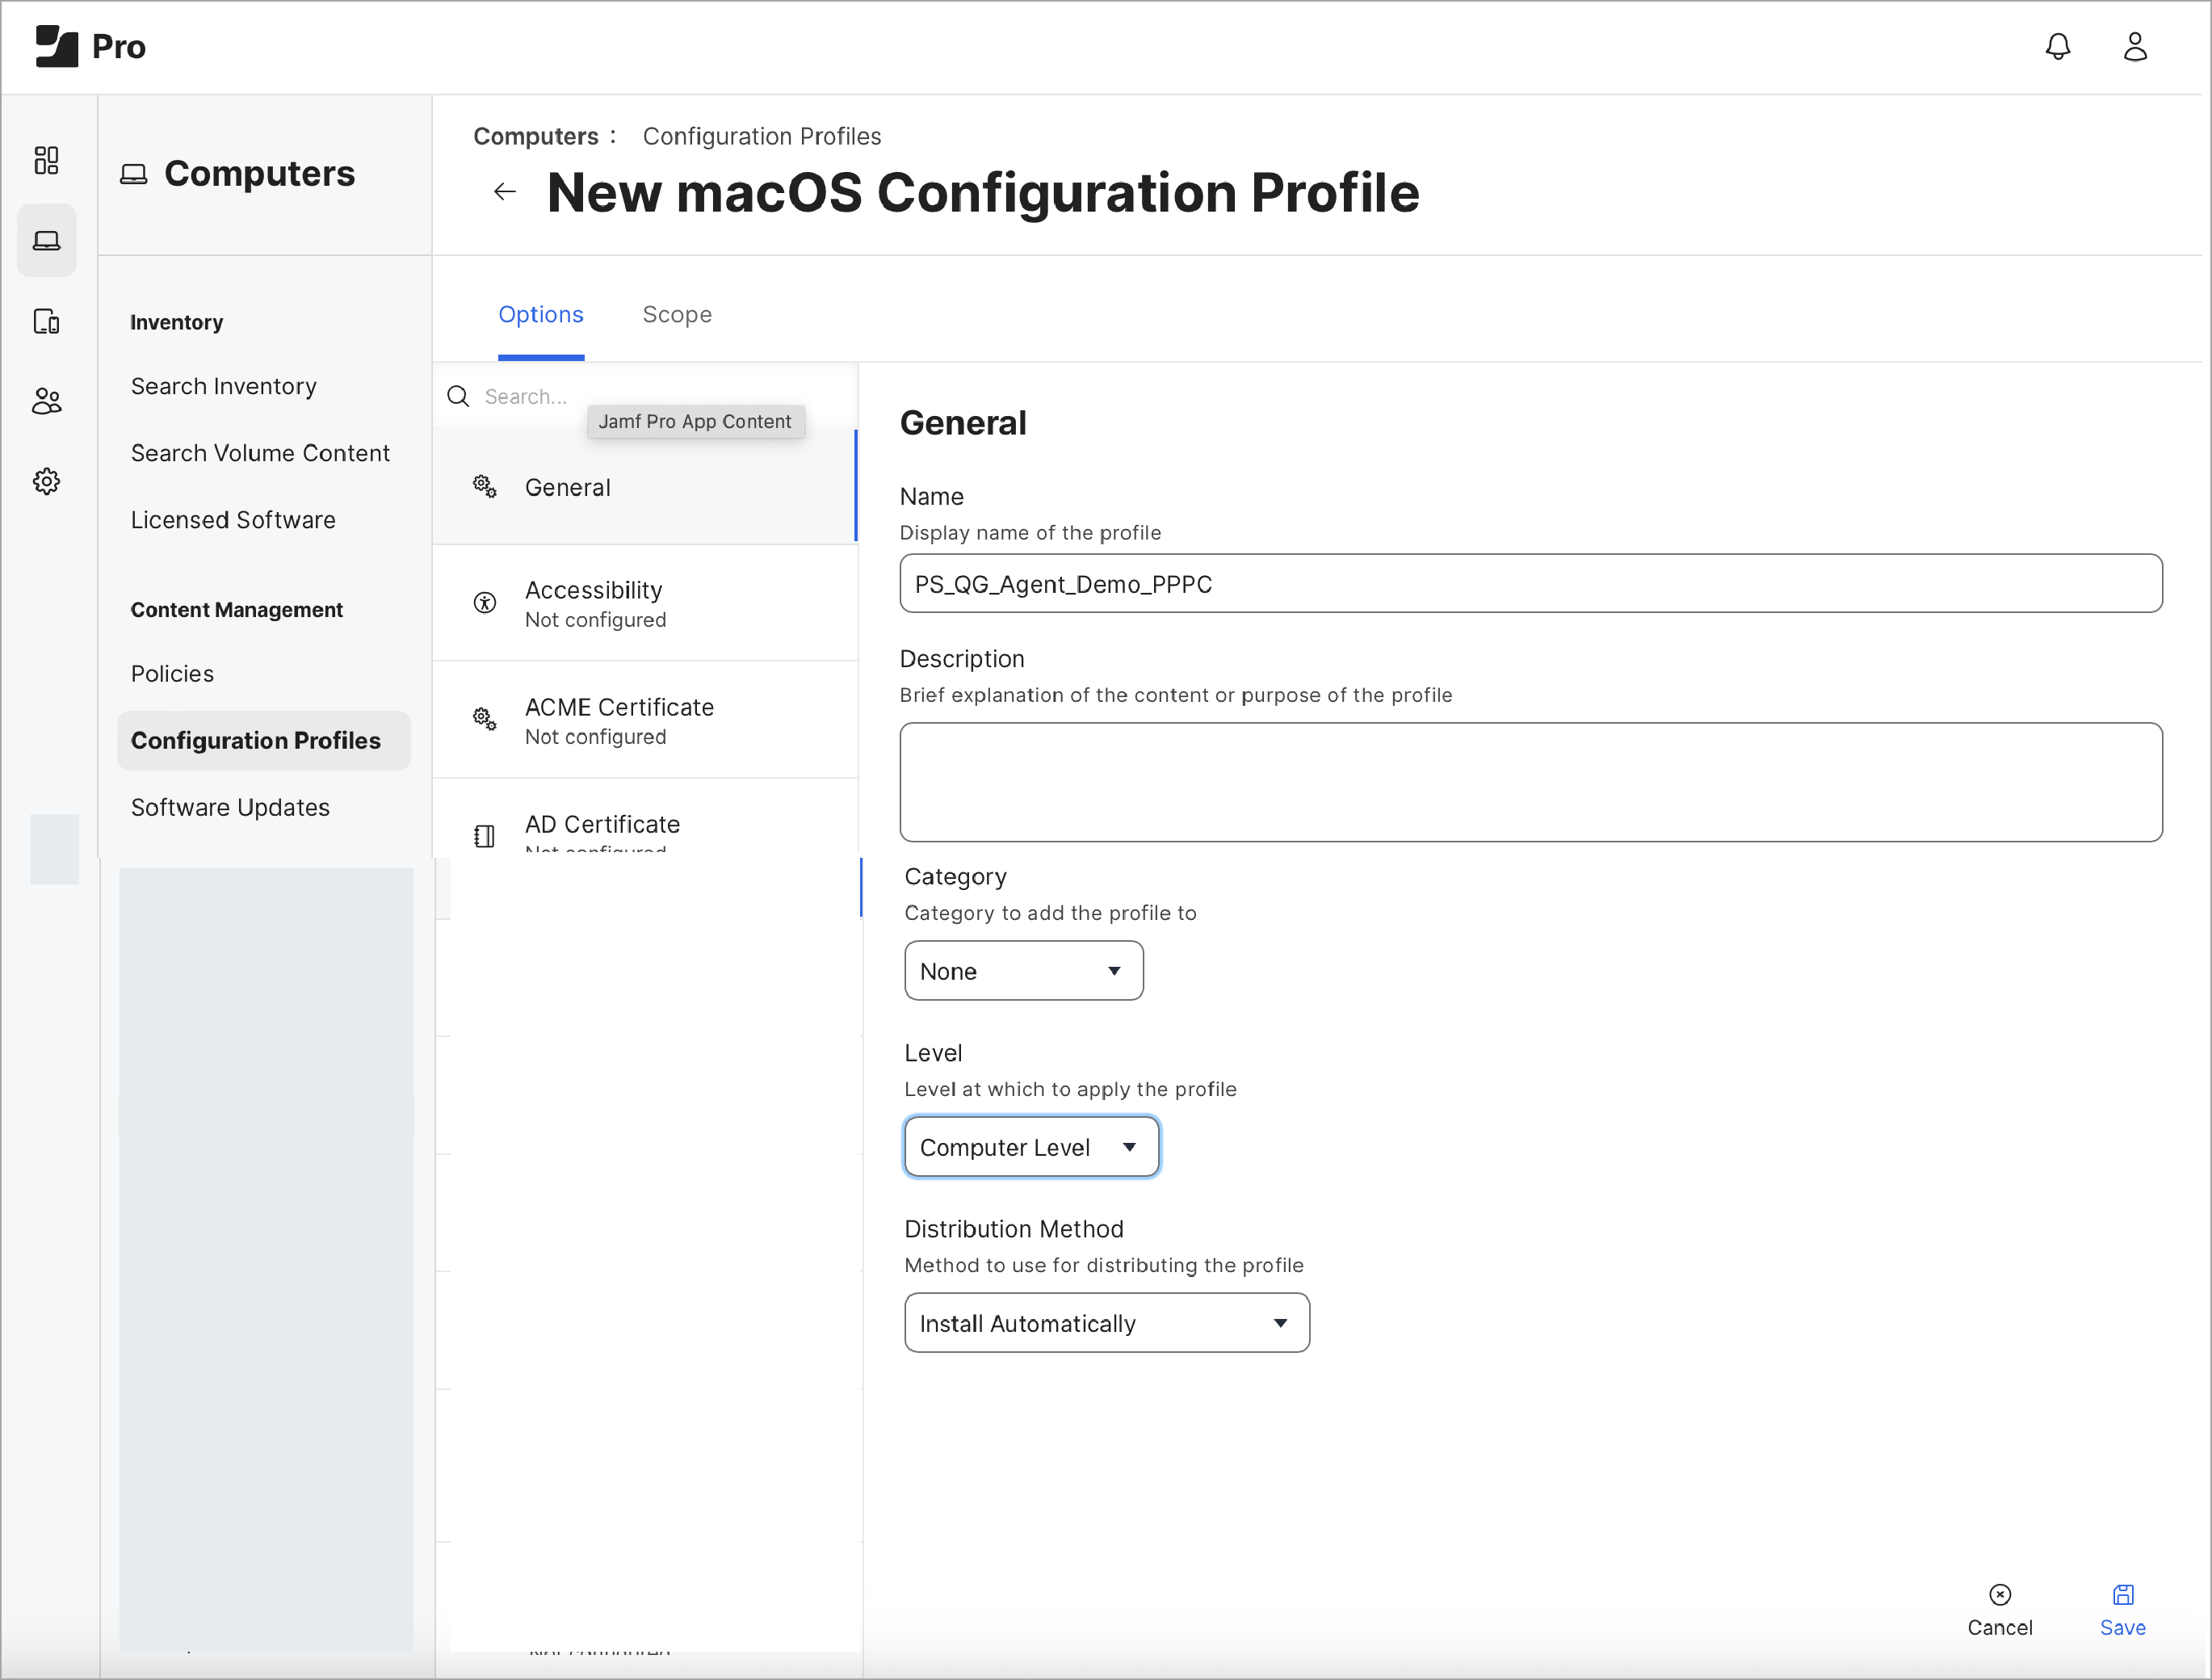
- In the General screen, enter the following details:
Display Name: Enter the display name for the policy.
Category: Select the value for this field as per the requirement. For example, Application, Security, Unknown, and so on.
Distribution Method: Select Install-Automatically as the field value. This field defines the method to distribute policy.
Level: Select Computer-Level as the field value. This field defines the level to apply the configuration profile.
Click Save. - Click Privacy Preferences Policy Control to configure the payload.
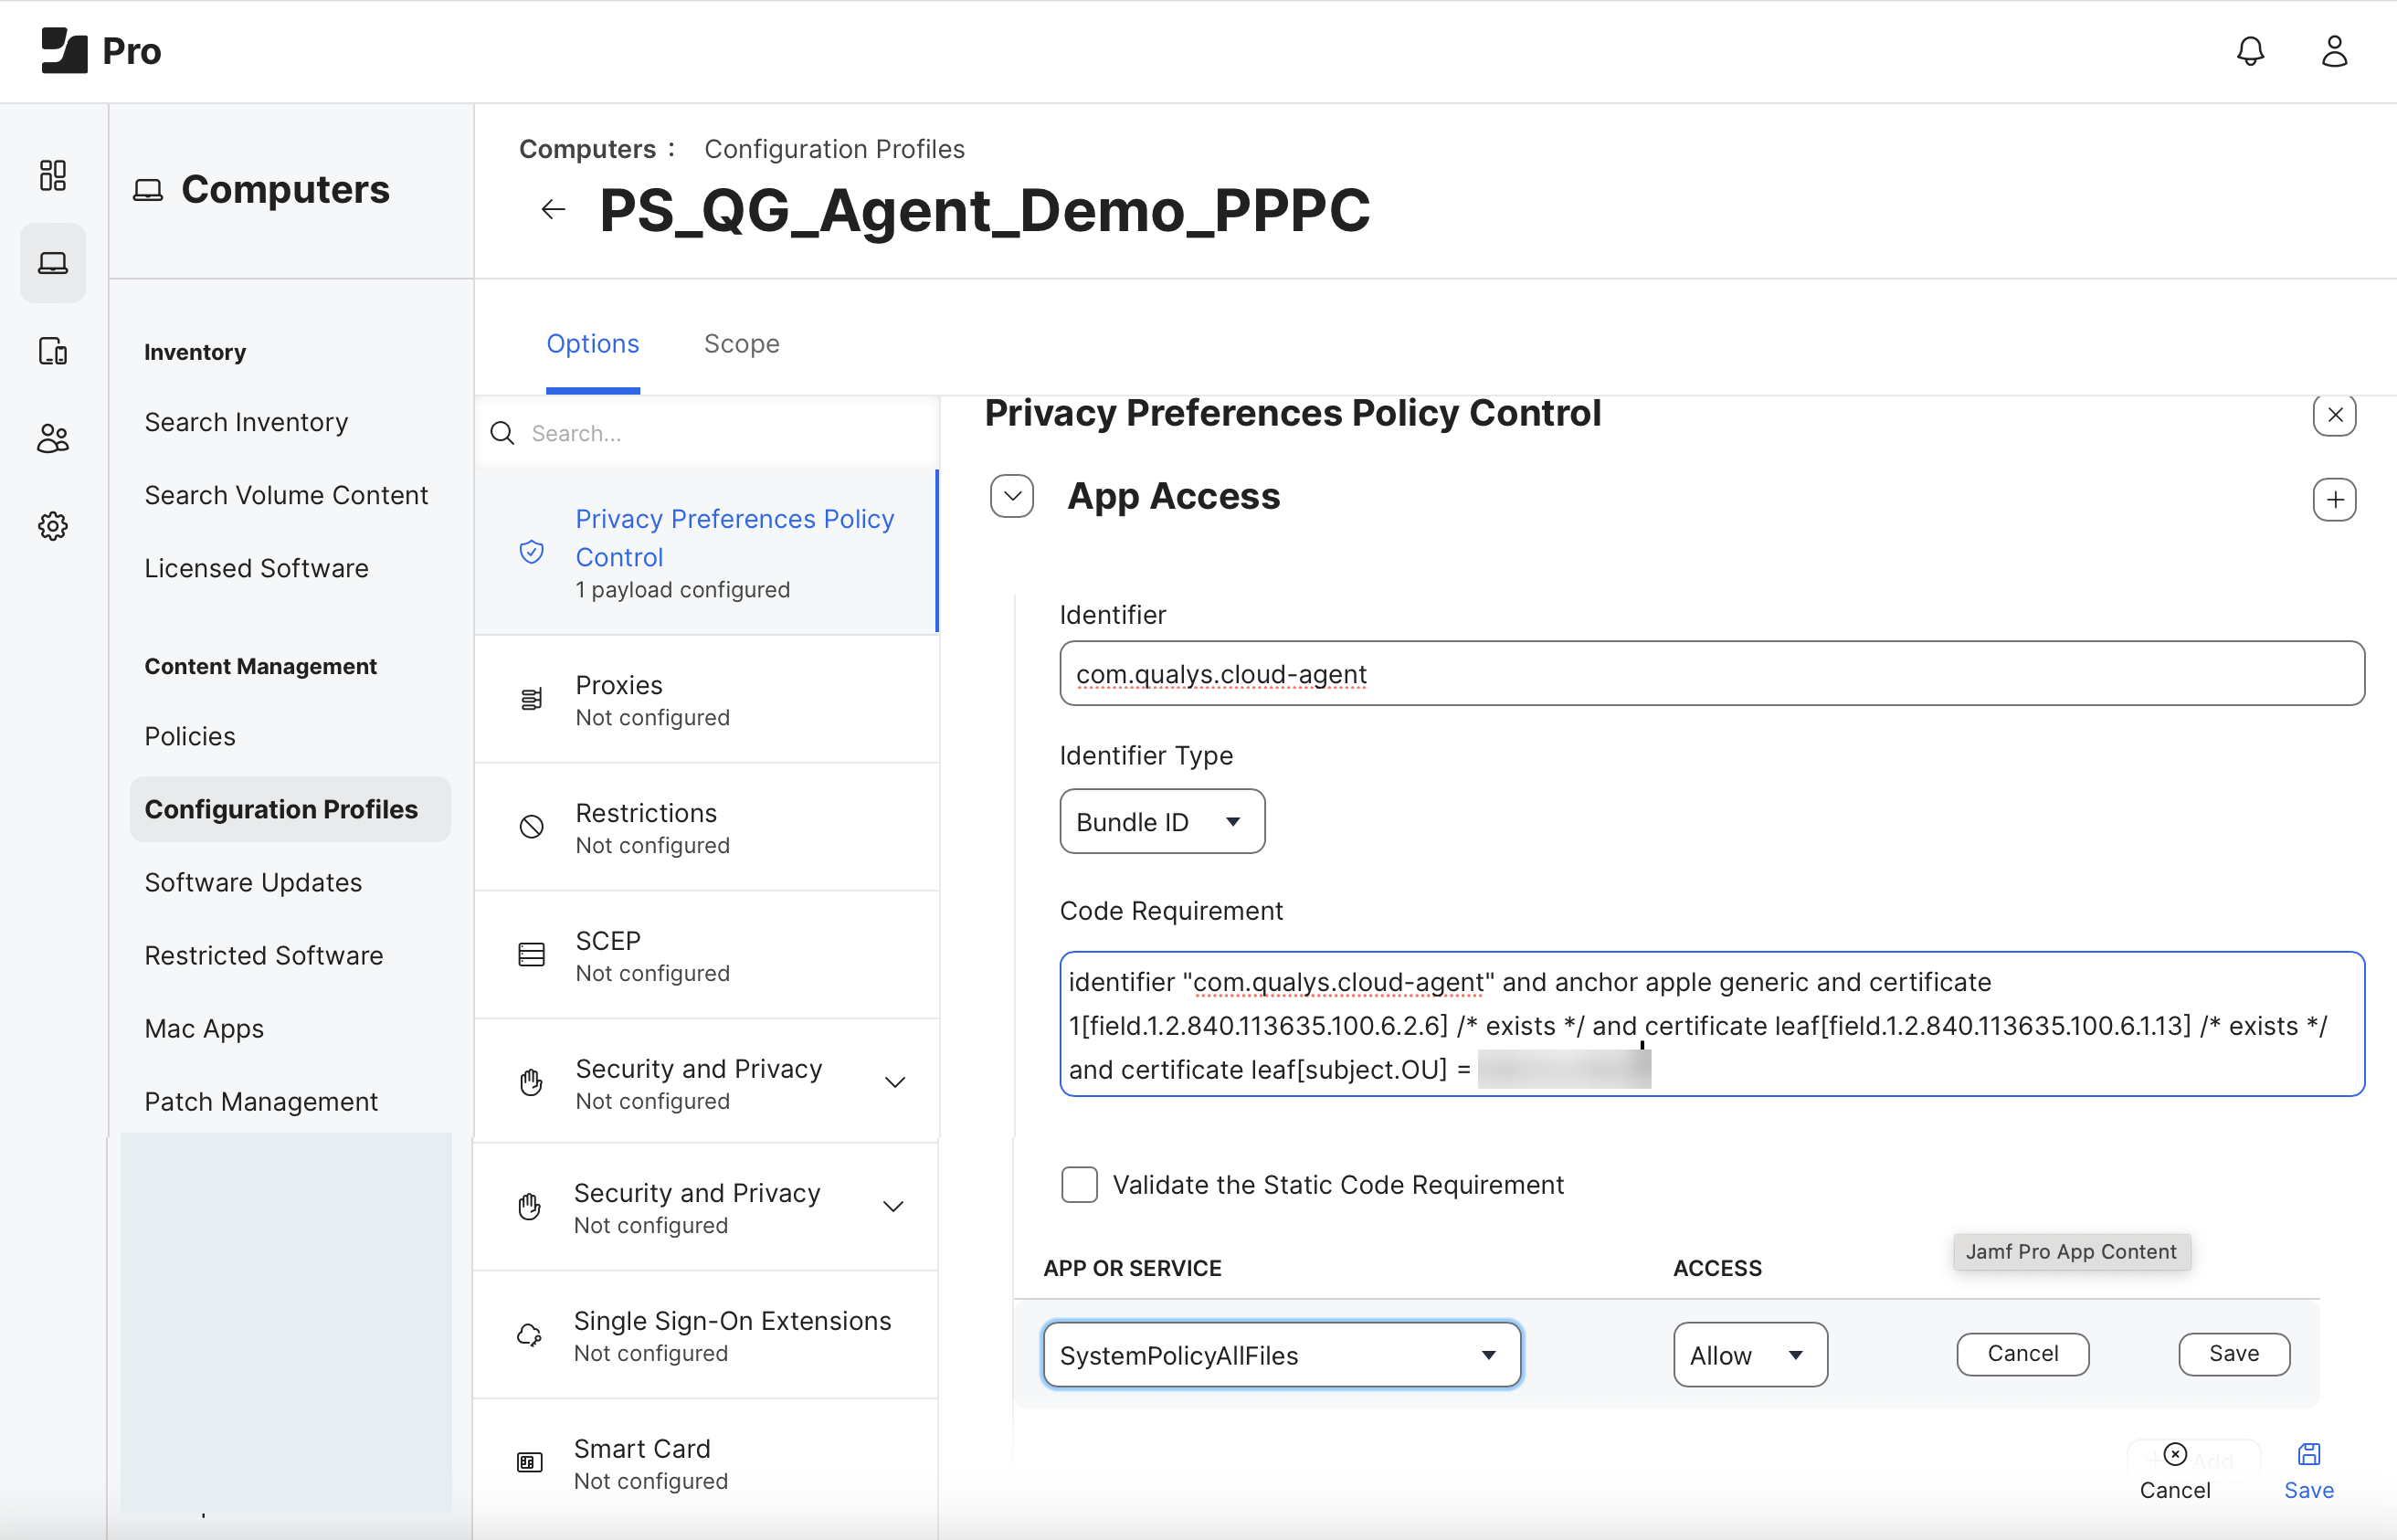
Identifier: Enter the field value ascom.qualys.cloud-agent.
Identifier Type: Select Bundle ID as a field value.
Code Requirement: Enter the required code with Identifier. You can use the following code to proceed with JAMF Deployment.
identifier "com.qualys.cloud-agent" and anchor apple generic and certificate 1[field.1.2.840.113635.100.6.2.6]/* exists */ and certificate leaf[field.1.2.840.113635.100.6.1.13]/* exists */ and certificate leaf[subject.OU] =CLRUMG7LZ6
APP OR SERVICE: Select SystemPolicyAllFiles as a field value.
ACCESS: Select Allow as a field value.
Click Save.
Enroll Devices
Registering your device to the device management platform allows the JAMF admin to push necessary policies or updates to it.
Perform the following steps to enroll or register a device.
- Browse to the any preffered JAMF cloud or Qualys JAMF cloud from your Mac device.
- Login to the JAMF portal using your directory authentication credentials or Qualys LDAP credentials. Do not use qualys.com in the credentials.
- Click Continue to download and install JAMF CA certificate.
- Click Continue to download and install JAMF MDM profile.
- Click Install in the Install Prompt to install the JAMF CA certificate.
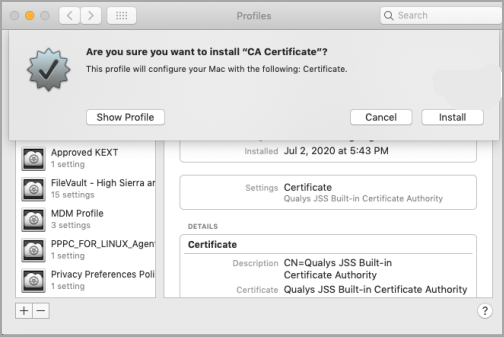
- Follow the above-mentioned steps to install MDM Profile.
Follow the UI instructions to download and install the CA certificate and MDM profile.
To verify if the Privacy Preference Policy Control Configuration, CA certificate, and MDM profile are correctly installed, go to the System Preferences > Profile.
You have to add your device in the Scope to get these confirmation details.
Configure the Scope
- Navigate to Computer > Policies window and open the Scope tab.
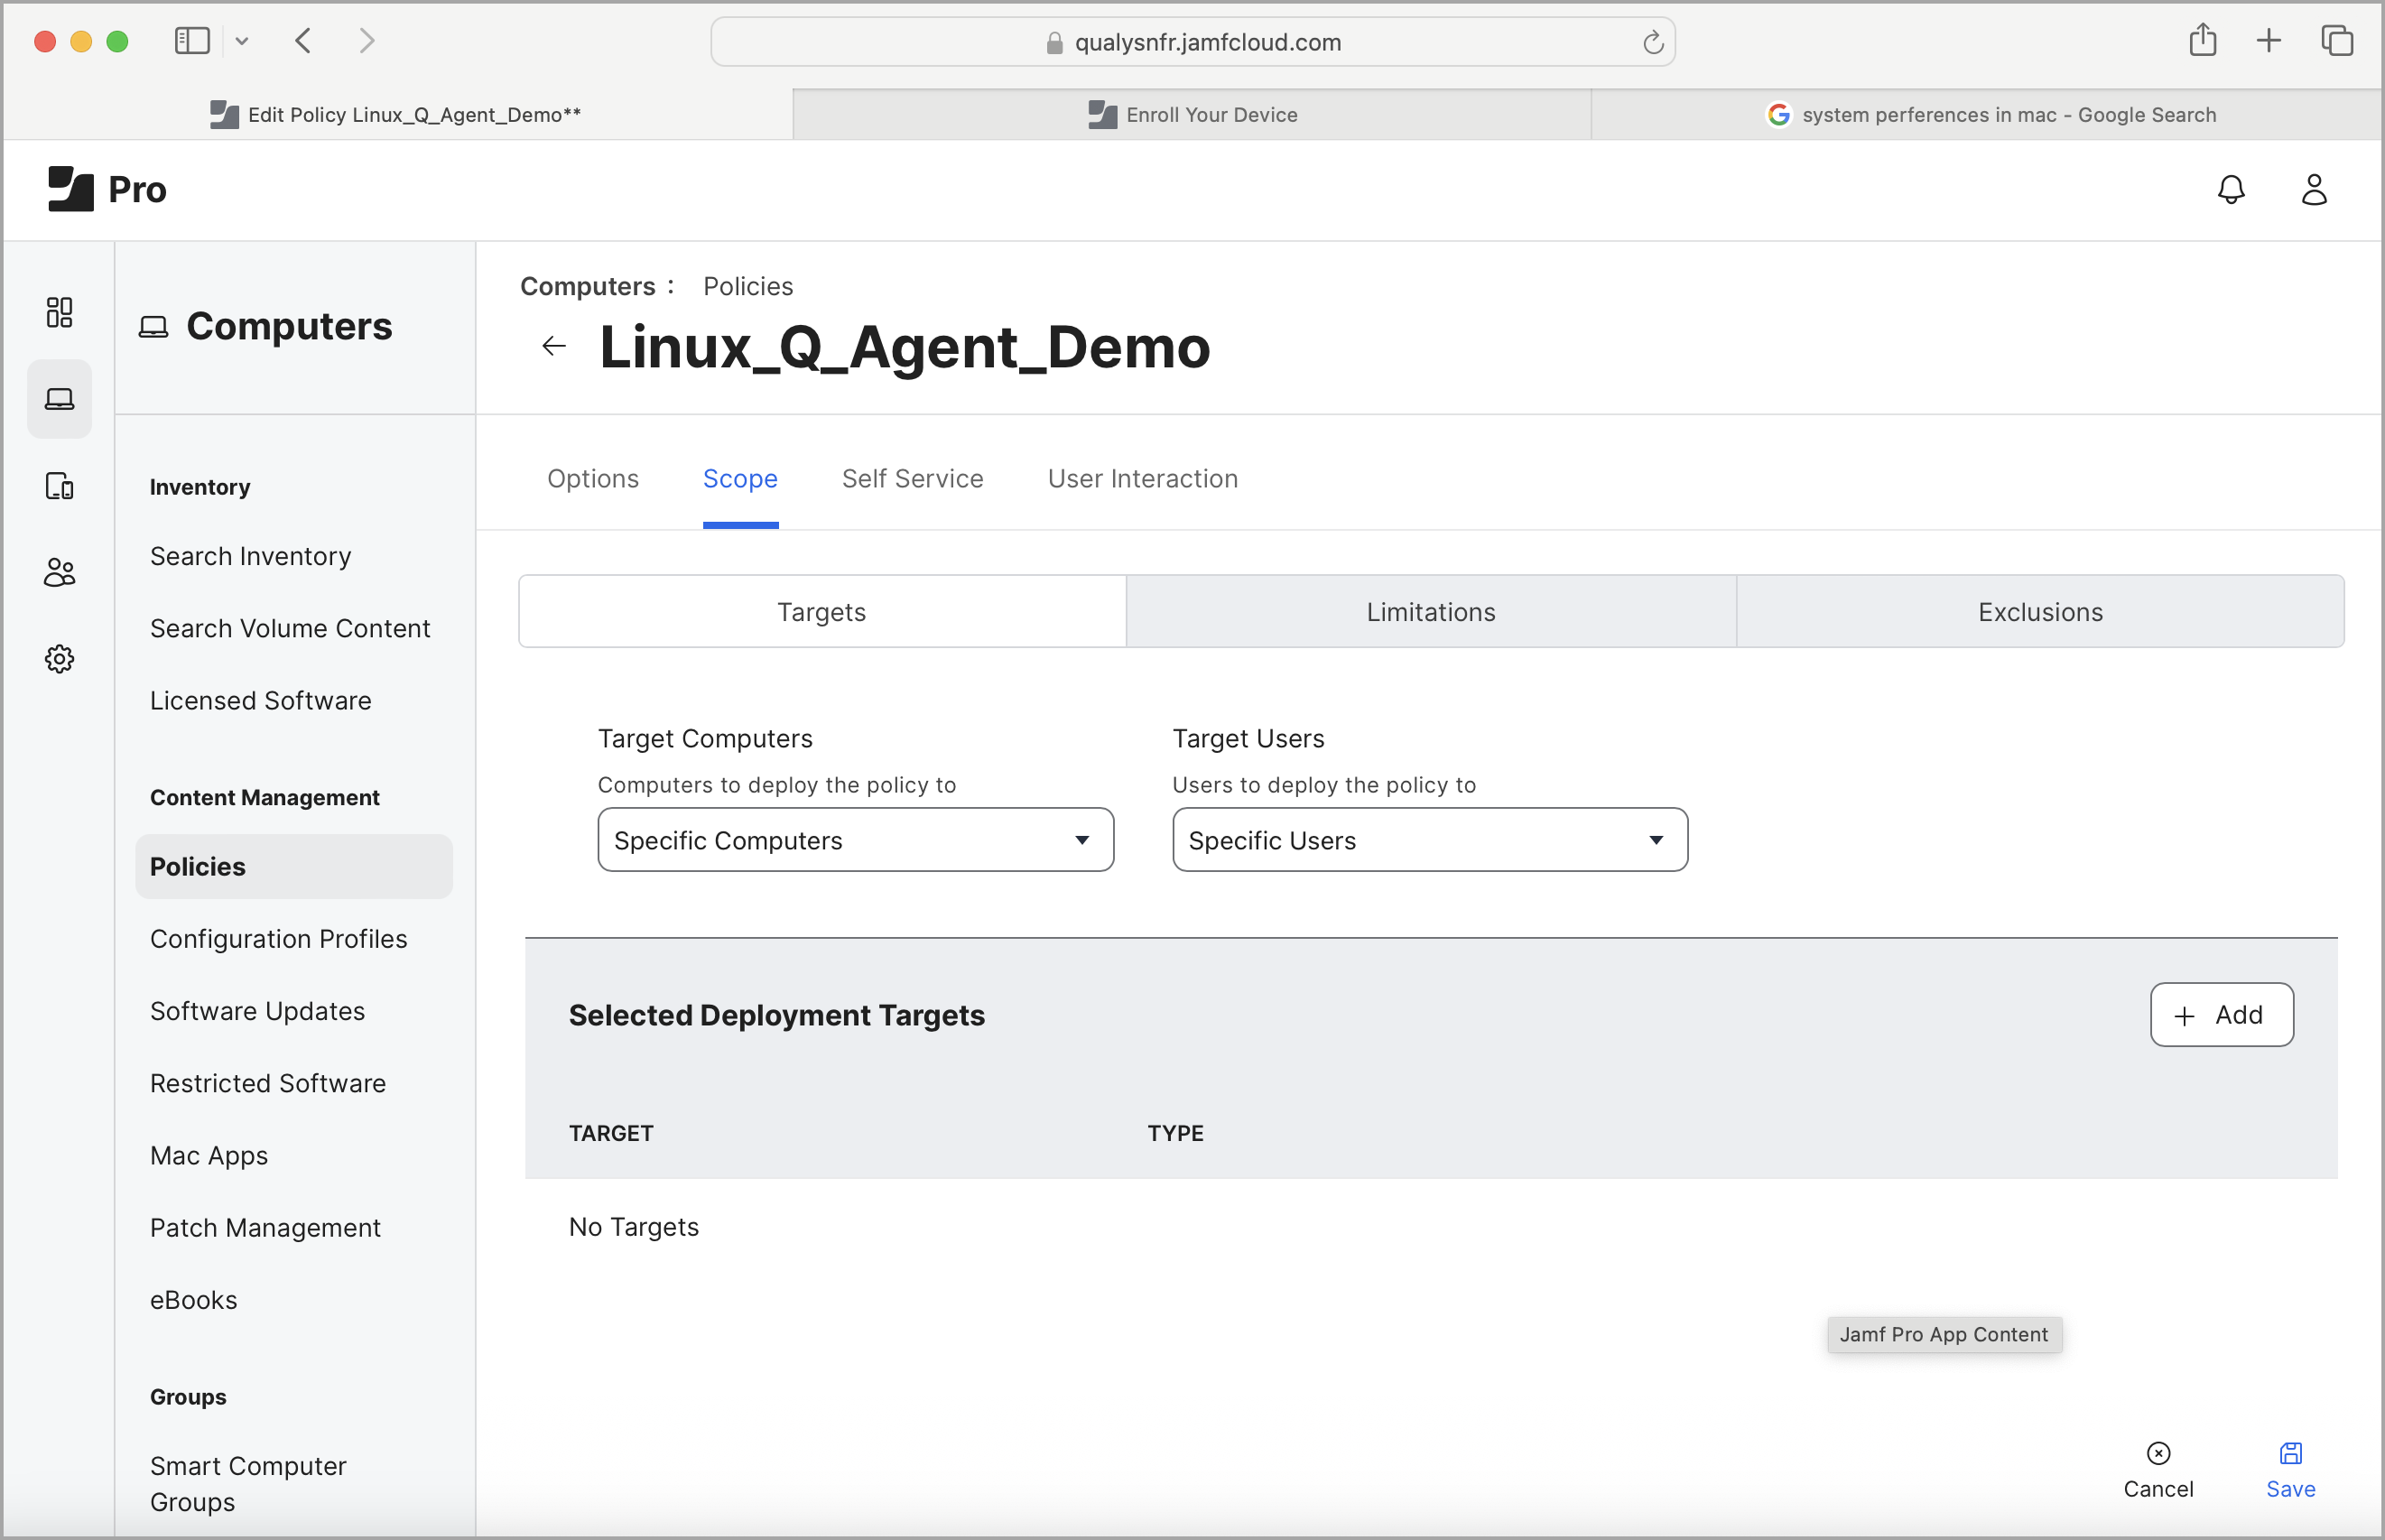
- Enter the following information in the Scope tab window.
Target Computers: Specify the computer to deploy the policy. You can select a Specific Computer or All Computers.
Target Users: Specify the users to deploy the policy. You can select Specific User or All Users. - To add a MacOS device, click the Add button. A window to select the MacOS device opens.
- Search the device by its hostname and click Add.
- Click Save to save the policy.
Scope for Configuration Profile
- Navigate to Computers > Configuration Profile and select the profile.
- Follow the UI instructions to define the scope of the Configuration Profiles.
In a similar way, you can add the limitations and exclusions for a device.
The Qualys Cloud Agent for MacOS is automatically deployed to devices added to the scope.
View Configuration Profile Details
To view the logs and other details of a configuration profile, navigate to Computer > Policies > Configuration Profiles.
The deployment time is varied depending on the network bandwidth and the number of devices added to the configuration profile.
Verify the installed Cloud Agents and their logs using the pkgeutil tool.