Deployment using Configuration Manager
System Center Configuration Mnager (SCCM) or Configuration Manager is a Windows application management suite that helps in creating, deploying, and managing Windows applications for an organization.
You can deploy Qualys Cloud Agent for Windows on local and remote hosts using the Configuration Manager suite. This chapter describes the procedure to create and deploy Qualys Cloud Agent application using Configuration Manager.
Steps to deploy the Qualys Cloud Agent using Configuration Manager:
Step 1: Download and Extract .msi Installation Package
Step 2: Create an Application
Step 3: Check Properties
Step 4: Add Requirements
Download and Extract MSI Installation Package
Download the Qualys Cloud Agent from the Cloud Agent user interface. Refer to Download Cloud Agent Installer to learn more about downloading a Cloud Agent.
Extract the .msi package file from the Cloud Agent installer. Refer to Extracting .msi Package to learn more about extracting .msi Package files from the Cloud Agent installer.
Create an Application
To deploy the Qualys Cloud Agent, you must create an application using Configuration Manager. The following are the steps to create an application.
- On the Configuration Manager user interface, navigate to Software Library > Application Management > Applications.
- Right-click on the Applications option and select Create Application. This opens the General tab of the Create Application Wizard.
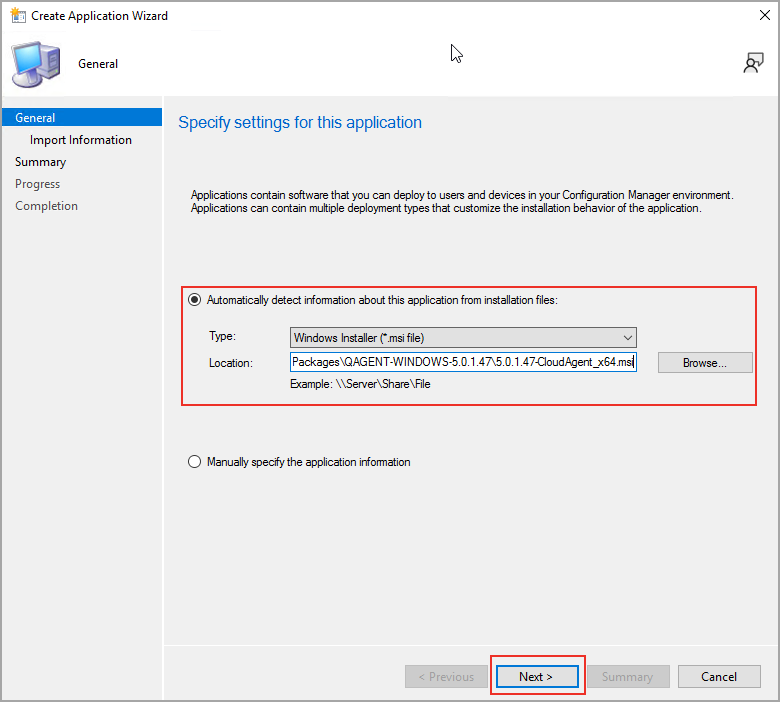
- Select the Automatically detect information about this application from the installation files option.
- In the Type field, select Windows Installer (*.msi file).
- In the Location field, provide the path of the Qualys Cloud Agent installer file (.msi).
- Click Next. This opens the General Information page.
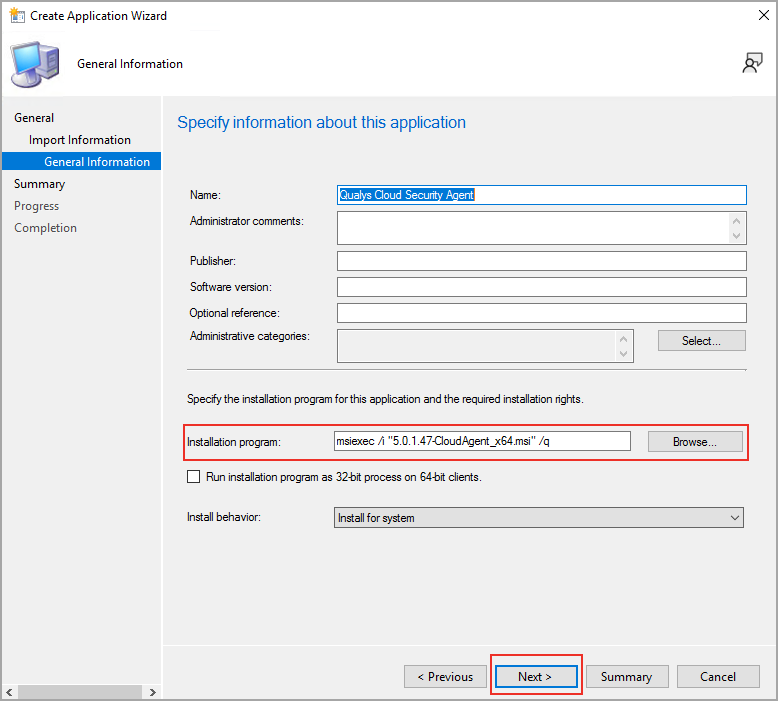
- Enter the following details in the General Information page:
Name: The application name. For example, Qualys Cloud Agent.
Software Version: Current version for Qualys Cloud Agent.
Installer program: Enter the Installation Command consisting of activation ID and customer ID. Refer to the following example:
msiexec.exe /i CloudAgent_x64.msi CustomerId={12345678-1234-1234-1234-123456789012} ActivationId={12345678-1234-1234-1234-123456789012} WebServiceUri=<platform_url>/CloudAgent/
In the Install Behavior field, select your preferred installation type.
Click Next. The Summary page opens. - Review the summary for your application and click Next.
- The Progress page shows the application creation progress. Wait until the application is created and click Next.
- Click Close on the Completion page. The application for Qualys Cloud Agent is created.
- To view the newly created Qualys Cloud Agent application, navigate to Software Library > Application Management > Applications.
Check Properties
- Right-click the newly created application and click Properties. The Qualys Cloud Agent Properties pane opens.
- Configure the General Information, Software Center, References, and Distribution Settings option as per your requirement. Click Next.
- Open the Deployment Types tab.
- Select Qualys Cloud Security Agent (*.msi file) from the Deployment Types list.

- Click Edit to configure the settings for the selected Deployment Type.
Add Requirements
The Qualys Cloud Agent Properties pane offers an option to add requirements. In this pane, you can specify the requirements that a system must fulfill before installing a Cloud Agent.
- In the application properties window, click Requirements.
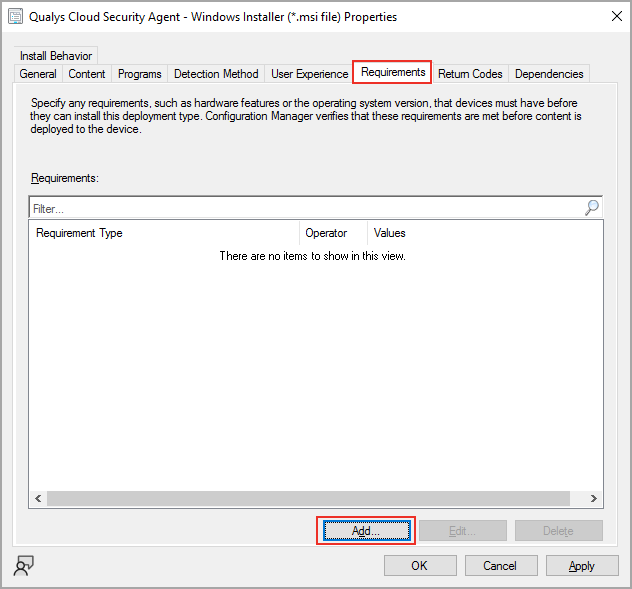
- To add a new requirement, click Add. This opens the Create Requirement window.
- In the Create Requirement window, select Category as Custom and click Create. Create Global Condition window opens.
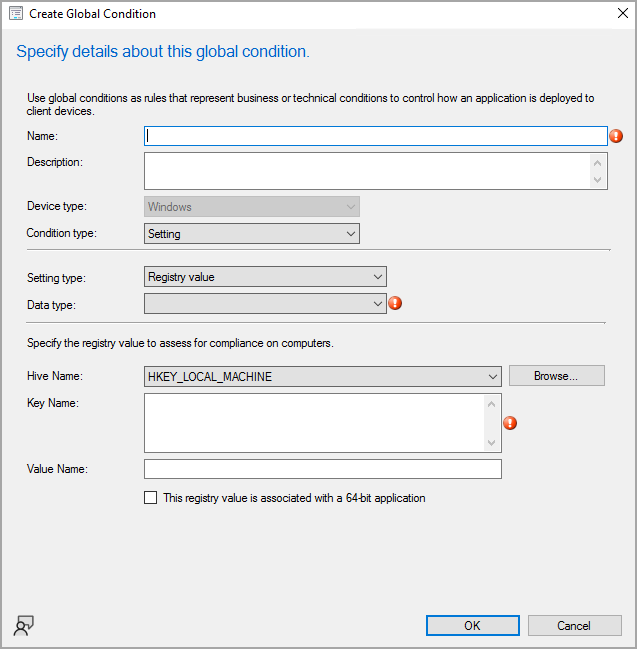
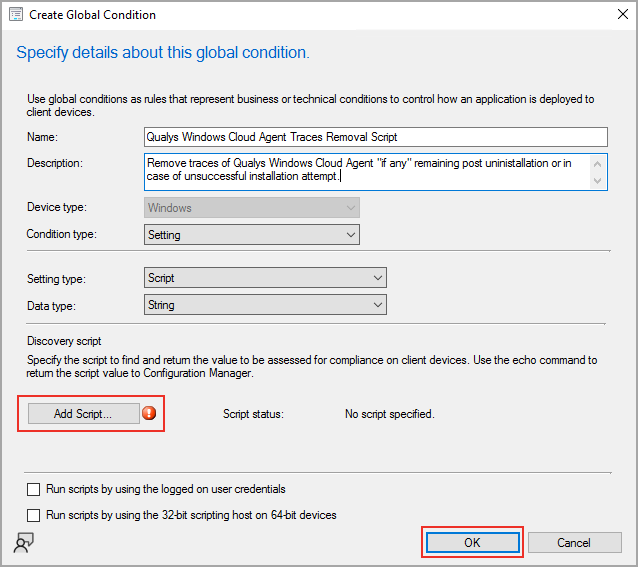
- In the Create Global Condition window, enter the following details:
Name: Enter a name for the condition.
Description: Enter the description for the condition.
Setting Type: Select Script as a field value.
Data Type: Select String as a field value.
Click Add Script. The Edit Discovery Script window opens.
- Select Windows PowerShell as Script language and click Open to browse the PowerShell script for Qualys Cloud Agent.
- Select the PowerShell script file, and in the Edit Discovery Script window, click OK.
- On the Create Global Condition window, click OK. You are navigated back to the Create Requirement window.

- In the Create Requirement window, enter the following details:
Condition: Select the newly-created Qualys Cloud Agent PowerShell script.
Rule type: Select Value as field value.
Operator: Select Equals as field value.
Value: Select Done as field value.
Click OK. You are navigated back to the Requirements tab. The newly created requirement is displayed in this window.
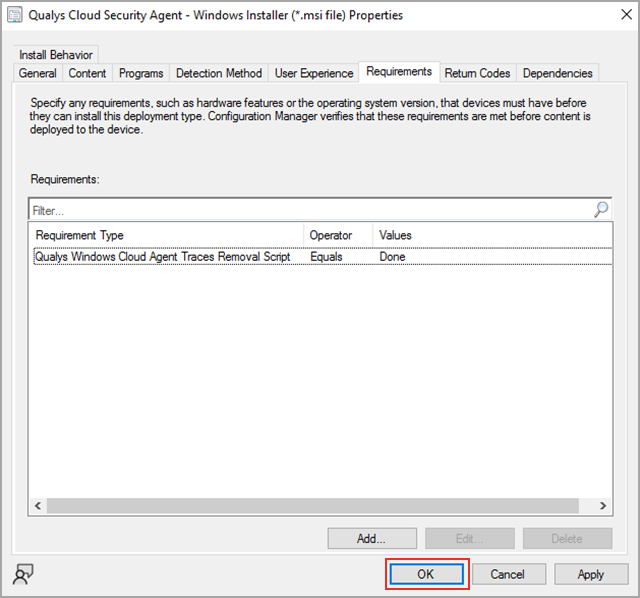
- Click OK to add this requirement to the properties of Qualys Cloud Agent installer.
Your Cloud Agent is now ready to be distributed and deployed on the hosts in your network. To know about distributing Cloud Agent content and deploying Cloud Agent, refer to Deploying Cloud Agent.