Cloud Agent Deployment using .msi Package
Deployment of Cloud Agent using the .msi Package file involves the following steps:
Step 1: Download the Cloud Agent Package
Step 2: Extract the .msi Package File
Step 3: Deploy the .msi Package File
Download the Cloud Agent Package
For details on downloading Cloud Agent installer package, refer to Download Cloud Agent Installer.
Extract the .msi Package File
Extract the .msipackage file from .exe file. For more details, refer to Extracting MSI Package.
Deploy the .msi Package File
Following are the steps to deploy the Qualys Cloud Agent using .msi package file.
App information
- Log in to Microsoft Intune Admin Center.
- On Microsoft Intune Admin Center, click All apps > Add. The Select app type pane opens.
- Select Line-of-business app and click Select.

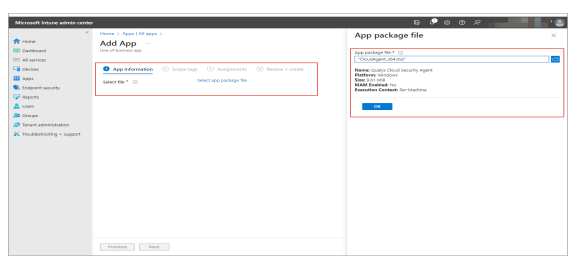
- On App information page, click Select app package file. The App package file pane opens.
- In the App package file pane, upload Cloud Agent package file (.msi) and click OK.
- On App information page, enter the application information for Cloud Agent.
- In the Command-line arguments field, enter the following command:
QualysCloudAgent.msi CustomerId={12345678-1234-1234- 1234-123456789012} ActivationId={12345678-1234-1234-1234- 123456789012} WebServiceUri=/CloudAgent/
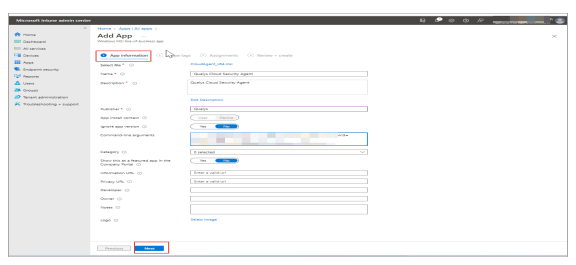
- Click Next.
- On the Scope tags page, specify the scope tags for your Cloud Agent.
- Click Next.
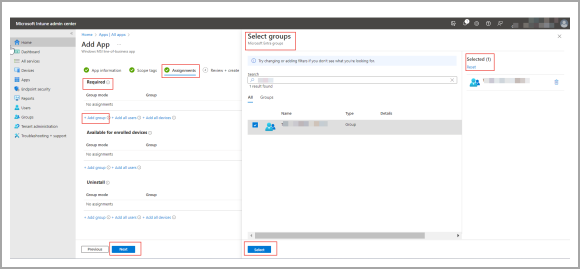
Assignments
On this page, add the groups to which you want to deploy the Cloud Agent.
- On the Assignments page > Required section, click Add groups. The Select groups pane opens.
- In the Select groups pane, select the check box associated to the asset groups.
- Click Select. You can view the selected asset groups in the Selected pane.
- Click Next. The Review + create page opens.
Review + create
- Review the information you entered for the Cloud Agent deployment package.
- Click Create to deploy the Cloud Agent.
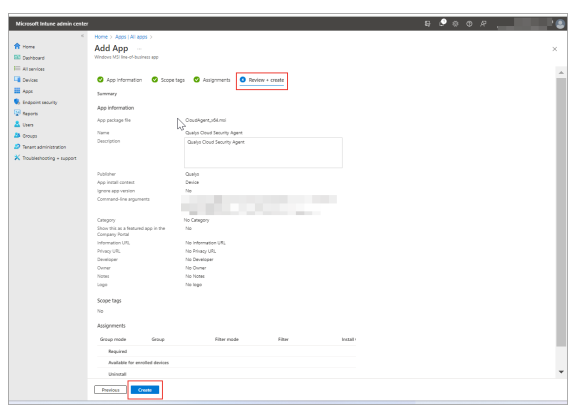
If required, you can edit the information by navigating to the Previous pages.