Vault Configuration for Database Assessment
Before you proceed with creating a database assessment profile, first create a secure database vault connection.
To know the prerequisites for using the Central Credential Provider (CCP) and Credential Provider (CP), refer to Prerequisites for Windows Operating Systems.
To learn about managing the vault configuration profiles, refer to Permission Controls for Vault Configuration.
Create Vault Connection
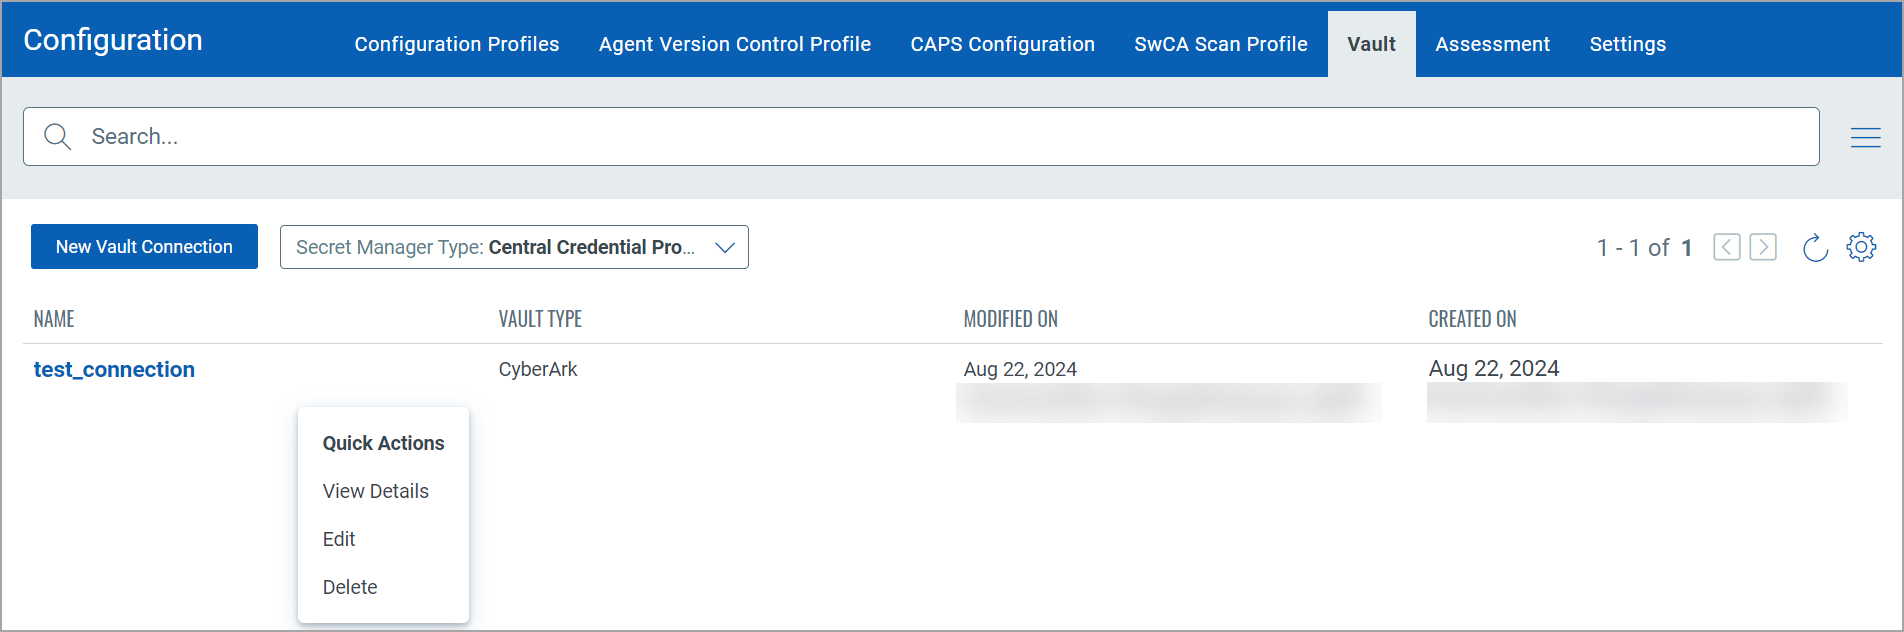
- Navigate to Configuration > Vault to create a new vault connection.
- Click New Secure Vault Connection and enter the following information.
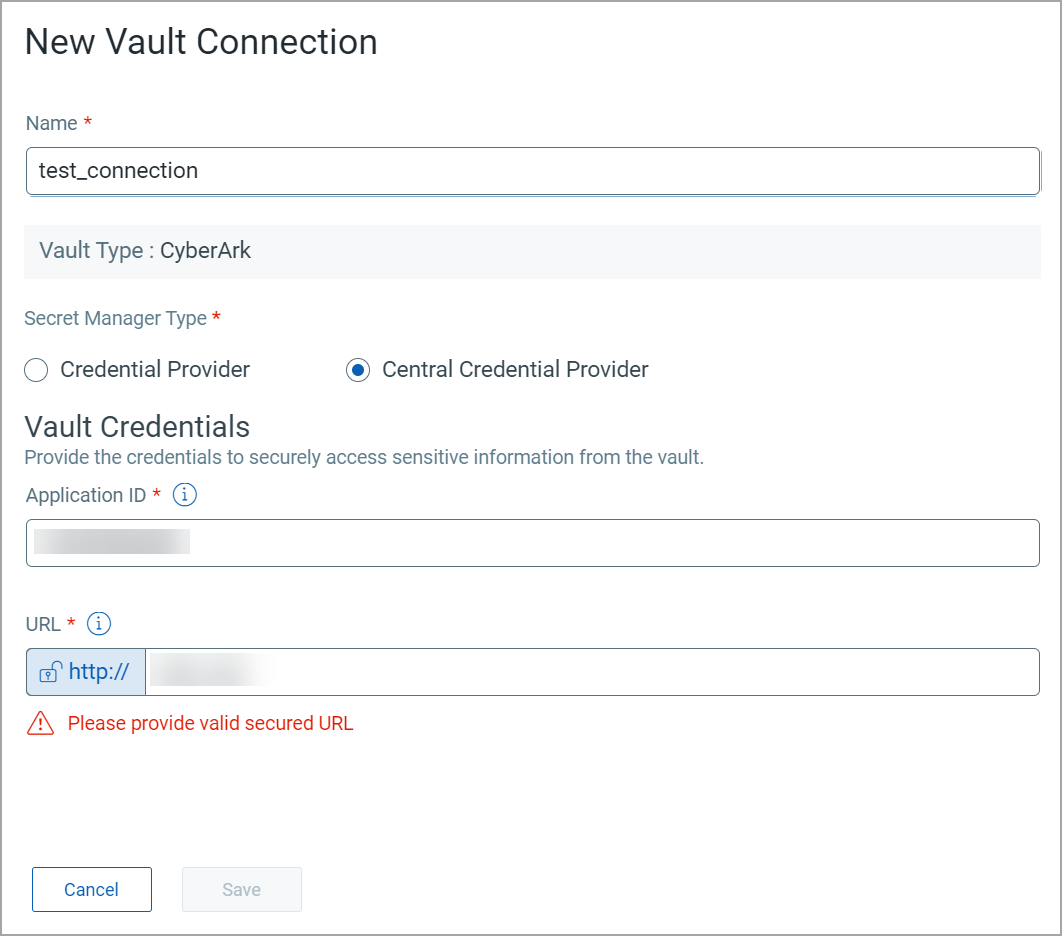
Name: Enter the unique name for your vault connection.
Vault Type: We are currently supporting only the CyberArk vault.
Secret Manager Type: Select the secret manager as a Credential Provider (CP) or Central Credential Provider (CCP).
If you want to fetch database credentials from a vault specific to a Cloud Agent host, select the CP as the Secret Manager Type. If you want to fetch database credentials from a common vault for your subscription, select the CCP.
Vault Credentials: To access the database credentials from the CyberArk vault, enter the vault application ID and URL.The Application ID and vault URL are generated while setting up the CyberArk vault.
Bypass Proxy: When proxies are configured, Cloud Agent routes all its outbound connections via a proxy. If you enable the Bypass Proxy option, Cloud Agent attempts a direct connection to the CyberArk Vault, bypassing the configured proxies. By default, this feature is enabled for all vault configuration profiles, meaning, the Cloud Agent attempts a direct connection to the CyberArk Vault.
Bypass Server SSL Verification: Select this checkbox to bypass the server SSL verification. You can use this option when the server authentication can not be done due to some environmental issues, such as HTTPS certificate expiration. By default, this option is disabled, meaning the Cloud Agent will follow normal authentication process while connecting to the CyberArk vault.
Upload Certificate: Upload the client security certificate for the Vault connection. The client certificates uploaded for Vault connections provides the extra layer of security to the database credentials and allows only authorized users to access the database. You can upload a client certificate file up to 5 MB in .pfx format only.
The option to upload client certificates is available only for the CCP vault connection profiles.
Quick Actions Menu
To view the Quick Actions menu, select the existing vault connection and click the down arrow.
From the Quick Actions menu, you can view connection details, edit them, or delete a connection.
View Vault Connection Details
Click View Details in the Quick Actions menu to view connection details.
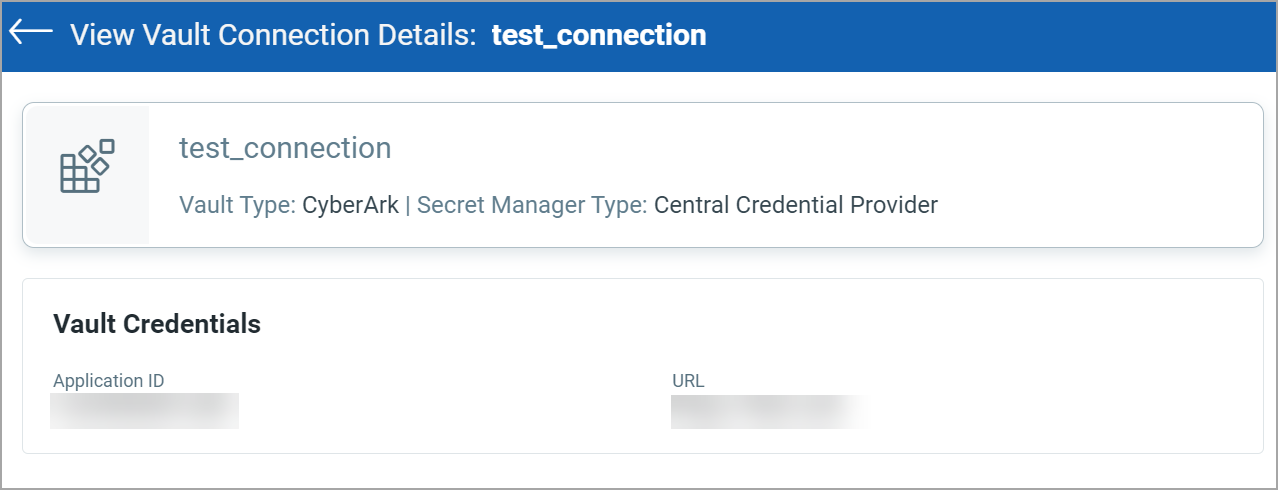
The vault connection details window displays the connection's vault type, secret manager type, and vault credentials.
Edit Vault Connection
Click Edit in the Quick Actions menu to edit the Vault Connection.
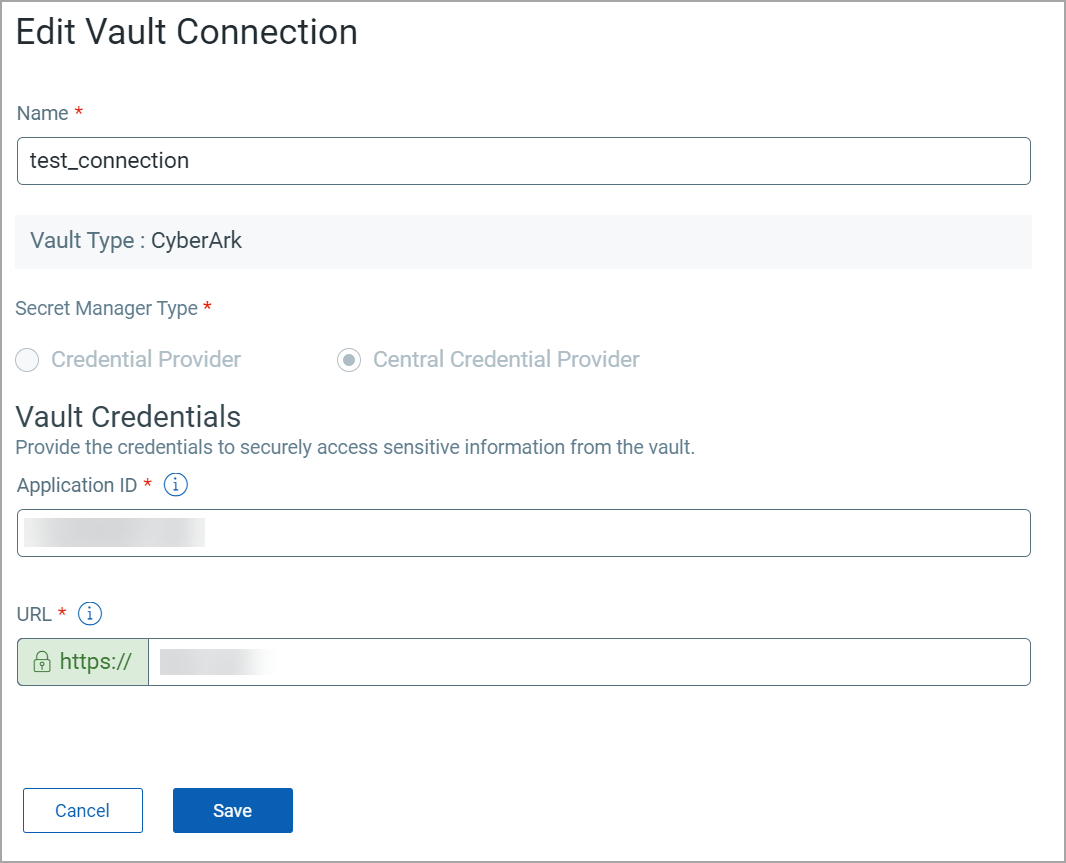
You can not edit the Secret Manager Type for the subscription-level profile.
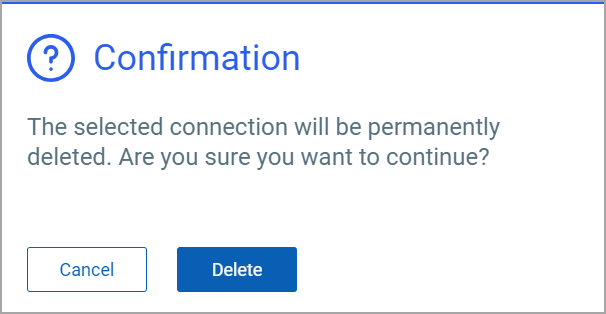
Delete Vault Connection
Click Delete in the Quick Actions menu to permanently delete the vault connection.