Create Reports
You can generate on-demand or scheduled reports to view the certificates detected on specific assets.
For example, you can create a report to view all certificates available on a specific port or detected on a specific operating system.
- Super users can view, edit, or delete all reports and schedules.
- Sub-users can view, edit, and delete only the reports and schedules they have created.
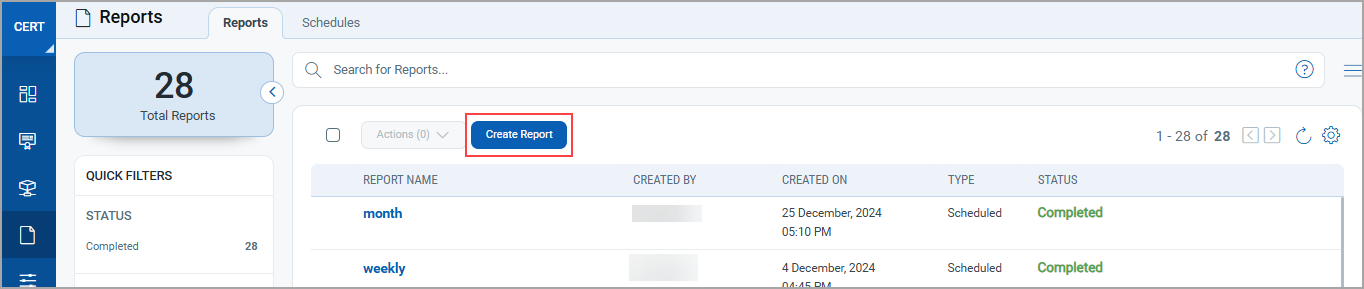
Go to Reports > Create Report and provide the required information to create a report in the wizard.
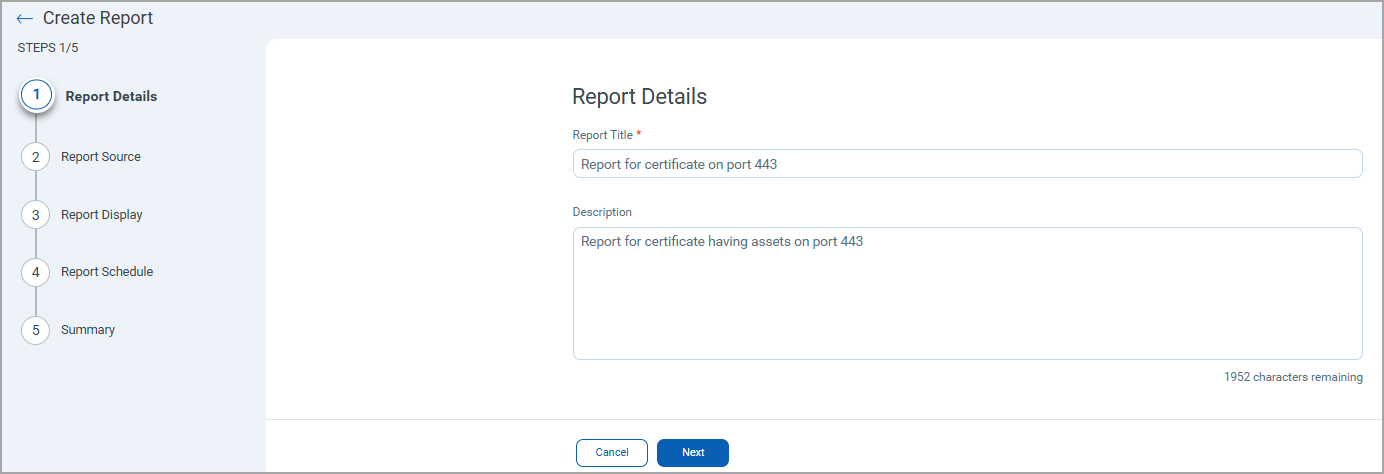
The following example shows a report created for certificates detected on port 443
- In the Create Report wizard, define the assets.
- Add a source for the report.
You can include the assets in the scope of the report from Include Assets. You can select a maximum of 250 assets.
If you have more than 250 assets, you can use Include hosts for the tags. You can group the assets in tags and select the tag to include the assets in the scope.
The feature Include hosts for the tags is available to the users who have either of the following permissions:
TAGGING.CREATE_USER_TAG
TAGGING.ADD_REMOVE_TAG
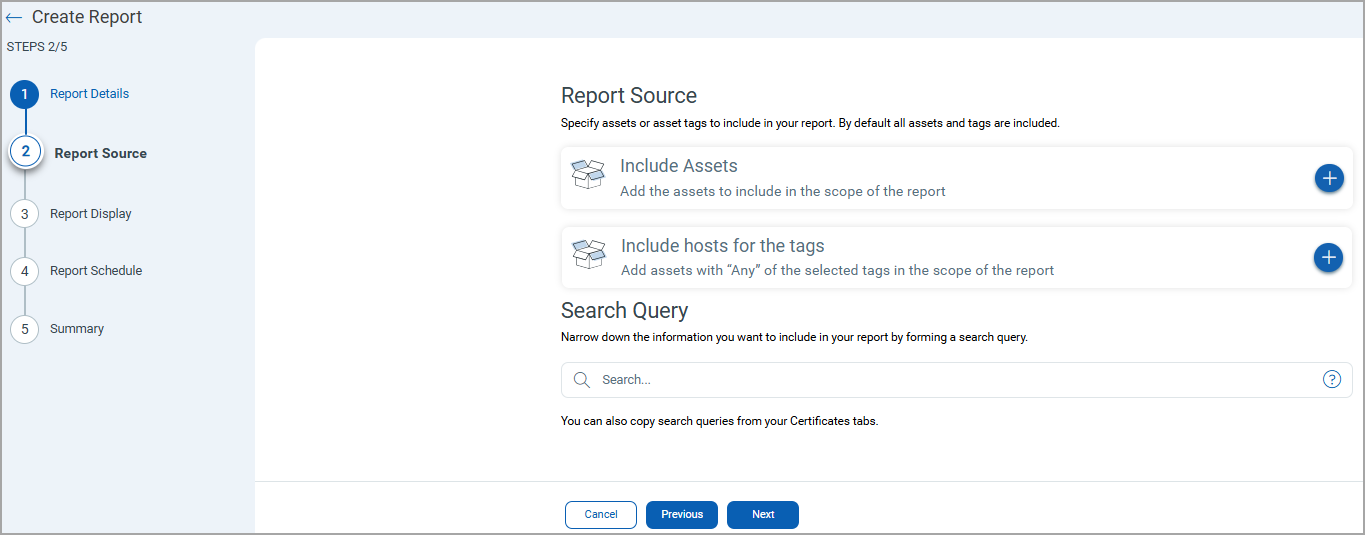
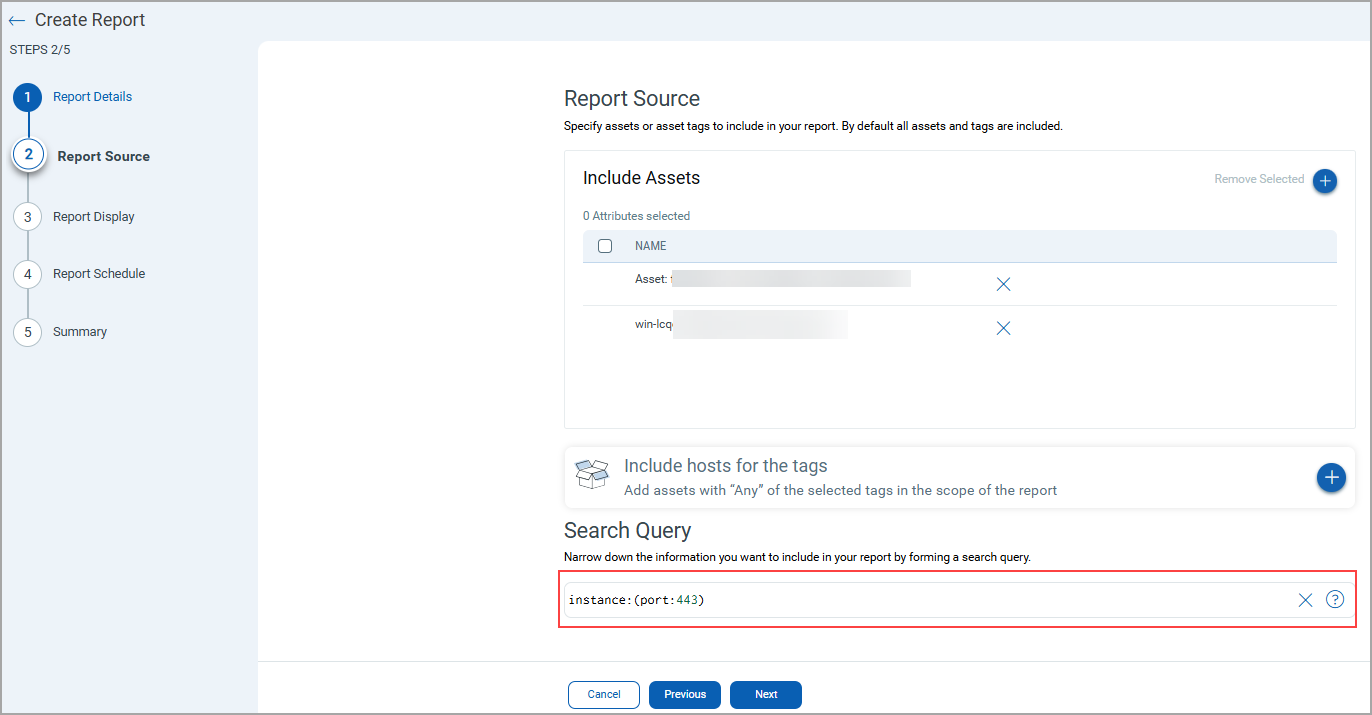
- Provide the Search Query for instances on port 443 and click Next.
- Choose the information you want to display.
You can select the columns you need in the report.
-
Schedule the report as per your requirements.
- Add Schedule to your report by providing Start Date and Start Time.
- Select the Recurring Job checkbox to make it recurring.
- Select Add Notifications checkbox to notify other users.
- Provide the Email addresses separated by commas and Subject Line.
You can share the report in two ways with your team members.
Attachments: You can now directly attach reports when emailing them to your team members.
URL: Recipients are provided with a download link; they need valid credentials to download.
If the report is larger than 15 MB, a link is provided by default.
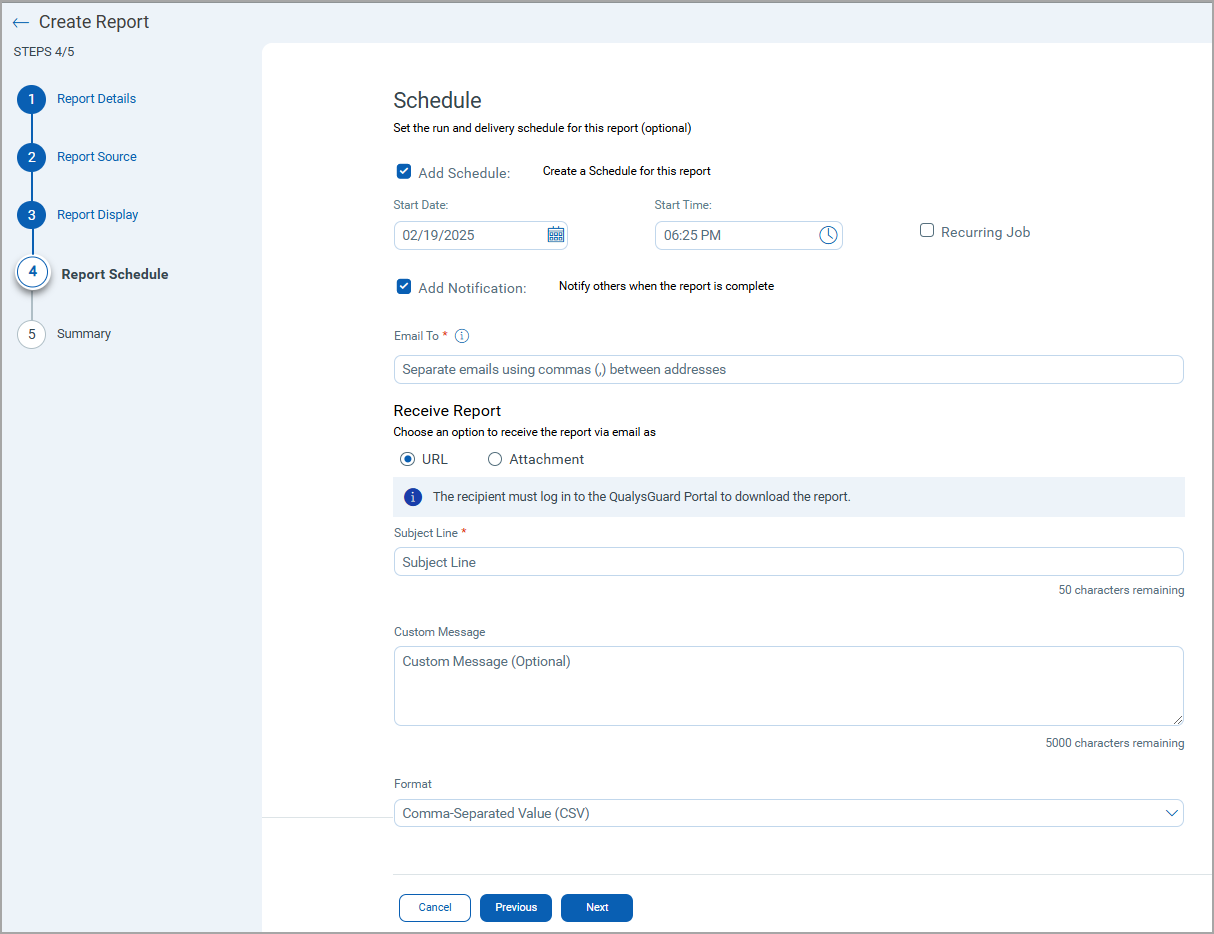
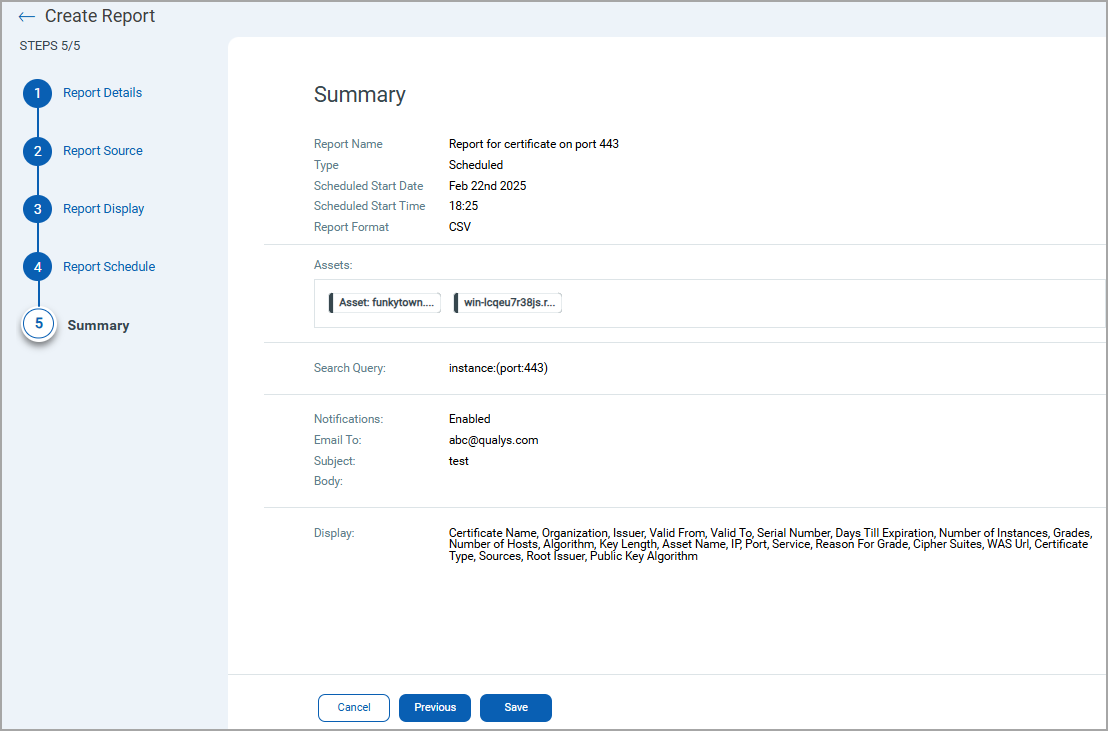
- Click Next to view the Summary of the report.
- Review the summary of your Report and click Save.
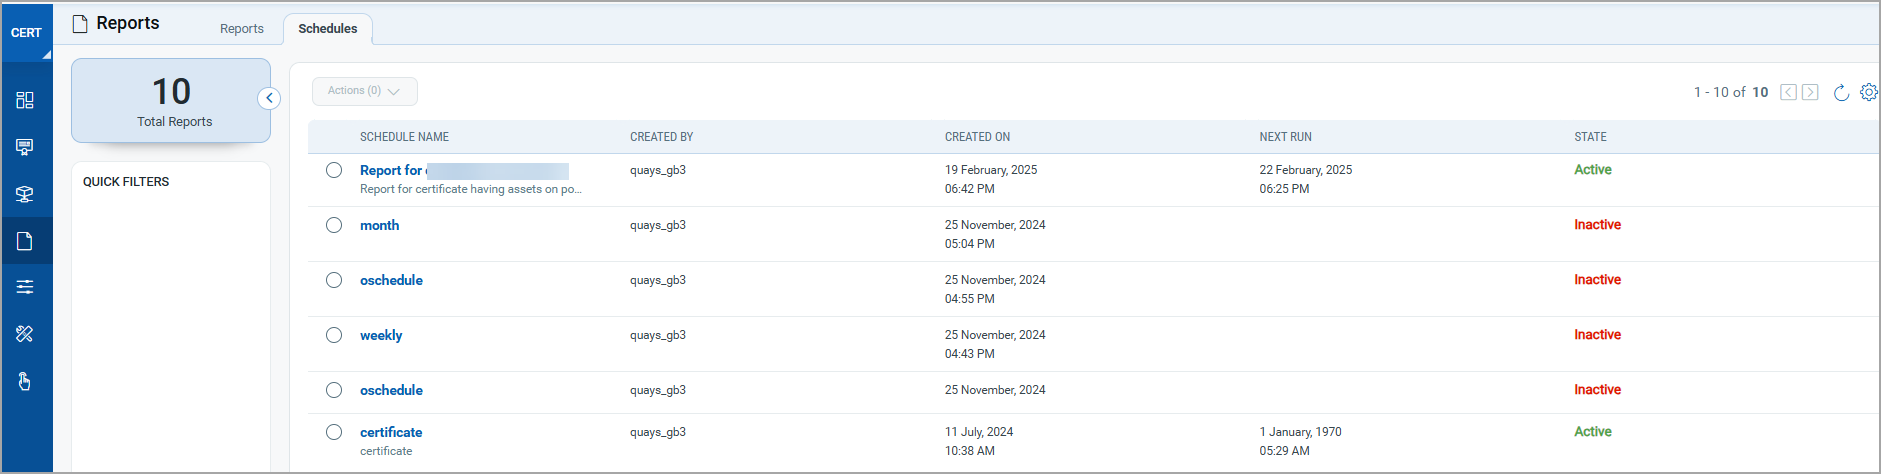
You can view the report in the Schedules tab, as you have created a scheduled report.
Once the report is generated, you can view the report in the Reports tab.
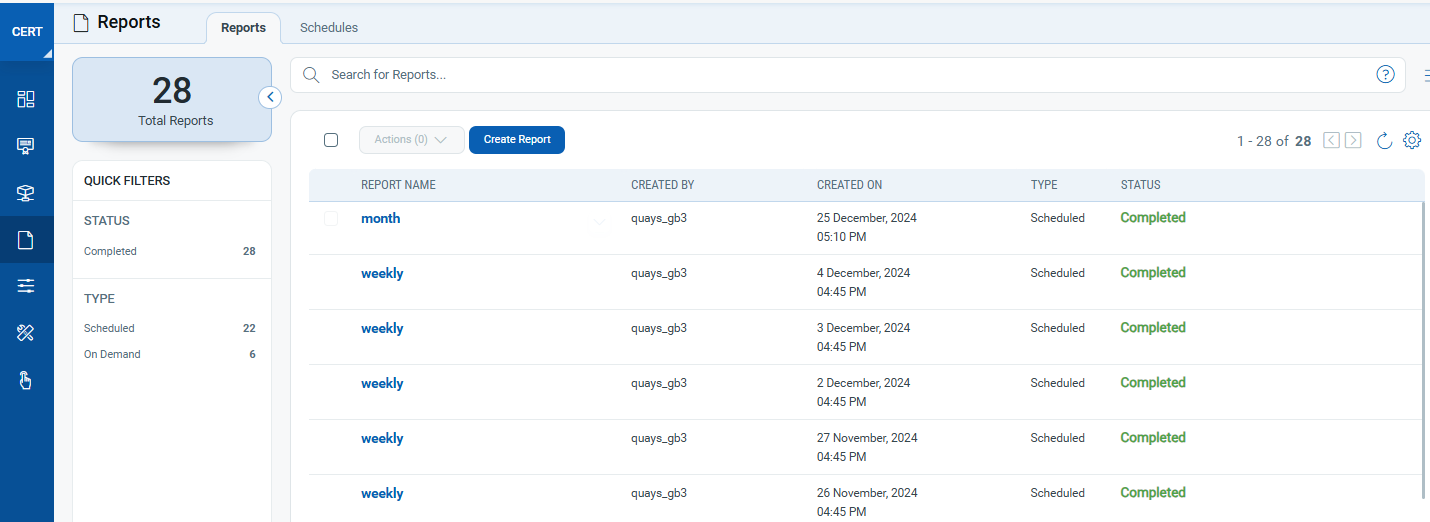
You can download the reports from the Quick Actions menu.
Refer to the following screenshot for a sample report.

Additional Resources
To learn more about how to use Reports, you can check out the report tutorial here.