Create GCP Connector
Learn how to create an GCP Connector to onboard your GCP account with Qualys.
Steps to Create a Connector
Go to the Connectors tab, click Google Cloud Platform Connectors, and then click Create Connector and our wizard can walk you through the steps.
Basic Details
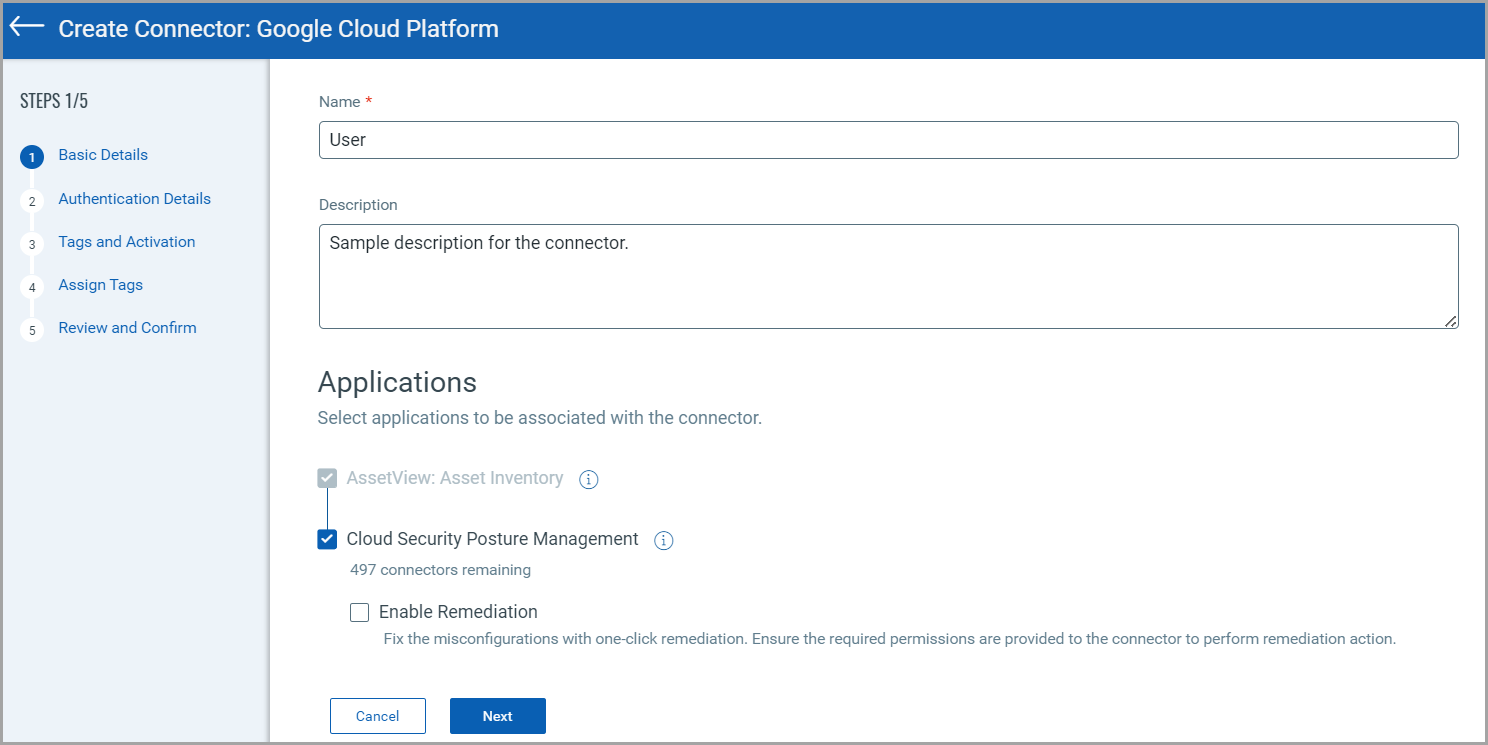
Enter a name and description (optional) for your connector.
Under applications, you can find two checkboxes.
- AssetView: Asset Inventory - The connector fetches cloud resource data and populates your Asset Inventory on CSAM. This is active by default for all connectors. This cannot be disabled.
- CSPM - The connector fetches cloud resource data and populates your Cloud Inventory on TotalCloud.
Select Enable Remediation to enable remediation on the connector. One-click remediation is a TotalCloud feature that patches misconfigurations in your account with a single click. However, you need to configure additional permissions before you enable remediation for GCP connectors.
Ensure you have Write access to the Google Cloud Platform project for which you enable remediation. Refer to Configuring Remediation for GCP.
Authentication Details
Authenticate your cloud account with Qualys.
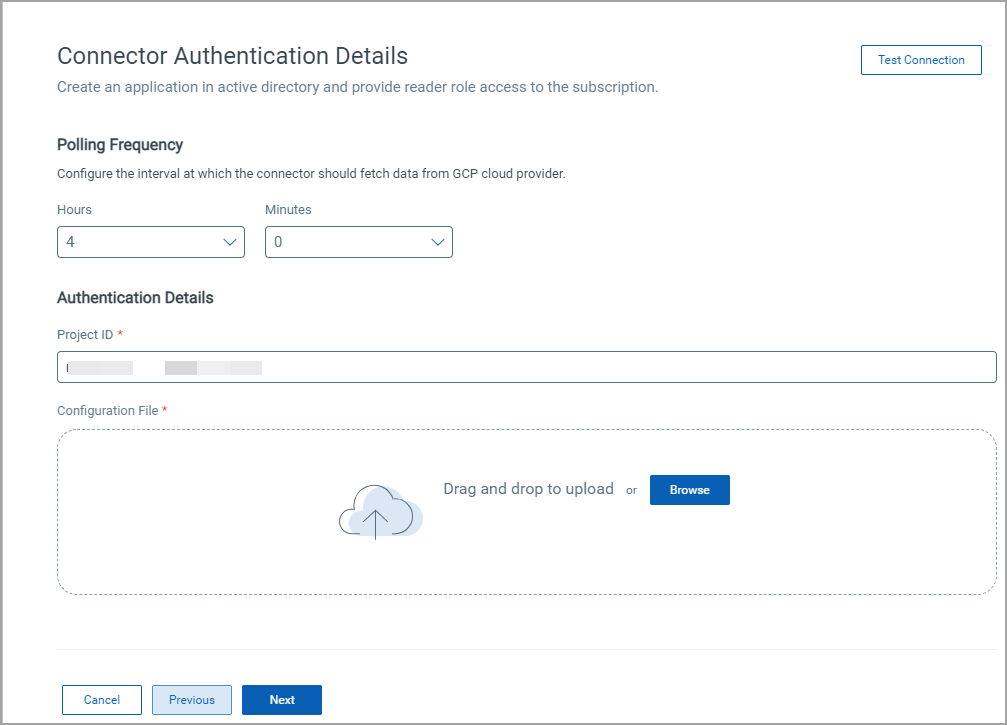
Polling FrequencyPolling Frequency
Select a frequency at which the connector should poll the cloud provider and fetch data.
By default, the connector polling frequency is configured to be every 24 hours. As a result, the connector connects with the cloud provider every 24 hours to fetch the data.
You can configure frequency from one hour to a maximum of 24 hours. We recommend configuring a frequency of 24 hours or more for optimal use of your connector. Configuring a low polling frequency (less than 24 hours) can affect the connector's performance and may result in GCP API throttling errors.
Authentication DetailsAuthentication Details
- Project ID: Enter your project ID.
You can provide a distinct project ID for a GCP connector. You can use the same service account for multiple projects. As a result, you can create multiple GCP connectors with the same service account but distinct project IDs.
For detailed steps on using the same service account for multiple projects, see Assigning Service Account for Multiple Projects.
- Configuration File: Create a service account and download the configuration file from the GCP console and then upload it to Qualys Cloud Platform.
Ensure you have uploaded the configuration file with the correct project details for the connector to fetch resource details.
Test ConnectionTest Connection
Click Test Connection to verify if the connector can authenticate using the provided service account credentials in the GCP cloud environment. If the test connection is successful, proceed with the connector creation process. If the test connection fails, you may need to check and update the authentication details (configuration file) you uploaded for the connection to work.

Tags and Activation
We can activate assets for scanning automatically, so you don't have to take this extra step. Select the required check box to enable activation for the required app. We automatically activate the resources as they are discovered and even assign them tags if you want. Enable Vulnerability Management (VM) Scanning to scan discovered assets for vulnerabilities.
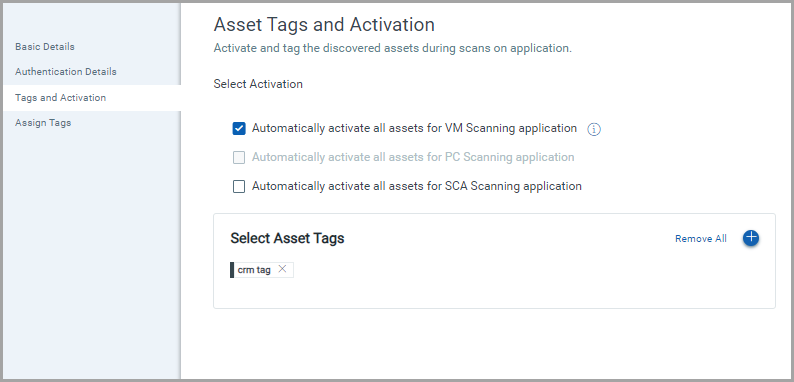
You can enable scanning discovered assets on other Qualys applications for a thorough result. We offer activating scans from Policy Compliance (PC) and Software Composition Analysis (SCA).
Activating assets for PC Scanning can only be accomplished after enabling PC Agent and Compliance Manager. Contact support to enable them.
Select Asset Tags
We recommend you create at least one generic asset tag (for example, gcp) and have the connector automatically apply that tag to all imported assets. You can add more tags to your assets based up on discovered GCP metadata.
Assign Tags
Assign tags to the connector that you are creating. You can create a new tag or assign existing tags. The tags assigned to the connector are also applied to the assets discovered in the Asset Inventory.
For details on creating new tags, see Configure Tags.
Confirmation
Review the connector settings you configured and then click Create Connector.
That’s it! The connector establishes a connection with GCP to discover resources from each region.
The Google Cloud Platform page displays the list of GCP connectors. The Status column indicates the status of the connector created: Completed successfully, Completed with errors, Queued, Synchronizing, and Disabled.