Rapid7 InsightVM Connector
The Rapid7 connector bridges Rapid7 InsightVM and Qualys ETM to consolidate asset and vulnerability data in a single platform for unified risk analysis. It automatically synchronizes findings through scheduled API calls and applies TruRisk scoring to help teams prioritize remediation efforts based on business context. By normalizing data from Rapid7's vulnerability management system, security teams can eliminate manual data transfer, reduce analysis silos, and make faster risk-based decisions. This integration is particularly valuable for organizations using multiple security tools, as it enables comprehensive visibility and streamlined risk governance across their infrastructure.
Connector Details
The following table provides a comprehensive overview of what the Rapid7 InsightVM Connector supports.
| Vendor | Rapid7 |
| Product Name | Rapid7 |
| Category | Vulnerability Management |
| Findings Support | Supported |
| Supported Assets | Host Assets (Compute) |
| Version | 1.0.0 |
| Integration Type | API Integration (REST) |
| Direction | Unidirectional |
| Delta Support | Supported for Vulnerability connector |
| Supported Version & Type | SaaS (Latest) |
| Import of Installed Software | Not Supported |
| Import of Source Tags | Not Supported |
| Filters/Filter Query | Not Supported |
Configure the Connector
The connector wizard consists of three steps. A valid connection test must pass before you can proceed.
Before You Begin - Authentication
Complete the following steps in Rapid7 before configuring the connector in Qualys ETM. You need a Rapid7 InsightVM account with permission to generate API keys. Platform Administrator or Organization Administrator access is required if you intend to use an organization key.
Creating a User in Rapid7
If you do not already have a dedicated service account for the connector, create one as follows.
- Log in to your Rapid7 instance.
- Navigate to Settings > Users > Create New Users.
- Fill in the required fields:
- Email Address: Enter the email address of the user.
- First Name: Enter the first name of the user.
- Last Name: Enter the last name of the user.
- Timezone: Select the appropriate time zone for the user.
- Click Save User Details.
- Under Privileges, select the role that provides the permissions the connector requires.
- Click Save to complete user creation.
Generating an API Key
Navigate to Administration > API Key Management in the Rapid7 Command Platform.
To create a user key:
- Go to the User API Keys tab and click Generate New User Key.
- Select the organization and provide a name for the key.
- Click Submit.
- Copy the key immediately after generation.
To create an organization key (requires Platform Administrator or Organization Administrator access):
- Go to the Organization Keys tab and click Generate New Admin Key.
- Select Organization Admin Key.
- Copy the key immediately after generation.
Important: The API key is displayed only once and cannot be retrieved after you leave the page. Copy it immediately and store it securely before closing the dialog.
Permissions Required
The API key must have read access to asset and vulnerability data through the InsightVM v4 integration API.
A user key inherits the permissions of the account that generated it, so that account must have sufficient privileges to read asset and vulnerability records. An organization key carries full administrator permissions across all Rapid7 product APIs and satisfies this requirement by default.
Scope and Data Access
The connector does not support filter queries at the connector configuration level. All host assets and associated vulnerability findings visible to the API key are retrieved. The connector supports delta synchronization for vulnerability data. When the Retain Delta checkbox is selected in the connector edit view, subsequent runs retrieve only changes since the last successful execution. Deselecting this checkbox resets the delta and triggers a full ingestion on the next run.
Installed software import and source tags import are not supported by this connector.
Key Rotation
If an API key is revoked or expires, the connector will return a 401 Unauthorized error on the next run. To restore connectivity, generate a new API key in Rapid7 under Administration > API Key Management and update the connector configuration in Qualys ETM with the new key value.
Create a Profile & Connection
Configure the connector's identity and authenticate with the Rapid7 source system.
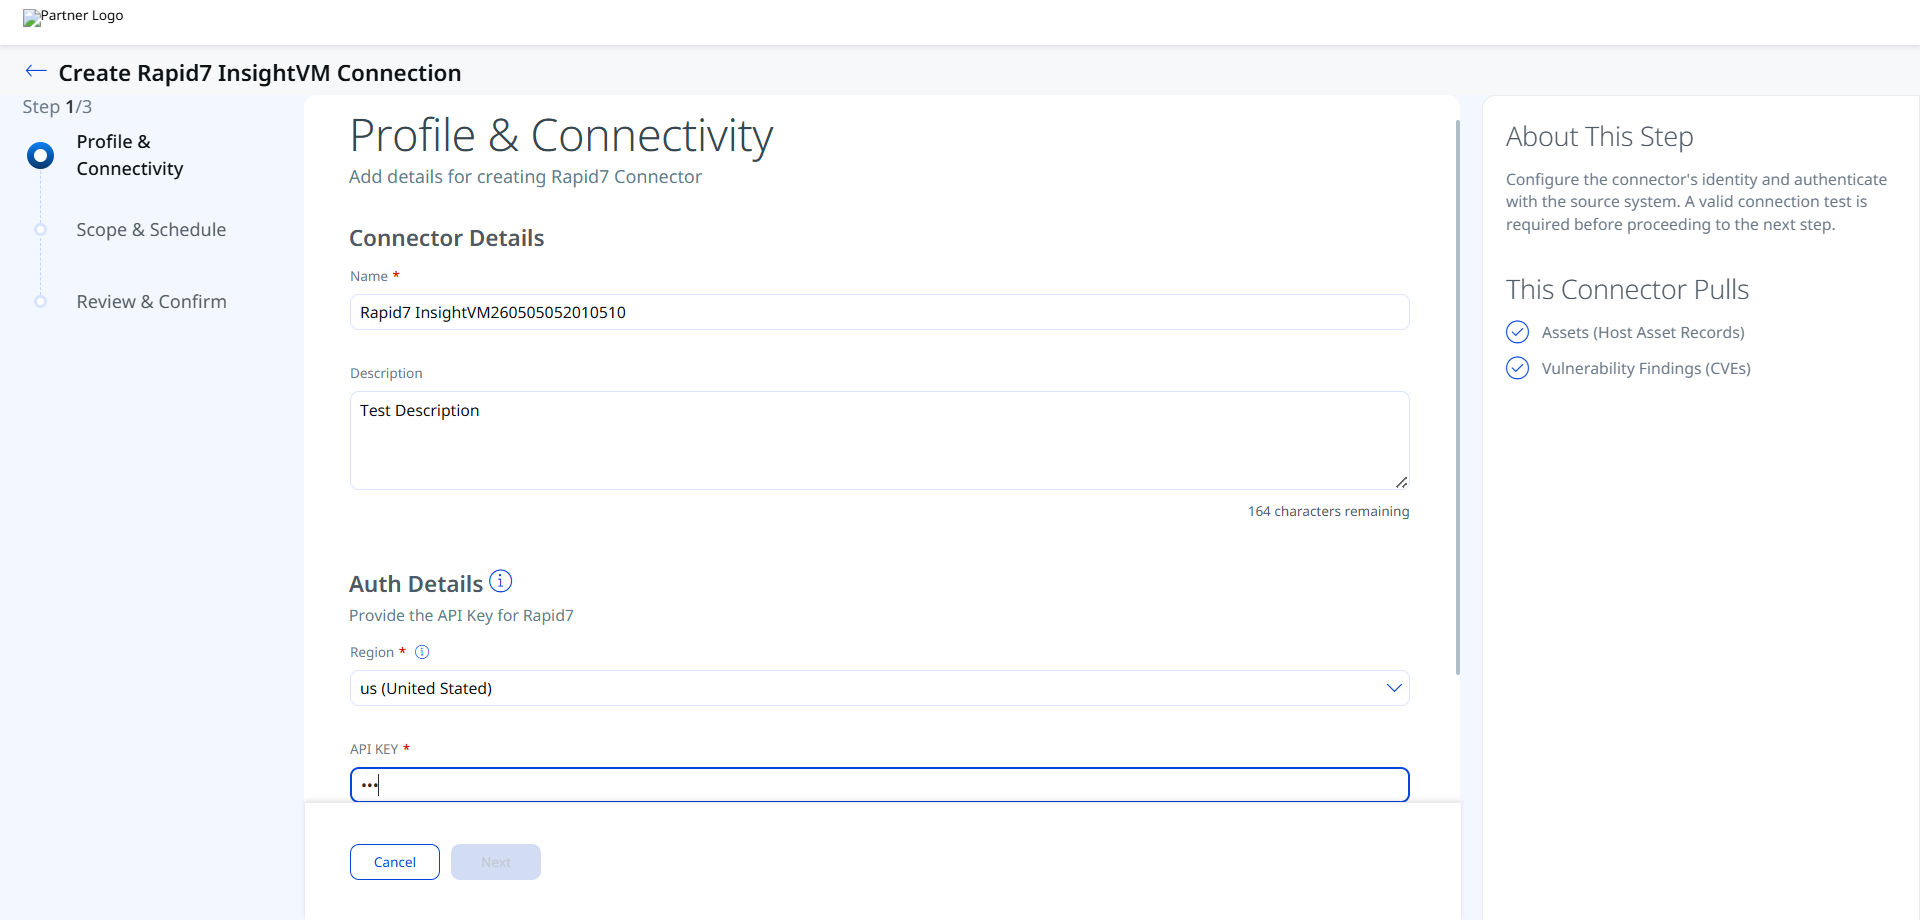
Connector Details
| Name (Required) | A unique display name for this connector instance. Example: Rapid7 InsightVM260505052010510 |
| Description | Optional free-text description of the connector's purpose or scope. |
Authentication Details
This connector uses API Key authentication. Provide the following fields under Auth Details.
| Field | Type | Description |
|---|---|---|
| Region (Required) | String (dropdown) | Select the region that matches your Rapid7 InsightVM instance. The region code appears in your Rapid7 URL (for example, eu in eu.idr.insight.rapid7.com). Supported values: us, us2, us3, eu, ca, au, ap. |
| API KEY (Required) | Encrypted String | The API key generated from the Rapid7 Command Platform under Administration > API Key Management. The value is masked after entry. |
Important: The API key cannot be retrieved after it is generated in Rapid7. If you lose the key before entering it here, you must generate a new one and update the connector configuration.
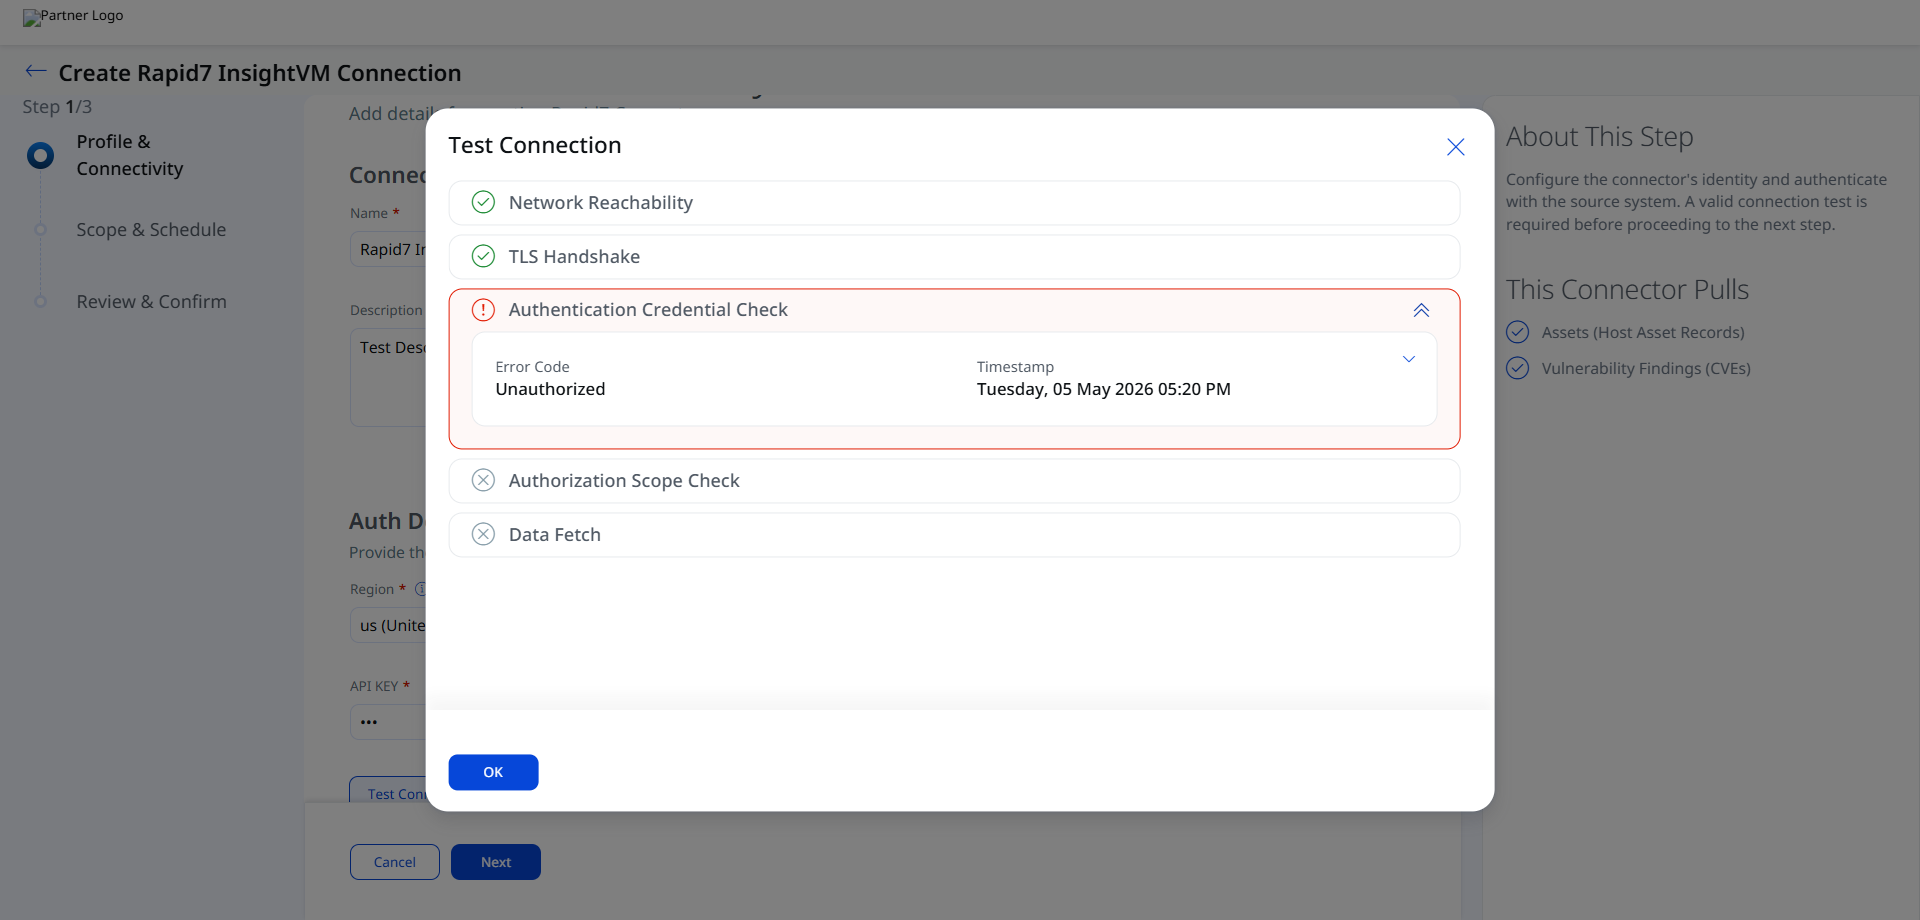
After entering all fields, click Test Connection. The wizard runs five checks:
- Network Reachability
- TLS Handshake
- Authentication Credential Check
- Authorization Scope Check
- Data Fetch
Important: If the Authentication Credential Check returns an Unauthorized error, the API key is invalid, expired, or has been revoked. Verify the key is still active in Rapid7 under Administration > API Key Management. If the key has been revoked or is no longer listed, generate a new one and re-enter it in this field. All subsequent checks (Authorization Scope Check, Data Fetch) will remain blocked until the credential check passes.
Set the Scope & Schedule
Define what data the connector ingests and how frequently it runs.
- Data to Sync: Choose one of the two supported ingestion scopes:
- Assets only (Host Asset Records)
- Assets with Vulnerability Findings (CVEs)
- Retain Delta: When this checkbox is selected, subsequent connector runs retrieve only changes (new or updated records) since the last successful execution. Deselecting this checkbox resets the delta and forces a full re-ingestion on the next run.
- Schedule: Set the frequency at which the connector polls Rapid7 for new data.
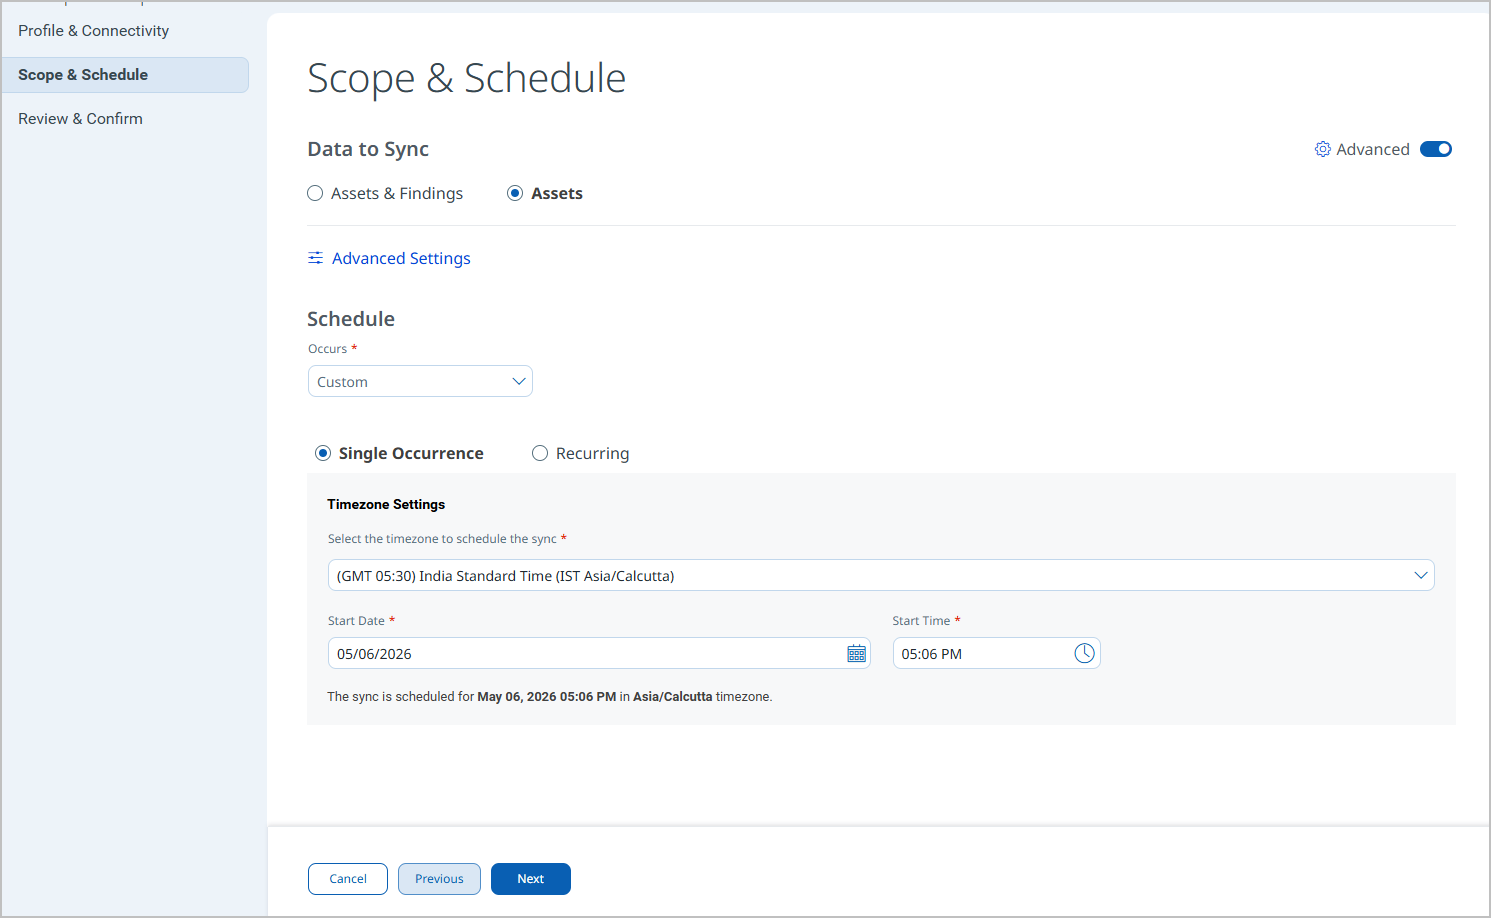
Note: Delta synchronization is available only when vulnerability ingestion is enabled. Assets-only runs always perform a full pull.
Advanced Settings
Advanced settings are accessible from the connector edit view after the connector has been created. Changes to advanced settings take effect on the next scheduled or manual run.
Note: Click Save after making any changes in the Advanced Settings tabs to ensure your configuration is persisted.
Filters Tab
The Rapid7 InsightVM connector does not currently support filter queries. The Filters field is present in the connector configuration but entering filter expressions has no effect on data retrieval. All host assets and associated vulnerability findings visible to the configured API key are ingested on each run.
Transform Map Tab
The connector ships with default out-of-box transform maps for both asset and vulnerability data. You can view the active map name on the Transform Map tab. To customize field-level mapping, you may clone an existing map and configure the Transform Map Name, Source Data Model, and Target Data Model as required. See Transformation Maps for full field-level mapping details.
How the Connection Works
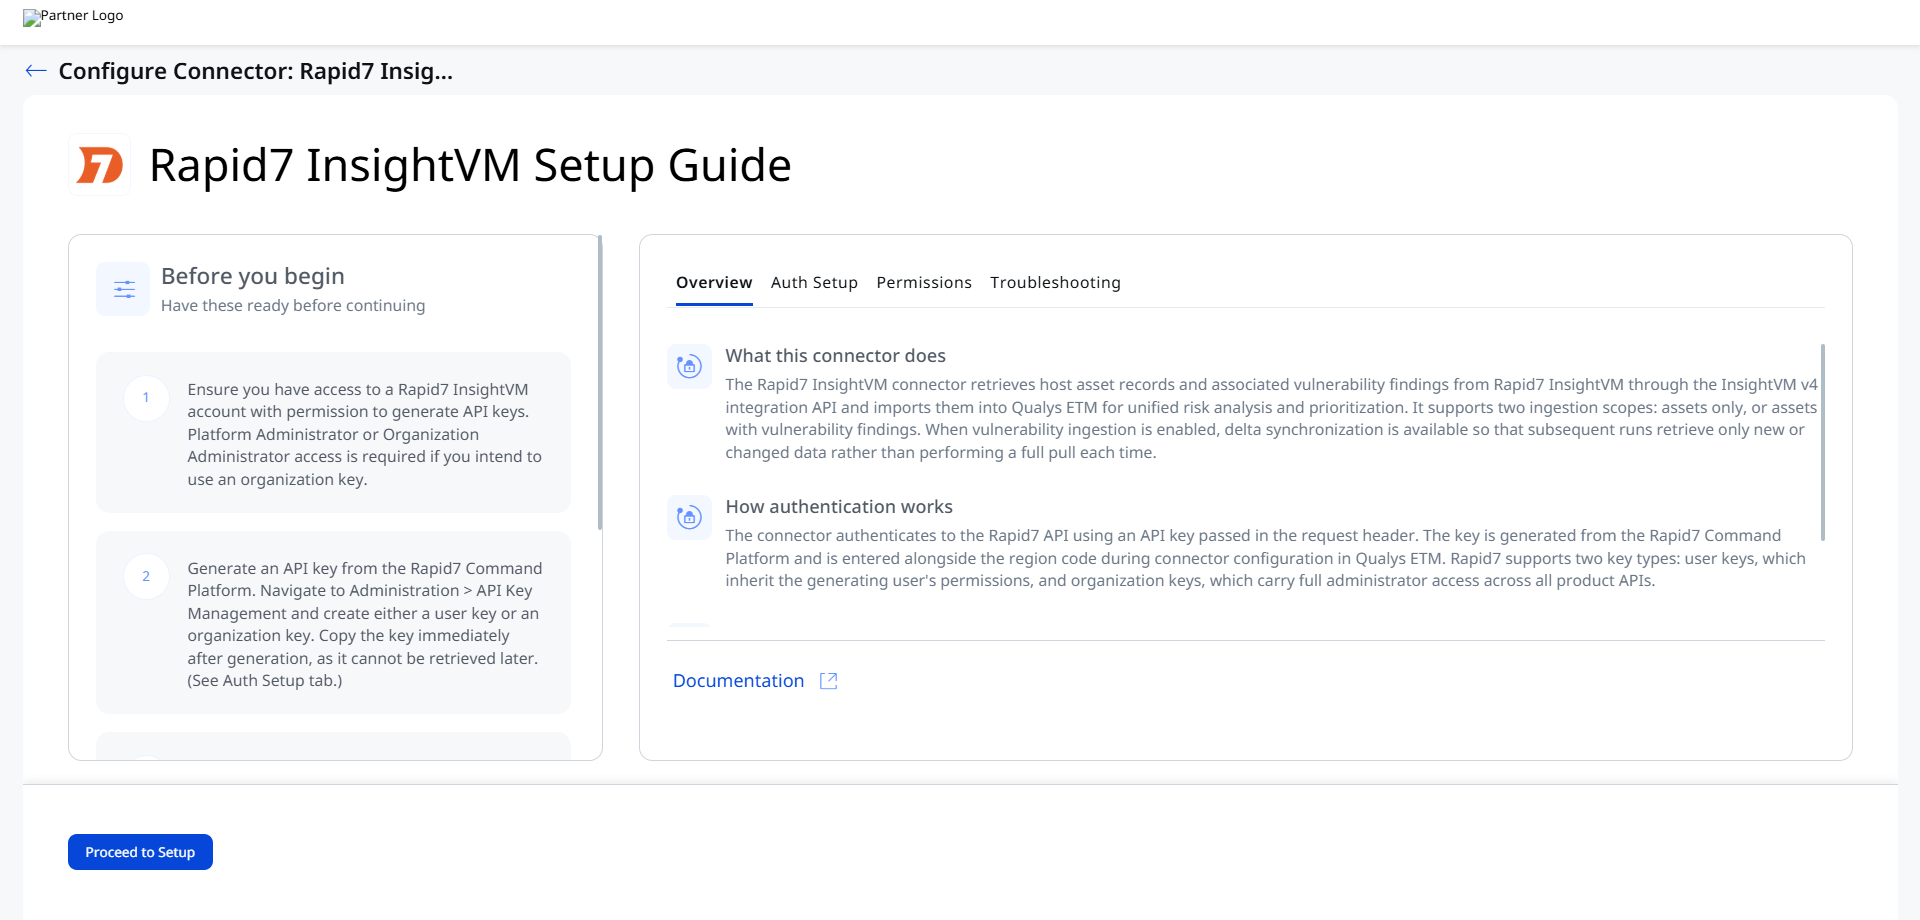
The Rapid7 InsightVM connector retrieves host asset records and associated vulnerability findings from Rapid7 InsightVM through the InsightVM v4 integration API and imports them into Qualys ETM for unified risk analysis and prioritization. It supports two ingestion scopes: assets only, or assets with vulnerability findings. When vulnerability ingestion is enabled, delta synchronization is available so that subsequent runs retrieve only new or changed data rather than performing a full pull each time.
The connector bridges Rapid7 InsightVM and Qualys ETM to consolidate asset and vulnerability data in a single platform. It automatically synchronizes findings through scheduled API calls and applies TruRisk scoring to help security teams prioritize remediation efforts based on business context. By normalizing data from Rapid7's vulnerability management system, teams can eliminate manual data transfer, reduce analysis silos, and make faster risk-based decisions.
Connector States
A successfully configured connector transitions through the following states:
- Registered – The connector has been successfully created and registered to fetch data from Rapid7.
- Scheduled – The connector is queued and waiting to execute its next connection.
- Processing – An active connection is in progress; the connector is fetching asset and findings data from the Rapid7 API.
- Processed – The connector has successfully fetched assets. Findings may still be processing in the background; allow additional time before verifying imported findings in ETM.
Note: The full import process, particularly for findings, can take up to 2 hours after the first run. Verify the connector has reached the Processed state before checking for imported data. If no data appears after two hours, refer to the Troubleshooting section.
Note: The Processed state confirms that assets have been successfully imported. It does not guarantee that all findings have finished processing. If findings are not yet visible, wait and refresh the ETM findings view.
Viewing Assets and Findings in ETM
After the connector reaches the Processed state, use the following navigation paths and filters to locate imported data in Qualys ETM.
Assets: Navigate to Inventory > Assets > Host. Apply the filter:
inventory:(source:"Rapid7")

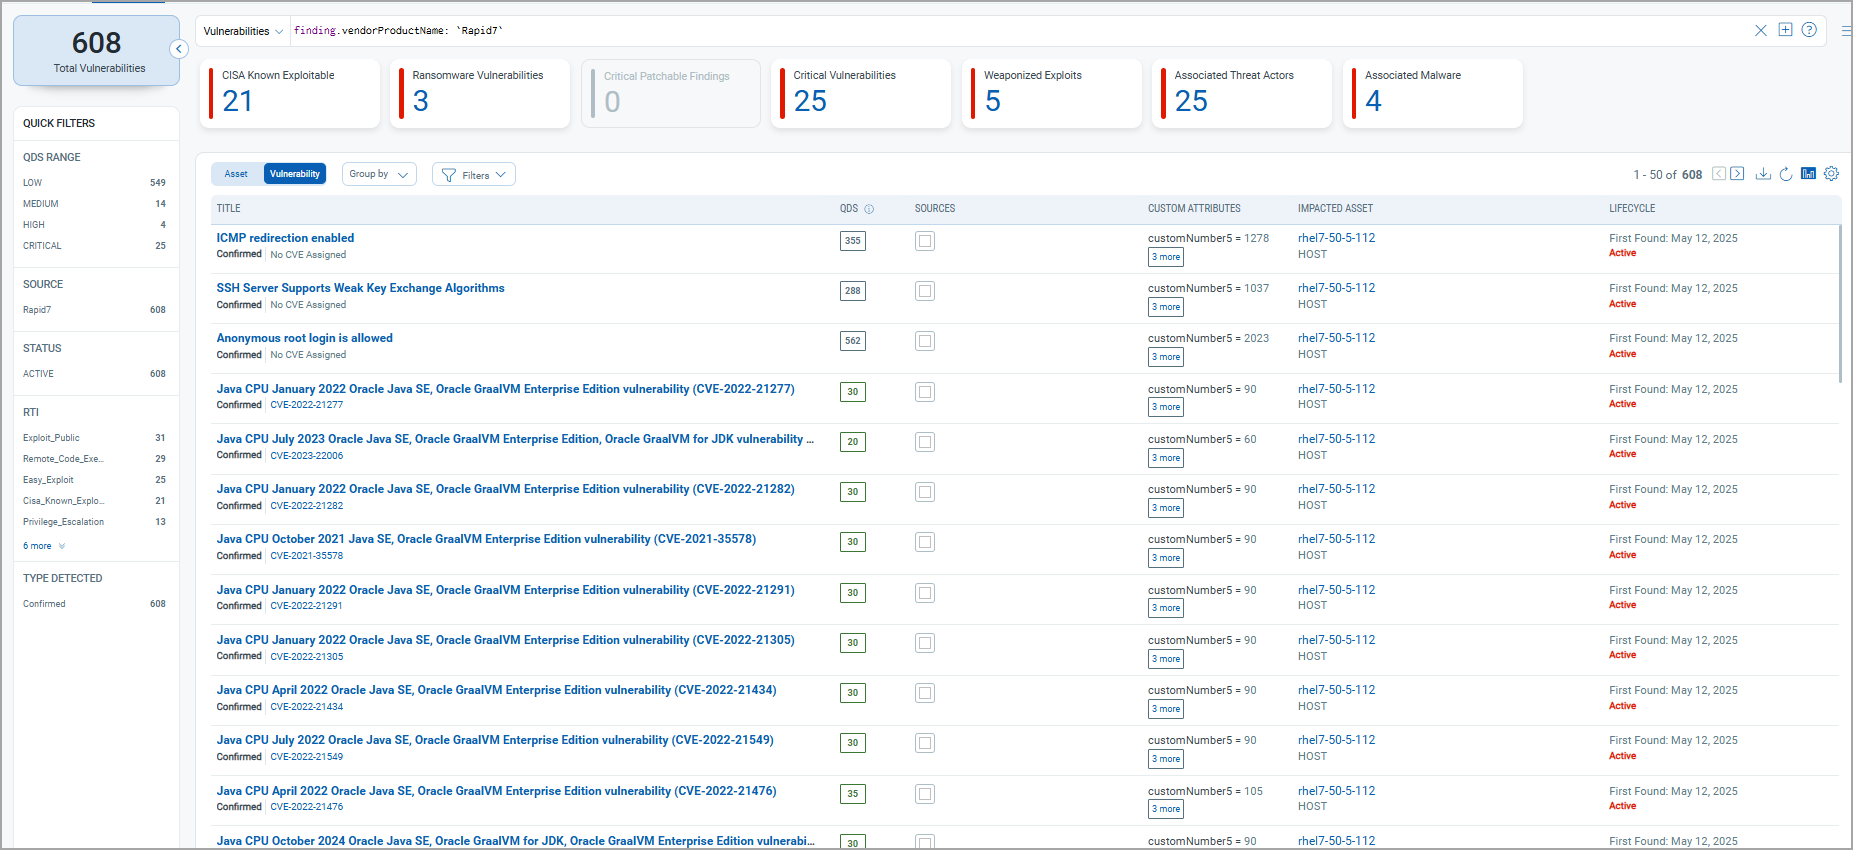
Findings: Navigate to Risk Management > Findings > Vulnerability. Apply the filter:
findings.vendorProductname:"Rapid7 InsightVM"
Troubleshooting
| Issue | Resolution |
|---|---|
| 401 Unauthorized on connector run | The API key is invalid, expired, or has been revoked. Verify the key is still active in Rapid7 under Administration > API Key Management. If the key has been revoked or is no longer listed, generate a new one and update the connector configuration in Qualys ETM. |
| Connection test fails with region mismatch | Verify that the region code entered in the connector configuration matches the region of your Rapid7 instance. The region code appears in your Rapid7 URL (for example, eu in eu.idr.insight.rapid7.com). Supported values are us, us2, us3, eu, ca, au, and ap. |
| No assets imported after first run | The connector transitions through Registered, Scheduled, Processing, and Processed states. The full import process, particularly for findings, can take up to 2 hours. Verify the connector has reached the Processed state before checking for imported data. If no data appears after two hours, check the connector logs and verify the API key has read access to asset and vulnerability records. |
Additional Information
API Reference
The connector uses the following Rapid7 InsightVM v4 integration API endpoints. All endpoints require the API key to be present in the request header.
| Operation | Endpoint | Supported Regions |
|---|---|---|
| Fetch Assets | https://{region}.api.insight.rapid7.com/vm/v4/integration/assets |
us, us2, us3, eu, ca, au, ap |
| Fetch Vulnerabilities | https://{region}.api.insight.rapid7.com/vm/v4/integration/vulnerabilities |
|
Transformation Maps
Default transform maps are provided for each asset type and applied automatically during connector execution. The following maps document how AWS Inspector V2 source fields map to Qualys ETM target fields.
Rapid7 Vulnerability Data Model MapRapid7 Vulnerability Data Model Map
The Rapid7 to Qualys Vulnerability data model mapping.
| Source Field | Target Field |
|---|---|
| Id | externalAssetId |
| Host Name | assetName |
| Ip | ipAddress |
| Mac | macAddress |
| Os Name | operatingSystemName |
| Os Version | operatingSystemVersion |
| Vulnerability First Found
Date Format: yyyy-MM-dd'T'HH:mm:ss'Z' |
findingFirstFoundOn |
|
Vulnerability Last Found Date Format:
|
findingLastFoundOn |
| Vulnerability Id | externalFindingId |
| Vulnerability Solution Type | remediationStrategy |
| Vulnerability Port | findingPort |
| Vulnerability Protocol | findingProtocol |
| Vulnerability Title | findingName |
| Vulnerability Risk Score | detectionScore |
| Vulnerability CVE Id | cveId |
| Vulnerability Description | findingDescription |
| Vulnerability Cvss V2 Score | cvssV2Base |
| Vulnerability Cvss V3 Score | cvss3Base |
| Host Name | findingSeverity |
| Vulnerability Solution Fix | recommendation |
| Vulnerability Status | findingStatus |
| Vulnerability links href | references |
| Vulnerability Categories | findingSubType |
Rapid7 Asset Data Model MapRapid7 Asset Data Model Map
The Rapid7 to Qualys Asset data model mapping.
|
Source Field |
Target Field |
|---|---|
|
id |
externalAssetId |
|
host_name |
assetName |
|
ip |
ipAddress |
|
mac |
macAddress |
|
os_name |
operatingSystemName |
|
os_vendor |
operatingSystemPublisher |
|
os_architecture |
operatingSystemArchitecture |
|
os_version |
operatingSystemVersion |