ServiceNow Inventory
A Qualys ServiceNow Inventory connector works in conjunction with one of the Qualys developed CMDB Sync Apps that you install and configure in your ServiceNow instance. Using one of these apps, you can import ServiceNow CMDB hardware Configuration Items (CIs) into Qualys to find matching assets or optionally creating unmanaged assets when no match is found.
Configure a ServiceNow Connector
Follow the steps below to create a ServiceNow Inventory Connector.
1. Navigate to Integrations.
2. Click the three dots and click Manage on the ServiceNow integration.
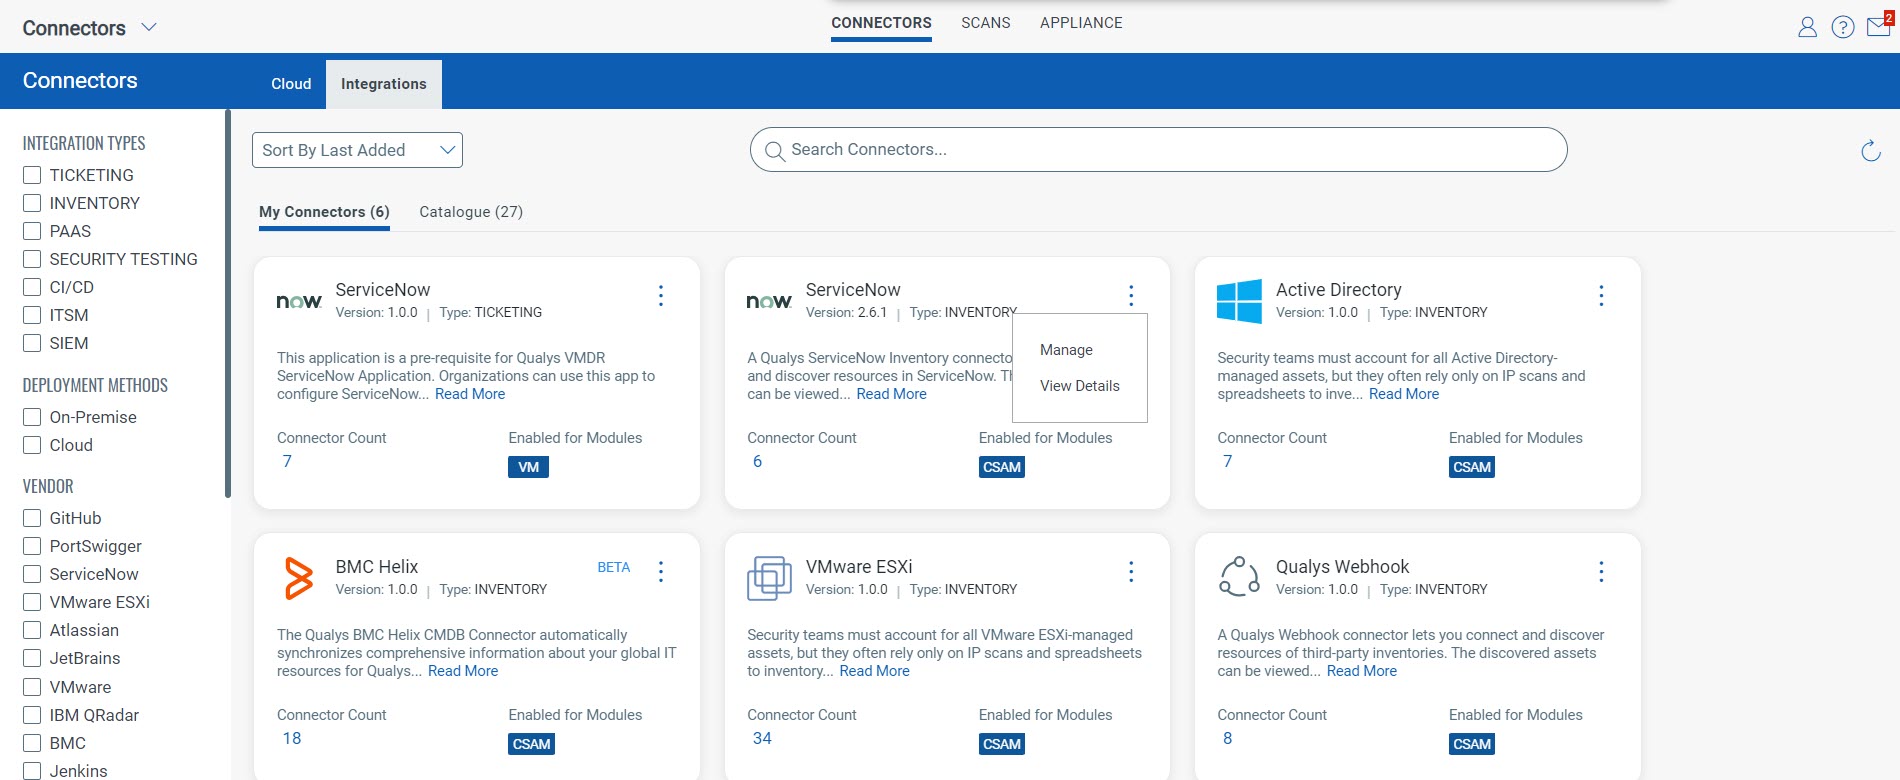
The Manage Connectors screen lists all the available connectors you created in the Connectors Application. You can view their status and perform actions on them.
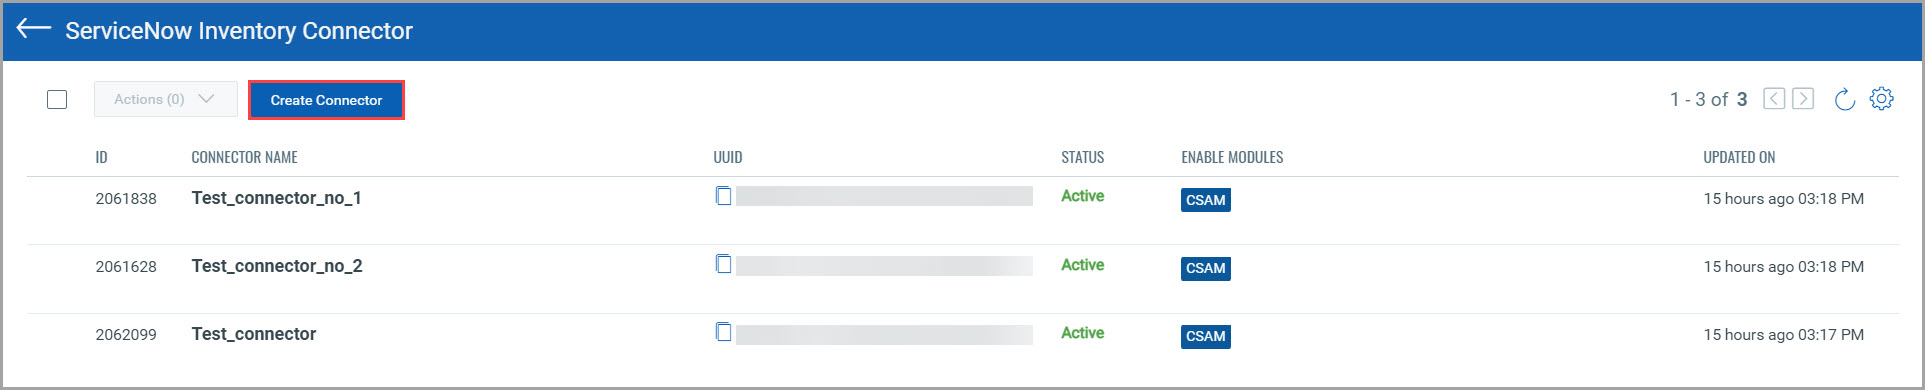
3. Let’s begin creating our first connector. Click Create Connector.
4. In the Basic Details screen, provide the required details:
Connector Name - Name of the connector.
Description – Description of the connector.
Modules to Enable - Select the Qualys service the connector will have access to. Select CSAM to pass the Connector information to the CSAM application.
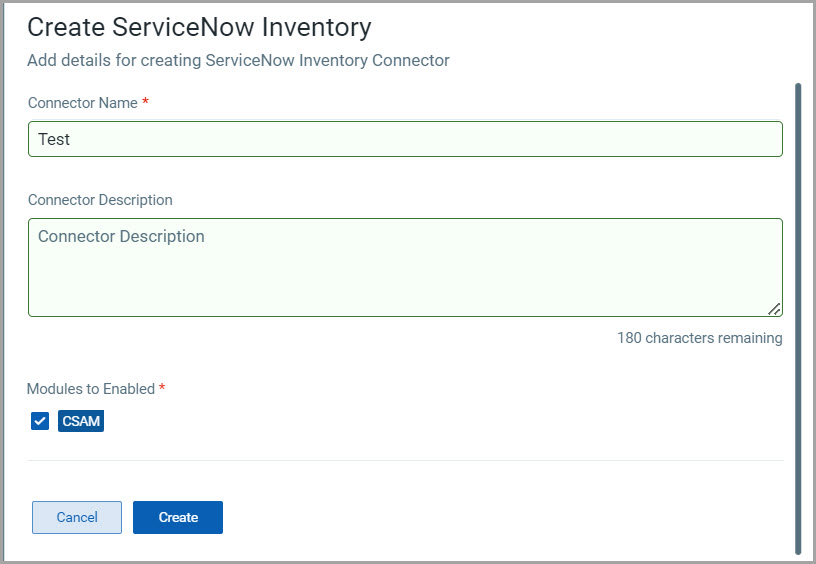
5. Click Create.
Your connector is ready. You can change the state of your connector or edit their configurations by selecting them and clicking Actions.
Asset Identification Rules
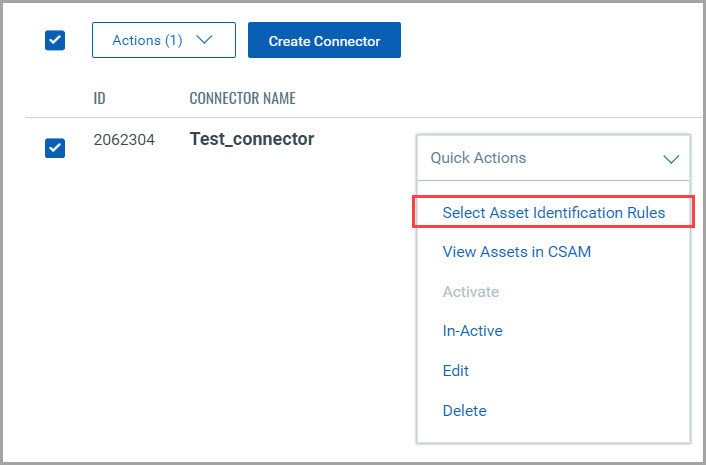
Once you have created a connector, you can specify the Asset Identification rules to determine which attributes must be fetched and in which order. Select a connector and click Actions.
This step is only necessary to control the information fetched by the connector in your Asset Inventory. You can read more about Identification Rules here.
You can merge duplicate hostnames or assets or select rules for webhook or ServiceNow inventory, etc. Select the rules by toggling the ‘Required’ button.
To create rules in the CSAM application, follow the steps documented in the CSAM Online Help. The rules shown below are created and enabled by default when the Third-party asset identification feature is enabled for your subscription.
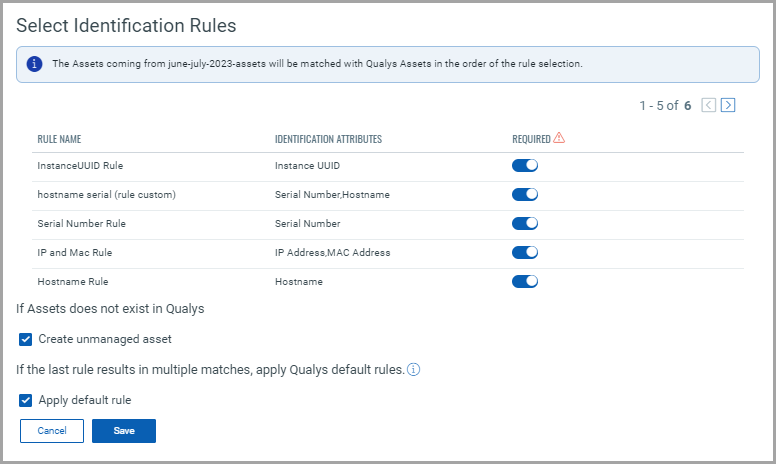
If you do not have any assets, create an unmanaged asset by selecting the ‘Create unmanaged asset’ checkbox.
Select the ‘Apply default rule’ when faced with multiple matches under the final rule selected. The asset selected will be based on its most recent update and the trustworthiness of its source.
View Assets in CSAM
Your connector is created successfully and has Asset Identification rules provided. Now, it should start fetching from ServiceNow. To view the Asset information, you must navigate to the CSAM application.
Select any of your connectors, click Actions, and click View Assets in CSAM.
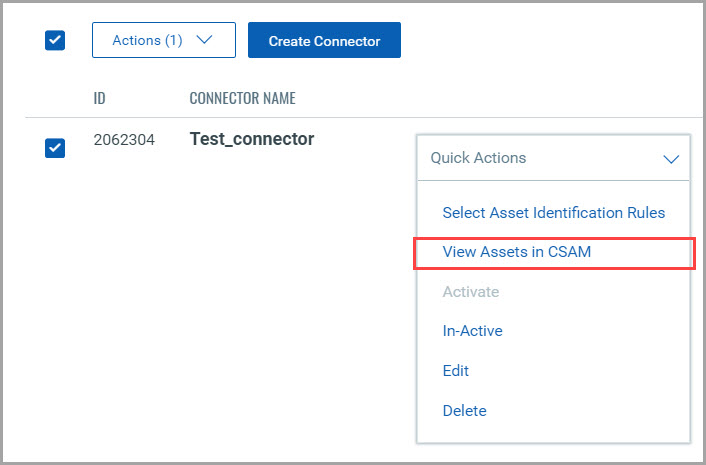
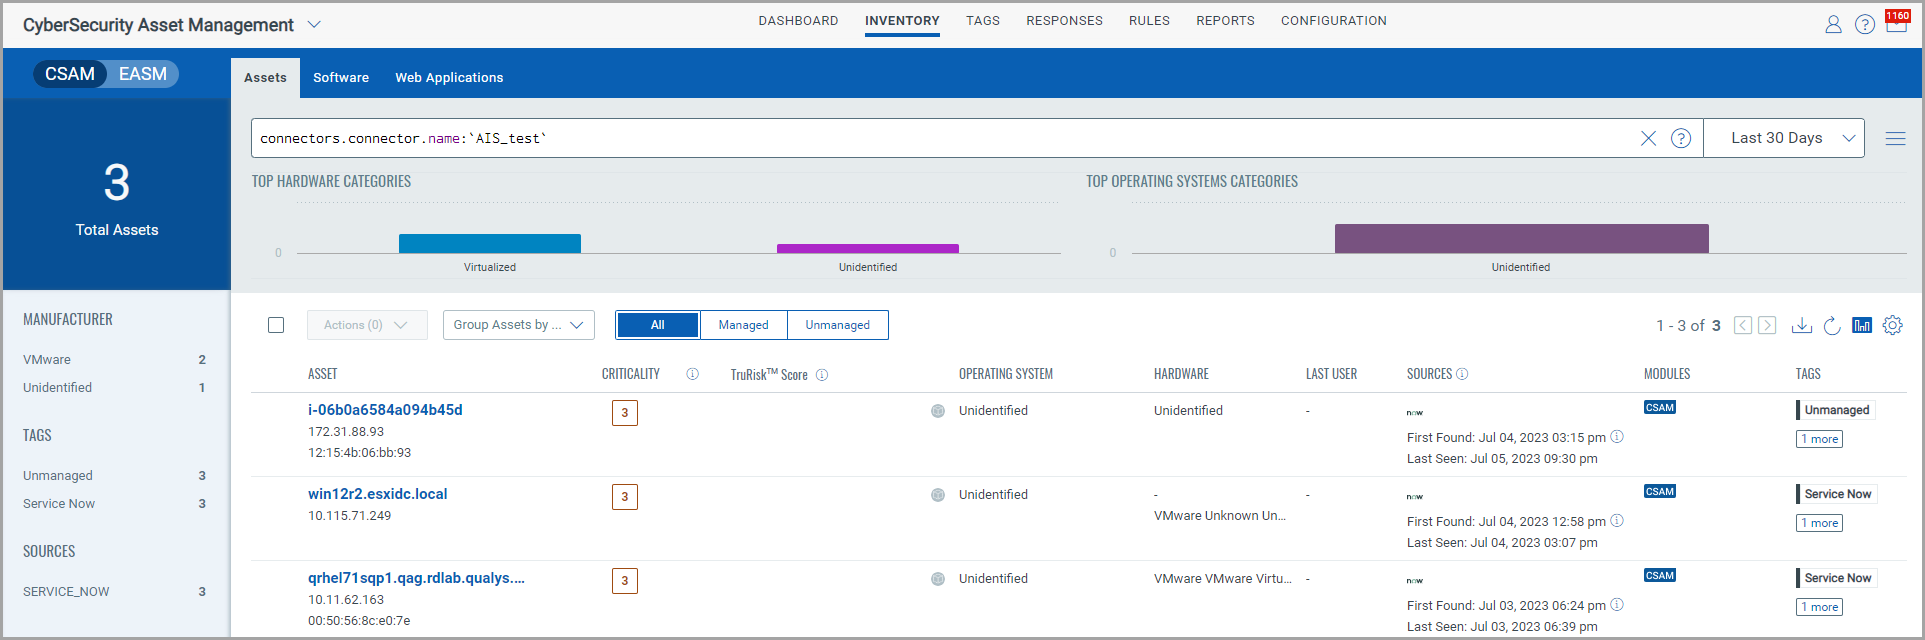
This will take you to the CSAM application, where you can view your assets fetched per the rules.
After you have succesfully created the Connector using the steps above, you must install one of the Qualys CMDB Sync Apps into your ServiceNow instance from the ServiceNow store.
Then, enable AIS in the Properties of the CMDB sync app, configure and validate the API Source connection to your Qualys instance, and create “ServiceNow to Qualys” sync schedules with the AIS option enabled in the schedule.
To learn about these steps in detail, refer to the CMDB Sync user guides in the Qualys Documentation site.