Managing Sensor Profiles
You can create sensor profiles, edit the configuration values, and assign the profiles to the required sensors.
For registry sensors, you can configure sensor profiles to control which sensors are used for scanning different registries. Each profile associates a list of registries with a list of sensors that can scan them. This is especially useful when you have sensors that don’t have Internet access and are not able to scan cloud-based registries. Now you can create a profile with your cloud-based registries and include only the sensors that can reach them for scanning.
To access the sensor profiles, you must get sensor profile permissions configured for your role. For more information, see Container Security Users and Permissions.
Good to Know
-
If you do not associate a sensor profile with a sensor, the default sensor profile is used.
-
You can assign only one sensor profile to a sensor.
-
In case of registry sensors,
-
You can add multiple registries in a sensor profile.
-
At the scan time, only sensors associated with a registry are used for the scan job. If a registry is not included in a sensor profile, then any sensor can be used to scan it.
-
By default, all the sensors and registries that are not associated with any profile will come under the Default sensor profile. Any of the registries in the Default profile can be scanned from any of the sensors available in the Default sensor profile.
-
Viewing Sensor Profiles in your Account
You can view the available sensor profile in your account under CONFIGURATIONS > Sensor Profiles. This page provides details of sensor profiles in your account.
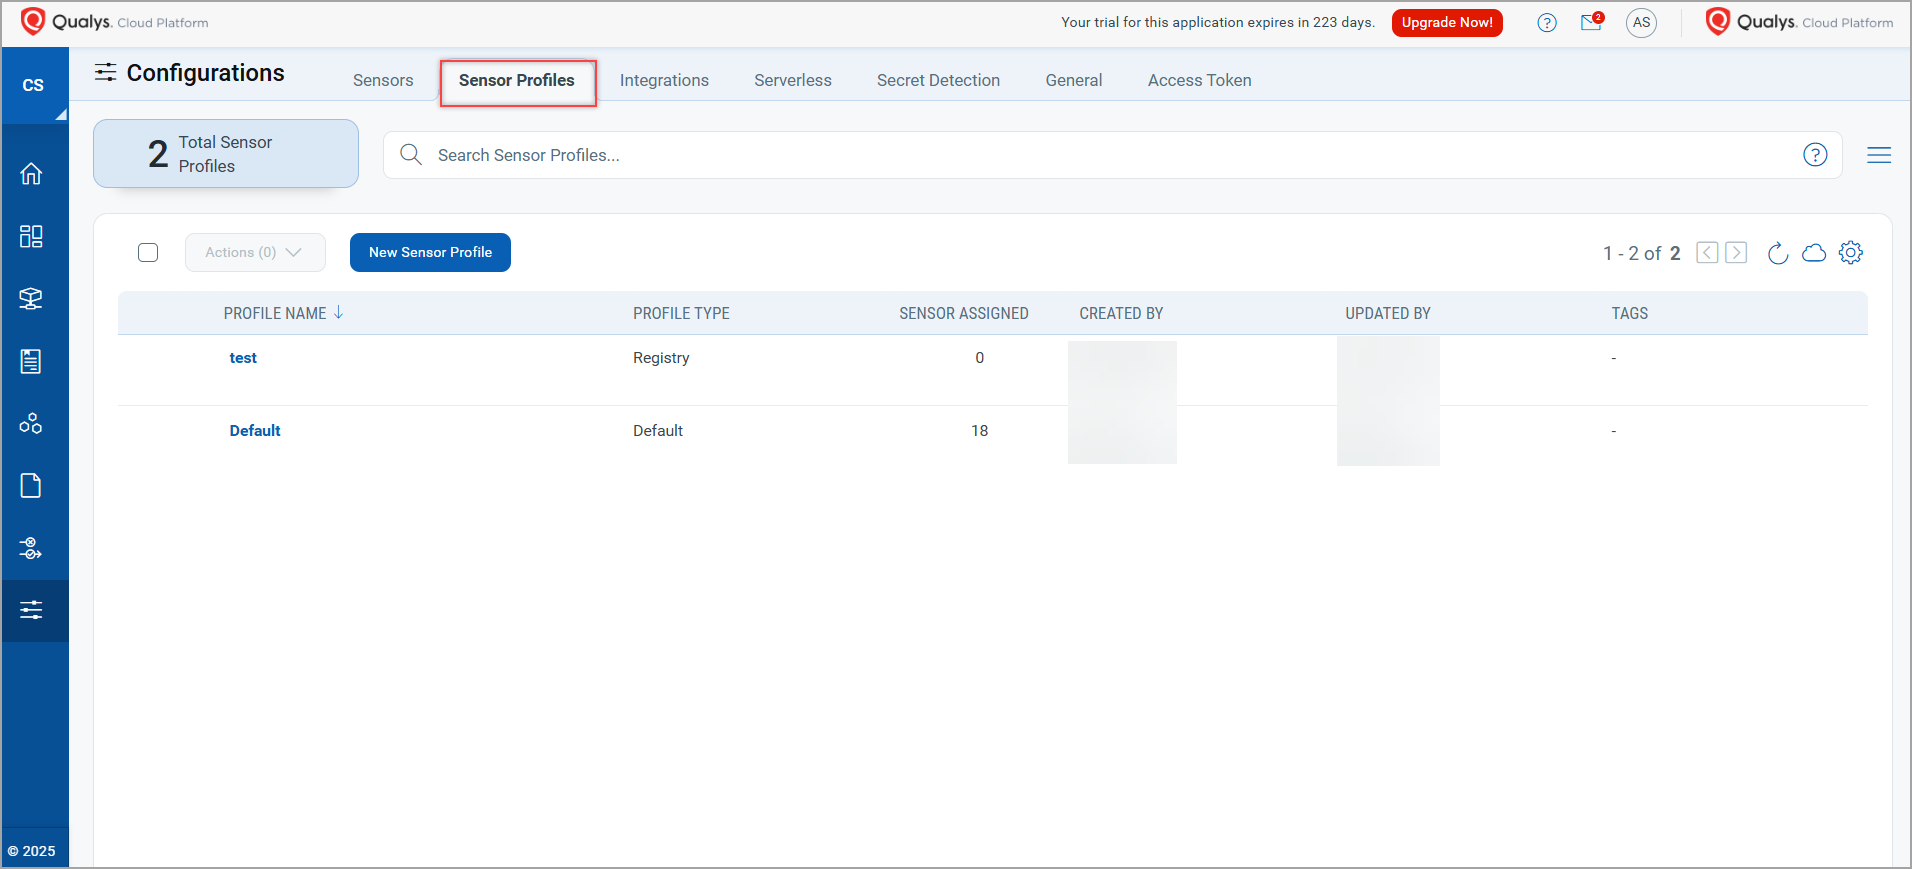
| Section No. | Section | Description | |
|---|---|---|---|
| 1 | Search Section | Total Sensor Profiles | Shows the total number of sensor profiles in your account. |
| Search Bar | You can use this to search sensor profile in your account. | ||
| 2 | Edit Section | Actions | Provides quick actions menu for the selected sensor profile. You can view details of each sensor profile, create, edit or delete a sensor profile. |
| New Sensor Profile | Use this to create a new sensor profile. To know more, refer to Creating a Sensor Profile. |
||
| 3 | List Section | PROFILE NAME | Shows name of the sensor profile. |
| PROFILE TYPE | Shows type of the sensor profile. Following are the types of a sensor profile Valid values: Cluster, General, Runtime, Registry, and CICD |
||
| SENSOR ASSIGNED | Shows number of sensors assigned to that sensor profile. | ||
| CREATED BY | Shows username of the sensor profile creator along with the creation date and time. | ||
| UPDATED BY | Shows details of the username of the sensor profile updater along with the creation date and time. | ||
| TAGS | Shows tags assigned to the sensor profile. To know more, refer to Creating a Sensor Profile Tag. |
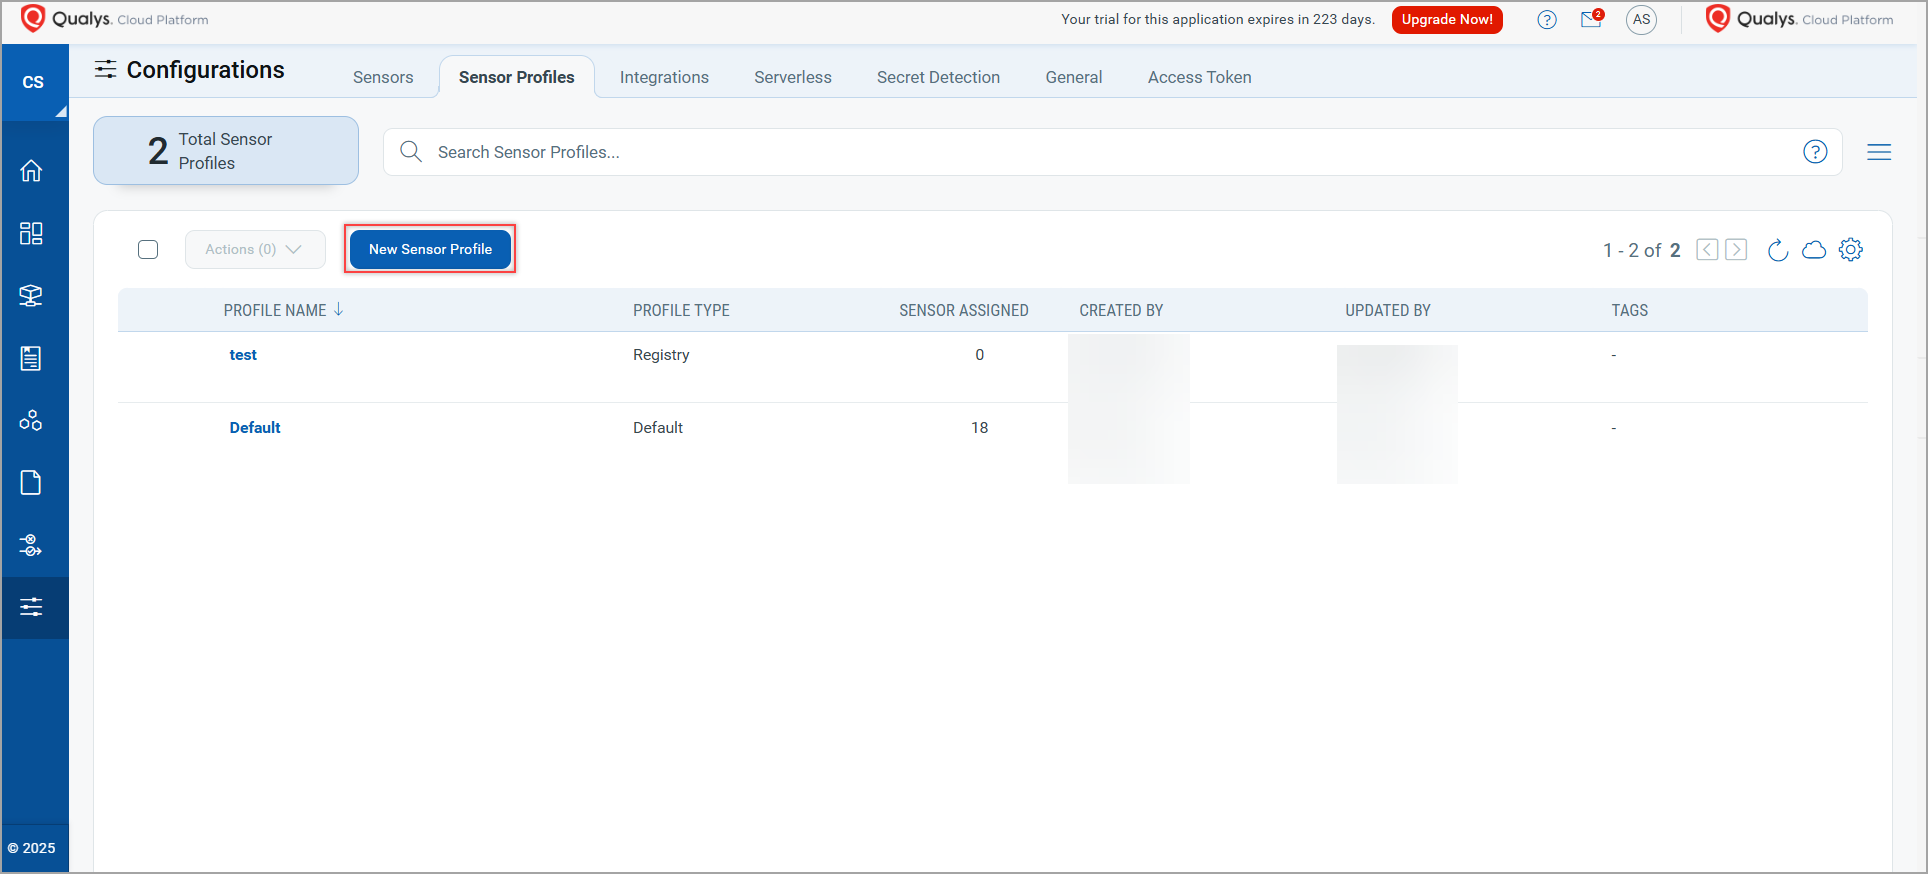
Creating a Sensor Profile
-
Select Configurations > Sensor Profiles, and then click New Sensor Profile.
-
In the Basic Details tab, enter the profile name and description, and select one of the following profile types: Cluster, General, Registry, Runtime, and CICD.
-
In the Assign Sensors tab, assign sensors to the profile.
OR
In the case of the Registry Sensor profile type, in the Assign Registries tab, add registries to scan with the sensors in the profile. -
Click
 present in 'Include sensors for the tags:' to assign a tag to the Sensor Profile.
In the absence of a tag, you can create one. To know how to create a tag, refer to Creating a Sensor Profile Tag. -
In the case of Runtime Sensor profile type, enable or disable the Sensor Events Settings. When enabled, the Runtime Sensor tracks events occurring in your container.
-
In the Log Settings tab, specify the following options:
Option
Description
Log Level
Specifies the type of log data.
Log File Purge Count
Specifies the maximum number of log files to achieve. The remaining files will be purged.
Log File Size
Specifies the maximum file size for each log file. After the file size is achieved for a file, a new file is created.
-
In the Sensor Inactive Windows tab, configure a window of time in which the sensor will not operate.
Note: This step is not applicable to Cluster Sensor Profile and Runtime Sensor Profile.For each window, select a day of the week and then select the start time and end time. You can also select the All Day option to create an inactive window for the whole day.
-
The start time and end time are based on the UTC time zone. Therefore, you must configure them according to UTC time.
-
You need sensor version 1.21 or later to use this feature. For registry sensors, the sensor version must be 1.23 or later.
-
-
In the case of Runtime Sensor profile type, under Process Exclusion page, add the processes to be excluded from scanning.
For example:/usr/bin/cat -
In the Vulnerability Management tab, specify the following options:
Note: This step is not applicable to Cluster Sensor Profile and Runtime Sensor Profile.-
For the Registry and CICD profile types, select one of the following options from the Configure Image Scans list:
-
Dynamic: to perform dynamic scanning.
-
Dynamic with Static Fallback: to perform static scanning as a fallback to dynamic scanning for images without a shell. This setting applies when a new image is pulled, or the manifest is updated. This setting only applies to vulnerability scans.
-
Static: to perform only static scanning.
-
-
For the General profile type, specify the following options:
-
Enable Scanning: Turn this option off to stop all scan operations.
-
Configure Image Scans: See the above list item.
-
Container Scanning Interval: Select a scanning interval for how often sensors should rescan containers. An interval of 48 hours is recommended for optimum performance.
-
Image Exclusion: Create an image exclusion list using regular expressions. Images matching the exclusion list are not scanned by the sensors in this profile. You can create a maximum of 100 regular expressions.
-
-
-
In the Review tab, review the specified options and click Submit.
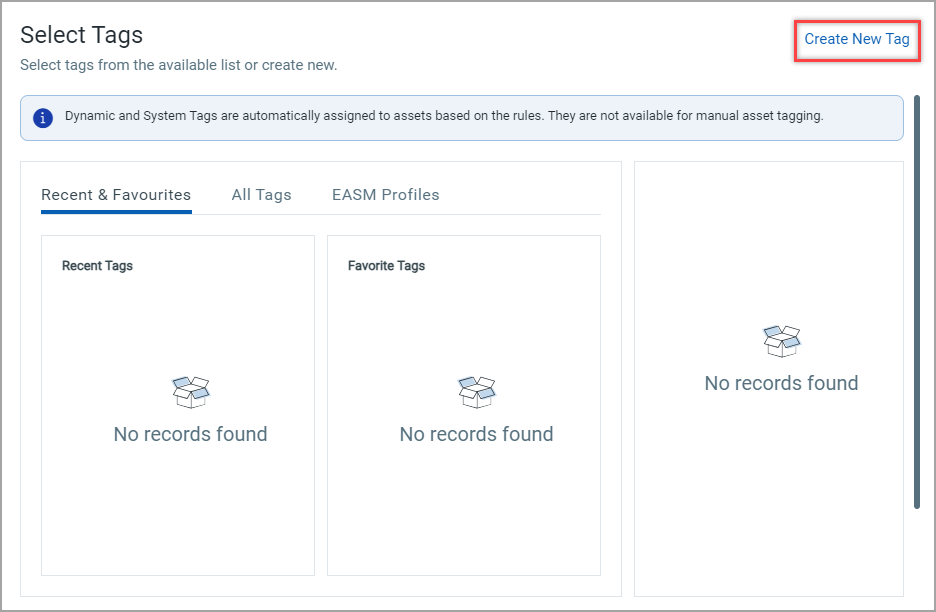
Creating a Sensor Profile Tag
Tags are useful to categorize sensor profiles. Follow the steps mentioned below to create a Sensor Profile tag.
- Follow the Step 1 to Step 3 mentioned in Creating a Sensor Profile.
- In Select Tags window, click Create New Tag.
- Enter details of the tag.
Tag Property Description Name Nam of the tag.
See 'Tag name guidelines' given below.*Description Provide description of the tag. Asset Criticality Score This score represents the criticality of the asset to your business infrastructure.
Valid values - '1' to '5'.
To know more, refer to Asset Criticality Score.Tag Color Specify a color to a tag for ease of identification. Select Parent Tag Choose an existing tag to act as a parent tag to your new tag. Ignore this option if you want the new tag to act as a parent tag. Tag Type Choose type of the tag.
Valid values - Static or Dynamic
*Tag name guidelines:
- The total of allowed tags is limited to 10 (logical constraint)
- You need to use Kubernetes label specifications for naming a Tag -
- It must be 63 characters or less or it can be empty.
- Unless empty, it must begin and end with an alphanumeric character ([a-z, 0-9, A-Z]),
- Could contain dashes (-), underscores (_), dots (.), and alphanumerics between.
- No spaces are allowed. - If you have chosen Dynamic tag type, select the rule template.
- Click Create.
The newly created tag is listed under All Tags window.
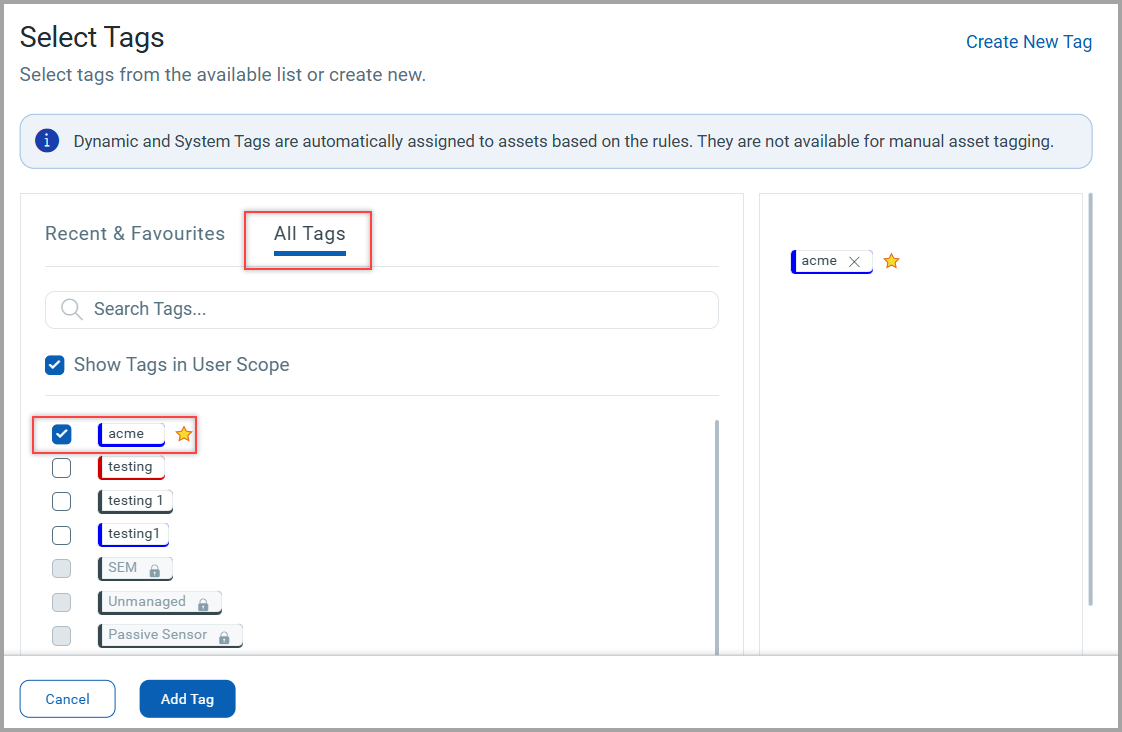
Once a tag is created, you can assign it to a sensor profile and it wil be displayed in the List page. You can remove a tag using Edit option available with each sensor profile.
What are Special Tags?
Special tags automatically assign sensor profiles to a sensor. A sensor launched with a special tag gets assigned the sensor profiles with a similar special tag. It is done by mentioning a special tag during a sensor launch using the Command Line Interface. The sensor profiles having such special tags are assigned to the newly launched sensor.
| Sensor | Special Tag Usage | |
| Installsensor.sh | Docker Run or Kubernetes | |
| General Sensor (qcs-sensor) | qcs_sensor_profile_<tag name> |
--tag-sensor-profile=<tag name> |
| Runtime Sensor | runtime_sensor_profile_<tage name> |
--runtime-sensor-profile= <tag name> |
| Cluster Sensor | cluster_sensor_profile_<tag name> |
--cluster-sensor-profile= <tag name> |
You can view the special tags associated with Sensors on the Qualys Cloud Platform under Container Security > CONFIGURATIONS > Sensors.
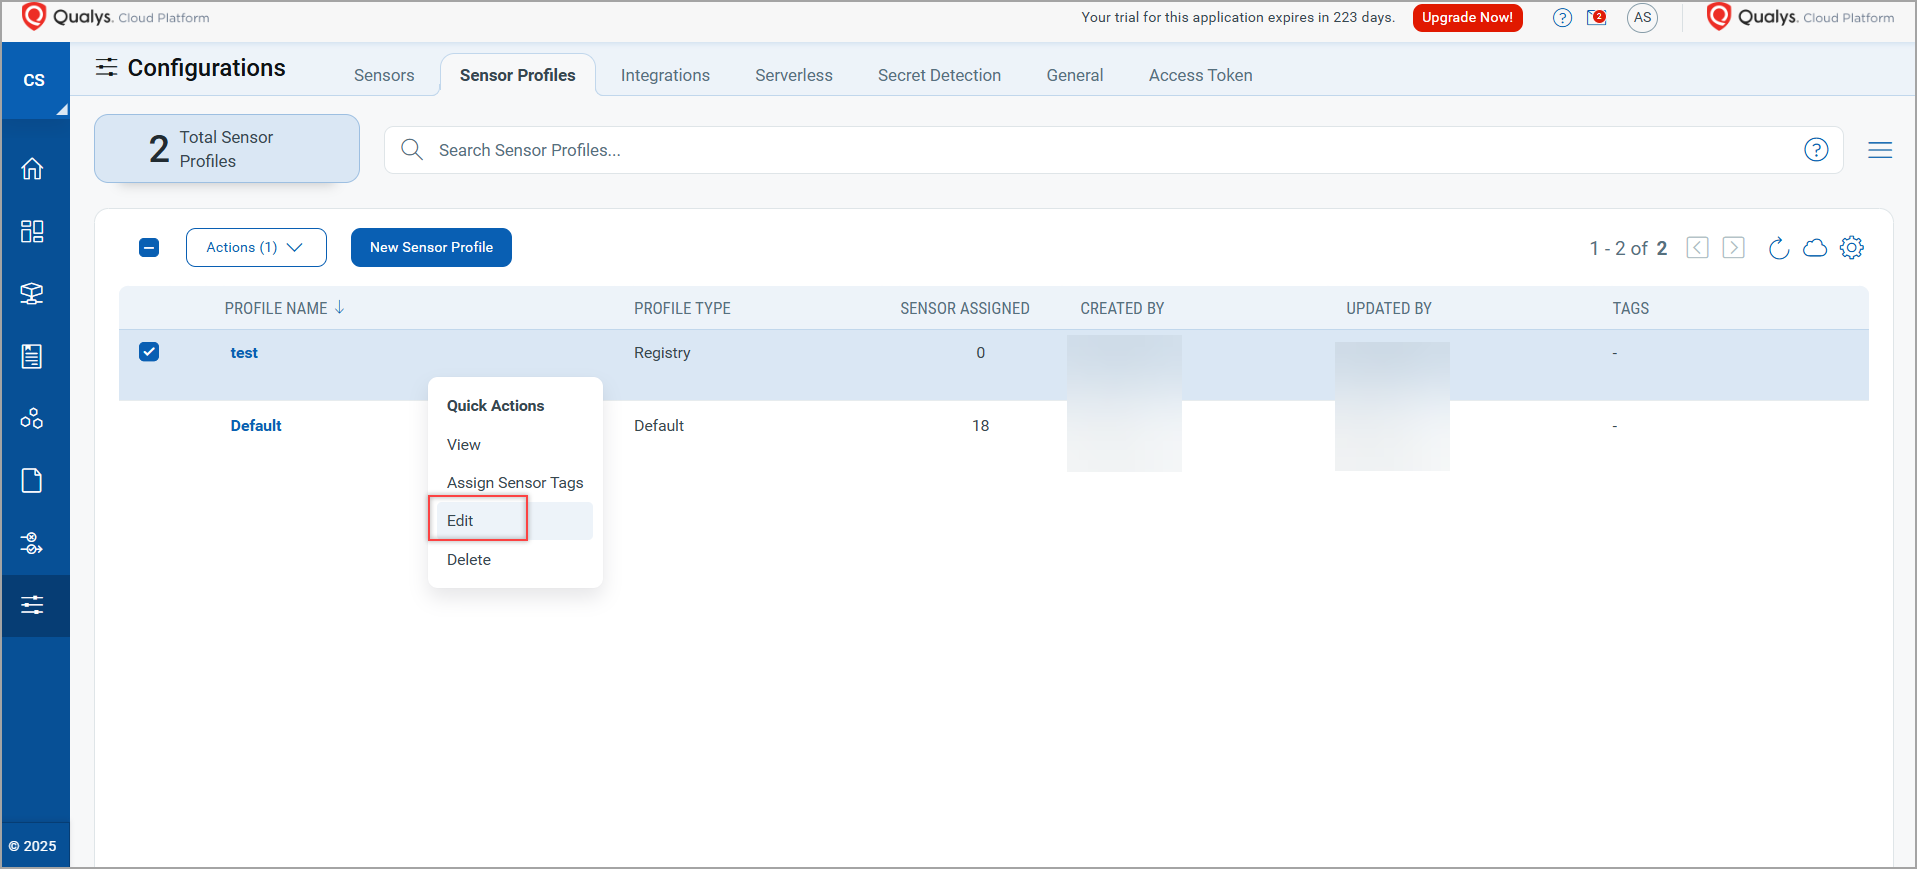
Editing, or Deleting a Sensor Profile
-
Select the sensor profile that you want to edit or delete from Configurations > Sensor Profiles.
-
Select an appropriate action from the Quick Actions menu.
Option Description View Shows details of the sensor profile. Edit Let's you edit the sensor profile. Use this option to edit sensor profile tags. Delete Deletes the sensor profile.