Roles and Permissions for CSAM
Users can be granted access to CyberSecurity Asset Management (CSAM) features and functions based on Roles. These Roles are a consolidation of fine-grained Permissions. Managers have full rights and can configure roles and permissions using the Administration utility.
The CyberSecurity Asset Management module must be added to every new user account to enable asset visibility across various modules. For steps to add the module, refer to the Administration Online Help.
How to find Roles
Navigate to the Administration module from the module picker. Within the Administration utility, you'll find roles and their related permissions in the Role Management section.

Tell me about CSAM Permissions
From the Administration utility, you can create custom roles to control which permissions should be assigned to a user with that role. By default, a Manager user is assigned all the permissions. A Manager user can decide and assign selective permissions to sub-users as per the need. For example, a user can be given specific access to create, edit, and delete dashboards but not update an asset.
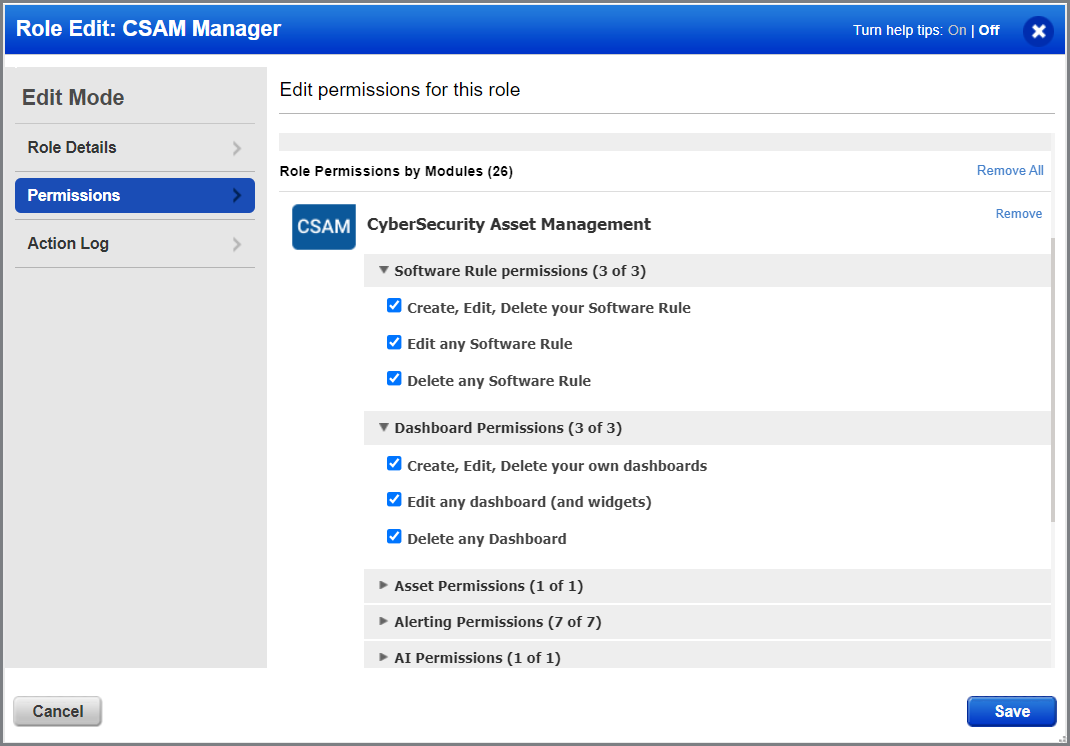
When you assign the Global Dashboard permissions to a role, the Global Dashboard permissions override the module-specific dashboard permissions. As a result, the module-specific dashboard permissions are ignored.
Tell me about Tagging Permissions
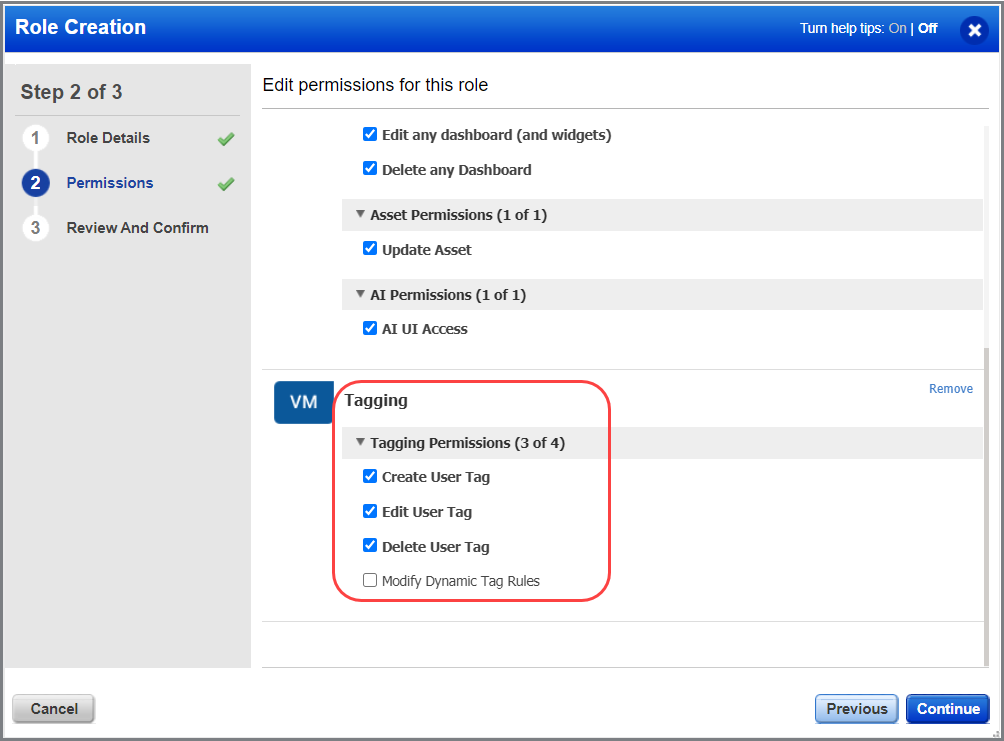
From the Administration utility, you can create custom roles to control which tagging permissions should be assigned to a user with that role. By default, a Manager user is assigned all the tagging permissions. A Manager user can decide and assign selective tagging permissions to sub-users as per the need.
For example, a user can be given specific access to create, edit, and delete user tags but not to modify dynamic tag rules.
Manage User Permissions and Scope
To ensure secure and efficient access management, Qualys allows administrators to implement role-based access control using tags. This setup enables reader users to view only the assets associated with specific tags within their scope. By configuring a user’s scope to include relevant tags, administrators can restrict access to relevant assets, ensuring better security and usability. This ensures each user can access only the assets they are responsible for, without unnecessary or irrelevant visibility.
To assign user permissions, follow these steps:
- Navigate to the Administration module.
- Select a user.
- Click Quick Actions > Edit.
- Go to the Roles and Scopes section.
- Include the relevant tag in the Global Scope section.
- Click Save to apply the configuration.
Allow full Permission to a User
You can provide all permissions to a user from the Administrator module.
To allow full permissions, follow these steps:
- Navigate to the Administration module.
- Search for the user and click the Quick Action menu.
- Select Edit, then go to the Roles and Scopes section.
- Check the box for Allow user full permissions and scope. or
Once this permission is applied, the user will be granted Super User rights.
To verify the changes, make sure to log out and log in.