Purging Assets from the Inventory Page
You can purge an individual or multiple assets from CyberSecurity Asset Management (CSAM) with the following inventory sources:
| Active Directory | BMC Helix | DNSNAME | EASM |
| Instance ID | NETBIOS | Passive Sensor | Qagent |
| ServiceNow | Virtual Machine ID | Webhook | IP |
| CAPS | Passive Sensor |
When you choose to purge the assets with the CSAM toggle turned on, the assets and associated asset data are removed from your account after purging.
Complete the following steps to purge assets:
1. Go to the Inventory > Assets tab, filter your assets based on the required inventory source, and choose the asset you want to purge.
2. Select the checkbox next to the asset you want to purge, and from the Quick Actions menu, click Purge Asset.
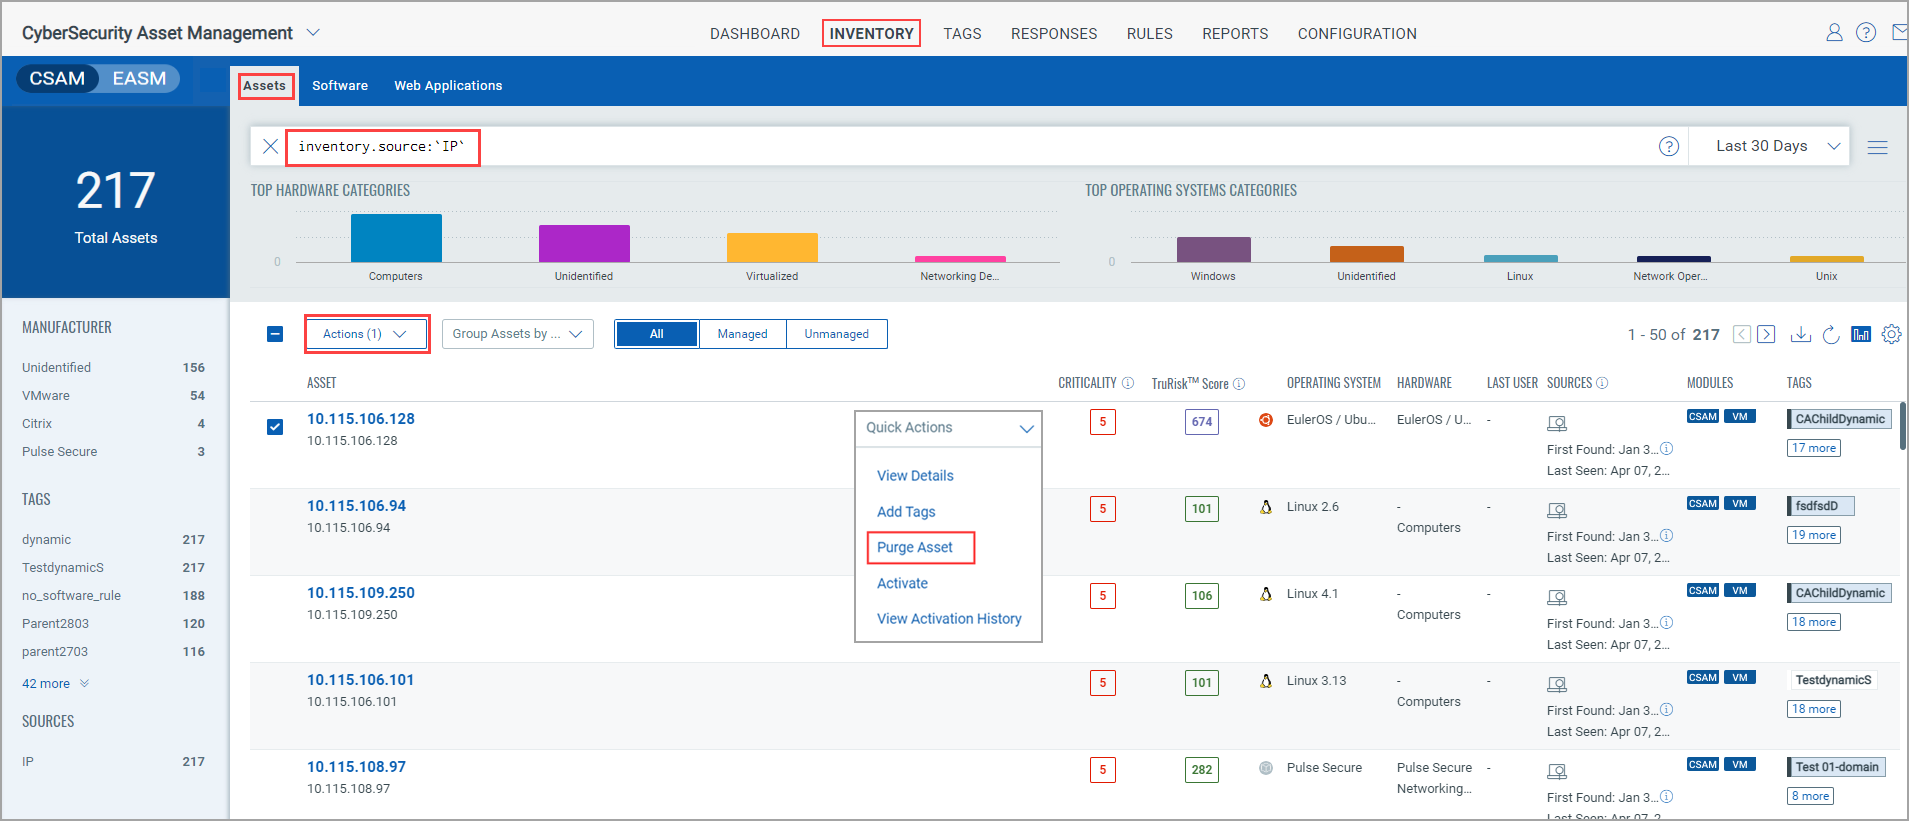
If the Purge option is not visible, it means that you do not have the necessary permissions. For more information, refer to Roles and Permissions.
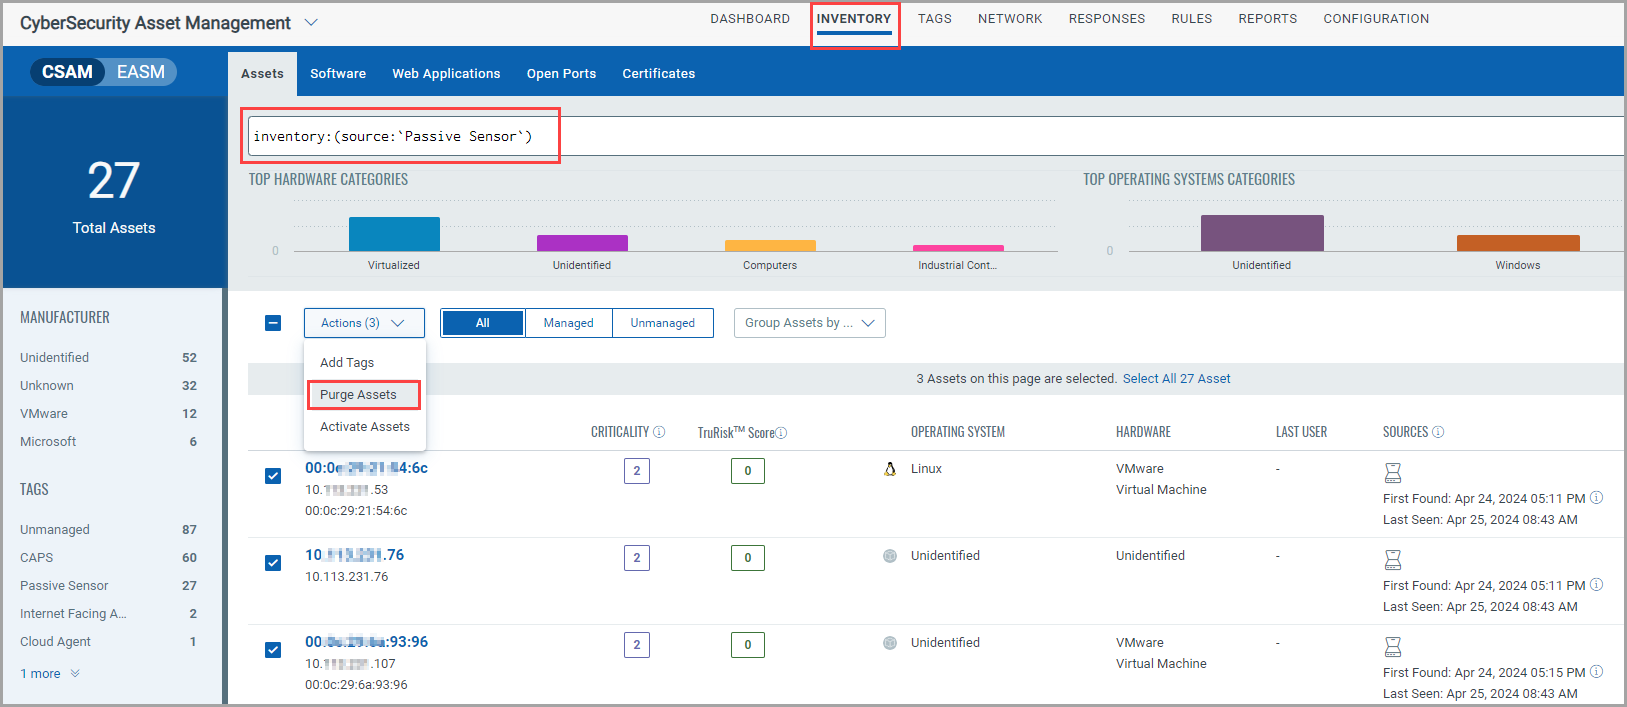
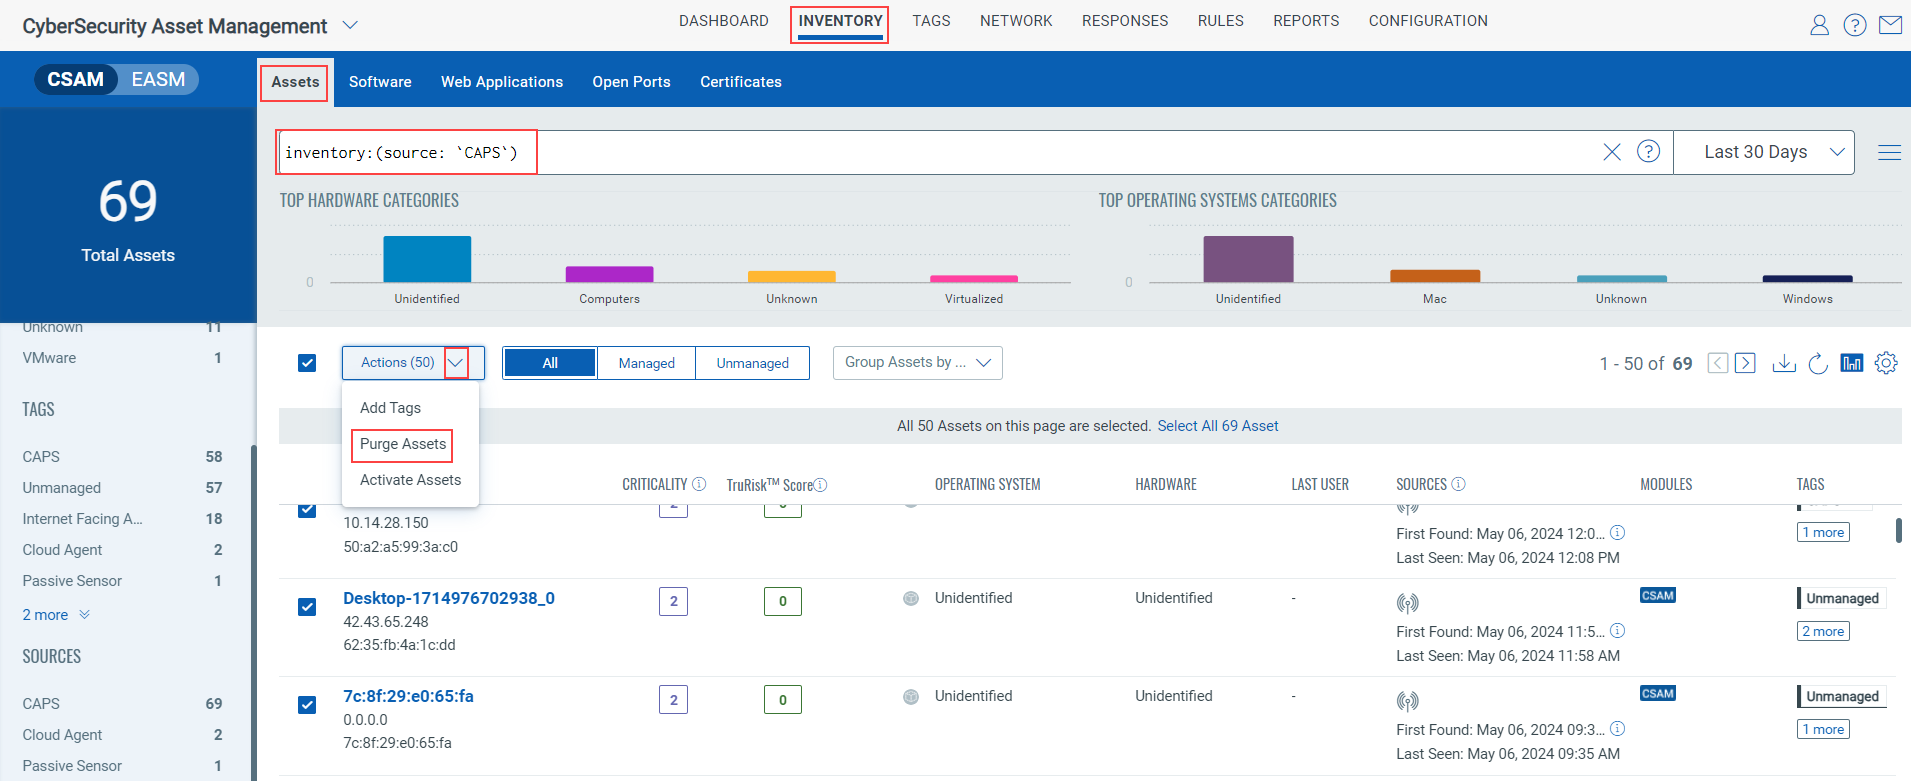
You can also purge multiple assets. Select the assets you want to purge, and from the Actions list, click Purge Assets.
Good to Know!
You can also purge the individual and multiple assets with the inventory sources Cloud Agent as Passive Sensor (CAPS) and Passive Sensor.
Prerequisite
Passive Sensor Release 1.6.4
Example 1: Purge multiple assets with a Passive Sensor as a source
Example 2: Purge multiple assets with a CAPS as a source
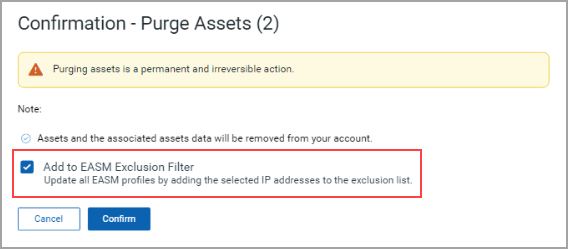
3. A confirmation message is shown. As shown in the following screen capture, click the checkbox to confirm to purge the selected assets from your account, and click Confirm.
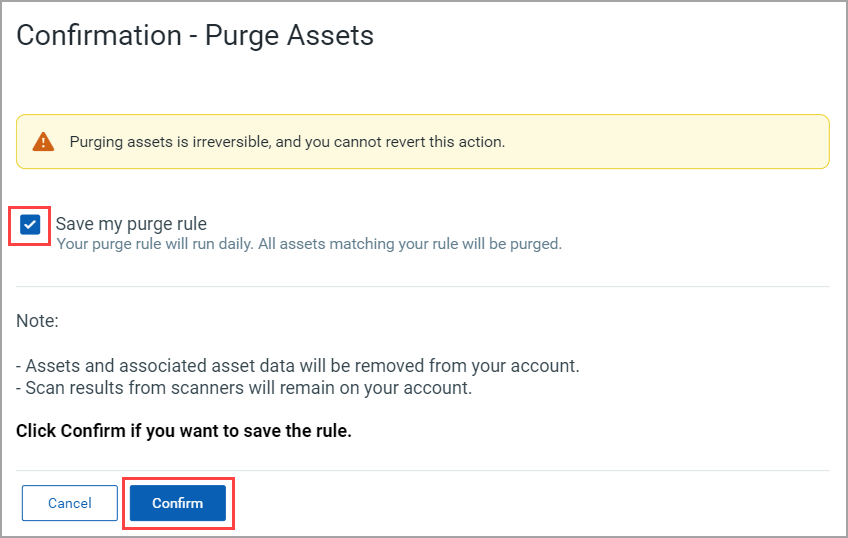
Note: When you purge the assets with the EASM toggle turned on, you can choose to exclude the IP addresses from all the EASM profiles.
The assets you selected are added for purging. After they are purged, they are no longer visible on the Inventory page.