Activating Web Application Scanning (WAS)
1. Go to Inventory > Web Applications > Potential Web Assets tab. Select the checkbox next to the asset and click Activate WAS from the Quick Actions menu.
Note: The WAS activation quota limit check is applied to verify whether the quota limit specified during WAS enablement is reached. If the quota limit is reached, you cannot activate WAS for the asset, and the message is shown that mentions that the quota limit is reached.
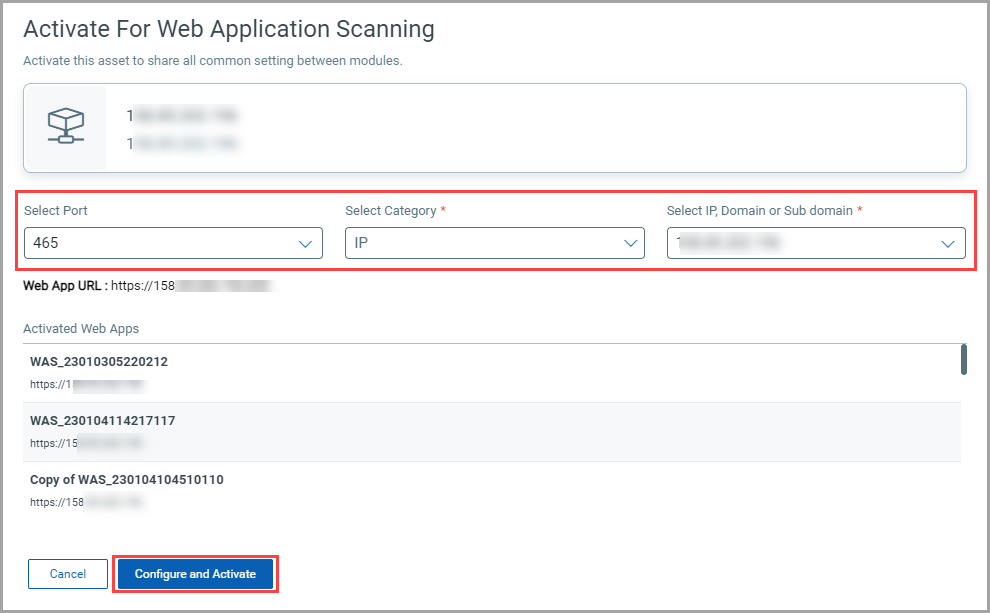
2. The Activate for Web Application Scanning window is shown. Select Port, Category, Domain, or Sub Domain, and click Configure and Activate. The WAS application opens in another tab.
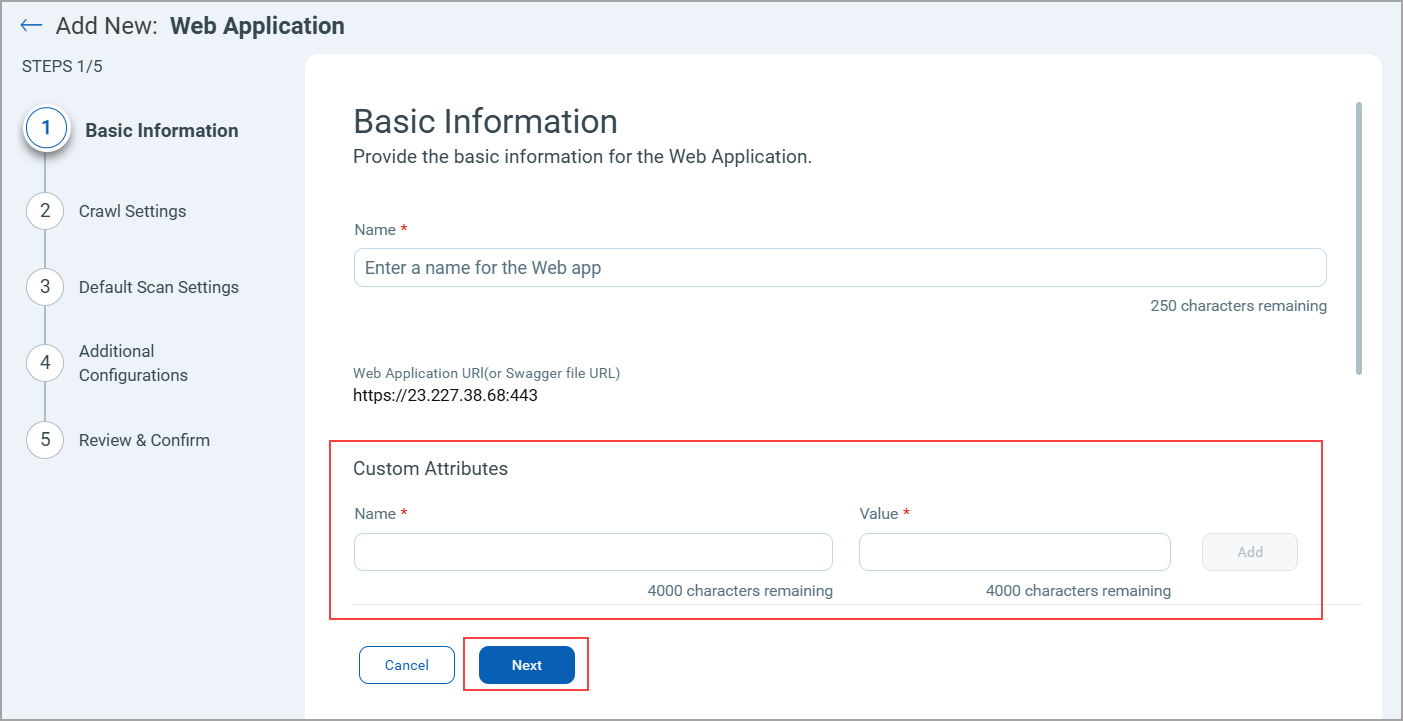
3. On the "Basic Info" page, provide the web app name. You can enter the custom attributes names and values, which is optional, and click Next.
Note:
- The web application URL can be 'http' or 'https.' In the earlier step, if Port '80' is selected, the web application URL is 'http,' and if any other port is selected, the web application URL is 'https.'
- When you create a web application from WAS, you can select tags to apply to the web application. But when you create a web application from CSAM, you cannot select tags to apply to the web application.
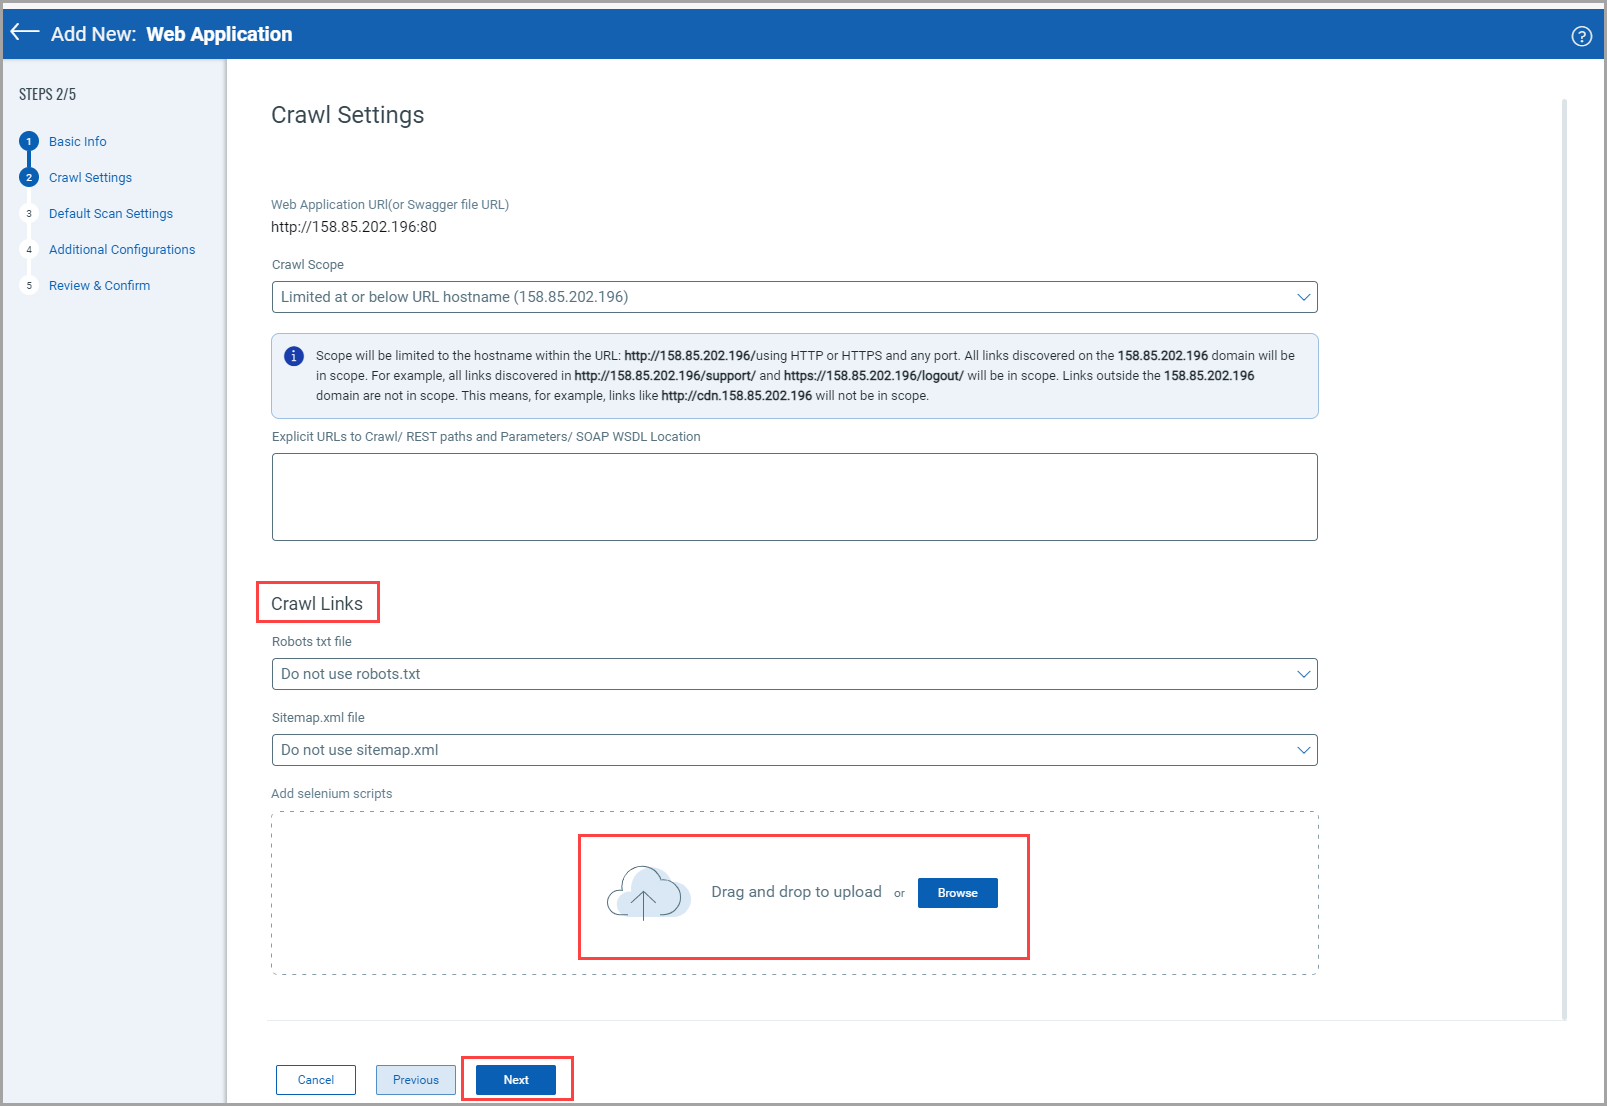
4. On the Crawl Settings page, specify Crawl Scope in case of the authenticated scan. Ensure that you always provide the login link as the first link. Click Next.
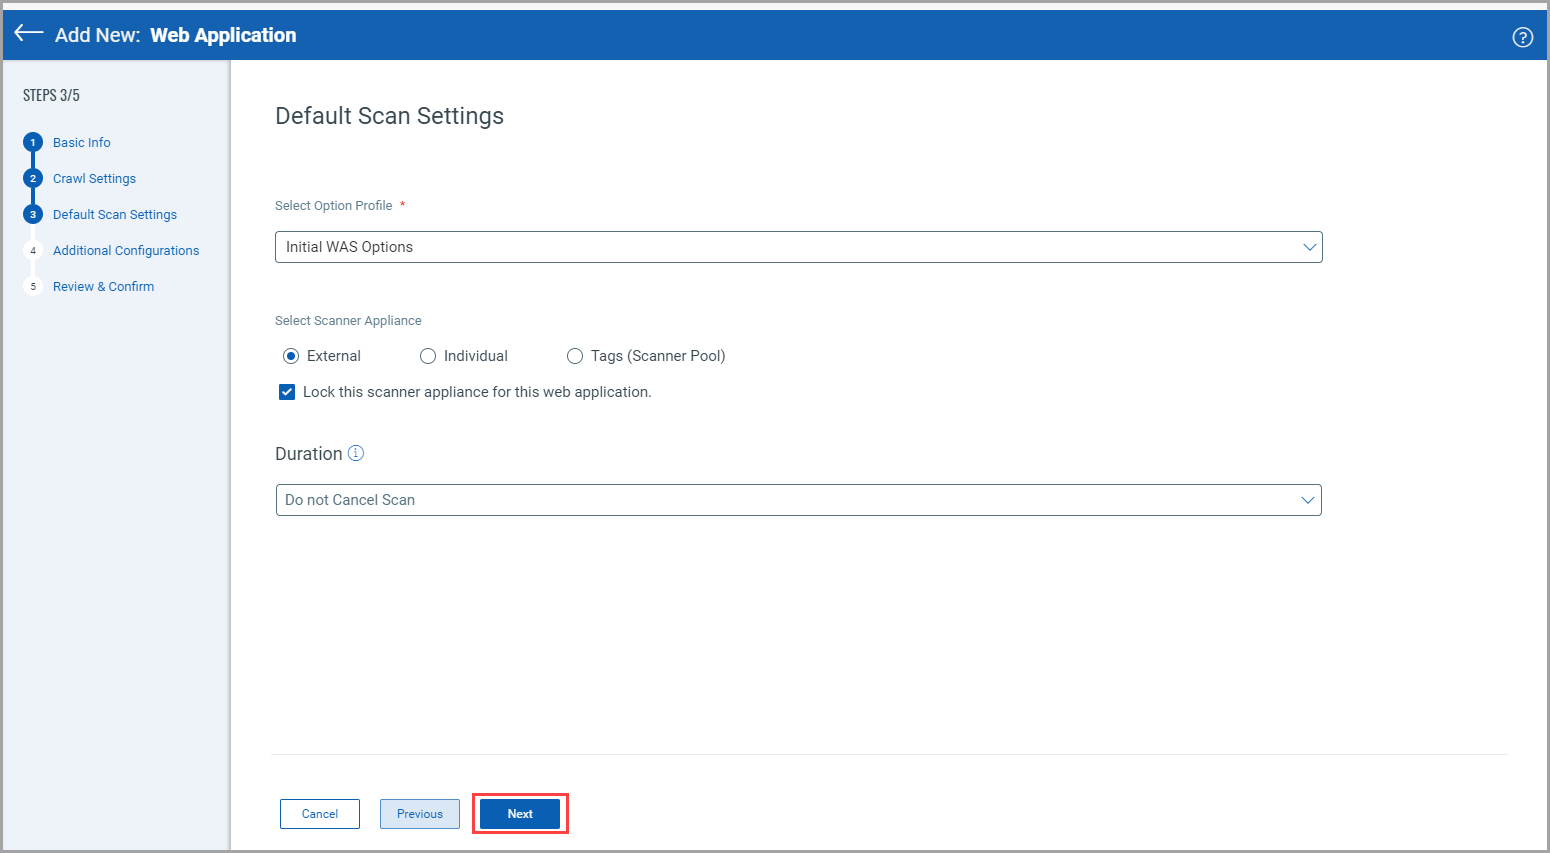
5. Enter the following details on the "Default Scan Settings" page, and click Next.
- Select the required Option Profile to scan each of your target web applications.
- Choose the Scanner Appliance. You can lock the Scanner Appliance for the web app that you are creating.
- Choose the duration to cancel the scan.
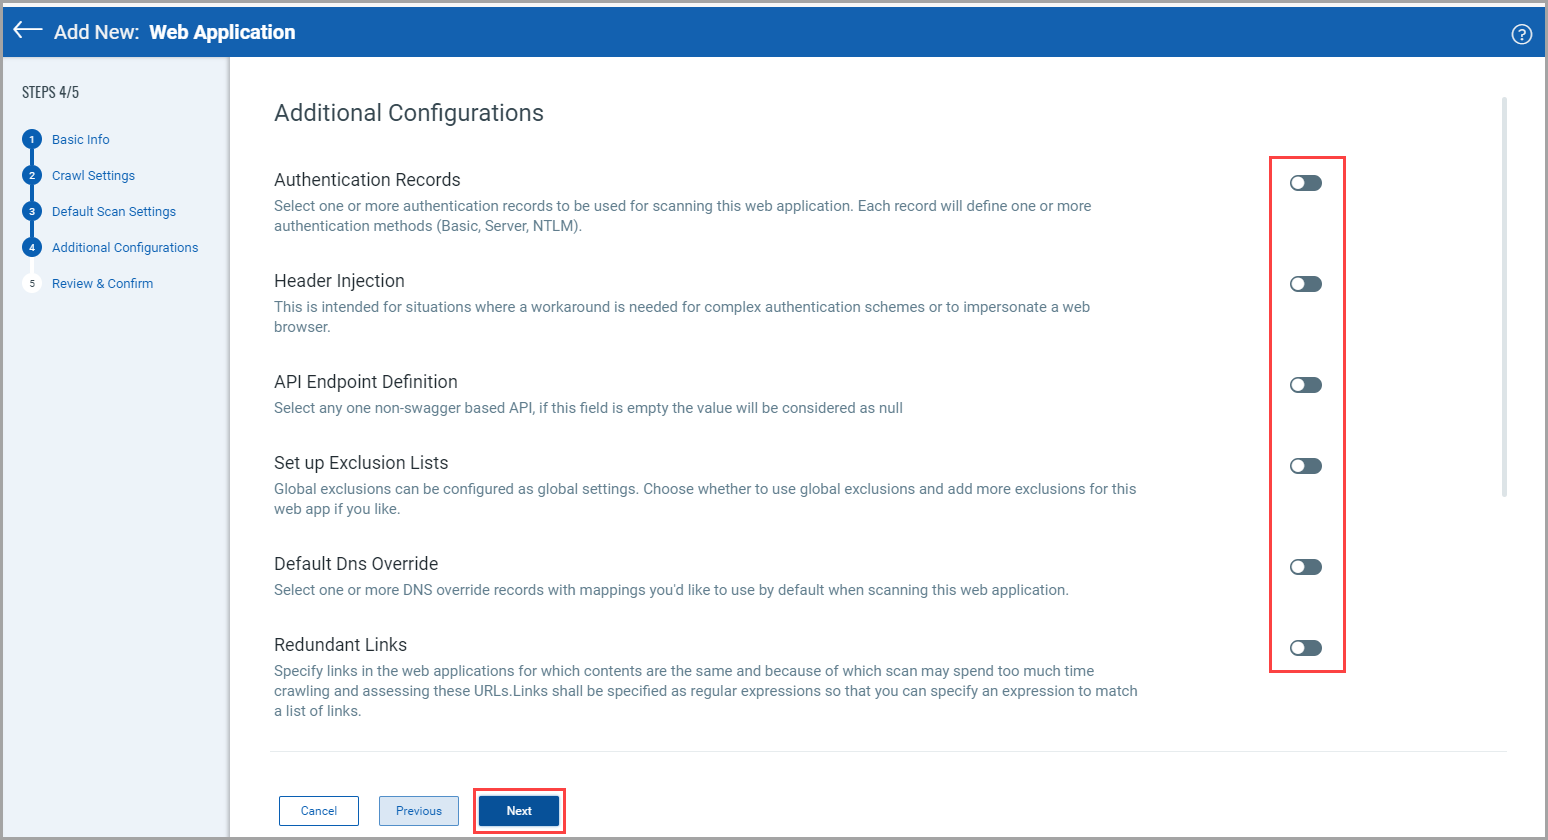
6. (Optional) From the "Additional Configurations" page, enable the additional configurations according to your scan and click Next.
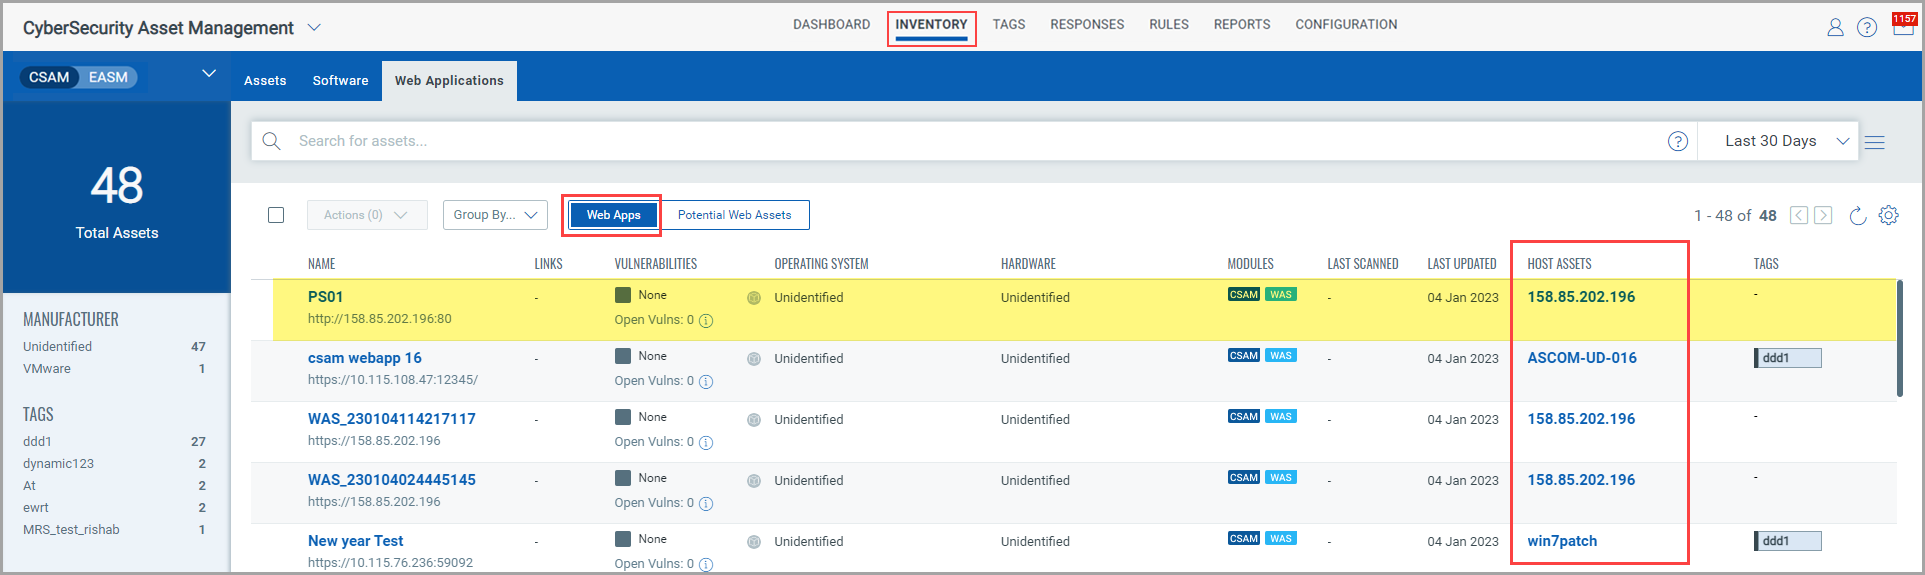
7. Review the details on the "Review and Confirm" page, and click Add Web Application. You can see the newly added Web Application under the Web Apps tab. Whenever you create a Web Application through CSAM, you can see the web applications and their host assets details.