How to Launch Scans from TruConfirm tab
When you launch the TruConfirm assessment from the TruConfirm tab, the system offers you options to scan a range of asset IPs for TruConfirm applicable CVEs, business entities, or asset tags. To launch the scan,
From this page, you can click Create to add an option profile. For more information on the information to be added while configuring your option profile, refer the Option profile from VMDR Online help.
- Go to the TruConfirm tab > Scan tab.
-
Click TruConfirm Assessment.
The platform launches the TruConfirm Assessment steps. By default, the system shows Step 1: Basic Information. This page has pre-filled data, such as the option profile and the scanner appliance to be used for scanning. Enter the title for the scanner.
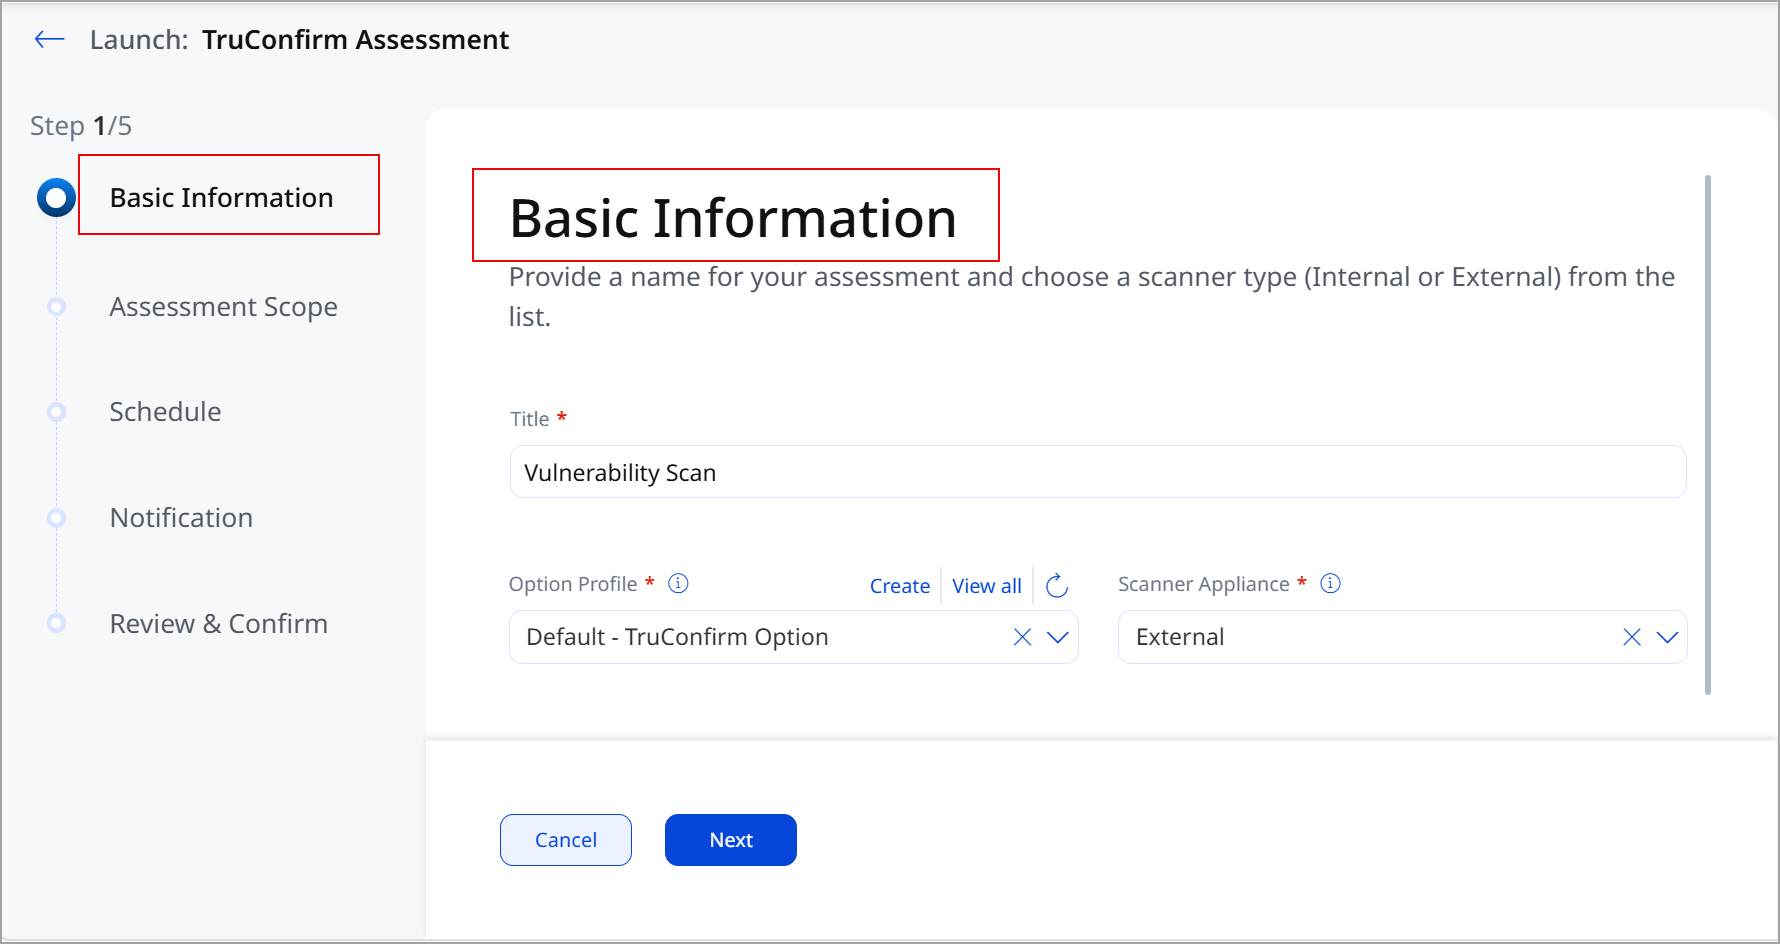
- Click Next.
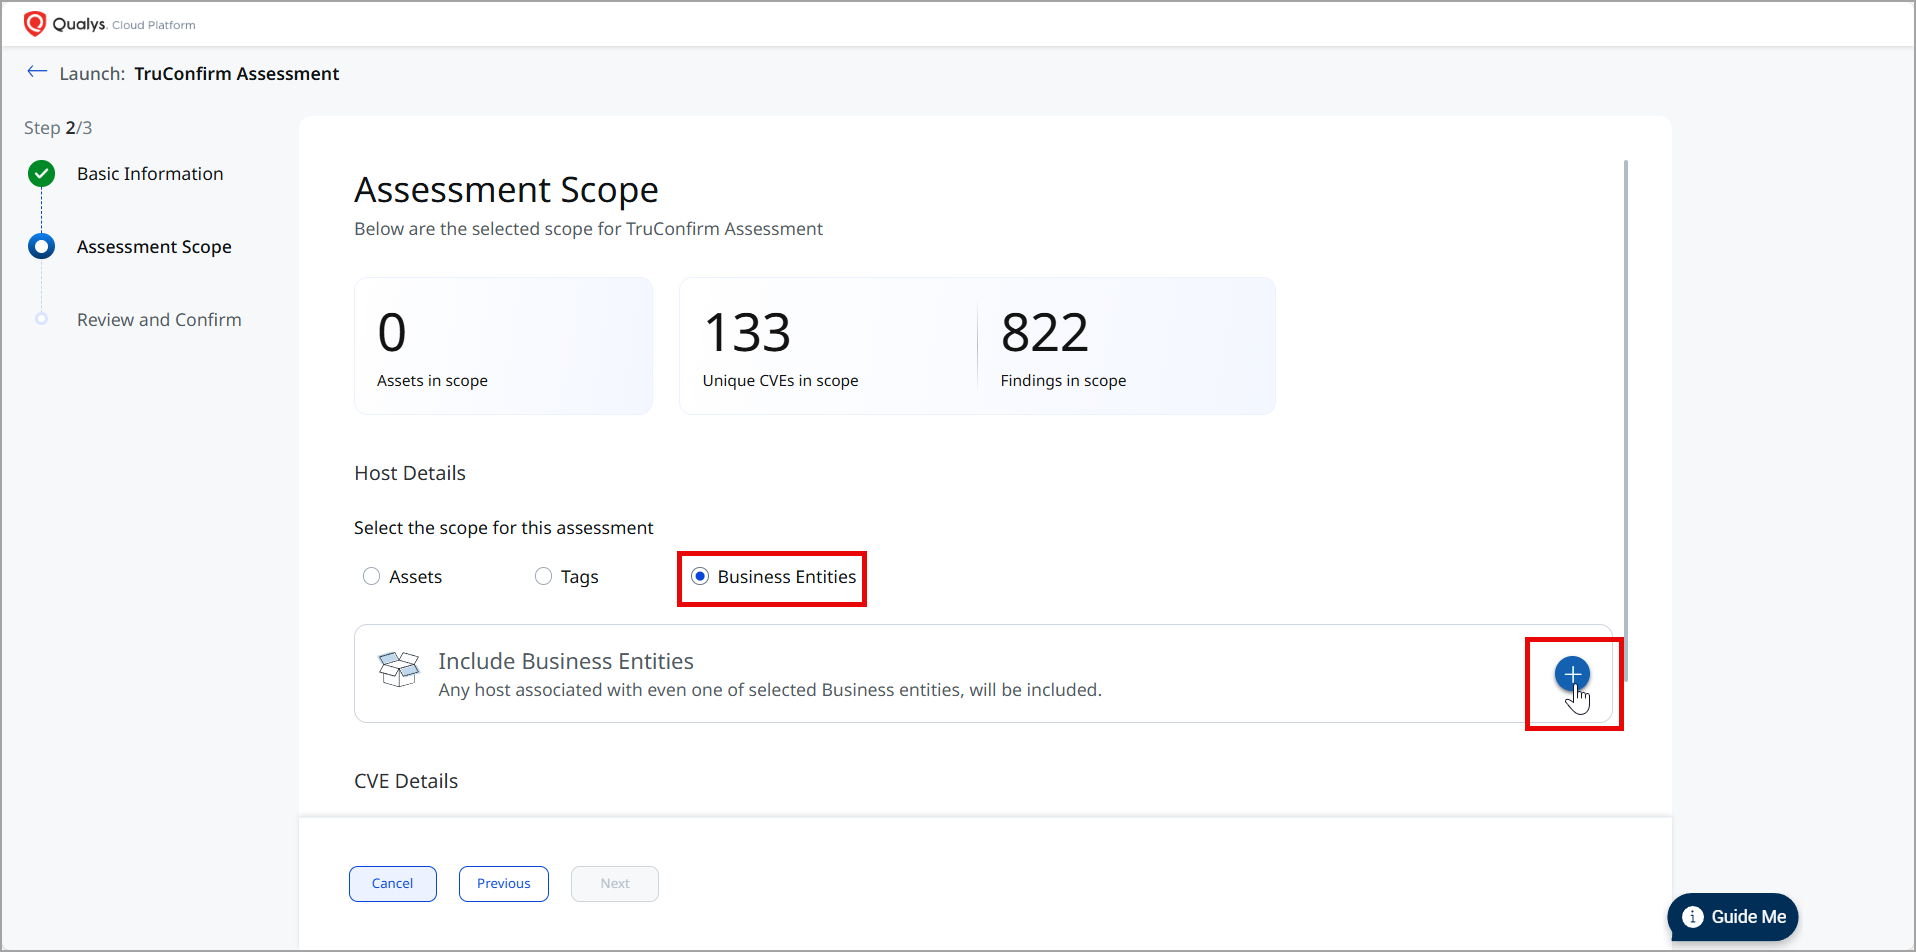
The platform shows the Assessment Scope page. This page gives you an overview. You can see the scope of the TruConfirm assessment. You can view the number of assets, unique CVEs, and more.

- From the Host Details section, click any of the following:
- Assets: If you select this option, the platform allows you to enter a range of IP addresses. The platform runs the scans on these assets.
- Tags: if you select Tags, the platform allows you to select specific tags, as shown in the figure below.

You can click All Tags to view and select from the complete list of available tags. As you select a tag, it gets added to the right side, as shown in the image below:
Click Add Tag. The platform includes the assets associated with these tags in the scope. - Business Entities: if you select Business Entities, the platform allows you to select specific business entities. You can select the business entities from the list and click Apply.
- From the CVE Details section, you can click any one of the following options:
- All CVEs: the platform includes all the CVEs in the scan scope.
- Select CVEs: If you select this option, the platform allows you to select the available CVEs.
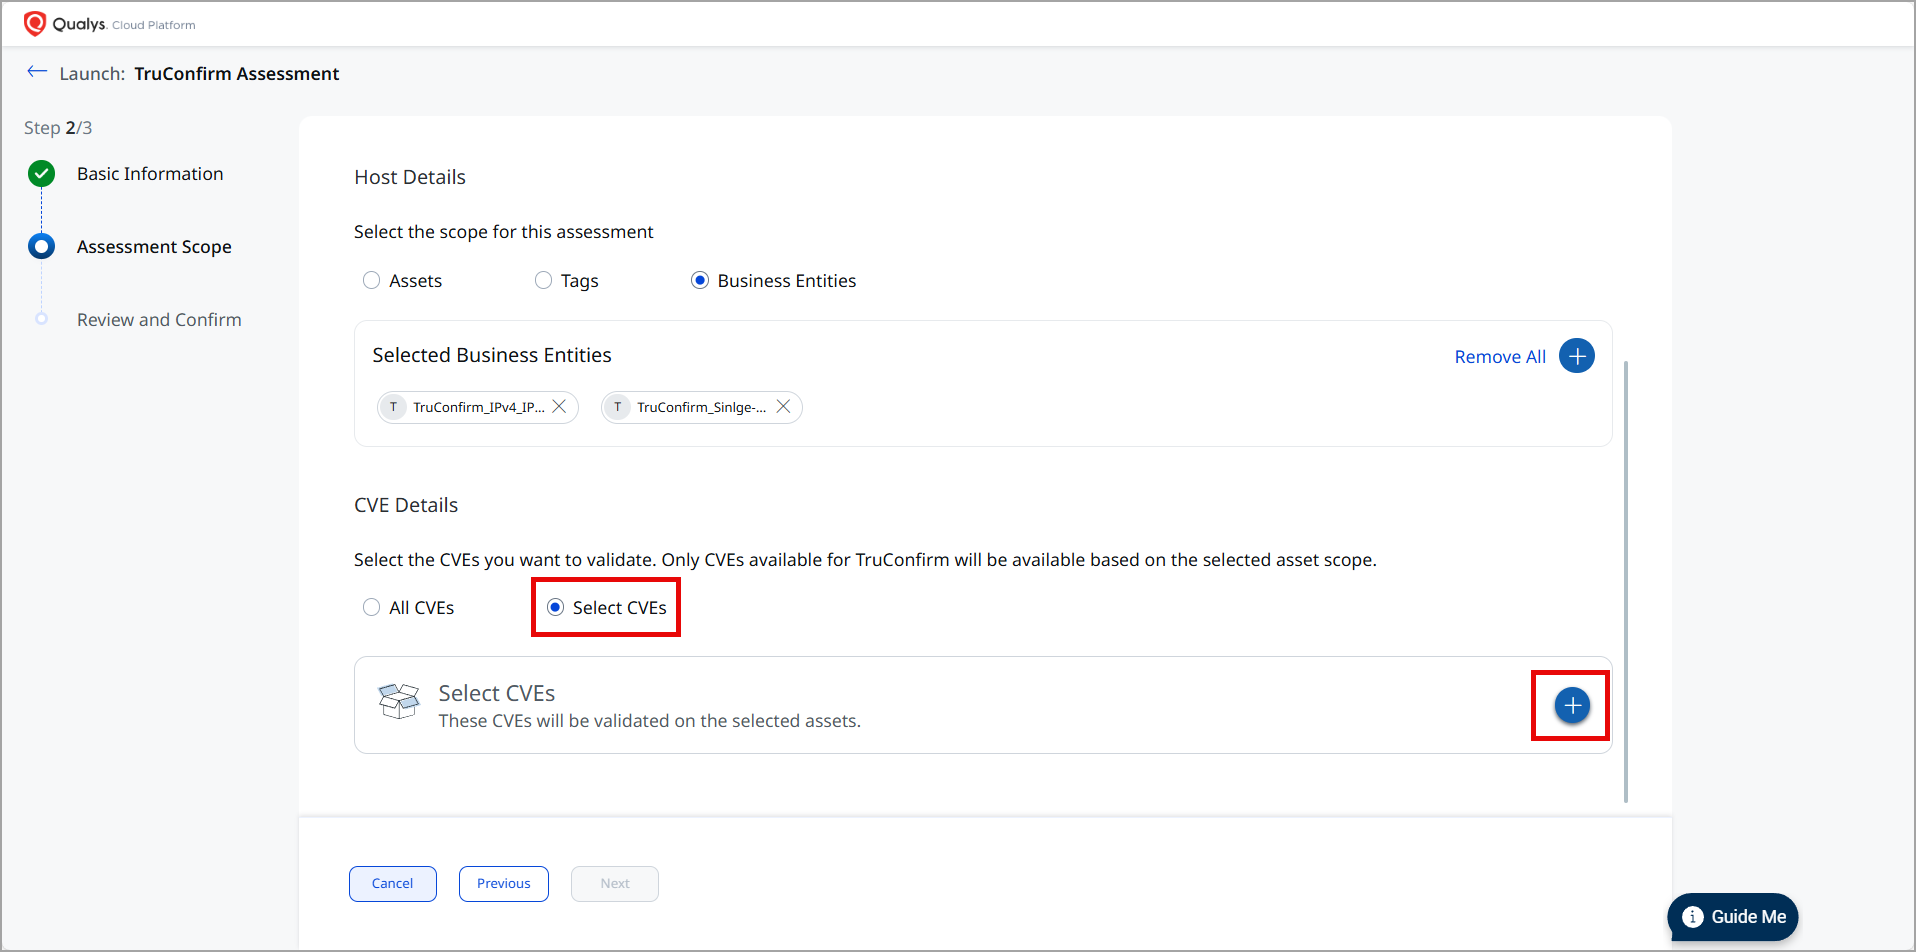
Select the CVE and click Apply.

- Click Next.
The platform shows the Schedule tab. This tab offers gives you greater control and automation for your TruConfirm vulnerability scans. From this tab, you can configure precise scan schedules to launch automated scans without manual intervention. - Select any of the following schedules:
- Run Now
- Single Occurrence: this is a one-time scan at a defined date and time.
- Recurring: these are scans that run on a set cadence. For these recurring scans, you can set schedules to run daily, weekly, or monthly and specify which days of the week scans should run.
- From the Timezone Settings section:
- Select the timezone to schedule the scan.
- Configure the start date and time for the scan.
- Select the frequency for the scan.
- Set the end-date and time for the scan.
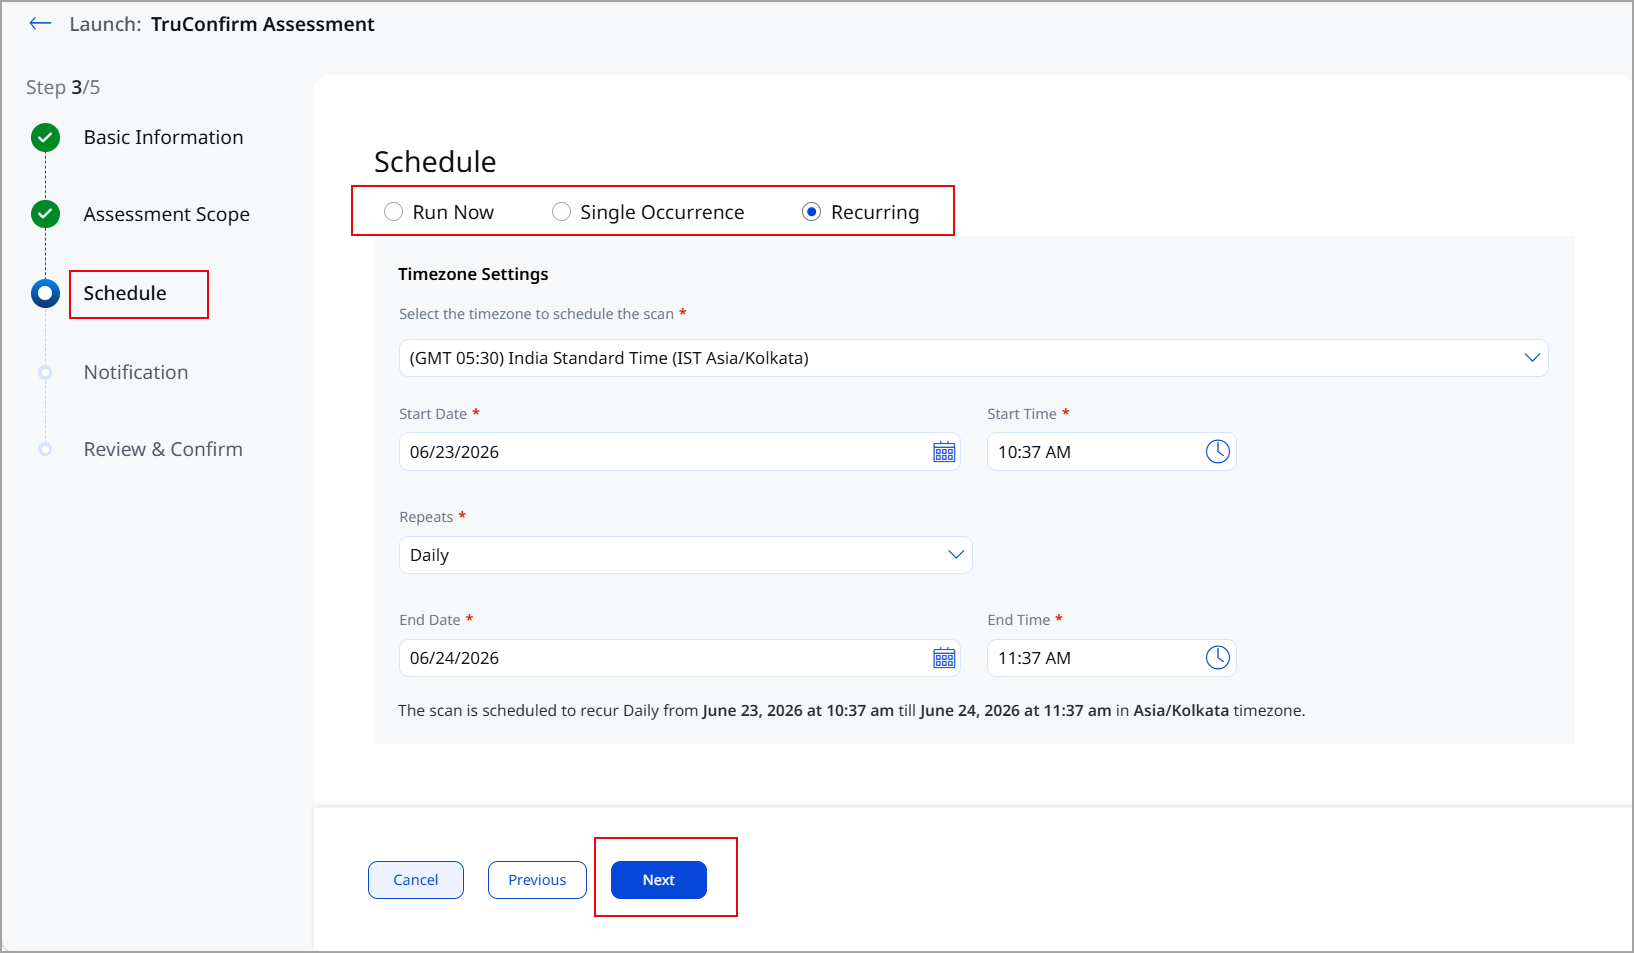
- Click Next.
The platform shows the Notifications page. You can set up and manage email notifications for your TruConfirm scans, if required.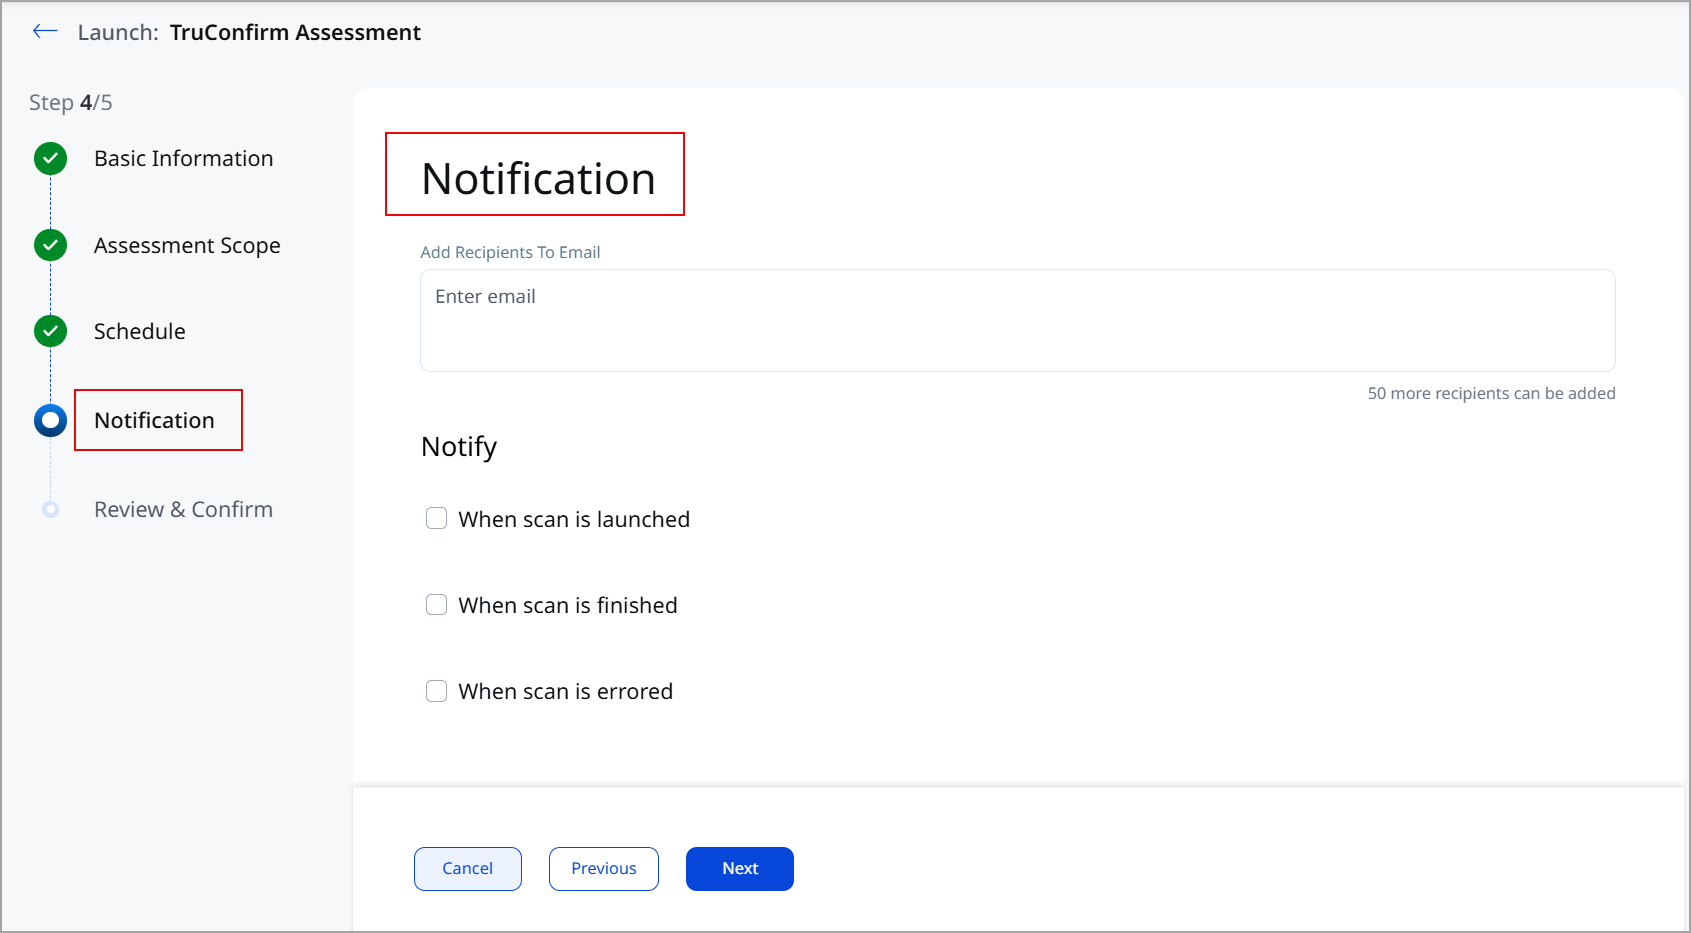
- Enter one or multiple email notification recipients.
- From the Notify section, choose when to send notifications, whether it’s when a scan starts, finishes, or encounters an error. As you click an option, the platform allows you to enter the corresponding message.
- Click Next.
The platform shows the Review & Confirm page.

- Click Launch.
The platform launches the TruConfirm assessment. The entry for this assessment is displayed on the TruConfirm tab > Scan tab. One entry is created for every scan. The status can be queued, running, etc.