Configure an AWS S3 Integration
Perform the following steps to create a bucket with the necessary permissions and configurations:
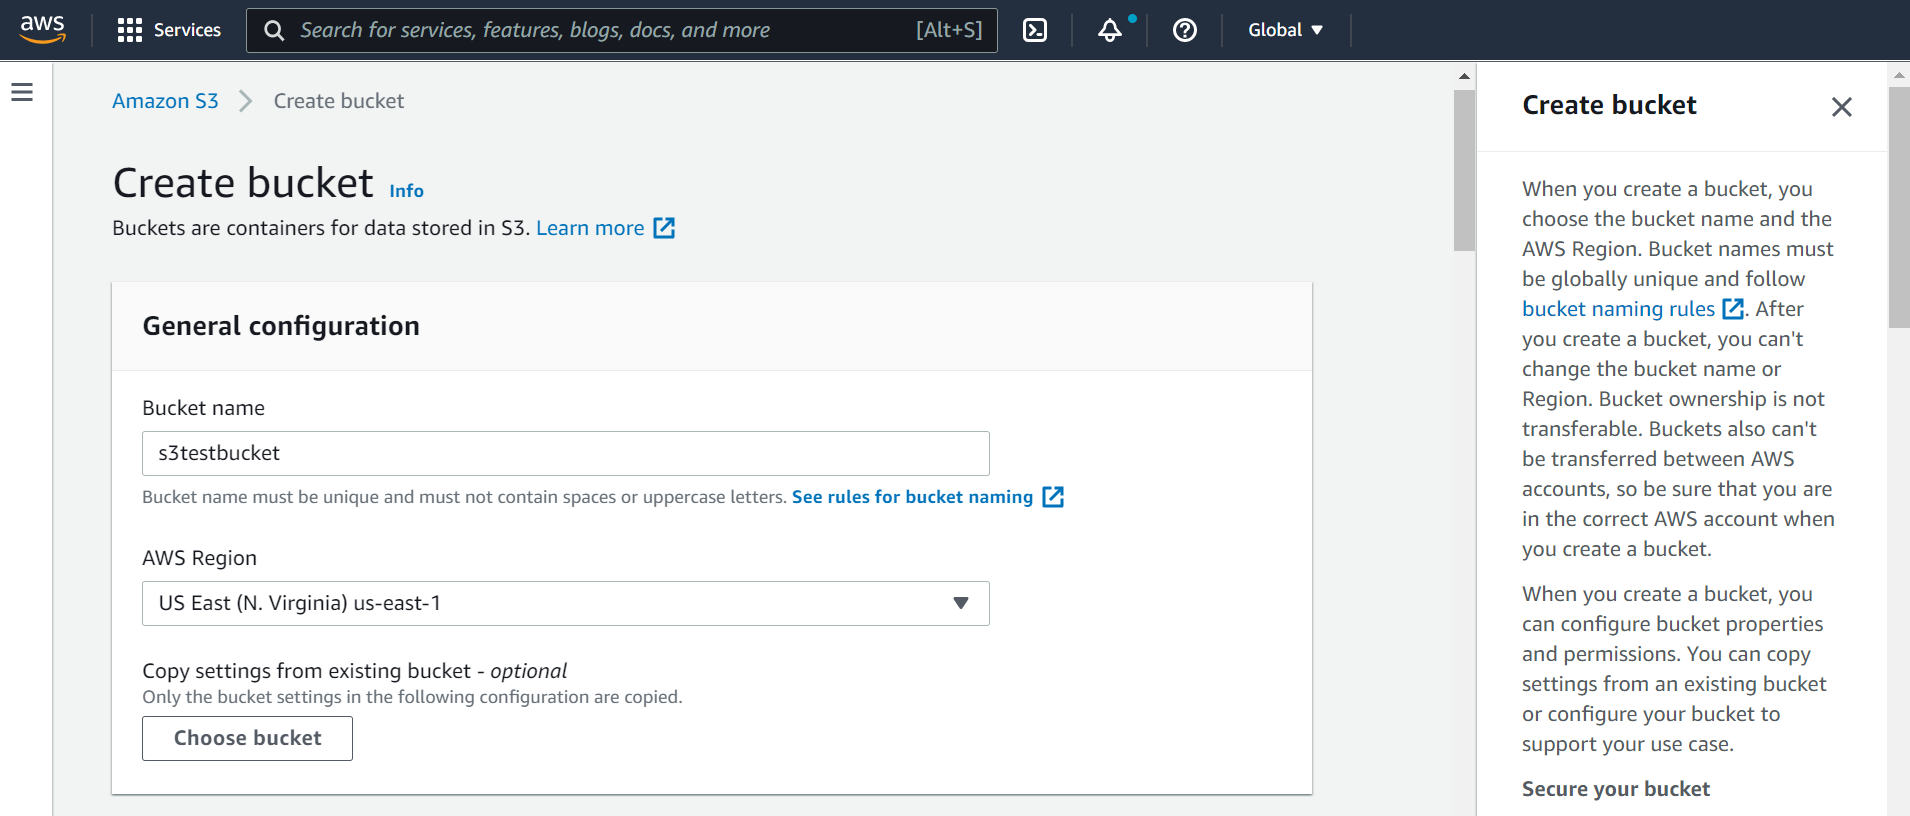
- On the AWS portal, create an AWS S3 bucket.
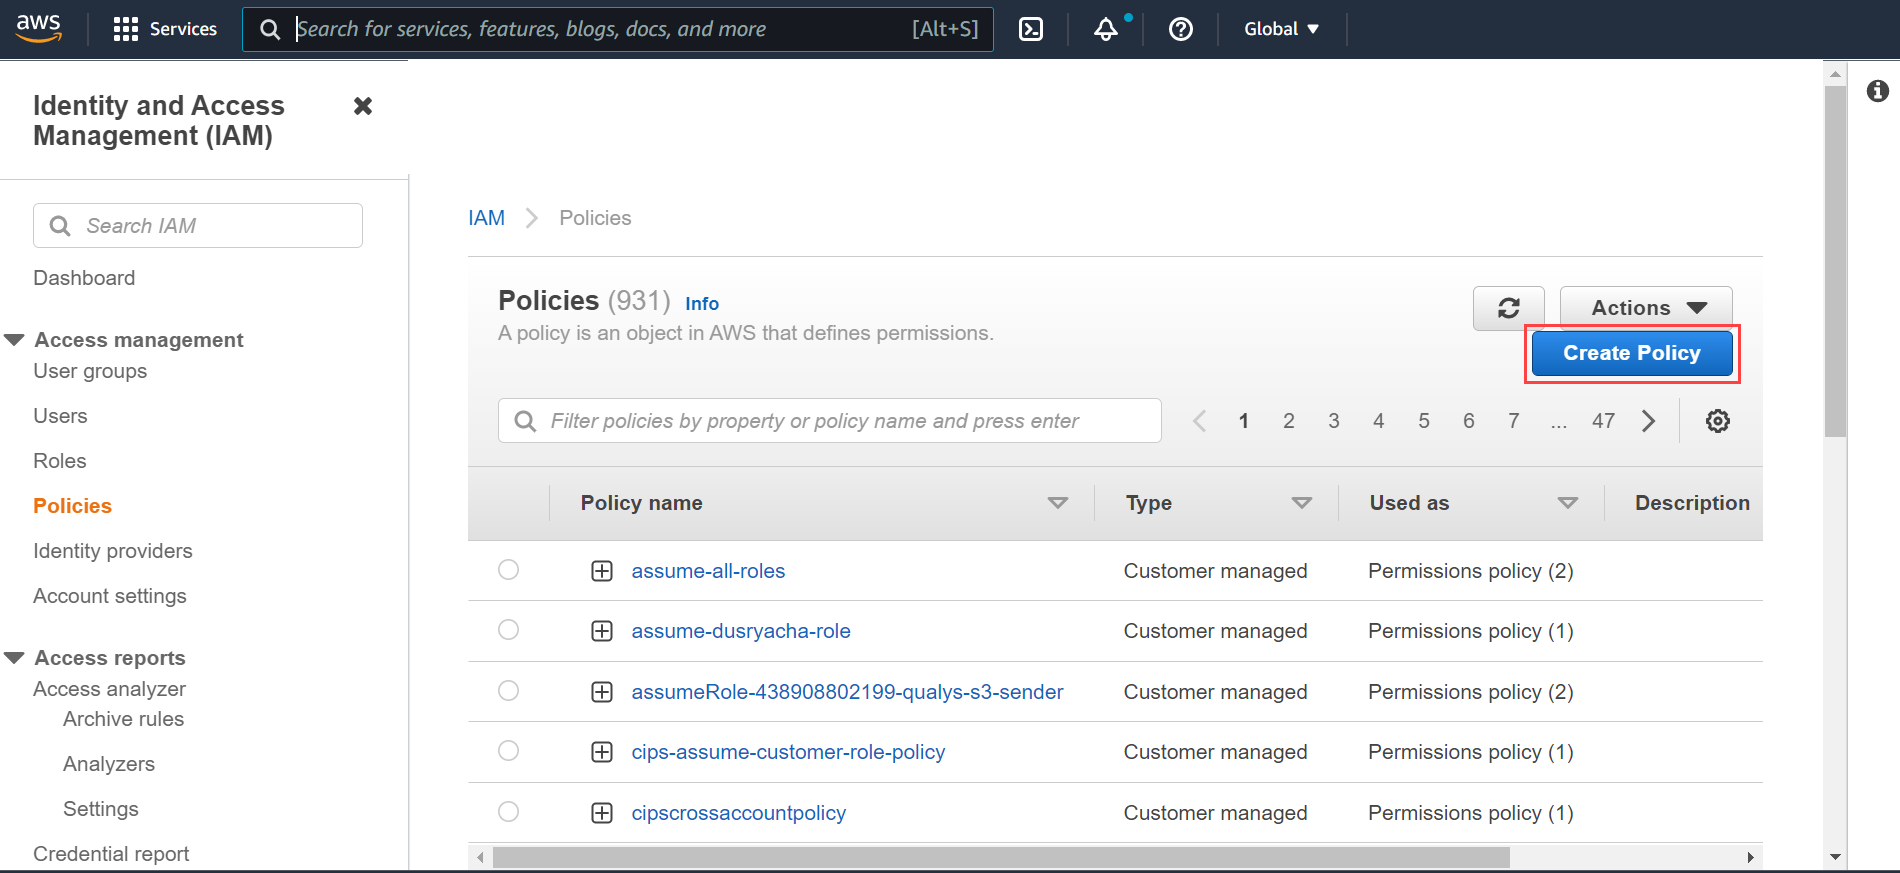
- Create a policy to give access with PutObject permissions to the bucket.
Sample Policy
Policy to grant S3 bucket access{
   "Version":"2012-10-17",
   "Statement":[
      {
         "Sid":"VisualEditor0",
         "Effect":"Allow",
         "Action":[
            "s3:PutObject"
         ],
         "Resource":"arn:aws:s3:::sample-qualys-findings/*"
      }
   ]
}
Policy to grant S3 bucket access
‘sample-qualys-findings’ is the bucketName.
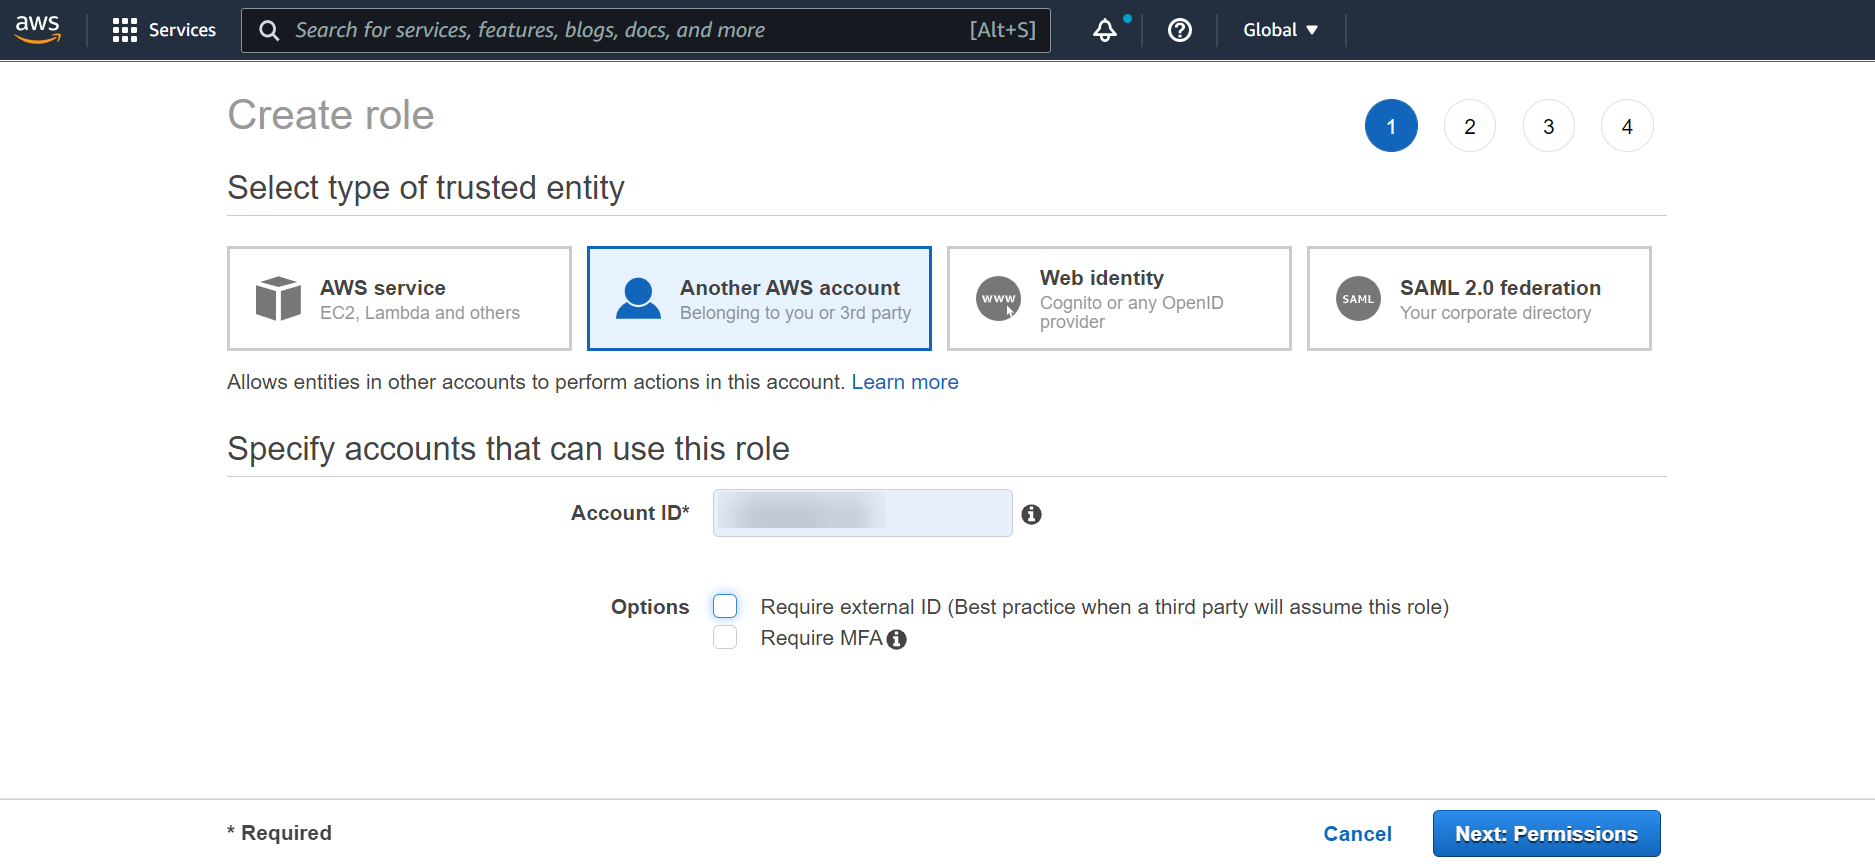
- Create a role on the AWS IAM console as follows:
- Go to Roles and click Create role.
- Select the Another AWS account role type.
- Provide your Qualys Account ID in the Account ID field.
- Select Permissions and then attach the policy created above to this role.
- Choose Tags. (Optional)
- In the Review section, add the role name and role description, and then click Create role.
- Go to the created role, and in the Trust relationships tab, click Edit trust relationship and add the Qualys AWS role ('arn:aws:iam::805950163170:role/QUALYS_ROLE_ASSUMING_CUSTOMER_ROLE') to the trust relationship.
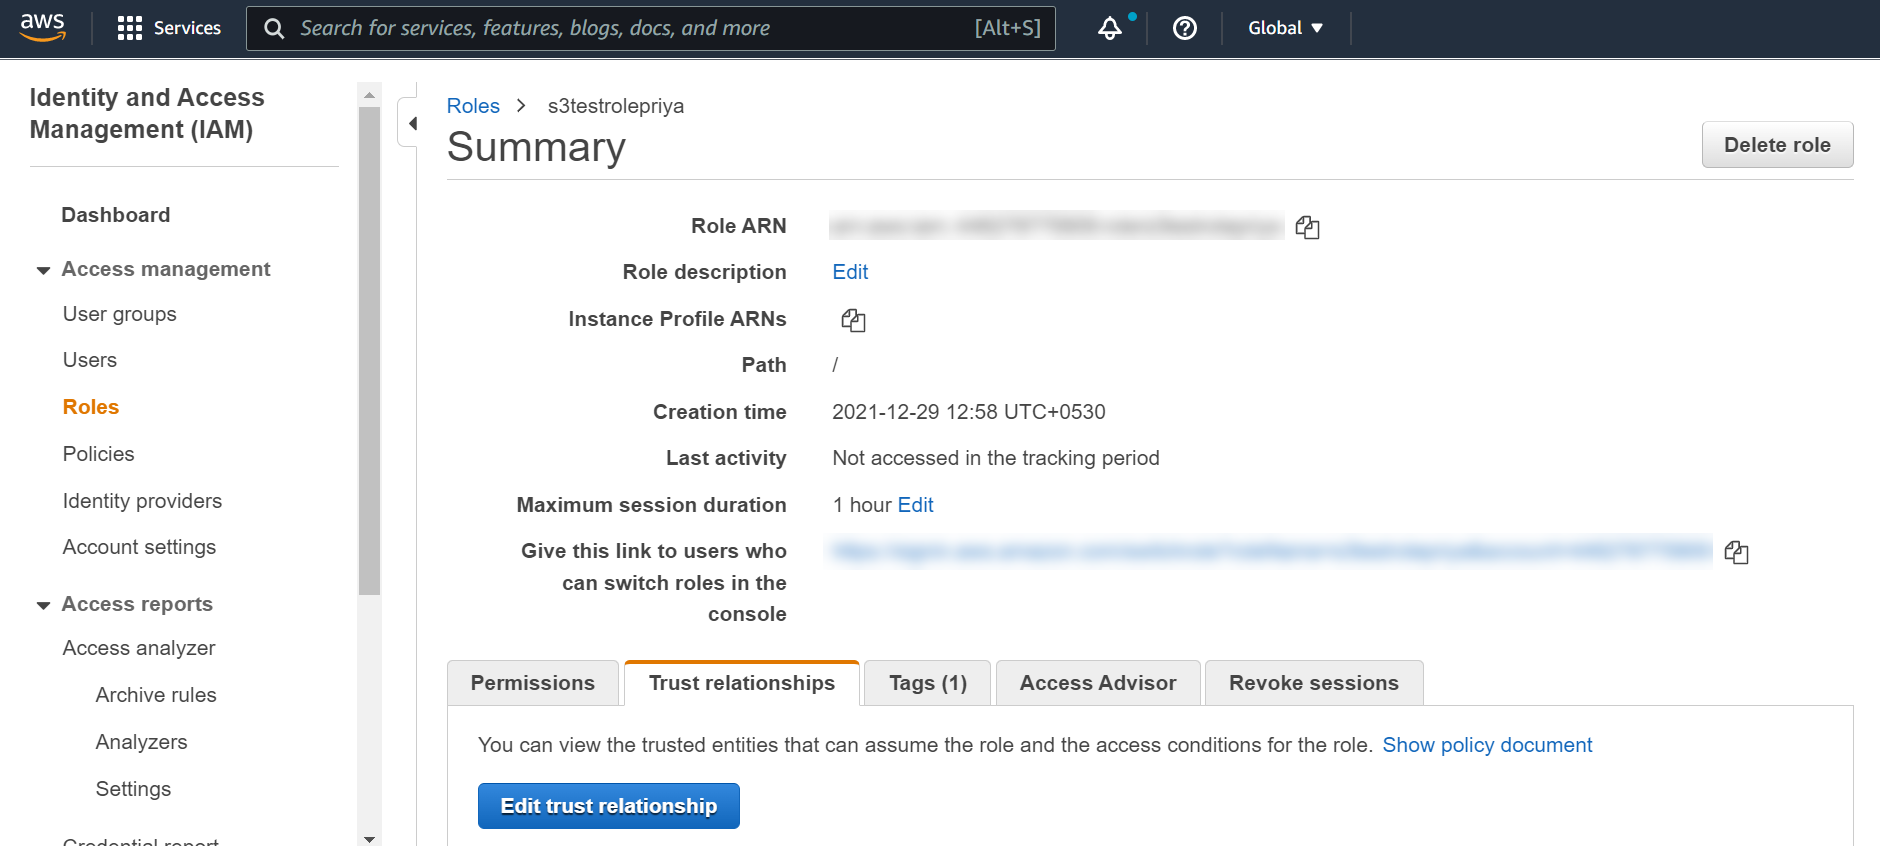
Here is the sample trust relationship role:
Sample Trust Relationship Role
{
   "Version":"2012-10-17",
   "Statement":[
      {
         "Effect":"Allow",
         "Principal":{
            "AWS":"arn:aws:iam::805950163170:role/QUALYS_ROLE_ASSUMING_CUSTOMER_ROLE
"
         },
         "Action":"sts:AssumeRole",
         "Condition":{

         }
      }
   ]
}
In this example, 805950163170 is a Qualys account.
Note down the ARN of the role created by you (not the Qualys role ARN) for further use in the integration process.
-
Generate a JWT token by running the Generate JWT Token API.
-
Run the Register/Onboard Integration API to onboard/register the integration.
For more information, see:The response includes an integration ID and an external ID. The external ID needs to be added to the customer role created for adding Qualys AWS account to the trust relationship.
- For VM/VMDR: Register/Onboard an Integration
- For PC: Register/Onboard an Integration
- Integration ID: Unique ID assigned to every integration with AWS S3 bucket
- External ID: <Qualys POD>-<Qualys Customer ID>-<random alphanumeric number>
- Qualys POD (preset by Qualys) refers to the Qualys Platform associated with your Qualys subscription. View Qualys Platform Identifier to know more about Qualys platforms.
- Qualys Customer ID (preset by Qualys) is your unique Qualys Customer ID.
- Use the External ID generated from Step 4 in the Trust Relationship of your role.
The external ID needs to be added to the customer role which is created for adding Qualys AWS role to the trust relationship.
The updated trust relationship looks like the following:
- Go to AWS IAM Console > Roles.
- Select the role and go to Trust relationships tab.
- Click Edit Trust Relationship, add the following JSON in the Condition JSON, and then click Update Trust Policy.
Condition JSON
Where, sts:ExternalId is the externalId received in the response of the Onboarding POST API."StringEquals":{ "sts:ExternalId":"US_POD_1-71-36da0dcf-43d7-4014-82a7-47ce22a0db57" }
The updated trust relationship looks like the following:- Go to AWS IAM Console > Roles.
- Select the role and go to Trust relationships tab.
- Click Edit Trust Relationship, add the following JSON in the Condition JSON, and then click Update Trust Policy.
Customer Trust Relationship Role
{ "Version":"2012-10-17", "Statement":[ { "Effect":"Allow", "Principal":{ "AWS":"arn:aws:iam::805950163170:role/QUALYS_ROLE_ASSUMING_CUSTOMER_ROLE " }, "Action":"sts:AssumeRole", "Condition":{ "StringEquals":{ "sts:ExternalId":"US_POD_1-71-36da0dcf-43d7-4014-82a7-47ce22a0db57" } } } ] } - Run the Validate Integration API to enable the AWS S3 bucket integration with Qualys.
For more information, see:- For VM/VMDR: Validate Integration
- For PC: Validate Integration
Now, you are done with configuration of an AWS S3 Integration.