Upgrade Plugin
Perform the following steps to upgrade the plugin:
- Go to Organizational Settings > Extensions > Installed.
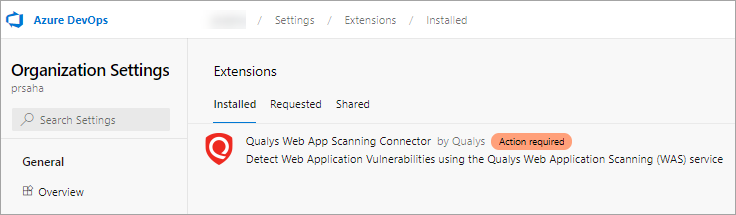
- Click Action required.
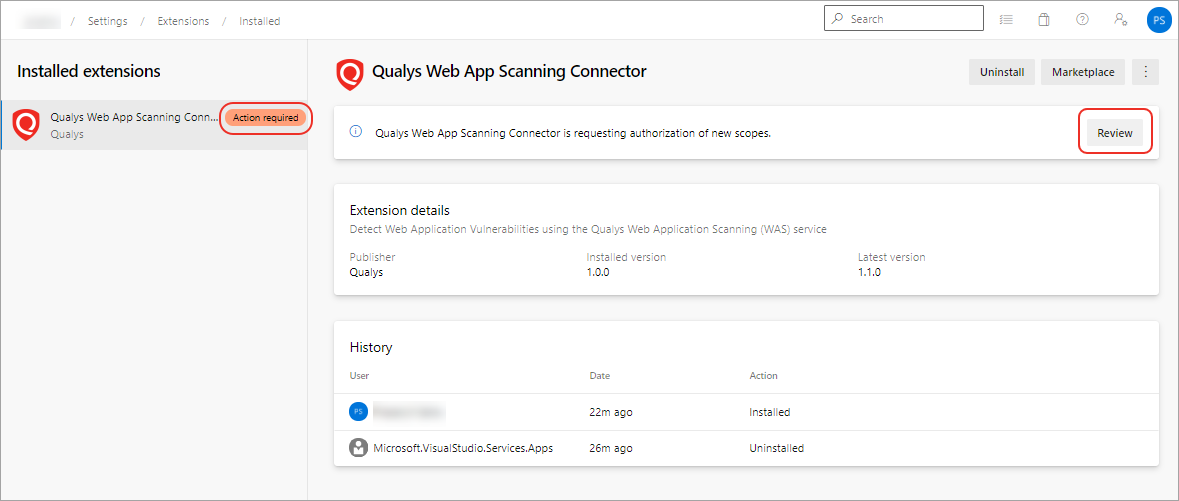
- Click Review to authorize the scope or permissions of the new plugin version.
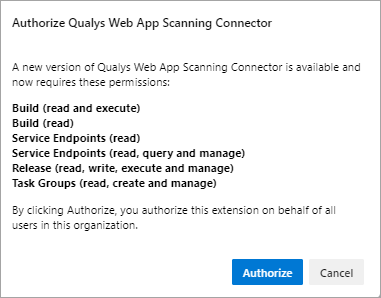
- Click Authorize.
The upgrade steps mentioned above are applicable only if you are upgrading from v1.0.0. For versions 1.1.0 and higher, the Qualys WAS scanning connector for Azure DevOps gets upgraded automatically when a new version is released in the marketplace, as per the Azure DevOps design. You may want to select the updated task version in their pipeline so that the new changes are reflected in the respective task.
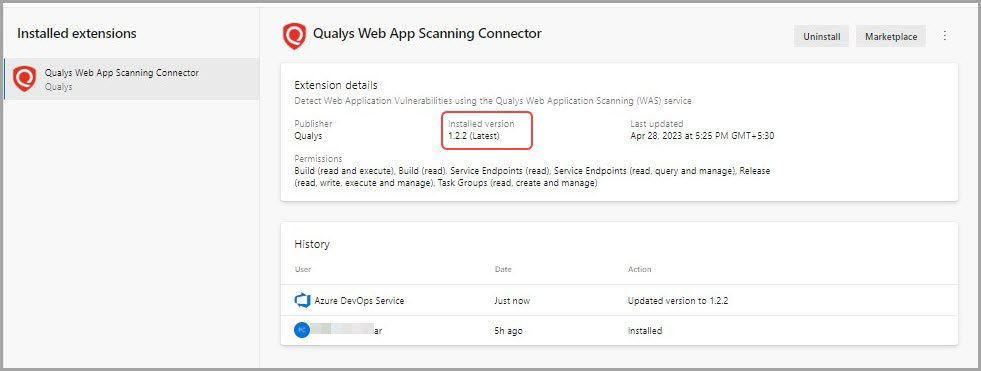
You can see the plugin version updated to the latest version.
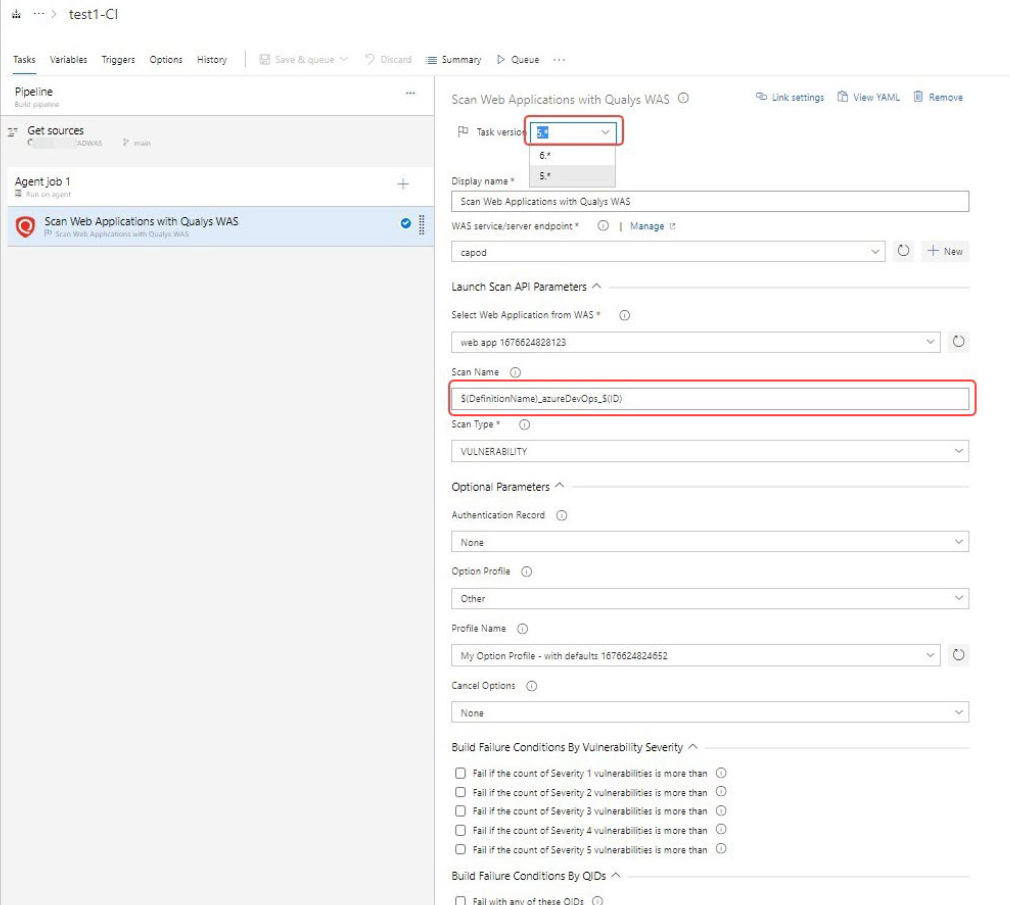
To use the upgraded plugin in your existing release pipeline project in which you have added the plugin as a task, go to the plugin task and select the latest task version from the Task Version drop-down field.
-
In the Scan Name field, enter the scan name with this format or a custom name:
$(DefinitionName)_azureDevOps_$(ID)
Optionally, click
 for the Scan Name field and copy this format from the help text.
To use the upgraded plugin in your existing build pipeline, go to the plugin task and select the latest task version. Then you can run the job. For existing build pipeline projects, changing the scan name is optional.