Qualys Category - CI Class Mappings
We have predefined tables that contain a set of records with matching rules. The rules are defined using single or multiple attributes to identify source assets uniquely. The rules form the criteria to identify the assets picked from the source and then added to the target CI classification.
The classified tables list the fields that could be mapped directly with the ServiceNow tables. The custom fields that could not be directly mapped with the existing ServiceNow tables are listed in the related tables.
Classified Tables
The classified table includes the mapping of source fields with target fields that are recommended/used by ServiceNow.
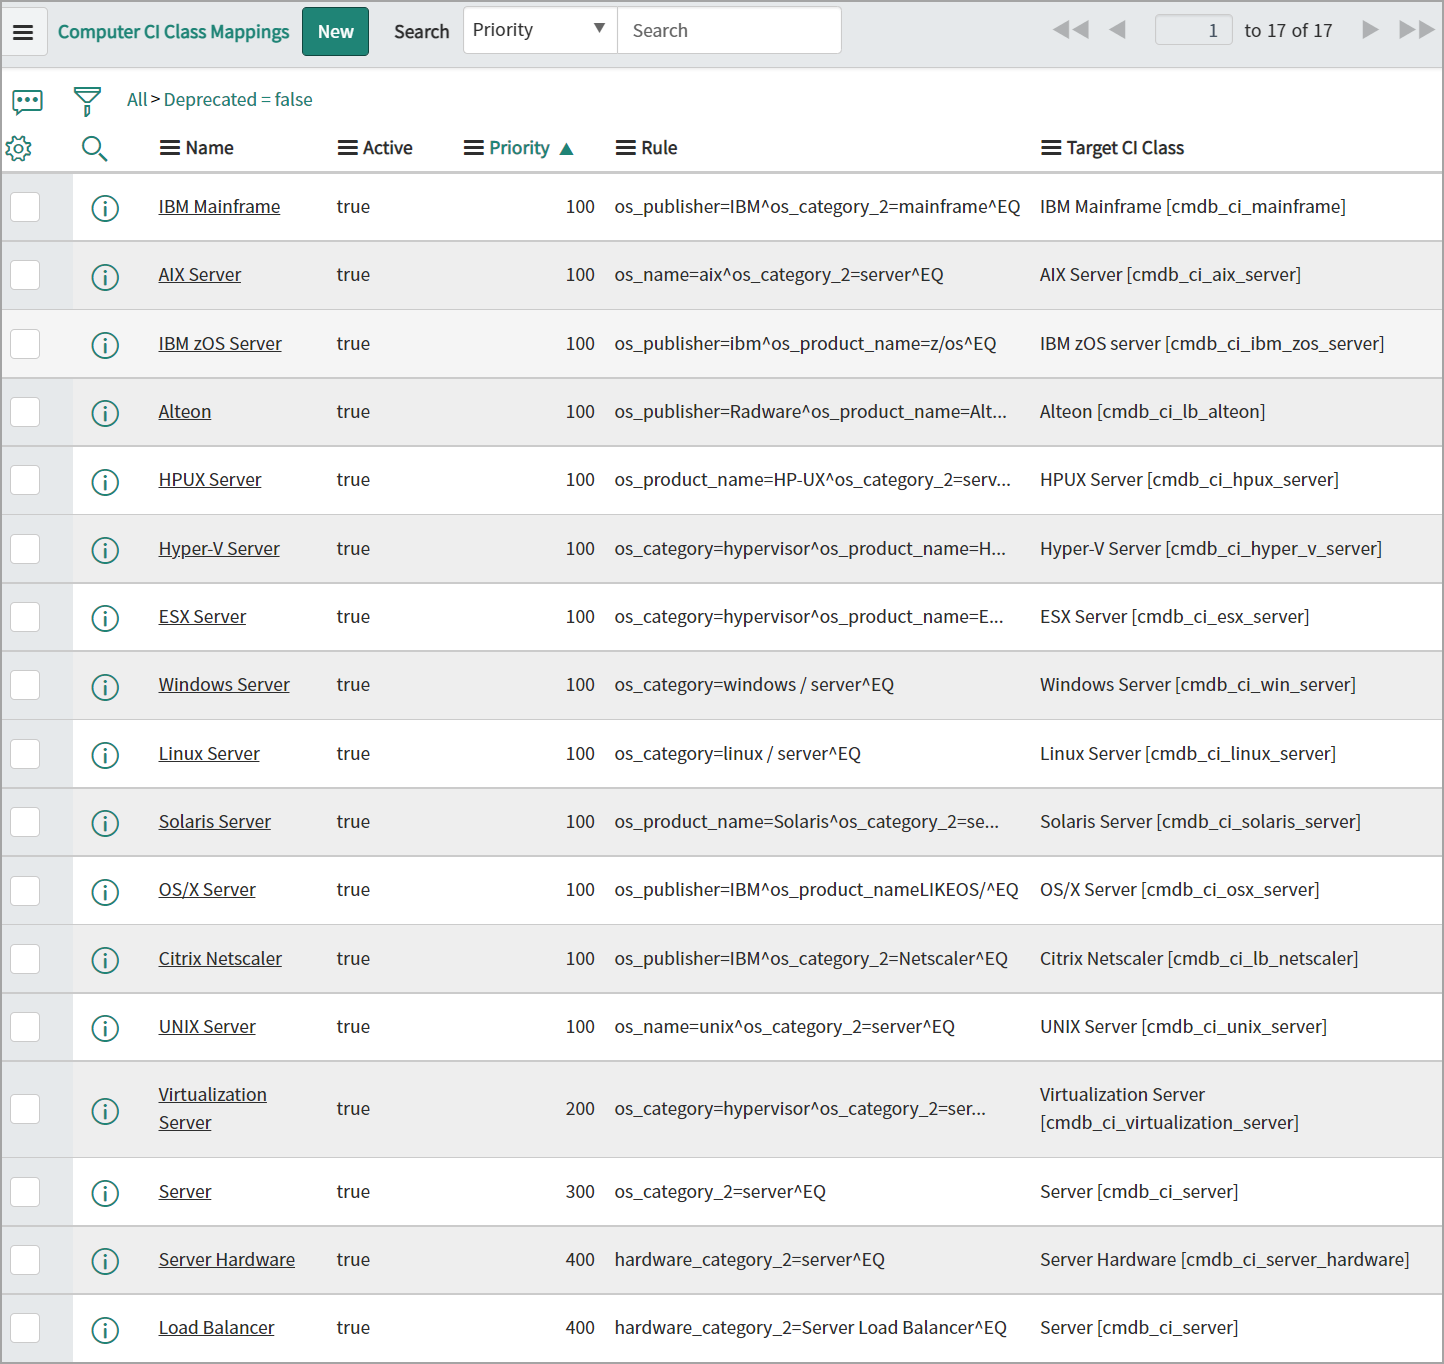
Each column of the categorized CI class mappings is listed below:
- Name: The predefined name given by Qualys to the CI class mapping.
- Active: The mapping status indicates whether the current mapping is active or not. True indicates that the mapping is active.
- Deprecated: The record's status, whether it is displayed in the table or not while creating a new rule. This is a read-only field used by the application for processing purposes.
- Priority: The priority decides the sequence in which the mappings should be acted upon. In the case of multiple mappings for similar fields, the mapping with the lowest number gets higher priority. For example, if there are two mappings with priority 50 and 100, the mapping with priority 50 gets higher precedence than 100.
- Rules: The rule that forms the criteria to select the assets from the source table (Qualys).
- Table: The column used to hold a reference to the staging table on which rules conditions are being executed.
- Target CI Class: The name of the destination/target table (defined by ServiceNow) on the production environment where the data should be inserted. If you want to change the destination table, you can change the target CI class for the corresponding source field.
For a detailed list of field mappings for classified tables, refer to the Classified Tables.
CI Class Mapping for Custom Fields
Let us see an example of creating custom field mapping based on the hardware manufacturer for the Windows server.
- Click New, and the blank form to create a new record for CI class mapping is displayed.

- Provide a name for the record you want to create.
For example, Windows Server Sample as we are creating a mapping for Windows server. - Select the Active check box to activate the mapping you create.
If the check box is clear, it indicates that the current mapping does not used to insert data in ServiceNow's production table. - Define the Priority for the mapping.
Use the lowest priority number for the highest precedence. - Select the Target CI Class table from the pre-populated list.
The table you choose forms the destination table for the mapping. - Define the rule that would form the criteria to choose the source assets to be picked and mapped. You could form a rule using single or multiple attributes and filters.
- Click Submit to complete the mapping process.
Custom field mapping is done based on the hardware manufacturer.