Migration Support
We provide you with a scheduled migration job to assist you with data migration from your previous versions of Qualys CMDB Sync App to the latest version. The Qualys CMDB Sync App 2.1 allows you to use out-of-box production tables by ServiceNow.
Once you upgrade to the 2.1 version and before you sync assets or create schedules, we recommend you migrate assets available in computer-extended tables to out-of-the-box production tables provided by ServiceNow. To ease the migration task, we provide you with a scheduled job for asset migration (optional).
Why is Migration Needed?
In previous versions, the assets were spread across various extended tables, such as computer-extended tables or software-extended tables. Once you upgrade, if we do not opt for migration, the assets in these extended tables may not be transformed to the correct tables in production as per the new CI class mappings. To prevent this issue, you need to migrate the assets from the computer-extended tables. You can activate the scheduled job to initiate the migration of assets (approved assets).
Get Started with Migration
We provide you with a ready-to-use Migration 1.x app scheduled job. The function and frequency of execution of this job are explained below. You can always update or change the frequency of the scheduled job to meet your needs.
Migration 1.x- By default, this job is deactivated. The purpose of this job is only to migrate assets that belong to the Computer Extended table and need to be migrated to production tables.
Assets in the Computer extended table are migrated to the respective CMDB tables on production. For example, assets in the computer extended table that belong to the Windows server are migrated to the Windows Server CI class.
Steps to Execute Migration 1.x job.
Perform the following steps to execute migration:
- Go to App Scheduled Jobs and click Migration 1.x job.
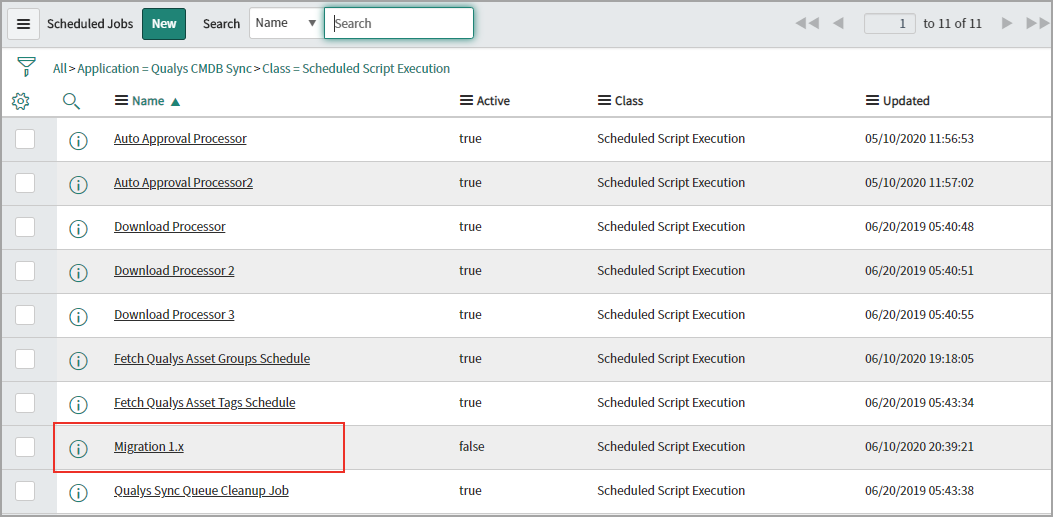
- Click Edit.
-
Select Active check box to enable activation.

-
If activated, the default configured frequency is 100 assets every 15 minutes. You can also alter the frequency to suit your requirements of asset migration.
- Click Update.
Alternately, you can click Execute Now to run the job immediately.
Once the job is executed, the application logs reflect migration. Once the migration is completed, the application log lists the number of migrated assets.
If any assets fail to migrate, the Migration State and Migration Notes indicate that the migration has failed. The Migration Notes field is available only for assets whose criteria are defined by the Identification engine rule. For assets using transform maps, only the migration state is available.
To trigger migration for failed migration assets, reset the migration state to None for all such assets and clear the Migration Notes field.
Once all the assets are migrated, you can deactivate the Migration 1.x job.