Scanning Assets
This section helps you understand the steps to scan your network. Before you initiate your scan, you must ensure the following checkpoints or configurations in your setup:
GCP Scan Checklist
We recommend these steps before scanning.
Check Appliance Status
Qualys VMDR or Policy Compliance subscription, go to Scans > Appliances - Be sure the new Scanner Appliance is connected to the Qualys Enterprise TruRisk™ Platform. The ![]() icon means your appliance is connected and ready for scanning.
icon means your appliance is connected and ready for scanning.
Tips and Best Practices
This step is recommended if you have defined custom networks in your Qualys account.
Move your Virtual Scanner Appliance
- By default, a new Virtual Scanner Appliance is placed in the Global Default Network, and when a scan is performed, host scan data is added to that network. We recommend moving this Virtual Appliance to the desired network before scanning a custom one.
- Go to Assets > Networks, edit the network you want to move the Virtual Appliance to, and add the appliance to that network.
Configure OS Authentication
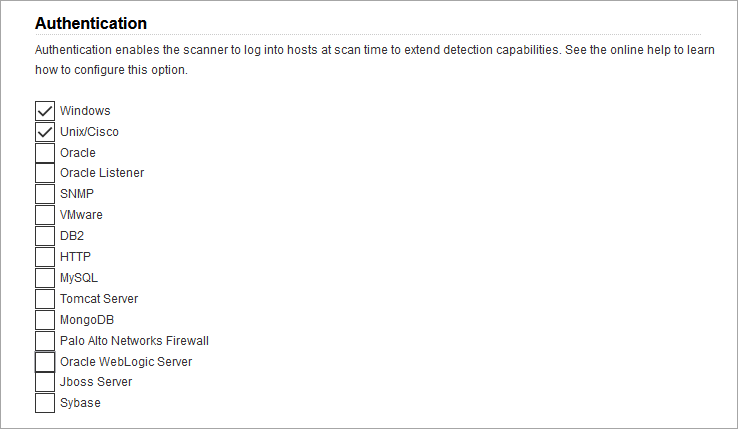
Using host OS authentication (trusted scanning) allows our service to log in to each target system during scanning. Running authenticated scans gives you the most accurate results with fewer false positives. In your Qualys VMDR subscription, go to Scans > Option Profiles. Edit the Initial Options profile, and click Save As to save a copy with another name. In your new profile, on the Scan tab, enable the authentication types that you need.
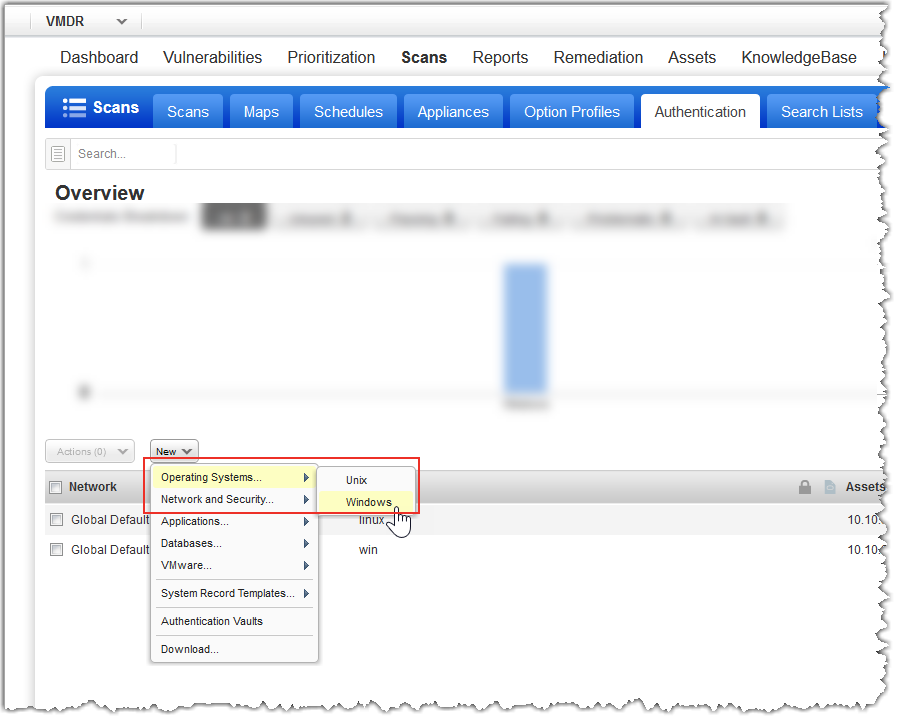
In VMDR, go to Scans > Authentication. Add OS authentication records for the GCP instances you scan - Unix and/or Windows. In the record, add credentials for the account to be used for authentication - this is an account for the OS user (not the AIM user). We recommend you create a dedicated account for authentication on target systems.
The following are the sample UNIX and Windows records for your reference:
Sample UNIX Record
- In the New Unix Record wizard, on the Record Title screen, give a name to your record and select the network.
-
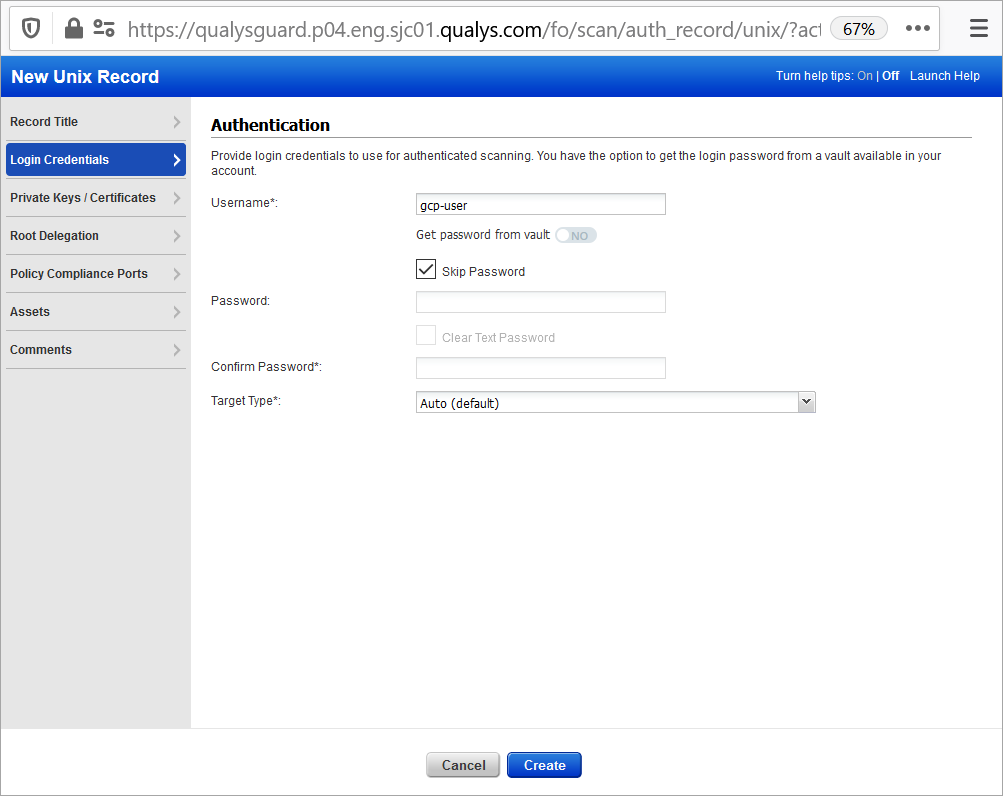
On the Login Credentials screen, provide the username, select Skip Password, and select the target type.
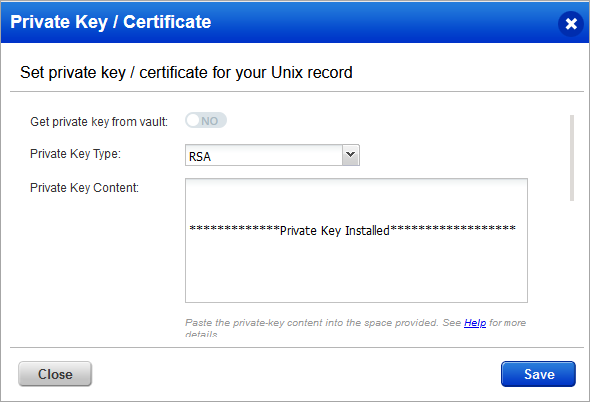
- On the Private Keys/ Certificates screen, click Add Private Key/Certificate, and then in the Private Key / Certificate dialog box, select the key type (RSA, DSA, ECDSA, ED25519) and enter your private key content.
Enter the Unix IP addresses or ranges of your GCP virtual machines on the Assets screen for this record. Credentials in this record are used to scan these assets.

Sample Windows Record
- In the New Windows Record wizard, on the Record Title screen, give a name to your record and select the network.
- On the Login Credentials screen, enter the username and password.

-
Enter the Windows IP addresses or ranges of your GCP virtual machines on the Assets screen for this record. Credentials in this record are used to scan these assets.
Learn More About OS Authentication.
Online help within the authentication record workflows provides detailed instructions and guidance on all available options. These documents are good resources.