Create Threads for Domain-Separated Data Import
When working with domain-separated environments, it's important to ensure that import operations respect domain boundaries. ServiceNow manages this through the schedule_import_set table, which defines scheduled jobs that execute import set processing.
Key Components
- Schedule Import Set Table: The
scheduled_import_settable is used to create and configure scheduled imports. Each record defines when and how an import set runs. - Domain Context: Import operations run under the domain context of the user specified in the "Run as" field of the schedule. This ensures proper domain assignment.
- Thread Execution: At runtime, the import set processor executes in a background thread that inherits the domain from the user context. This mechanism ensures that imported records are written to the correct domain when domain separation is enabled for the target tables.
Steps for Creating Threads for Data Import
To create threads for data import, perform the following steps:
- In the ServiceNow application navigator, click All.
- In the search field, type
scheduled_import_set.Listand press Enter.
The Scheduled Data Imports list view opens.
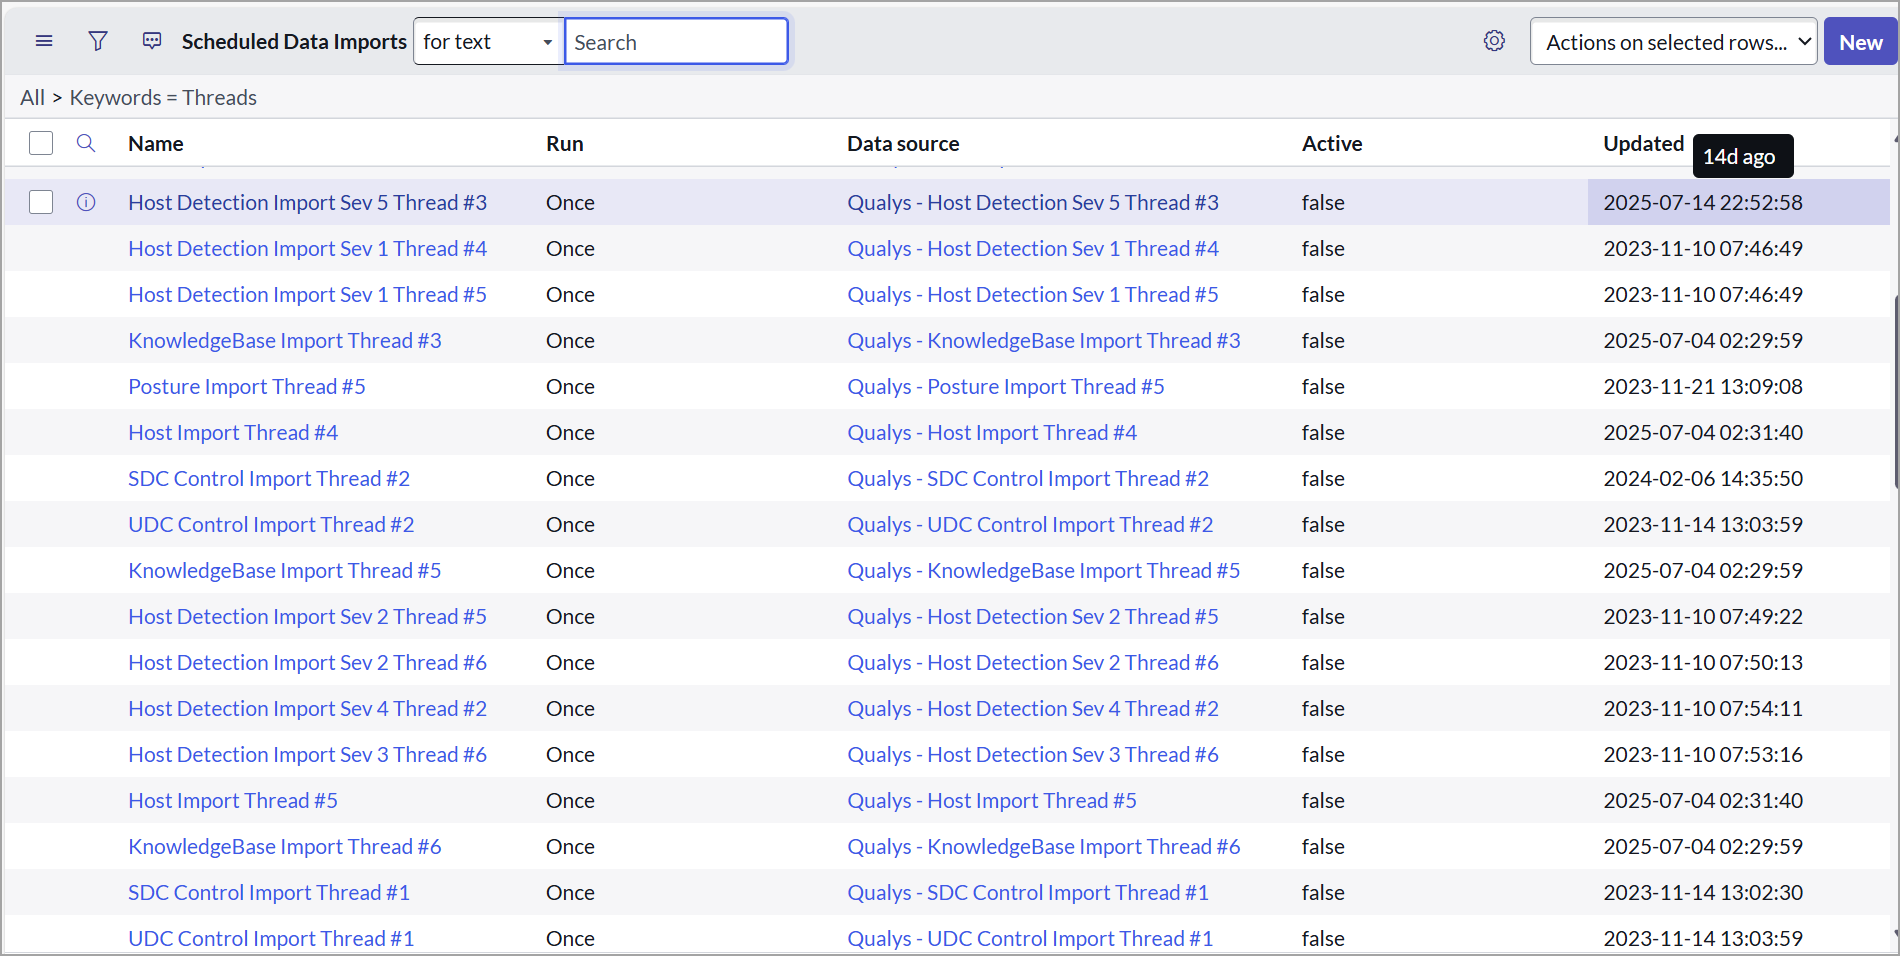
- To create a new scheduled import (Thread), click New to open a blank Scheduled Import Set record.
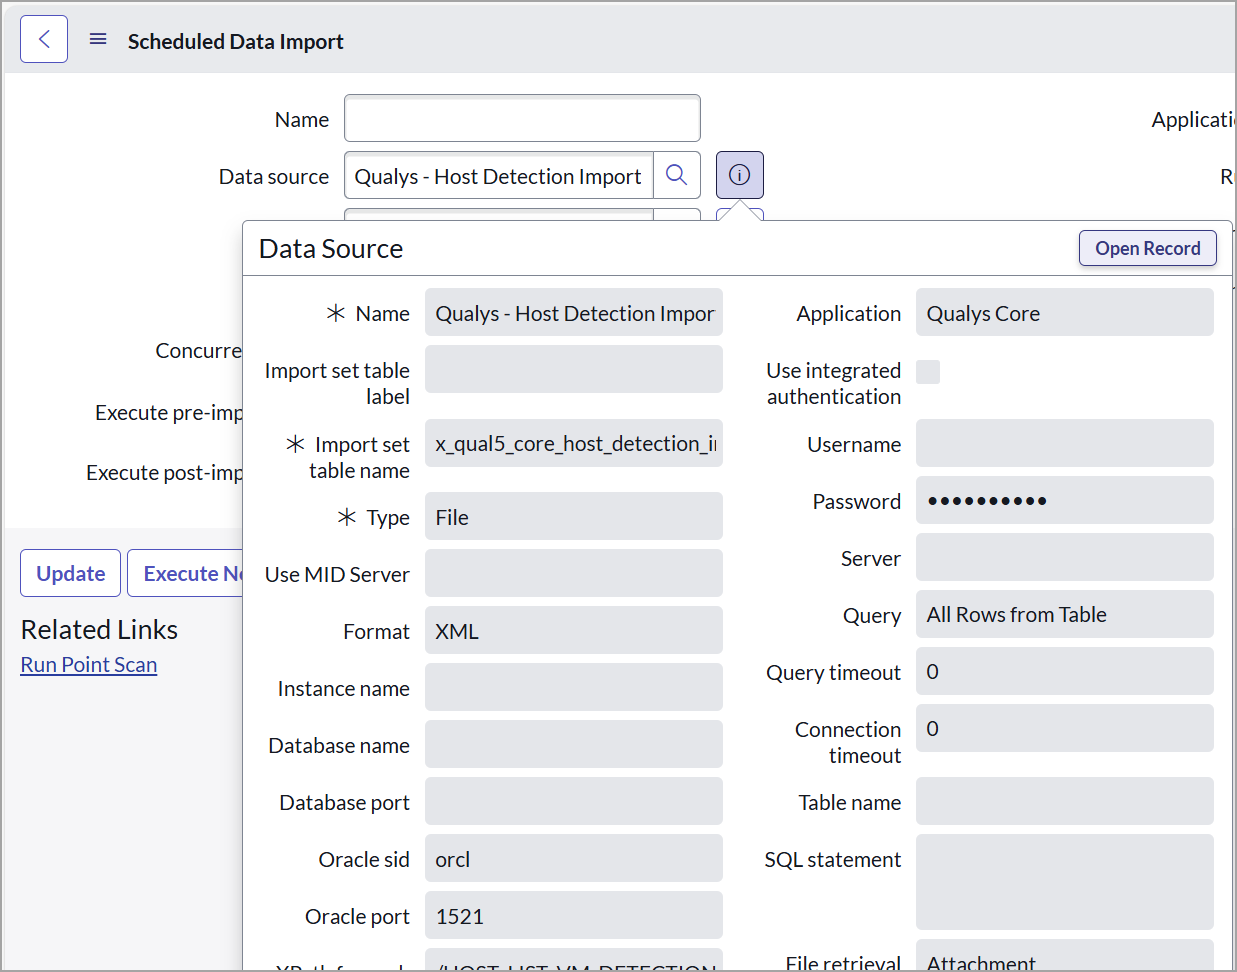
- In the Data Source field, click the information icon (i) next to the lookup icon.
- In the pop-up, click Open Record from the header.
In the Data Source record window:
- Click Additional actions (the three-dot menu) and click Insert and Stay.
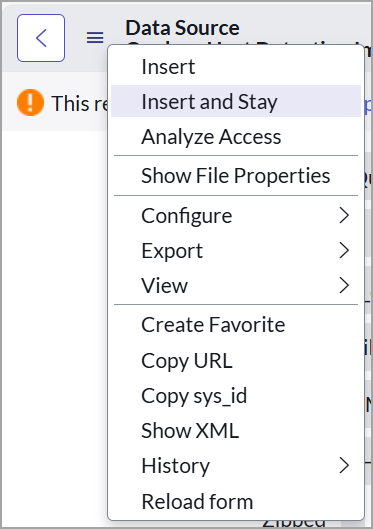
- Enter a meaningful name for the Data Source and complete other required fields.
- Click Update to save the Data Source. You are redirected to the Scheduled Import Set Record view.
- Click Additional actions (the three-dot menu) and click Insert and Stay.
- Click Additional actions and select Insert and Stay to create the record.
- Rename the thread (Scheduled Import Set) with a descriptive name.
- Click Update.
- To associate the data source, in the Data Source field, click the search icon (magnifying glass).
- In the Data Sources selection window, search for and select the Data Source you just created.
It will populate the field in the scheduled import set form. - Click Update to save the complete scheduled import set record.