Configure Connection to Qualys Applications
Once you install the Qualys Core app, you need to configure a connection with Qualys.
Qualys Core supports domain separation, which separates data between service providers, partners, and sub-organizations. This support allows Managed Service Providers (MSPs), Managed Security Services Providers (MSSPs), and Qualys Partners to customize business process definitions and user interfaces for each domain—a form of delegated administration.
Perform the following steps to configure the connection to Qualys applications:
- Go to Qualys Core > Configuration > Connectors to add a new connector and click New.
-
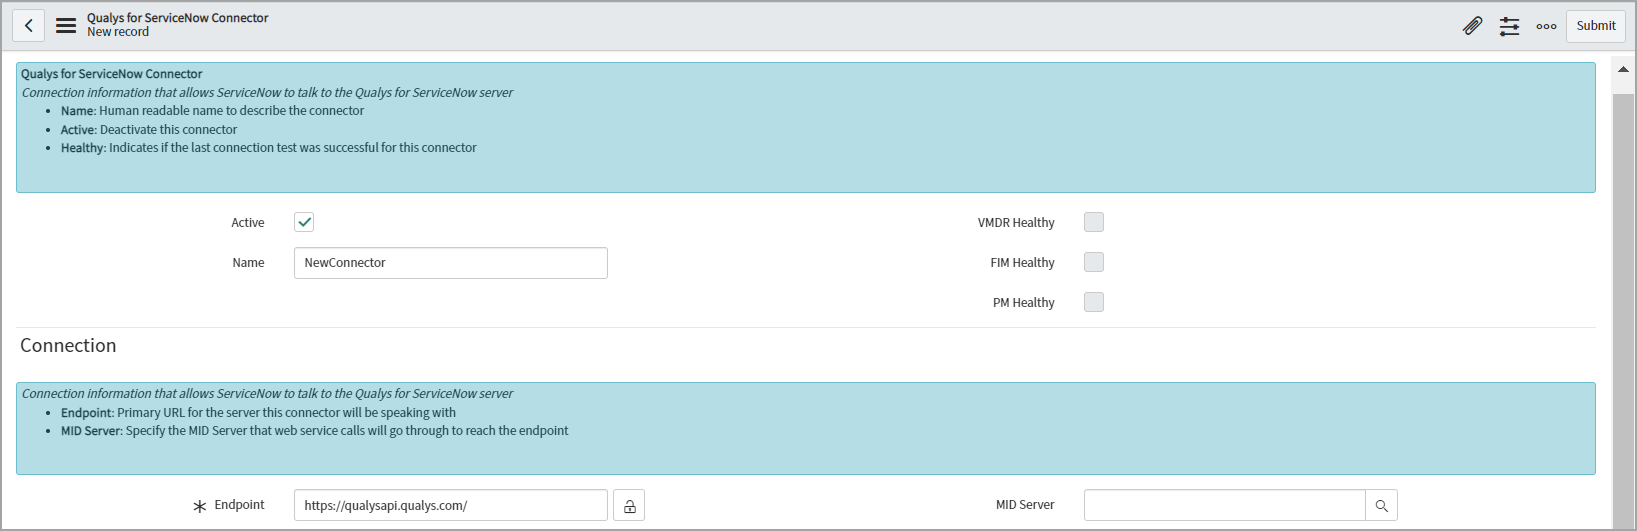
Enter the required details to create the connector:
- Name - Provide a name for the connector.
- Active - Select this option to activate the connector that you create.
- Endpoint - Enter the primary URL for the Qualys server that this connector connects to get data from Qualys. To identify the endpoint URL, refer to the API URLs in https://www.qualys.com/platform-identification/.
- MID Server - The MID server can work as a proxy server or middleman between ServiceNow and the Qualys pod, wherein the ServiceNow instance works with limited reachability to outside sources. This is an optional field. To know how to set up the MID server, refer to MID Server.
- VMDR Healthy, FIM Healthy, and PM Healthy check boxes indicate whether this connector's last test connection with respective applications was successful.
These check boxes are not available when configuring a new connector. Once you create a connector and click 'Test the connector', the check boxes are selected based on a successful connection.
- Authentication
The Qualys application supports two authentication methods for connecting to your Qualys account:
OIDC (OpenID Connect) and Basic Authentication.
You can choose either method based on your organization’s security policies and access setup.
For more details on authentication, see Authentication for Connection
- Settings - Enter the required details for re-scanning a host.

- Default Scanner Appliance - Select the default scanner for rescanning from the Qualys Scanner Appliances list.
-
Default Option Profiles - Select the default option profile while rescanning from the Qualys Option Profiles list.
The list scanner appliance and option profile are available only when the import configurations are run and cannot be selected when creating a new connector. Contact your Qualys Technical Account Manager (TAM) to set up the default scanner appliance and option profile.
-
Web Portal URL— Enter the Qualys platform URL. Using this URL, you can view the patch deployment job directly in the Qualys Patch Management application. See Reports and Dashboards.
To identify the endpoint URL, refer to the API URLs in https://www.qualys.com/platform-identification/
- Click Submit to create the connector.
- After configuring and saving the connector, click the connector you have created from the Connectors list, and click Test the Connector from the Related Links.
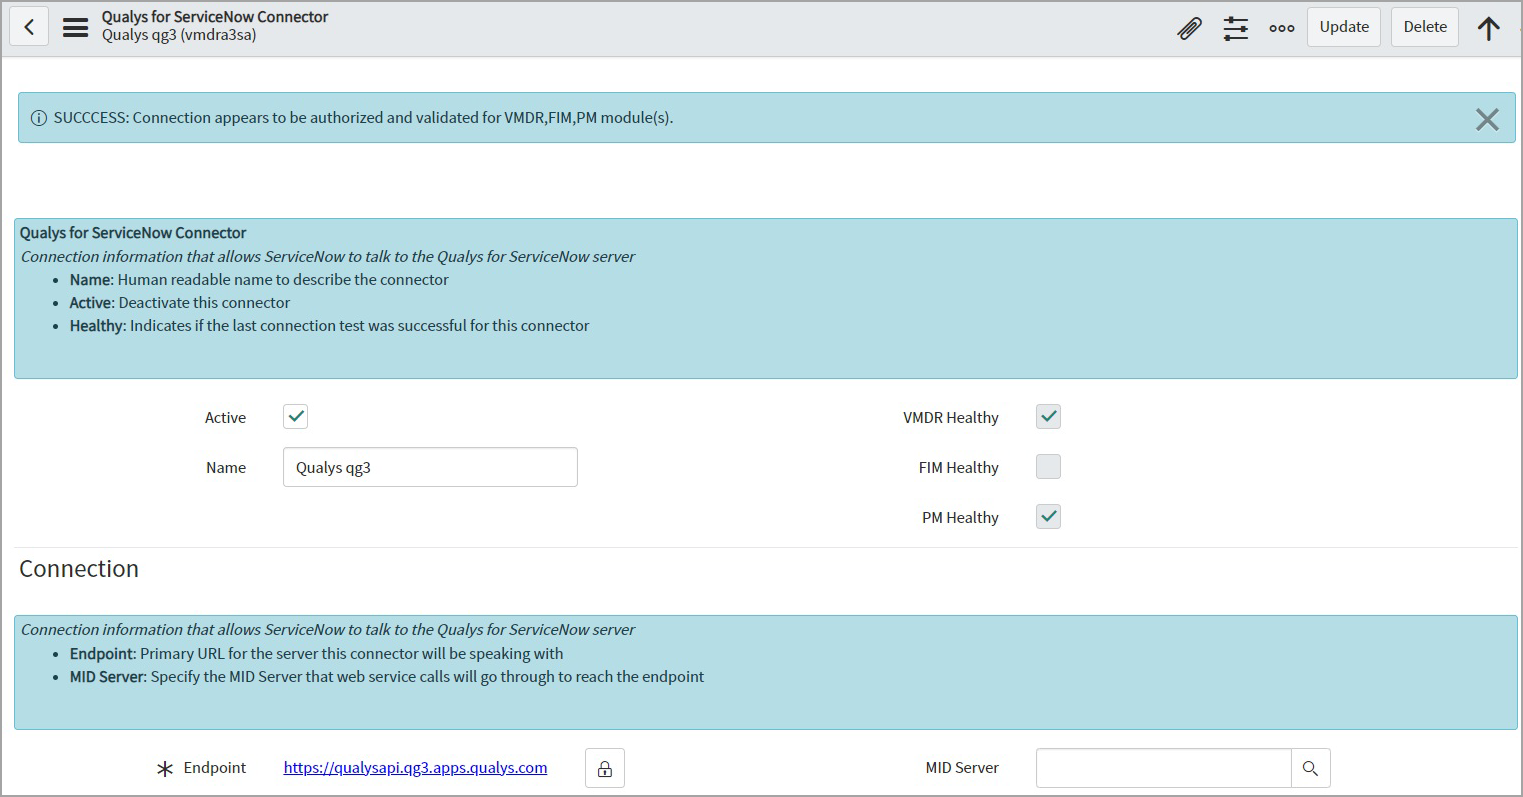
If the connection is healthy, proceed to import data. Use the error message and the system logs to resolve the error.
Authentication for Connection
As explained above, the Qualys application supports the following authentication methods:
Configure OIDC Authentication
Use this method if your Qualys environment is configured for OpenID Connect with Client ID and Client Secret.

Perform the following steps:
- In the Authentication Type list, select OIDC.
- Provide the following required fields:
- Client ID
Enter the Client ID received from your Qualys OIDC configuration. - Client Secret
Enter the corresponding Client Secret.
- Client ID
- Save the configuration.
Basic Authentication
Use this method if your Qualys setup uses a standard username and password.
Perform the following steps:
- In the Authentication Type list, select Basic.
- Provide the following required fields:
- Username
The Qualys username used for API access. - Password
The password for the above username.
- Username
- Save the configuration.