Certificates in QGS
You can also choose to add your own certificates to the appliance instead of using the Qualys Common CA or appliance-level certificates. The QGS UI offers the Certificates tab, which allows you to upload your organizational certificates (including root certificates, intermediate certificates, and issuing certificates) and your private key, which is required to decrypt the traffic encrypted with your public key.
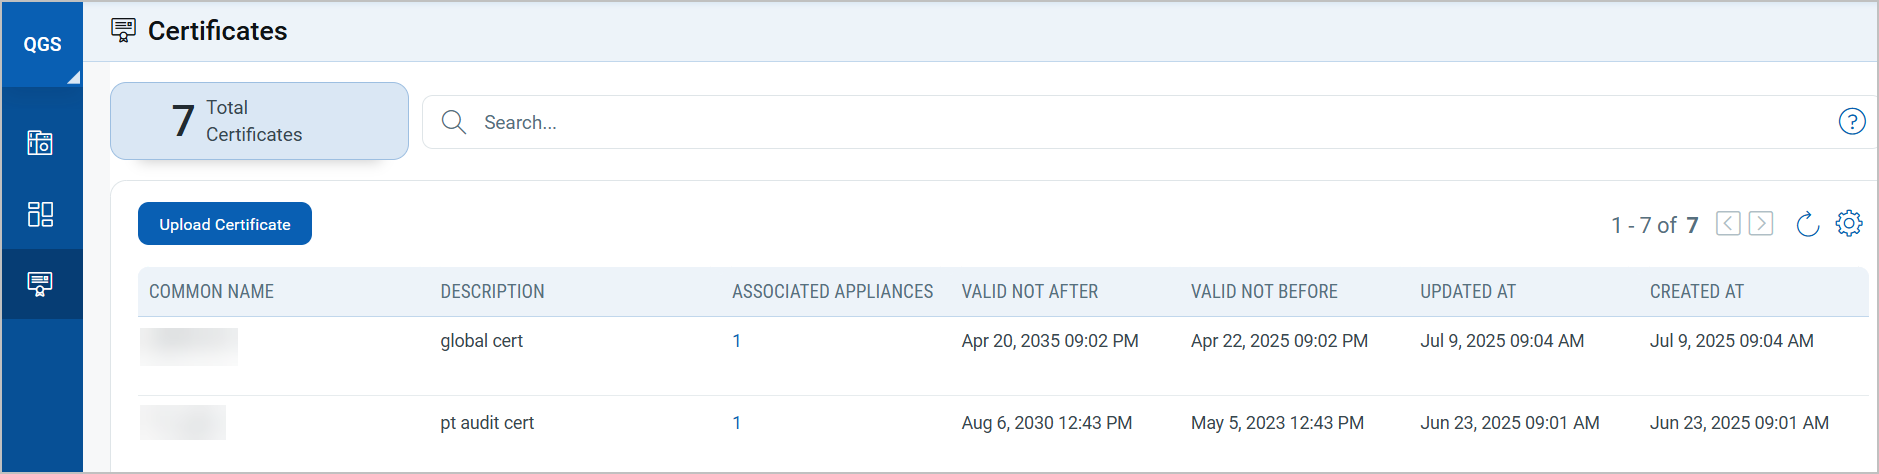
To upload the certificates to the QGSUI, click Upload Certificate under the Certificates tab.
Upload a Certificate
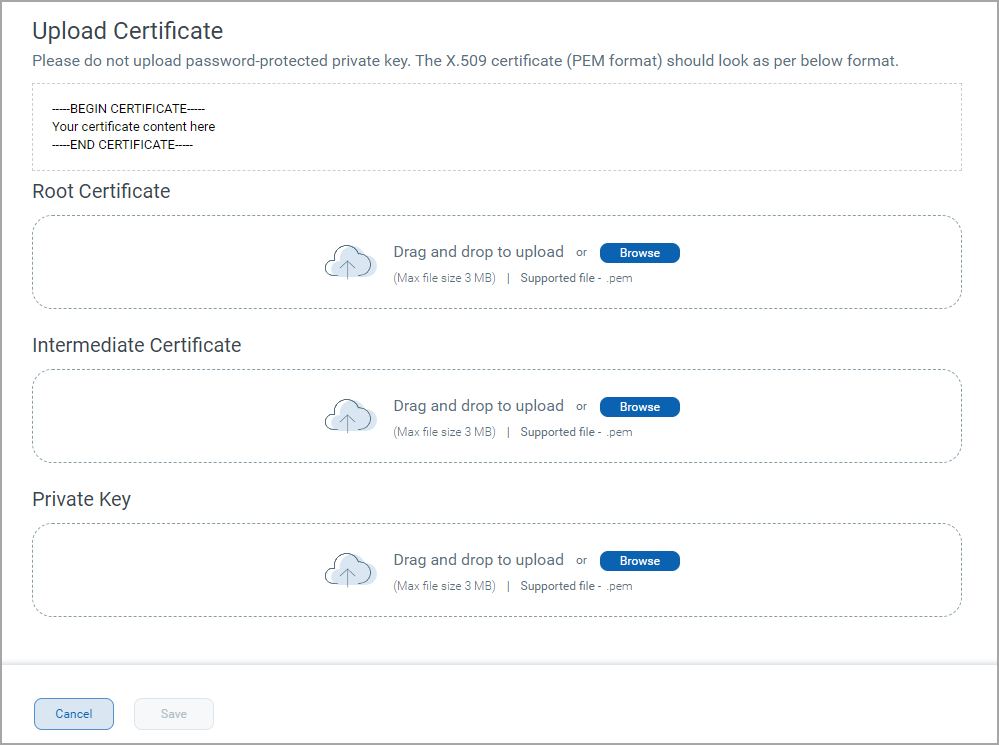
You can upload the intermediate certificate's Root, Intermediate, and Private keys in the respective upload sections.
You can find the list of uploaded certificates listed on the Certificates tab. Provide the following values:
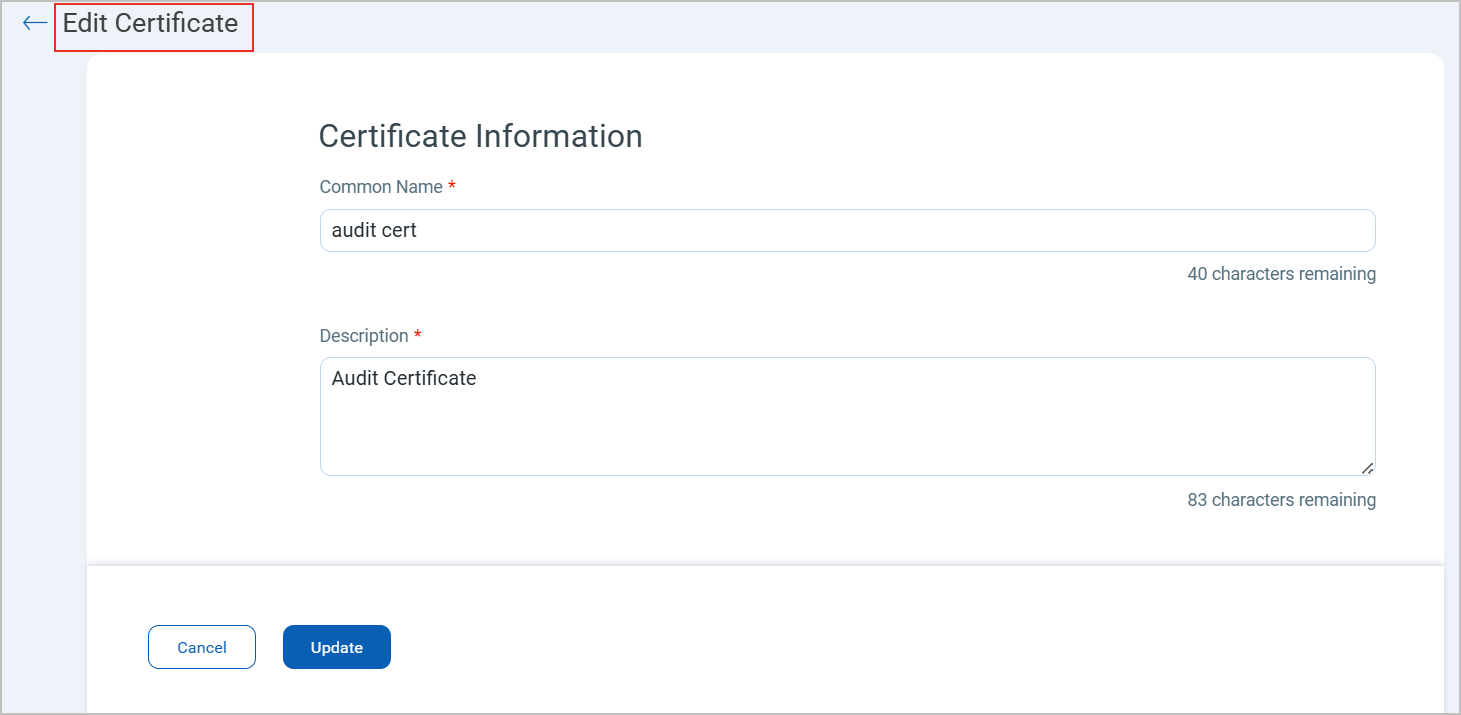
Common name - A unique name given to the certificate to identify the certificate.
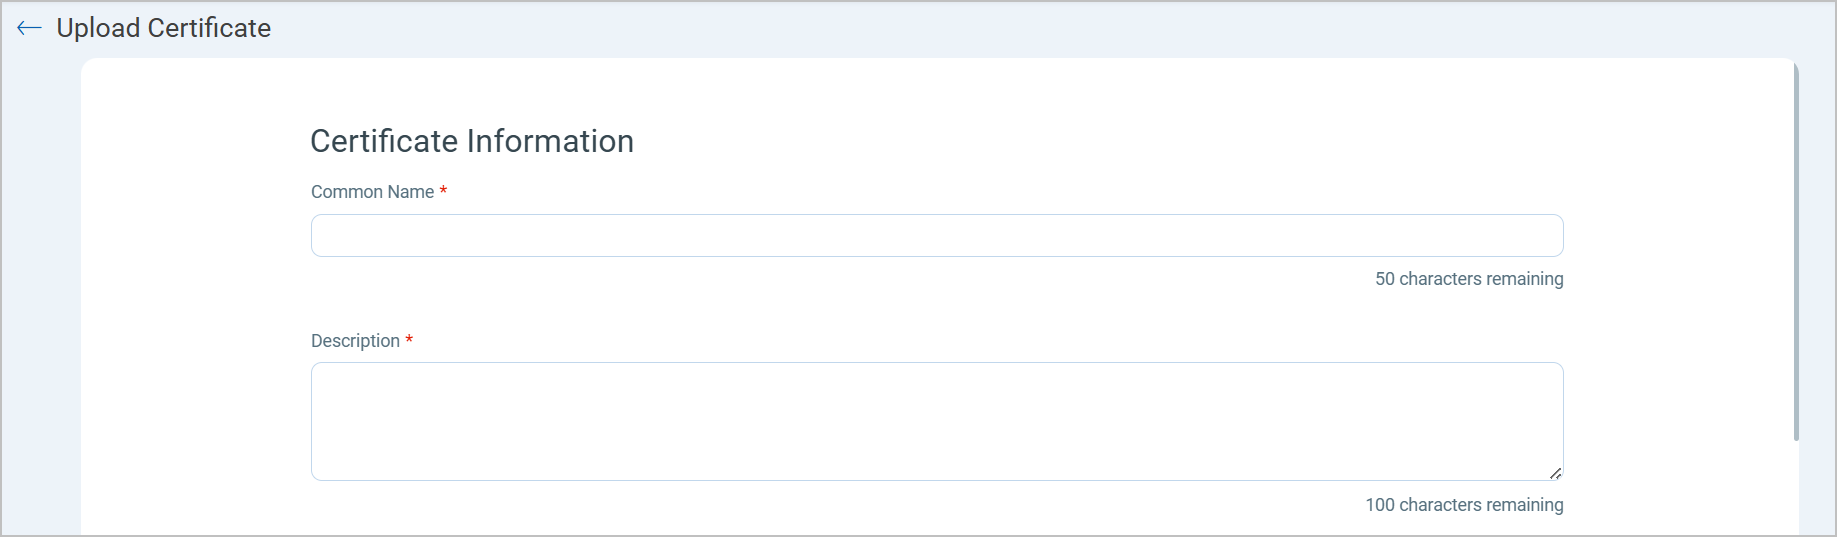
Description - Provide the description of the certificate.
Upload Certificate - You can upload the Root certificate, Intermediate certificate and Private Keys of the Intermediate certificate on the Upload Certificate section. The Intermediate certificate is obtained from the Root certificate and the Private Keys can be generated from the Intermediate certificate.
QGS supports only sha256 based certificates.
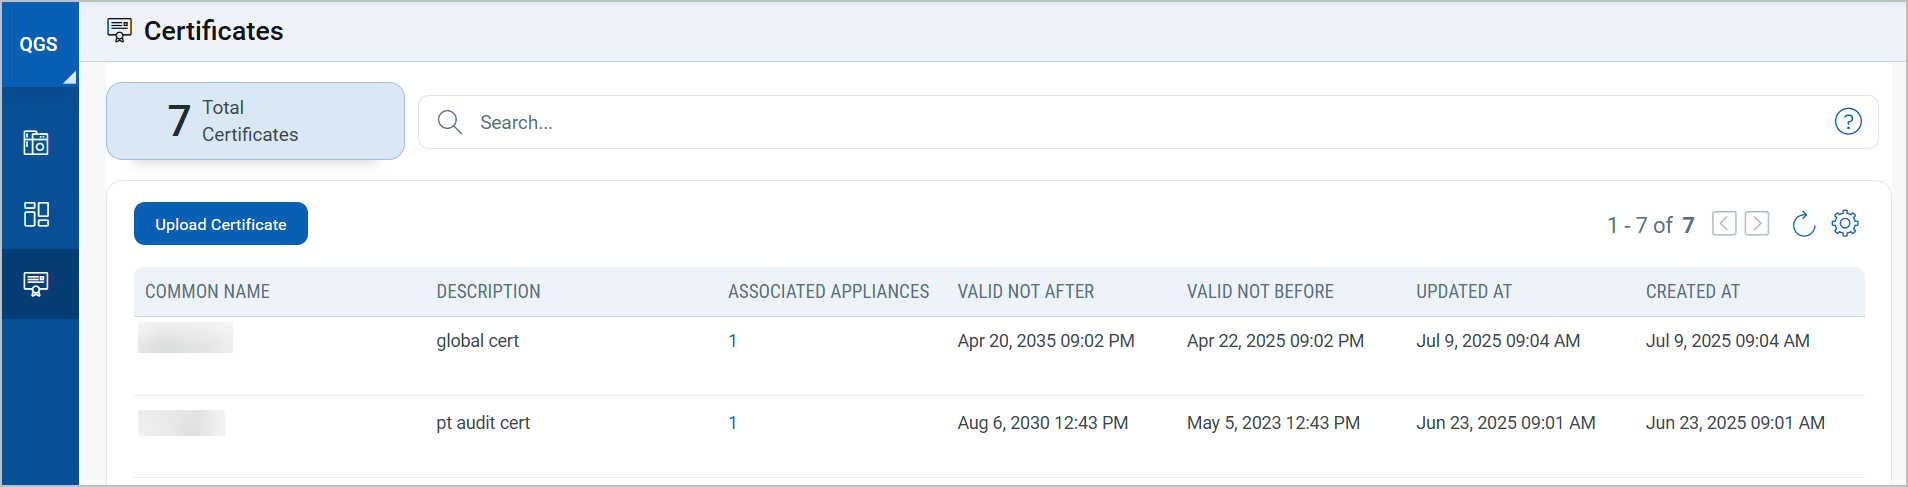
Click Save to save the uploaded certificate. You can find the list of uploaded certificates listed on the Certificates tab.
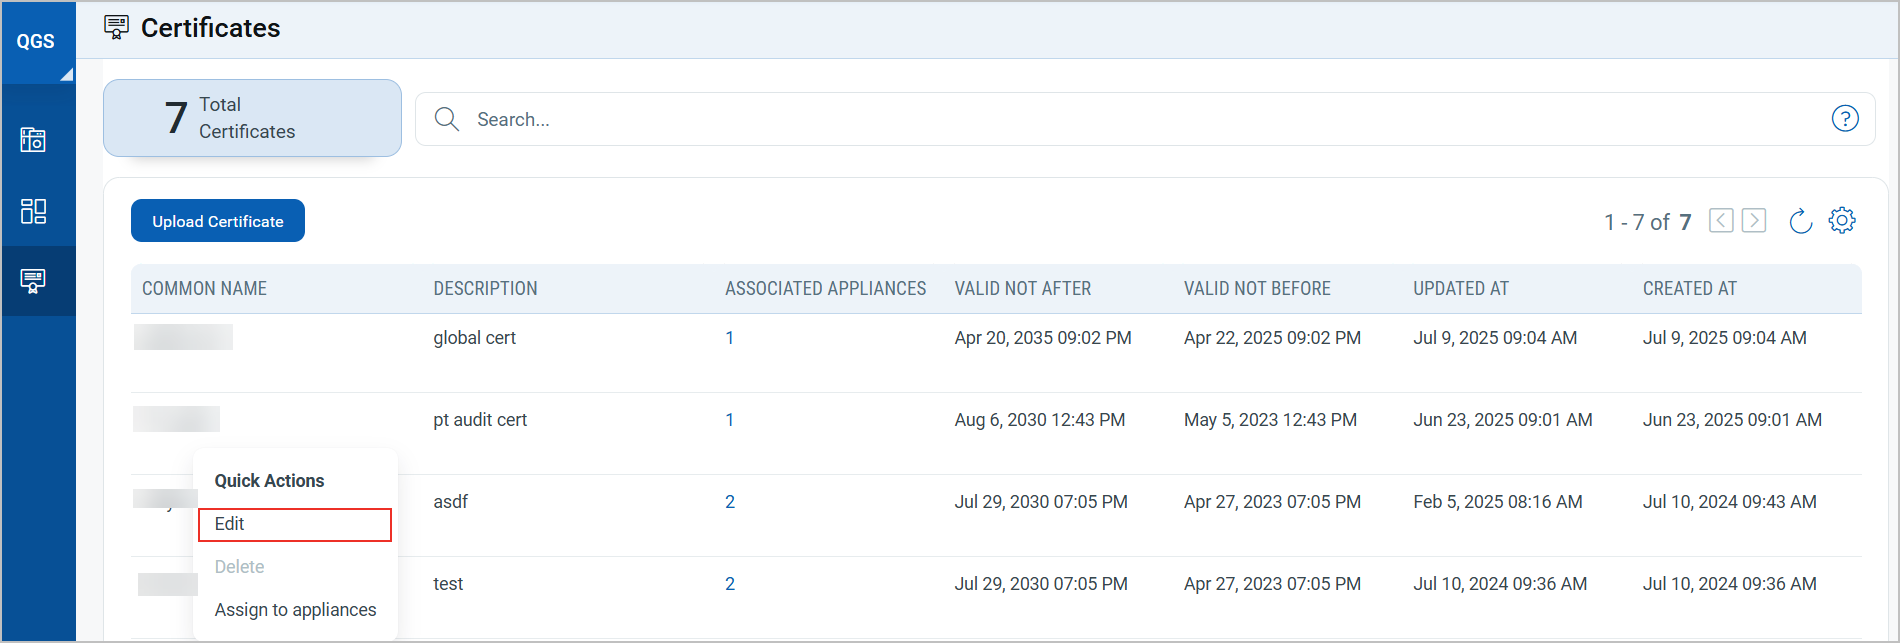
You can edit the certificate from the quick actions menu.
When uploading your certificate, ensure that a new valid set of CA certs is uploaded before the existing ones have expired. Failure to do this results in the agents being unable to communicate with the platform via QGS.
You can only edit the common name and description of the uploaded certificates.

You can also delete the certificates from the quick action menu.
Assign Certificates
Once you have successfully uploaded your certificates, you can assign them to any appliance. The uploaded certificates can be assigned to the Subscription-based or Appliance-level appliances from the Assign to appliances option of the Quick Action menu.

After clicking Assign to appliances, a list of the appliances with the cert_type as Subscription-based and Appliance-level certificate are listed on the appliance.
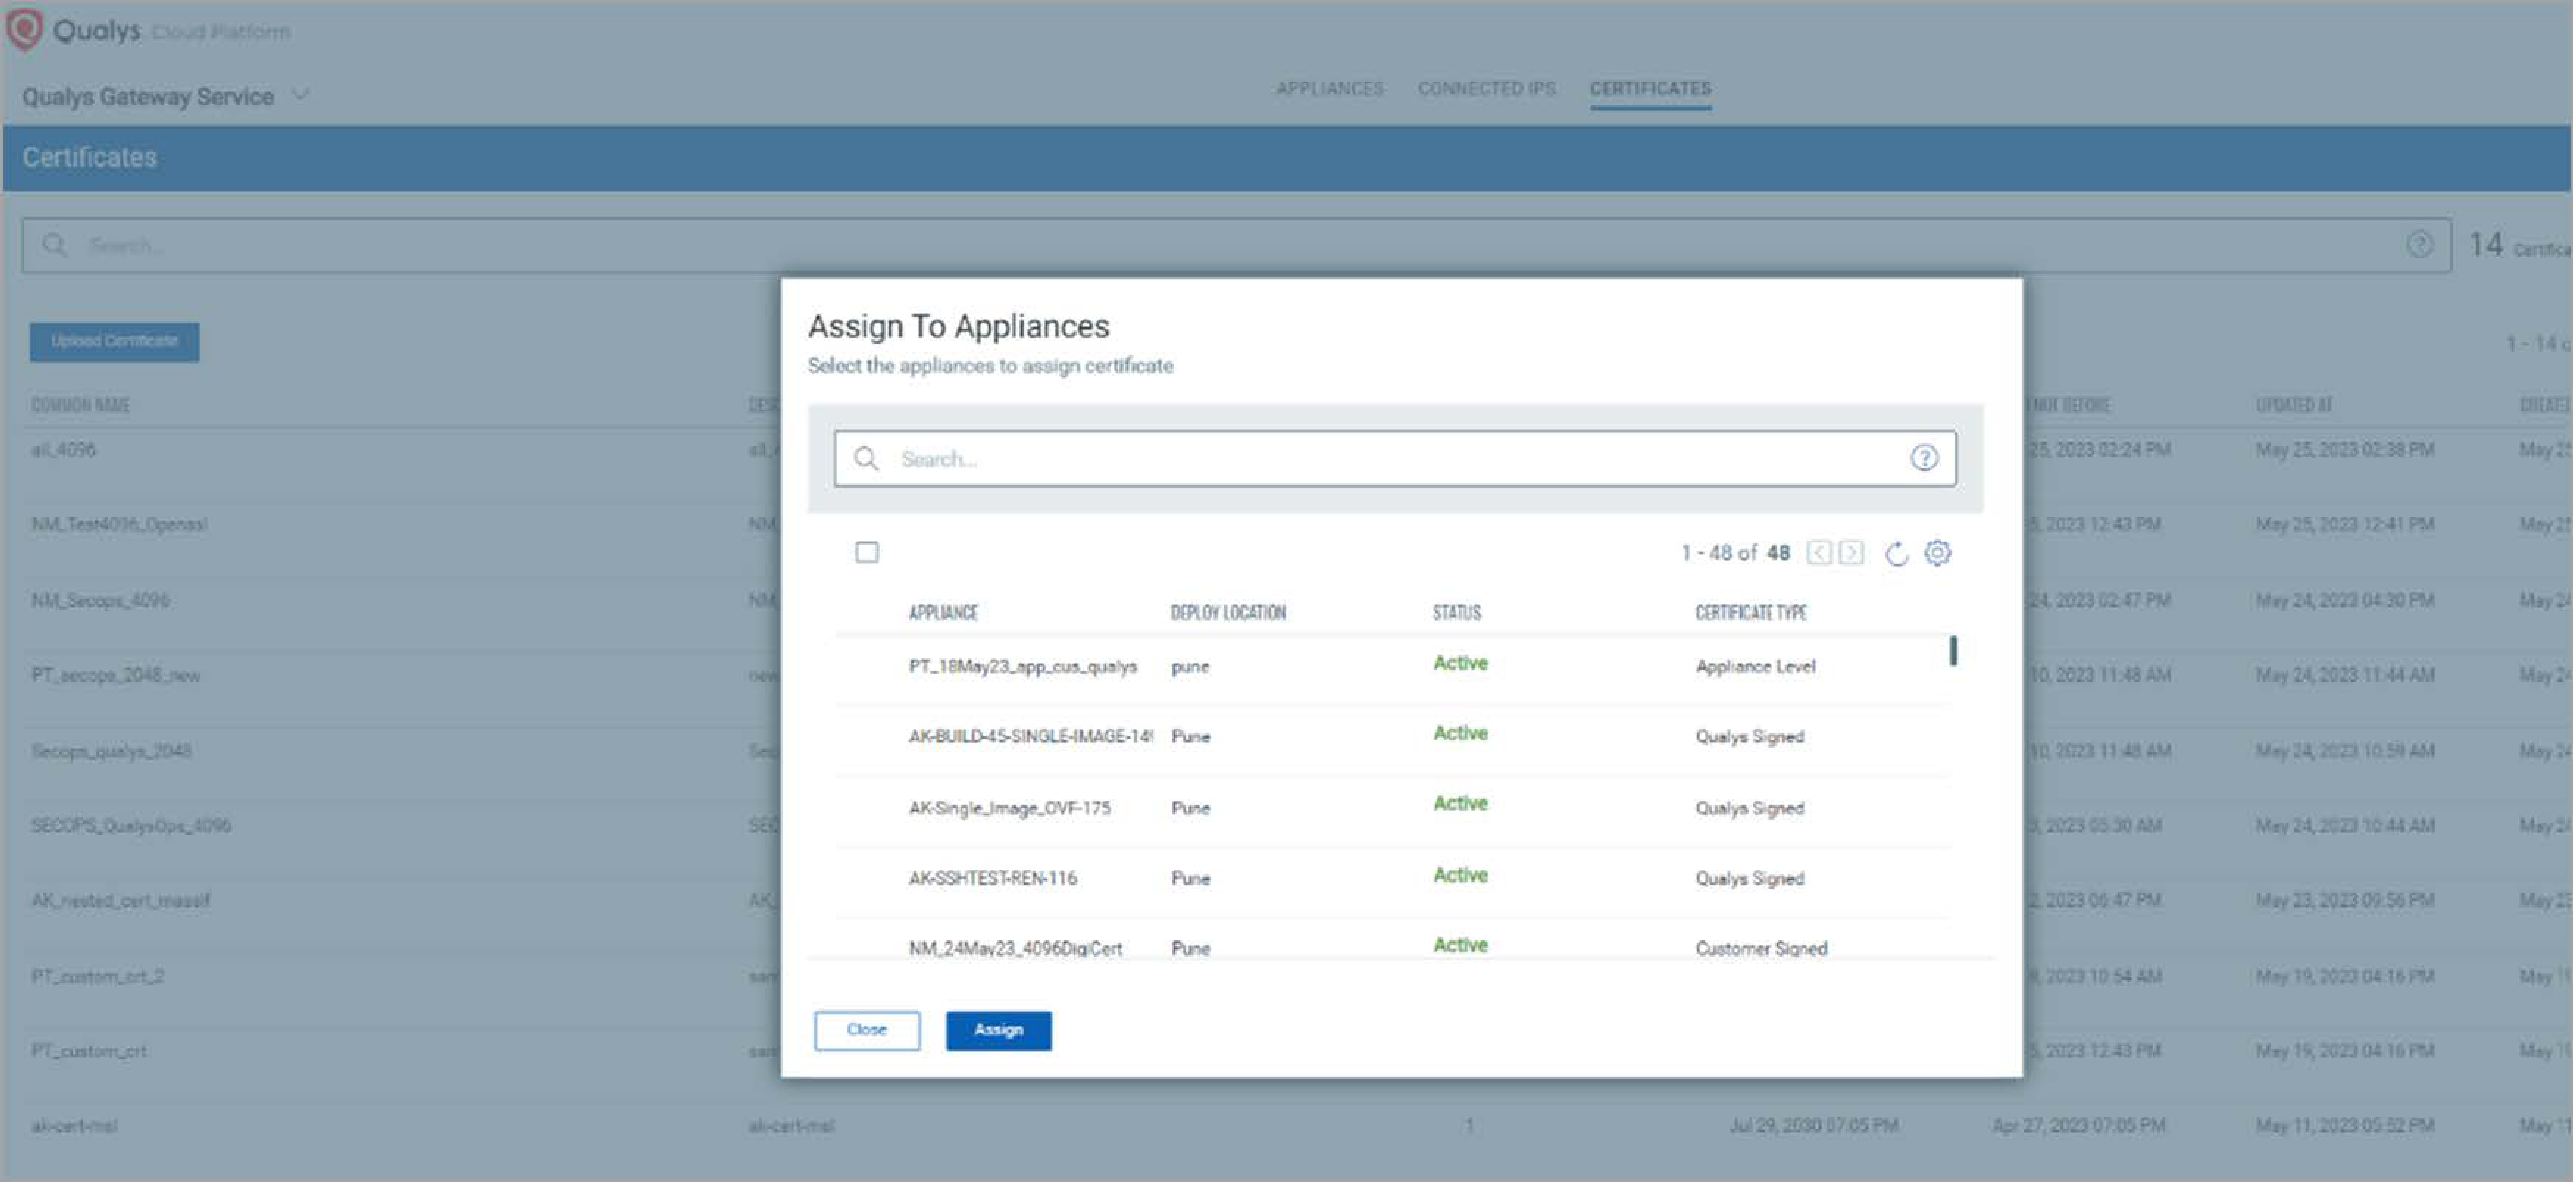
You can select multiple appliances to assign a single set of custom certificates.
Custom certificates can be assigned/modified on the appliance, which is configured with another custom certificate, with the same steps as above.
Downloading Cache Certificates to Configure on the Agents
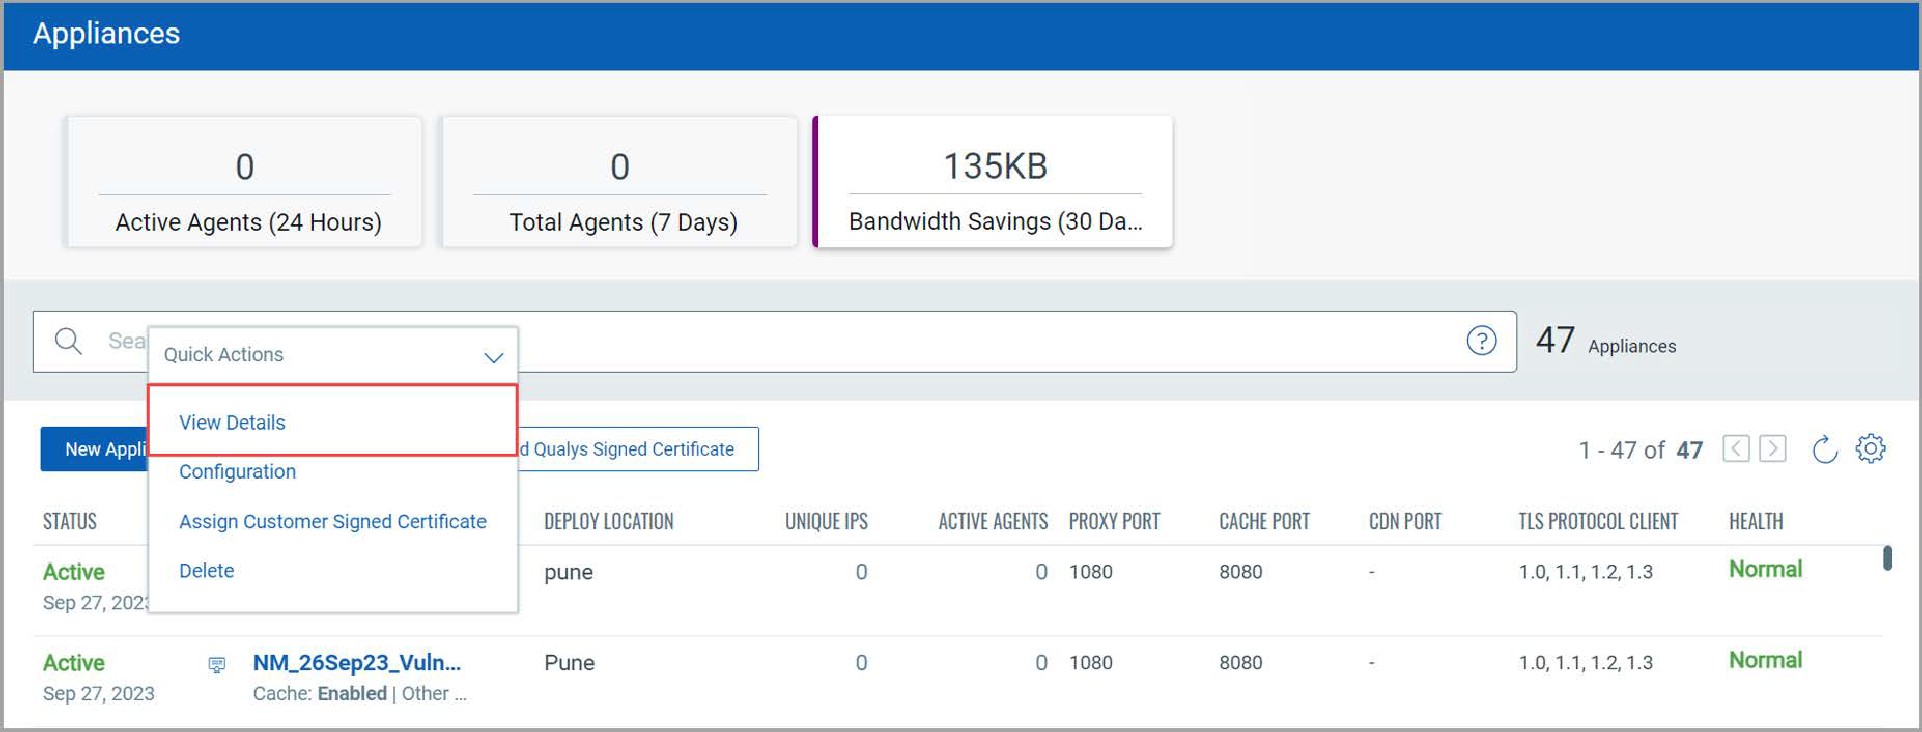
To download the cache certificates to be configured on the agents, click View Details on the quick action menu of the appliance.
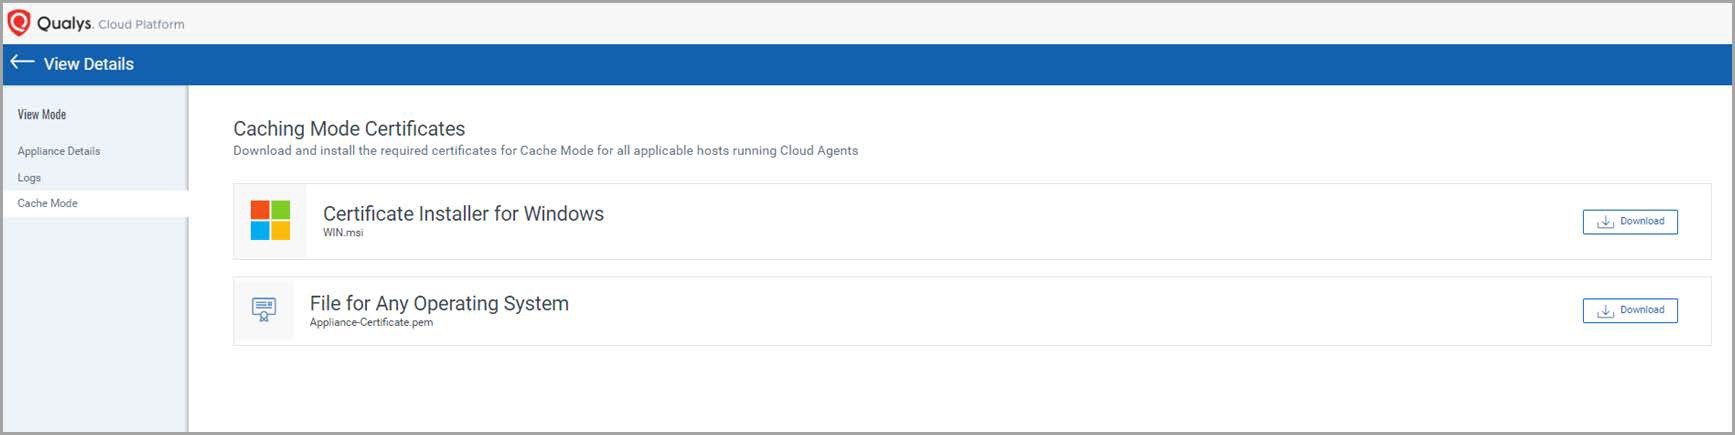
For appliances registered with either the Custom certificate or the Appliance-level certificate, the cache certificate (MSI,PEM) is available for download in the Cache Mode tab.
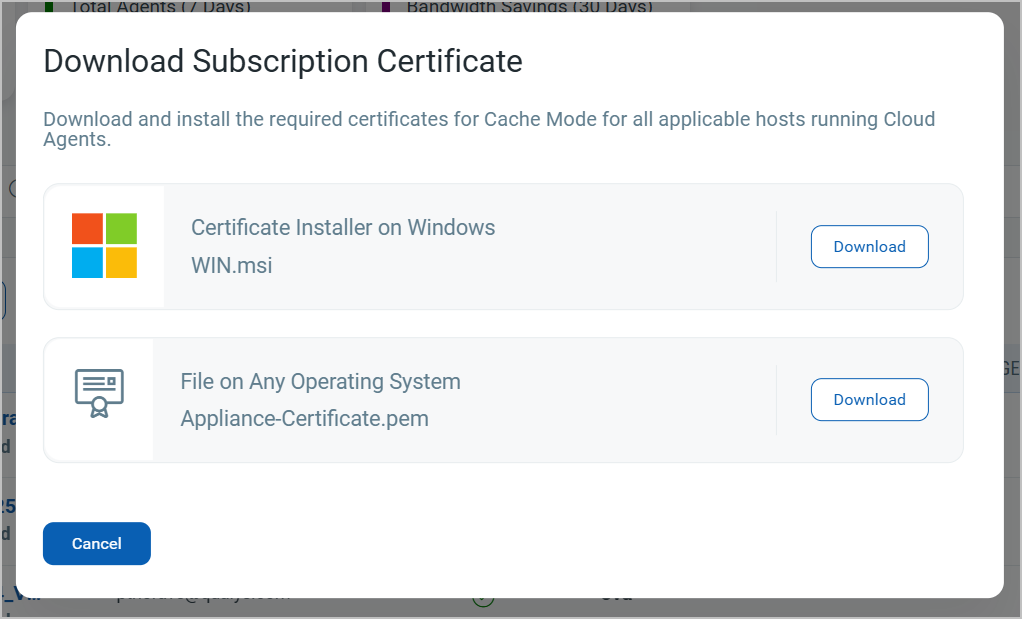
For appliances registered with a Subscription-based certificate, the cache certificate (MSI, PEM) is available for download in either the Cache Mode tab or the Download Subscription-based Certificate option under the Download dropdown of the Appliance listing page.
Things to Remember
- No passphrase should be assigned to the certificates while creating the CSR or any certificate.
- You can configure QGS appliances to receive your custom signed certificates instead of Subscription-based certificates. Refer to “Upload Certificates” section to learn more.
The QGS feature does not validate the certificate, so you must upload a valid one.
CAMS/QGS is not supported for leaf, concatenated/chain certificates.
- Only the PEM format is supported while uploading the certificates on the Certificates tab.
- A certificate size over 3MB cannot be uploaded in the Certificate section.
- When using a QGS appliance with a customer-signed certificate, begin by registering up to two agents for initial validation. This controlled approach is safer than migrating all agents simultaneously and helps verify proper certificate configuration.
- Ensure to complete and validate the agent communication flow successfully before moving all the agents to a QGS proxy with a customer-signed certificate to avoid agent failure.
Next Topic