Microsoft HyperV Deployment Guide
This deployment guide contains information on deploying, interacting, and configuring the Qualys Gateway Service (QGS) HyperV in the Windows environment. This document outlines the steps required to set up a Centralized Appliance Management Service (CAMS) Qualys Gateway Service (QGS) appliance for Microsoft HyperV. This process includes the installation of the VHD file locally using the Hyper-V Manager application in the Windows environment.
To learn more about the QGS application and its features, refer to the Qualys Gateway Service User Guide.
Pre-requisites
- To get the latest version of QGS image, you need access to Qualys Cloud Platform.
- Ensure to cover the minimum system requirements recommended in the Qualys Gateway Service User Guide.
Virtualization Server Requirements and Virtual Machine File Formats
The supported server versions and file formats are listed below. To successfully launch the appliance on your virtual machine, ensure you comply with these versions.
|
Virtual Server |
Supported Versions |
File Format |
|---|---|---|
|
Microsoft Hyper- V |
Windows Server 2012 and later |
VHD |
QGS HyperV Deployment Process
This section outlines the step-by-step process for deploying Qualys Gateway Services on Microsoft HyperV.
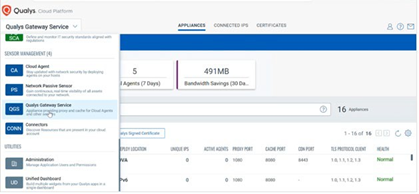
- Log in to the Qualys Cloud Platform.
- Navigate to the Qualys Gateway Service app menu by selecting it from the application selector drop-down.
- Download the VHD zip file to your local computer.
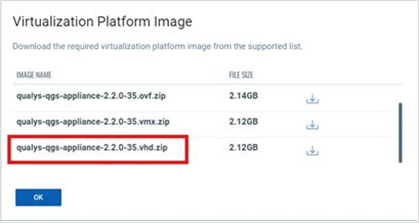
- Extract the zip file and save its contents to the local disk.
- Launch the Hyper-V Manager.
- Right-click on the Hyper-V system within the Hyper-V Manager, then navigate to New > Virtual Machine.
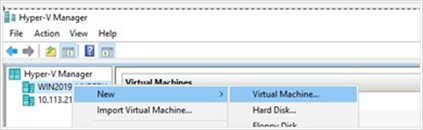
The New Virtual Machine Wizard is displayed.
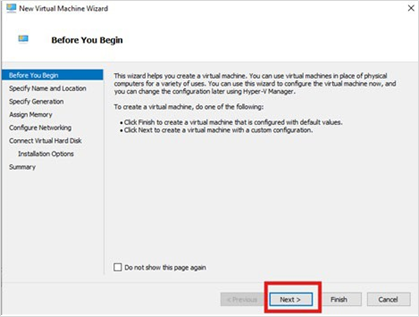
- On the Before You Begin page, click Next.
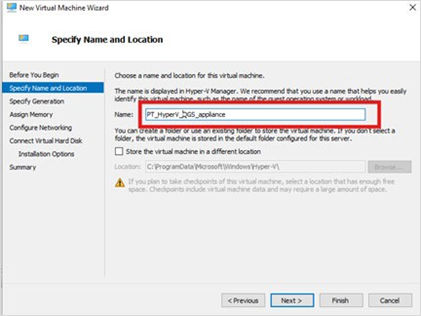
- From the left pane, select the Specify Name and Location category, then provide the name for the Hyper-V appliance.
- Click Next.
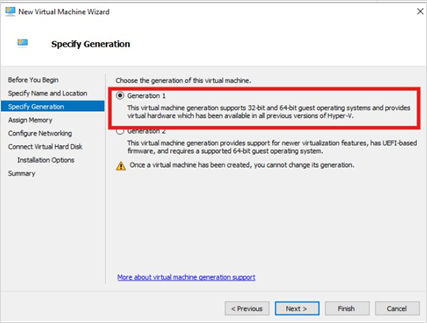
- Choose Generation 1 on the Specify Generation page, then click Next.
- Enter a minimum of 16 GB of startup memory in the Startup memory field on the Assign Memory page, and click Next.

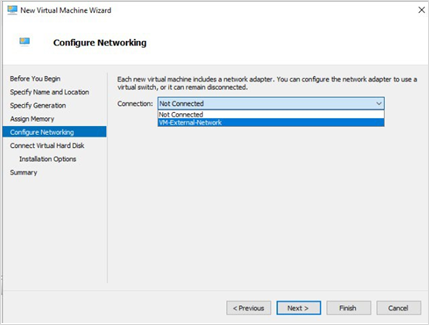
Note: If the server version is Windows 10/11, you must deselect the ‘Use Dynamic Memory for this virtual machine’ checkbox. - Select the appropriate network from the Connection drop-down on the Configure Networking page, and click Next.
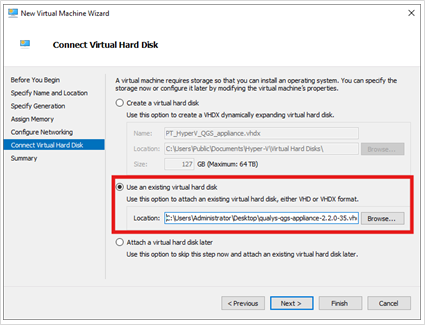
- Select the Use an existing virtual hard disk option on the Connect Virtual Hard Disk page.
- Browse to the VHD location extracted in Step 3.
- Click Next.
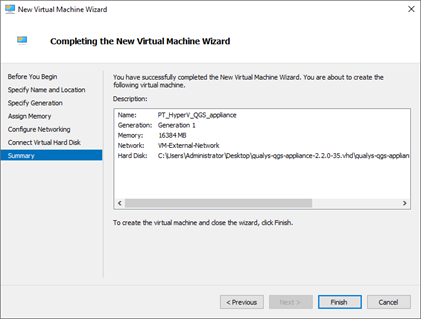
- On the Completing the New Virtual Machine wizard page, verify all details listed in the Summary section, and click Finish.
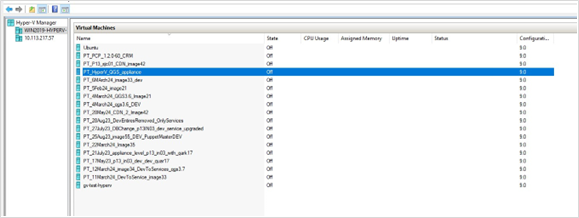
- Go to Hyper-V Manager and select created Hyper System.
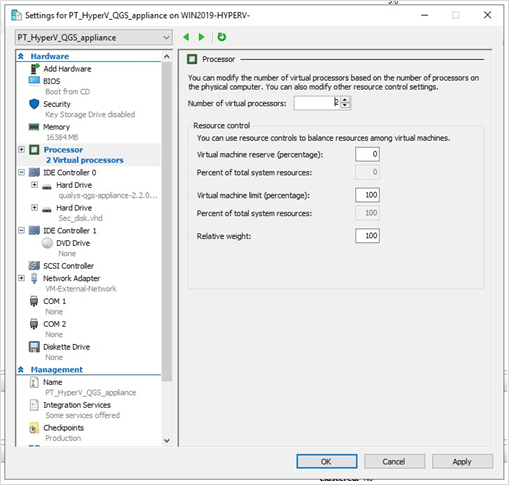
- Once the Appliance system gets created, go to the appliance from Hyper-V Manager, right-click, and select the Settings option.

- Go to the Processor field and add the Number of Processors as >=2.
- Click Apply and then click OK.
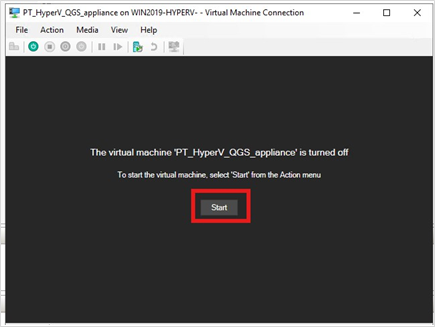
- Once the configuration is saved, right-click on the Hyper-V system and select Connect.
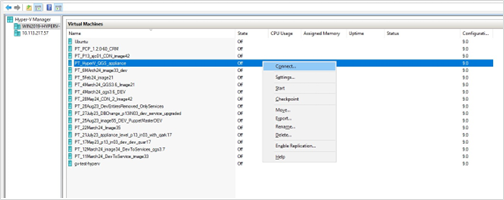
- Once the Hyper-V system is connected, click the Start button to start your appliance.
For details on the configuration screens of the appliance, refer to the ‘Configuration Screens’ section of the Qualys Gateway Service User Guide.
Connecting Secondary Disk Using Patch Mode
Below are the steps for connecting the secondary disk to the QGS appliance for using Patch Mode.
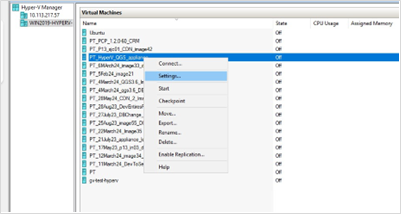
- Go to Hyper-V manager and select QGS appliance.
Note: The appliance must be in a shutdown state to attach a secondary drive. If the appliance is powered on, you must shut it down before attaching the secondary drive.
- Right-click on the appliance and select the Settings option.
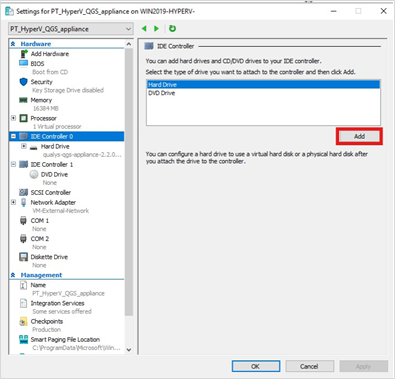
- Navigate to IDE controller 0 > Hard Drive > and click Add.
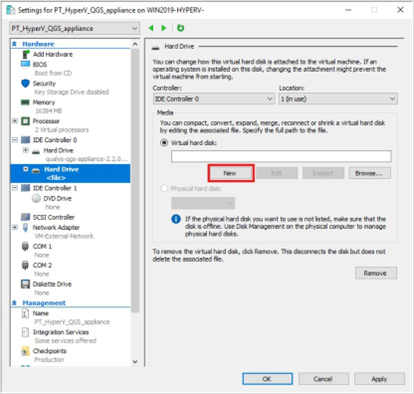
- Click New.
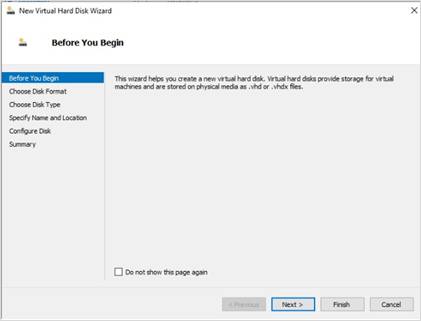
- Click Next on the Before You Begin page.
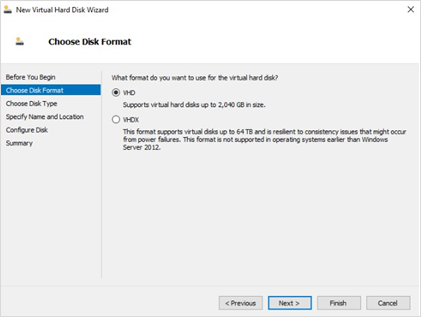
- Select the VHD option from the Choose Disk Format page and click Next.
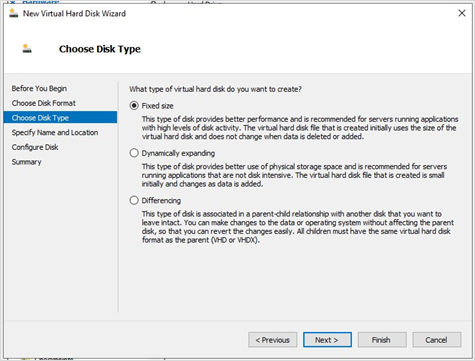
- Select the Fixed size option from Choose Disk Type and click Next.
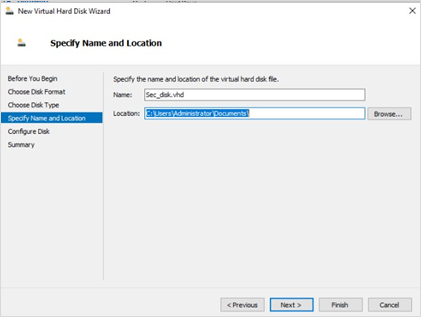
- Enter the secondary drive name and location to create a new hard disk on the Specify Name and Location page and click Next.
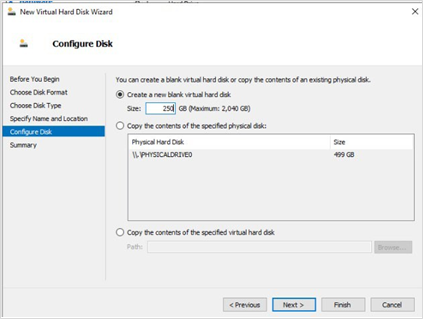
- On the Configuration Disk page, select the Create a new blank virtual hard disk option, add a minimum 250 GB size, and click Next.
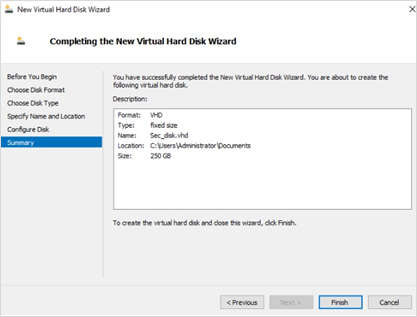
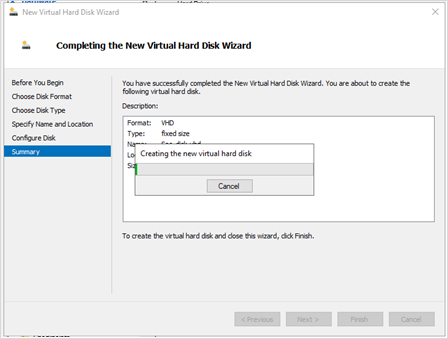
- Verify the details on the Completing the New Virtual Hard Disk wizard and click Finish.
The creation of the secondary drive may take some time.
- Once the disk is created, click Apply and then click OK.
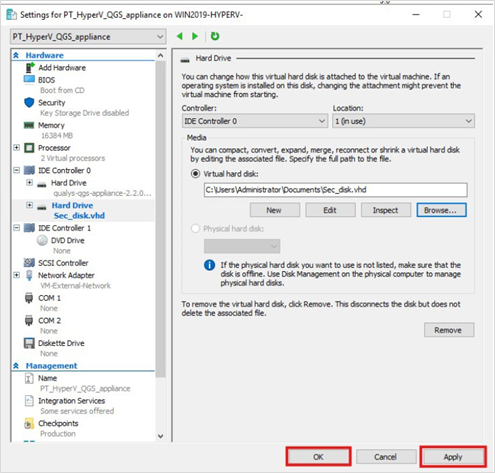
- Verify that the secondary disk is attached properly by right-clicking on the appliance in Hyper-V Manager and selecting the Settings option.

- Once you verify that the secondary disk is attached properly, connect and start the appliance.