Oracle Cloud Infrastructure Deployment Guide
This deployment guide contains information for deploying, interacting with, and configuring the Centralized Appliance Management Service (CAMS) QGS Appliance on Oracle Cloud Infrastructure (OCI).
Before You Start
Instance Snapshots/Cloning is not Allowed
Using a snapshot or clone of a Qualys Gateway Service instance to create a new instance is strictly prohibited. The new instance does not function as a proxy. All configuration settings and platform registration information is lost. This could also lead to the failure of downloading patches.
Moving/Exporting Instance is not Recommended
Moving or exporting registered QGS instances from a virtualization platform (Hyper-V, VMWare, Xen Server) in any file format to the OCI cloud platform is not recommended.
Things to Consider
The following features are not supported in all cloud (private and public) platforms:
- WAN/Split network SETTINGS - “WAN Interface” option for split network settings is not supported. Only LAN/single network settings from text UI (hypervisor console), used for connecting to Qualys servers, are supported
- NATIVE VLAN - “VLAN on LAN” option for configuring Native VLAN is not supported
- STATIC VLAN (IPV4 AND IPV6) - "VLANs" option for configuring static VLANs is not supported
- STATIC ROUTES (IPV4 AND IPV6) - Option to configure “Static Routes” is not supported
- IPV6 ON LAN - Option to configure “IPv6 on LAN” is not supported
Prerequisites
- To get the latest version of QGS image, you need access to Qualys Cloud Platform. Contact Qualys Support to subscribe or sign up on the Qualys website.
- Qualys Gateway Service Appliance VM must be able to reach the Qualys backend services.
- Ensure to cover the minimum system requirements recommended in the Qualys Gateway Service User Guide.
Steps to Deploy QGS On OCI
This section outlines the step-by-step process for deploying Qualys Gateway Services on OCI.
OCI platform supports .vhd file formats. Qualys Gateway Service appliance can be deployed using .vhd image file formats.
- Go to the Marketplace and click All applications
- Search for the Qualys Gateway Service Appliance images
Steps to Deploy the Qualys Gateway Service Appliance VM
The Qualys Gateway Service Appliance can be deployed using the OCI Console.
1) Select the image and click Launch Instance
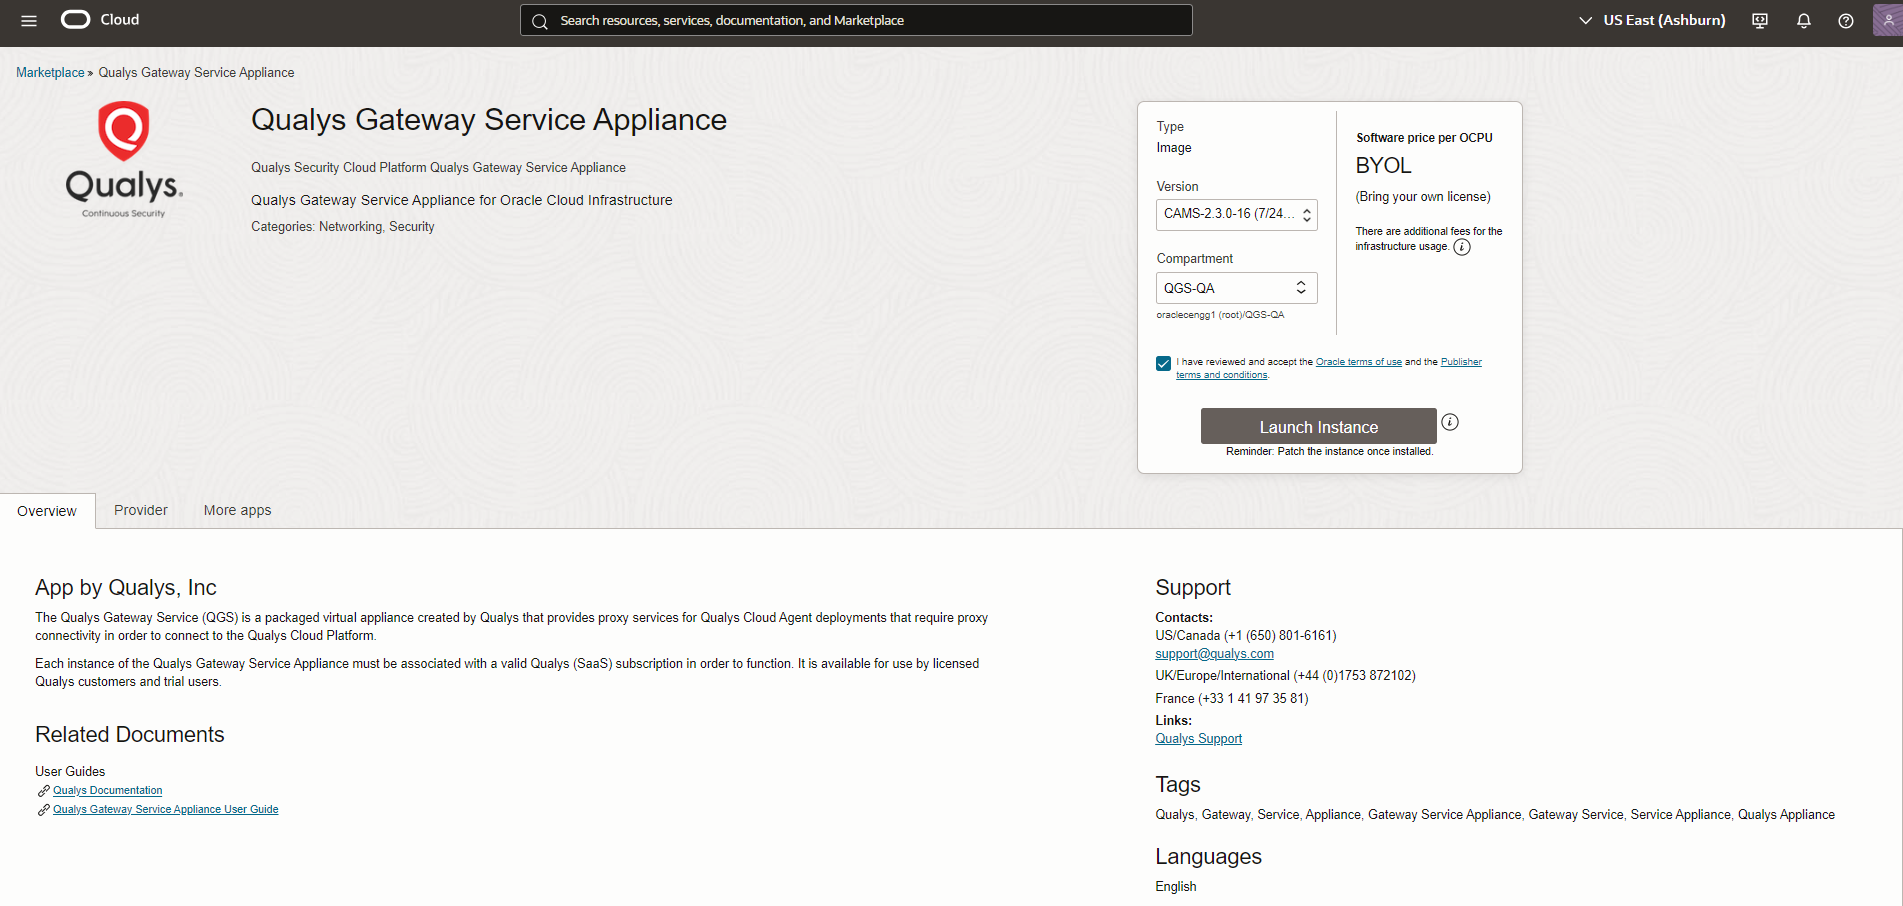
- Provide the details below to create the instance
- Provide a name for the instance and select the compartment according to your preference.

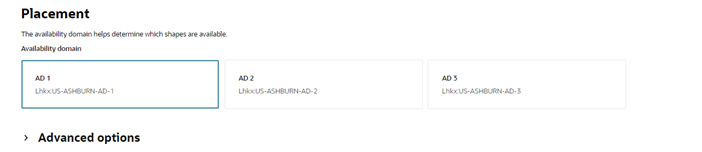
- Select the placement
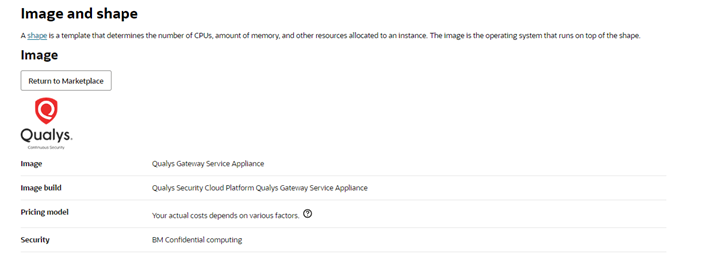
- Select the image
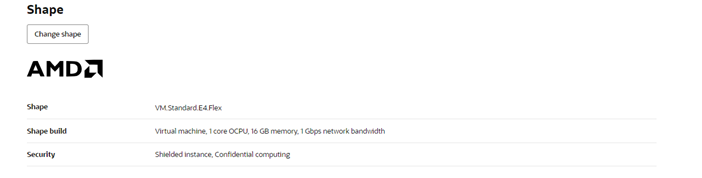
- Select the shape (Refer the QGS User Guide for System Requirements)
- Click Next and go to the Networking section
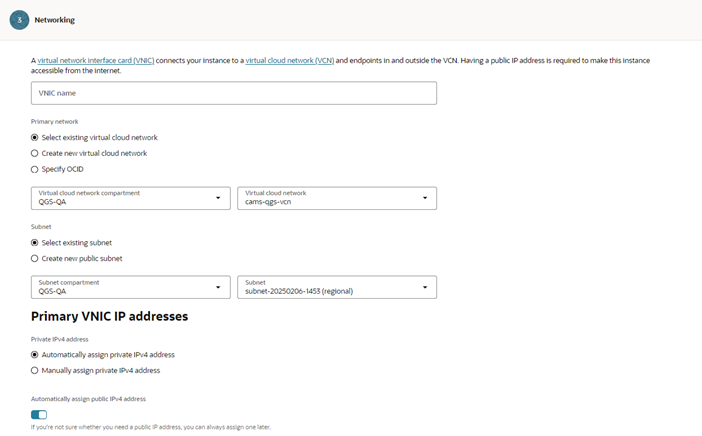
- Select the Primary VNIC information ( Refer to the QGS User Guide for system requirements)
- Provide the VNIC name (Optional)
- Select the VCN compartment from the primary network according to the user’s preference
- Select the subnet
- Then choose the option how a private IPv4 address, either automatic or manual
- Make sure that the 1080, 8080, and 22 ports are accessible
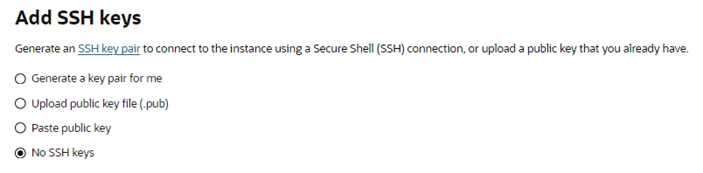
- Select option No SSH key
- Then, click Next, review the provided details, and finally click Create.
- After creating the appliance, the status is displayed as Running and the QGS appliance is deployed in your environment.
- Provide a name for the instance and select the compartment according to your preference.
How to access the serial console
- Click OS Management
- Scroll down to the Console Connection
- Click Launch Cloud Connection
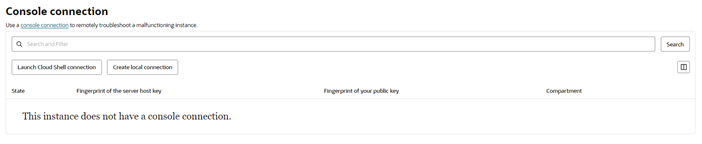
- The Cloud Shell will appear. Wait for a moment, then press the down arrow key to access the serial console.

- The QGS text UI appears on the serial console.

Follow the Qualys Gateway Service User Guide for configuring the network, pod_suffix, and other configurations on the appliance.
How to attached the Secondary Disk to the QGS appliance
Refer to the Qualys Gateway Service user guide for the system requirements.
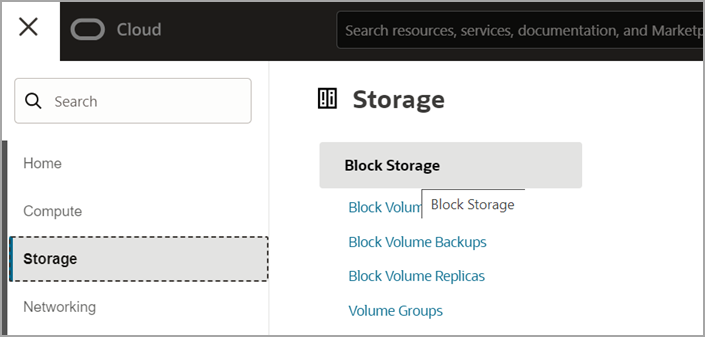
- Navigate to Storage > Block Storage
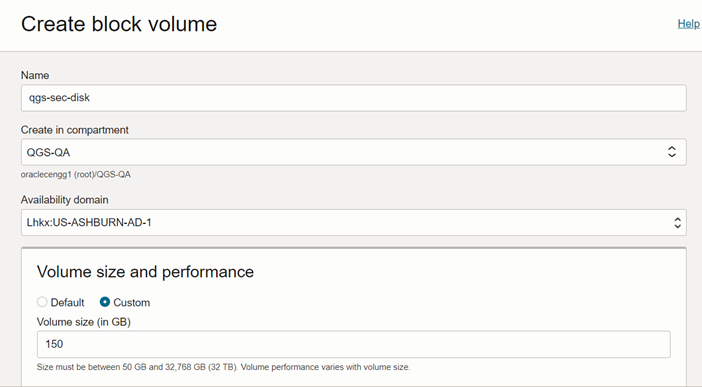
- Create Block volume and provide disk size as 155GB
- Provide a name to the block volume
- Select your compartment
- Provide the availability domain where the QGS appliance is created
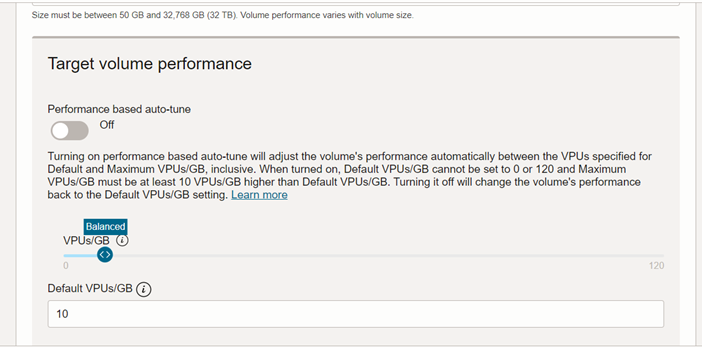
- Choose Custom in Volume Size and Performance
- Provide secondary disk size as 150GB and keep other fields as it is.
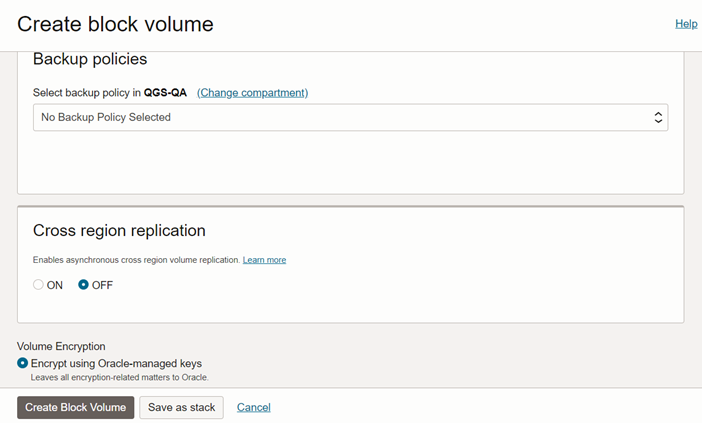
- Click Create block volume and wait for the volume to be created.
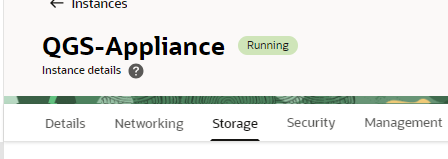
- Return to the instances and select the created instance where the secondary disk needs to be attached.
- Click Storage
- Scroll down and click Attached block volumes > Attach block volume
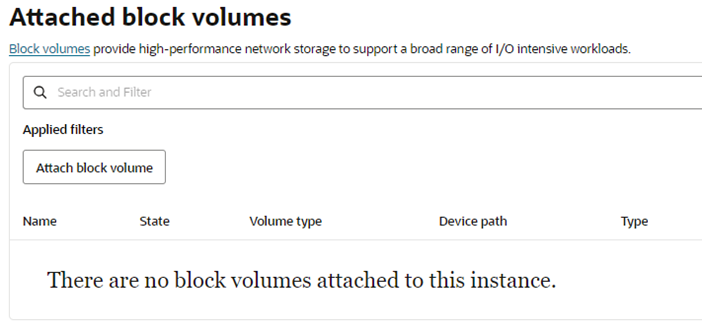
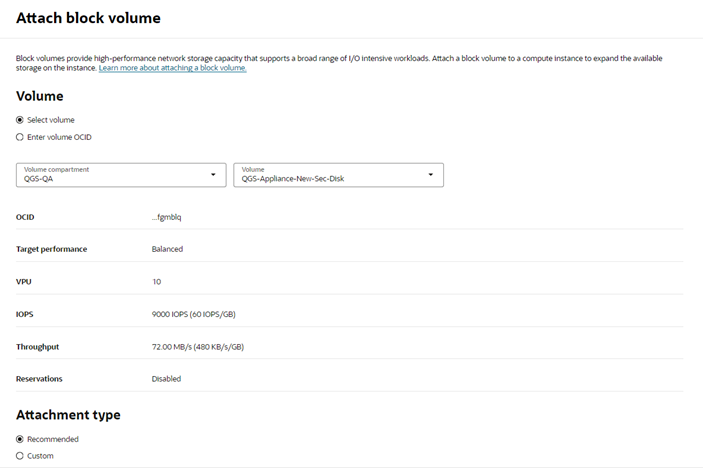
- Select Created Volume from the Volume dropdown menu.
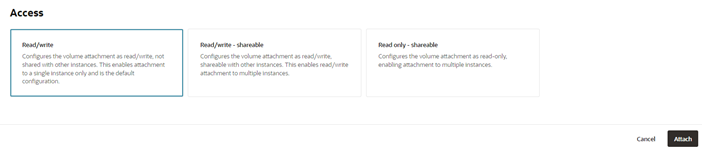
- Select Access as Read/Write and click Attach
- The status displays as show below

- Once the secondary disk is attached, restart the appliance to enable disk detection. Wait for 10-15 minutes for the disk to be detected.
- You can verify the attached secondary disk on the QGS Text UI by navigating to Diagnostics > Disks.