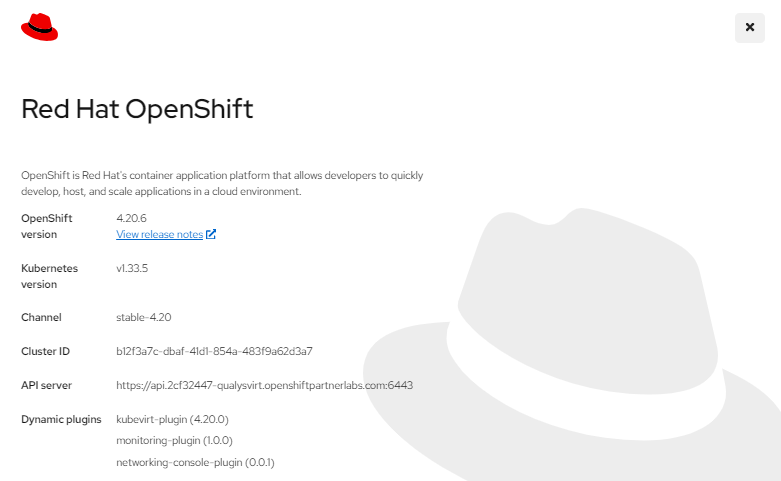
Red Hat OpenShift Deployment Guide
This deployment guide contains the information for deploying, interacting, and configuring Centralized Appliance Management Service (CAMS) QGS Appliance on Red Hat OpenShift.
Prerequisites
- You need an active Red Hat OpenShift account to set up CAMS QGS.
- Ensure to cover the minimum system requirements recommended in the Qualys Gateway Service User Guide.
Steps to Configure the CAMS Appliance
Steps to Deploy CAMS/QGS on OpenShift
- Select the target project and verify that sufficient resources are available to deploy the CAMS/QGS appliance. For system requirements, see the QGS User Guide.
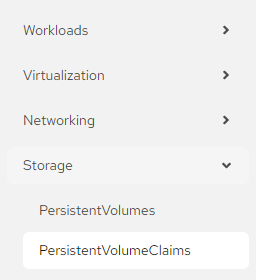
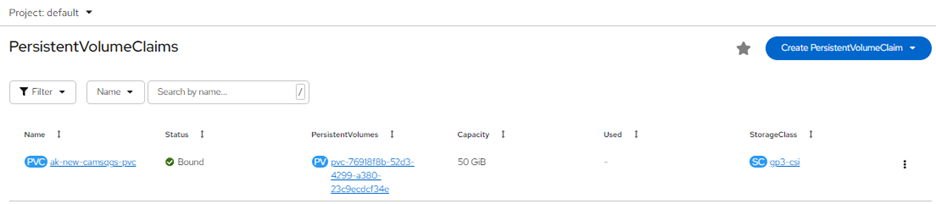
- Navigate to Storage > PersistentVolumeClaims.
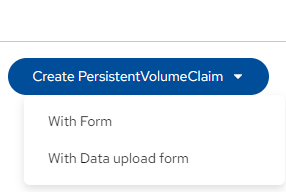
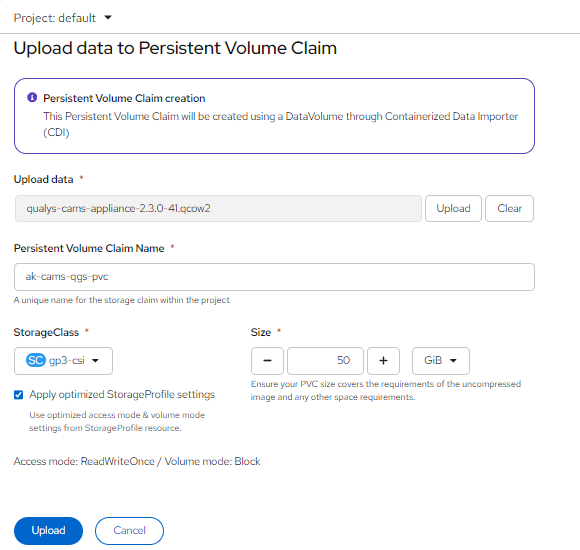
- Click Create Persistent Volume Claim, and then select With data upload form.
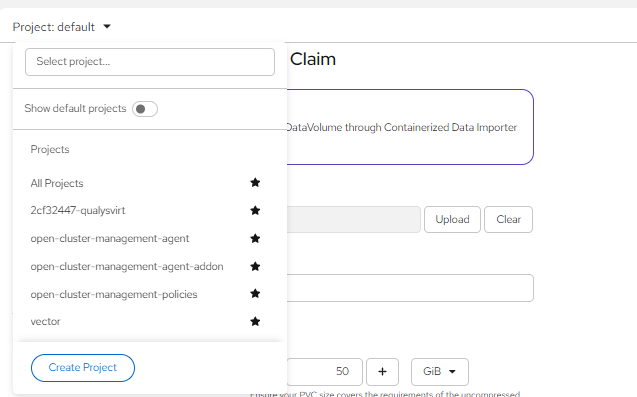
- Select your project.
- Upload the CAMS/QGS image by clicking Upload.
- Enter a name for the Persistent Volume Claim.
- Select the appropriate storage class.
- Specify a disk size of 50 GB. Refer to the QGS User Guide for supported configurations.
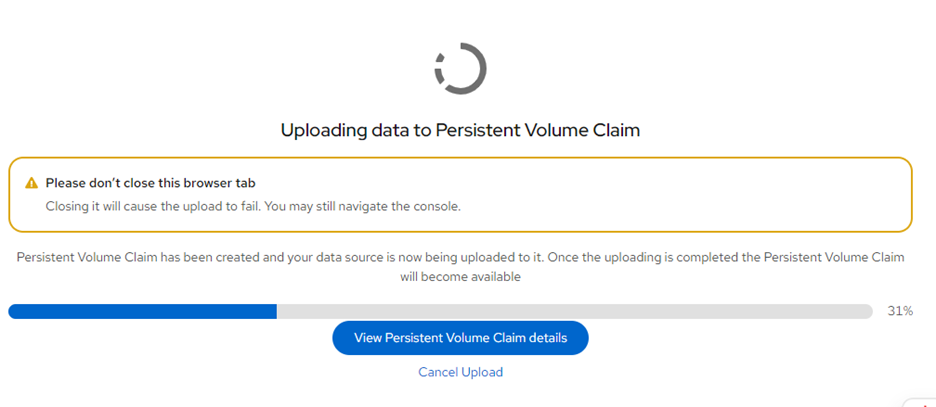
- Click Upload to begin the upload process.
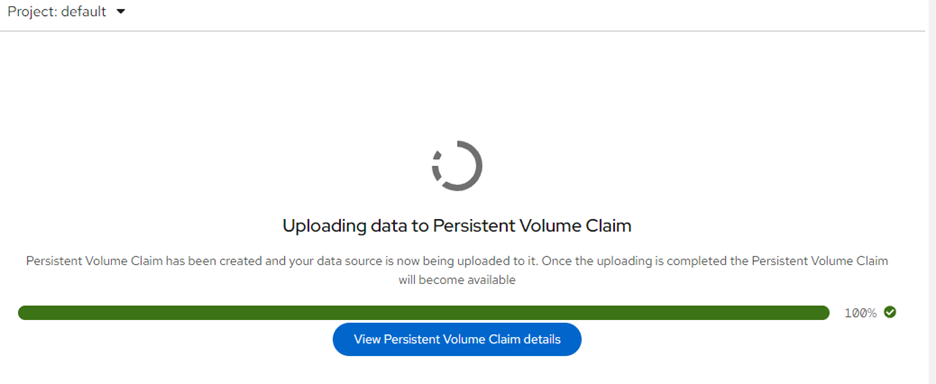
- The upload starts and the PVC creation progress page is displayed.
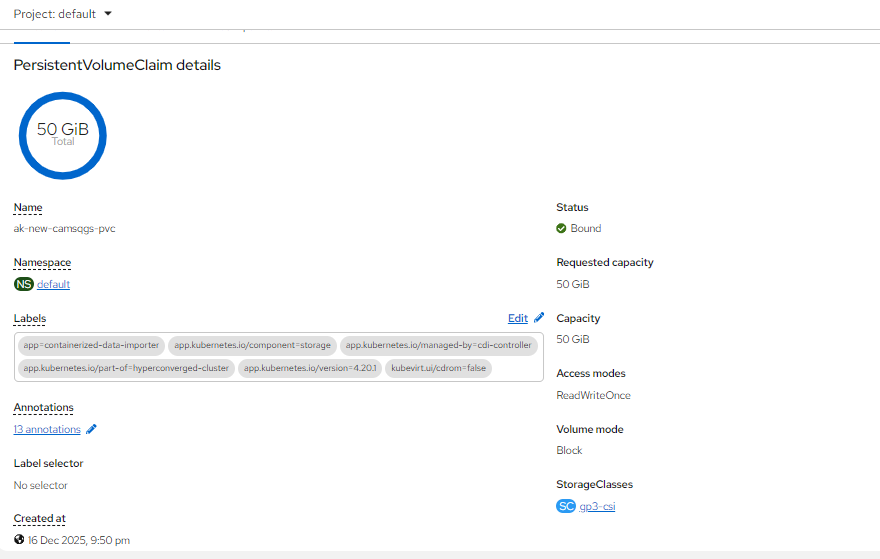
- Click View PVC details.
- The PVC status initially appears as Pending. PVC creation can take approximately 2–3 hours.
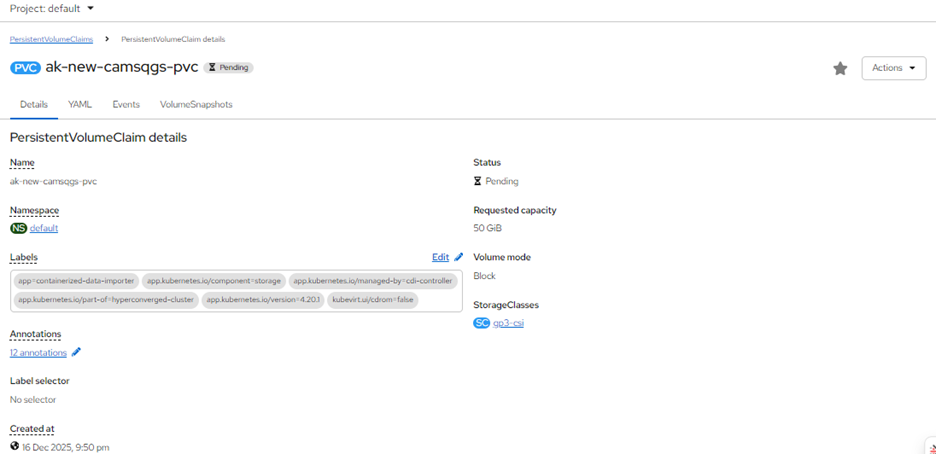
- When creation completes, the PVC status changes to Bound.
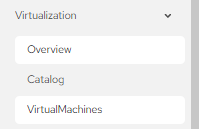
- Navigate to Virtualization > Virtual Machines.
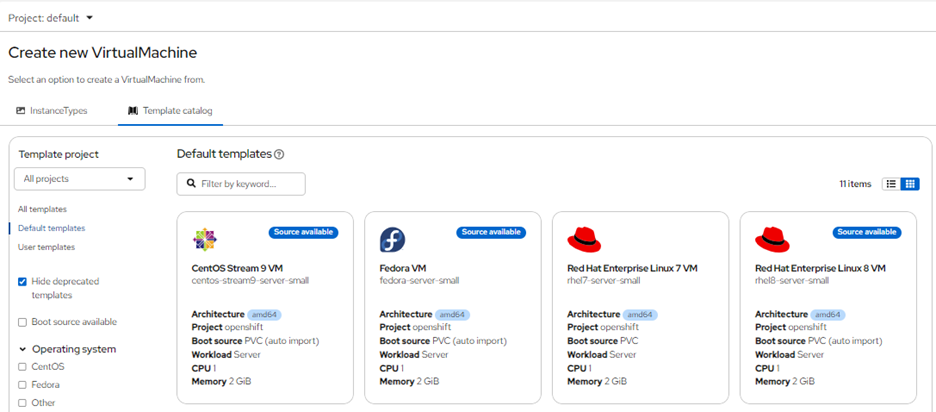
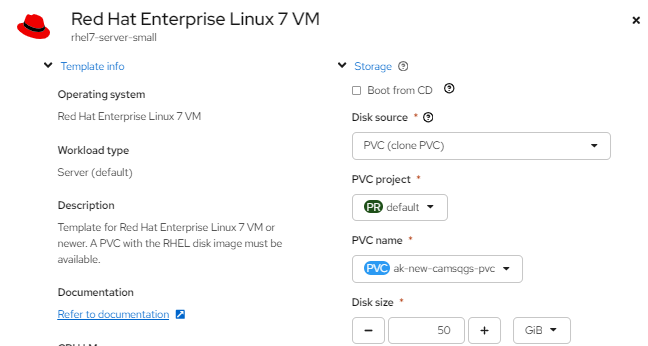
- Click Create, and then select From template.

- Select the Red Hat Enterprise Linux 7 template, or another supported RHEL template.
- Set the disk source to PVC (Clone PVC).
- Select the project that contains the PVC.
- Select the previously created PVC.
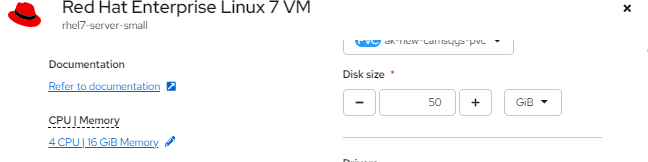
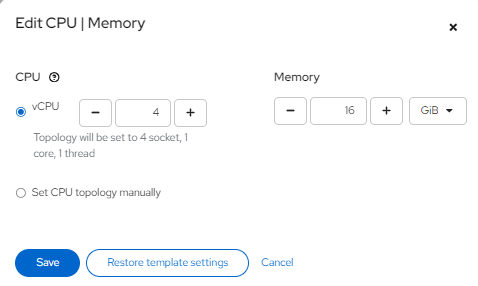
- Configure the virtual machine with 4 CPUs and 16 GB RAM. Refer to the QGS User Guide for supported configurations.
- Configure networking according to your environment. For required ports, URLs, and network prerequisites, see the QGS User Guide.
- Enter a name for the QGS appliance.
- Click Quick create Virtual Machine, or select Customize Virtual Machine to modify settings before creation.
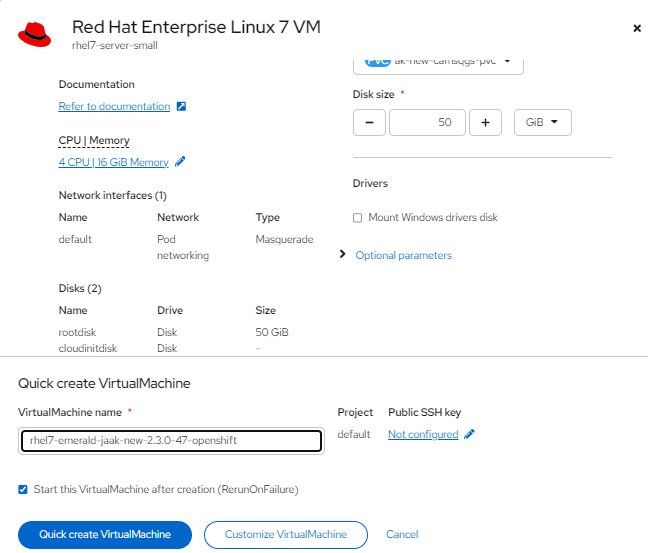
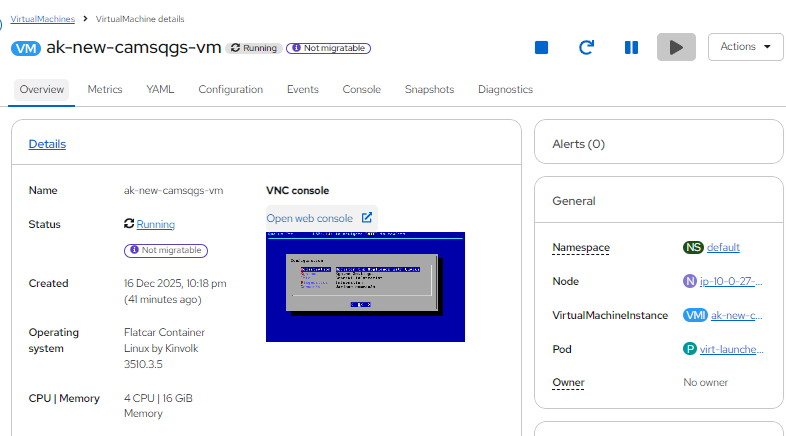
- The VM is created and transitions from Provisioning to Running.
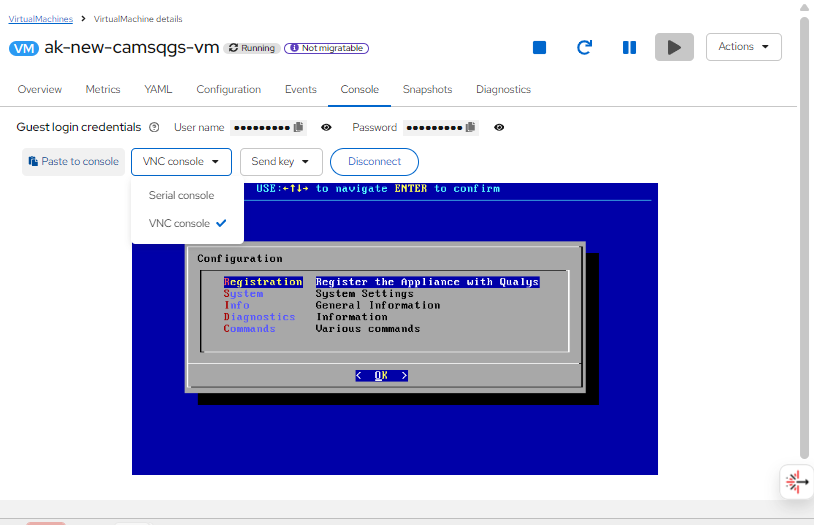
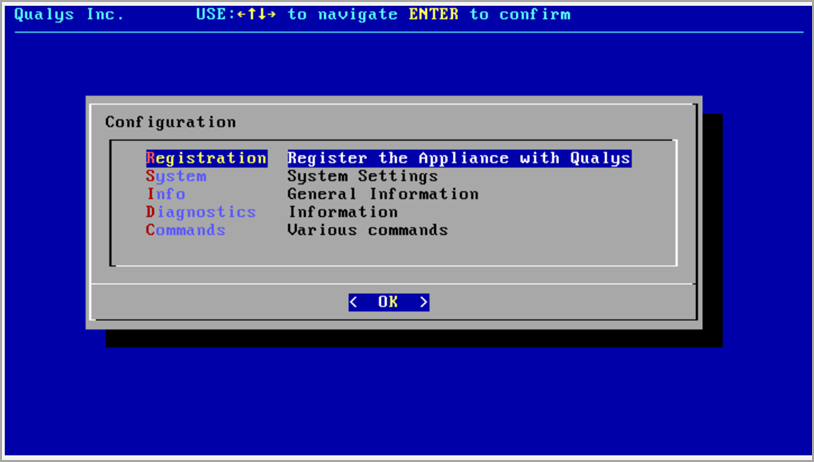
- Access the text-based UI by using the VNC console or Serial console. Select the VM, then choose Console.
or
Add a Secondary Hard Disk to use Patch Mode
This section explains how to attach a secondary data disk to an existing QGS virtual machine.
- Select the QGS appliance and open the Overview tab.
- Scroll down and select Storage.
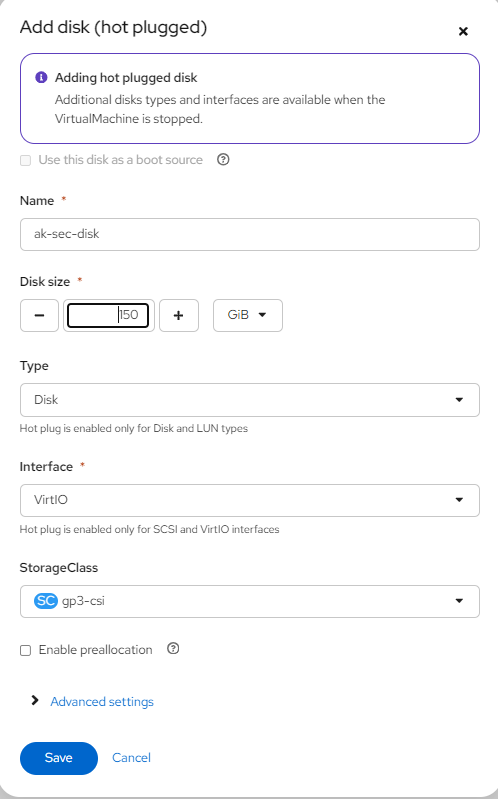
- Click Add, and then select Empty Disk (Blank).
- Enter a name for the secondary disk.
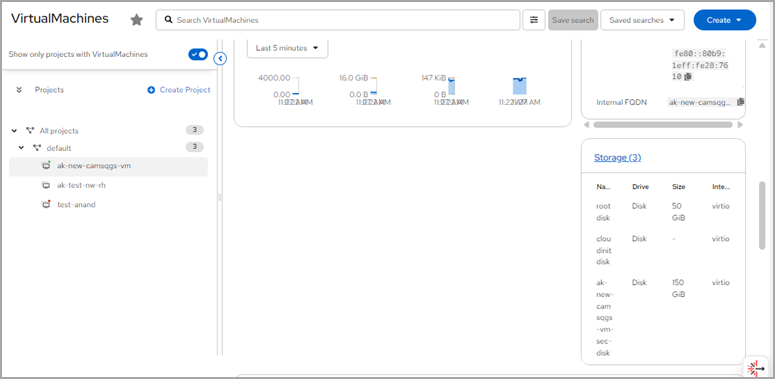
- Specify a disk size of 150 GB. Refer to the QGS User Guide for supported configurations.
- Set Type to Disk.
- Select the disk interface (for example, VirtIO).
- Select the appropriate storage class (for example, gp3-csi), and then click Save.
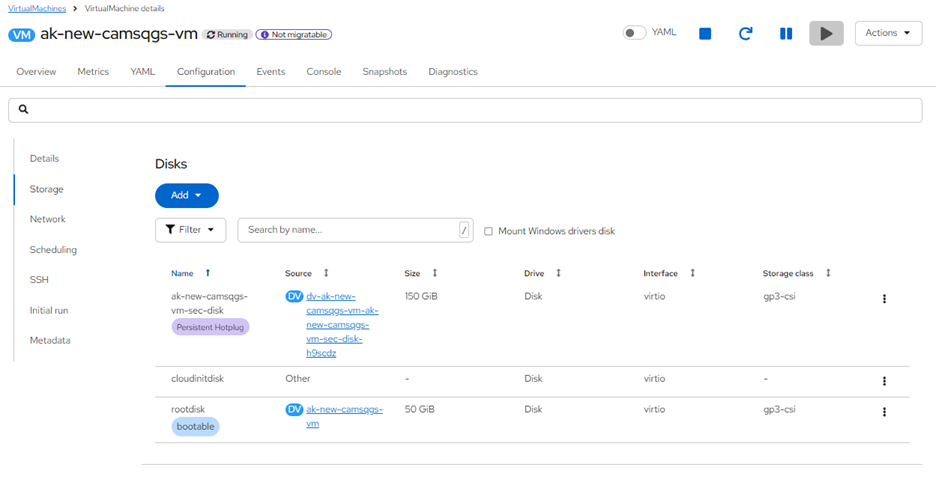
- Wait for the disk to be created and attached to the appliance.
- Verify that the secondary disk appears with an attached status.
If the secondary disk is attached after appliance registration, reboot the appliance to ensure the disk is detected. After the reboot, allow several minutes for the system to initialize.