Deploying CAMS/QGS on Proxmox
This guide describes how to deploy the Qualys Gateway Service (QGS) appliance on a Proxmox Virtual Environment (VE) host. It covers VM creation, disk import and attachment, boot configuration, secondary disk provisioning, and post-deployment verification.
Prerequisites
Before starting, confirm the following are in place:
- Proxmox VE 6.2-4 or compatible version is installed and accessible.

- Ensure to cover the minimum system requirements recommended in the Qualys Gateway Service User Guide.
Create a VM Without a Disk
Create the VM shell using the qm create command. Do not attach a disk at this stage — the appliance image is imported separately in the next step.
Syntax:
qm create <vmid> --name <vm-name> --memory <MB> --cores <count> --net0 virtio,bridge=<bridge>Example:
qm create 101 --name ak-qgs-01 --memory 16348 --cores 4 --net0 virtio,bridge=vmbr0Import the QCOW2 Appliance Image
Import the .qcow2 appliance image into the Proxmox local storage. The import command converts and registers the image as an unused disk on the VM.
Syntax:
qm importdisk <vmid> <path-to-image> localExample:
qm importdisk 101 /root/qualys-cams-appliance-2.3.0-41.qcow2 localIdentify and Attach the Imported Disk
After import, verify the disk path using qm config, then attach it to the VM as the primary SCSI disk.
Check the Imported Disk Path
qm config 101 | grep unusedThe output shows the unused disk path, typically in the format local:101/vm-101-disk-0.raw or local:101/vm-101-disk-0.qcow2.
Attach the Disk
Use the exact path returned by the grep output above.
Example:
qm set 101 --scsi0 local:101/vm-101-disk-0.rawConfigure the Boot Disk
Set the VM to boot from the primary SCSI disk (scsi0).
qm set 101 --boot c --bootdisk scsi0Verify the Appliance Configuration
Confirm the VM configuration before starting. Run the following command and verify that the boot disk, memory, CPU, network, and disk settings are correct.
qm config 101Expected output (example):
boot: c
bootdisk: scsi0
cores: 4
memory: 16348
name: ak-qgs-01
net0: virtio=EE:83:1D:3A:0A:7F,bridge=vmbr0
scsi0: local:101/vm-101-disk-0.raw,size=41944440K
smbios1: uuid=d8d74b27-d0fa-44a4-9254-49fb251551e5
vmgenid: 37d78312-a091-4d19-afe7-41dc65b028ba
Start the VM
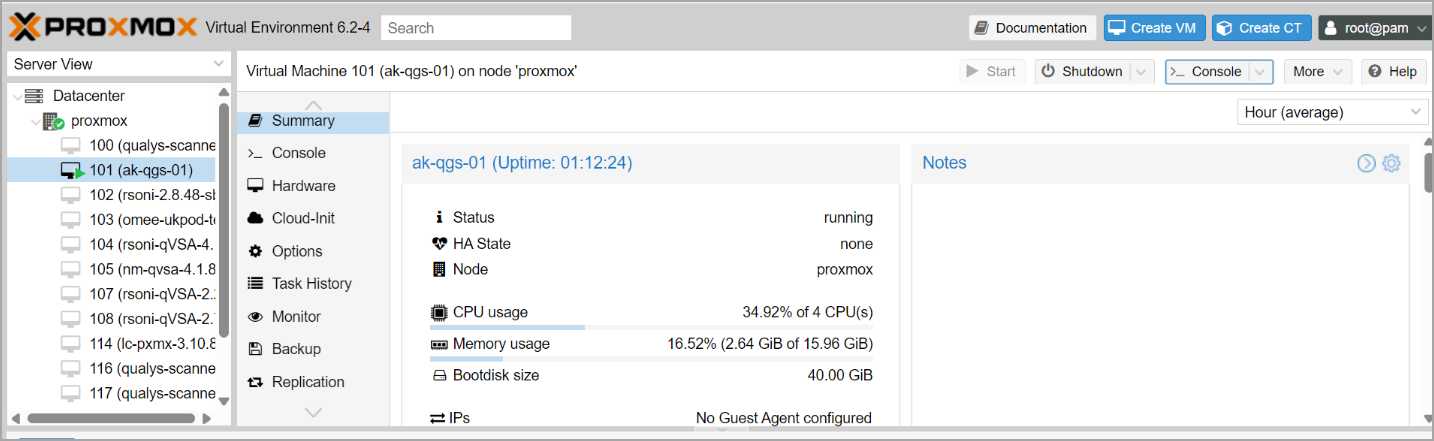
Start the appliance VM using either the CLI or the Proxmox Web UI.
From CLI
qm start 101From Web UI
In the Proxmox Web UI, select the VM from the server view tree, then click Start in the toolbar.
Attach the Secondary Disk (Optional)
The CAMS/QGS appliance requires a secondary data disk if you want to enable Patch Mode. Attach this disk after the initial VM configuration and before completing network registration.
Stop the CAMS/QGS appliance before attaching the secondary disk.
Stop the Appliance
From CLI:
qm stop 101Or use the Shutdown button in the Proxmox Web UI.
Create the Secondary Disk File
qemu-img create -f raw /var/lib/vz/images/101/vm-101-disk-1.raw 150GImport the Secondary Disk to the VM
qm importdisk 101 /var/lib/vz/images/vm-101-disk-1.raw localIdentify the Unused Disk
qm config 101 | grep unusedAttach the Secondary Disk
Use the path returned by the previous command.
qm set 101 --scsi1 local:101/vm-101-disk-1.rawVerify the Attached Disks
qm config 101 | grep scsiConfirm that both scsi0 (primary) and scsi1 (secondary) are listed.
Restart the Appliance
Start the VM again using the CLI or Web UI:
qm start 101Access the Serial Console
After the appliance starts, access the serial console to complete network configuration and Qualys platform registration.
- In the Proxmox Web UI, select the VM from the server tree.
- Click Console in the toolbar.
- The appliance serial console opens in a new browser window via noVNC.
Network Configuration and Registration
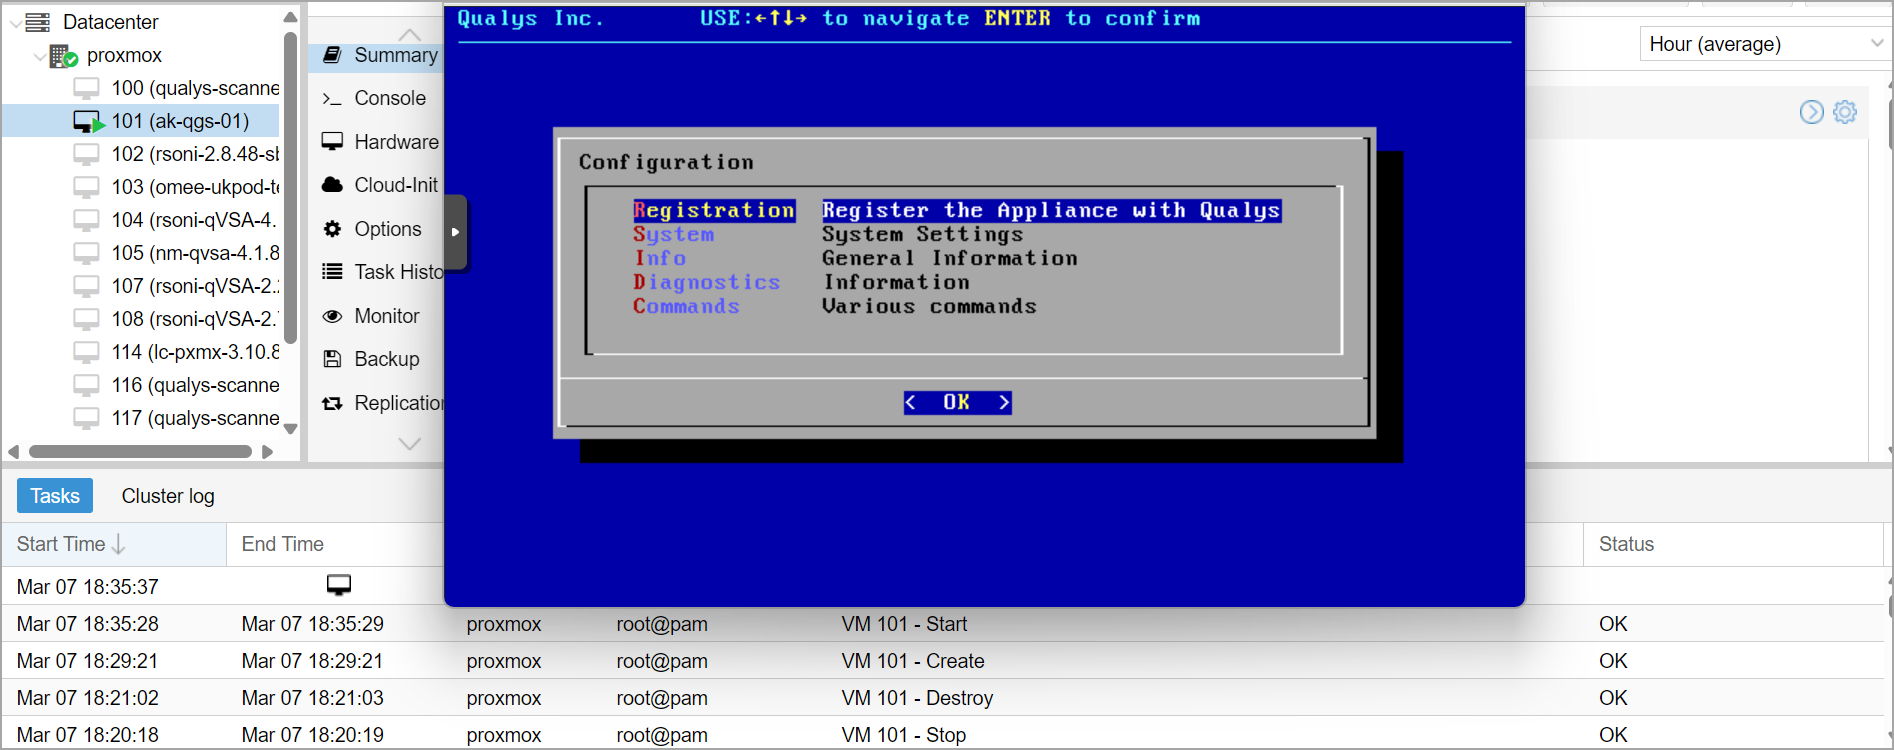
From the serial console, follow the QGS User Guide to configure network settings and register the appliance with the Qualys platform. Select Registration from the Configuration menu to begin the registration process.
Once registration completes, the appliance status is available from both the Text UI and the Qualys Web UI.
Verifying Appliance Status
After successful registration, confirm the appliance is active using the following methods.
From the Text UI (noVNC Console)
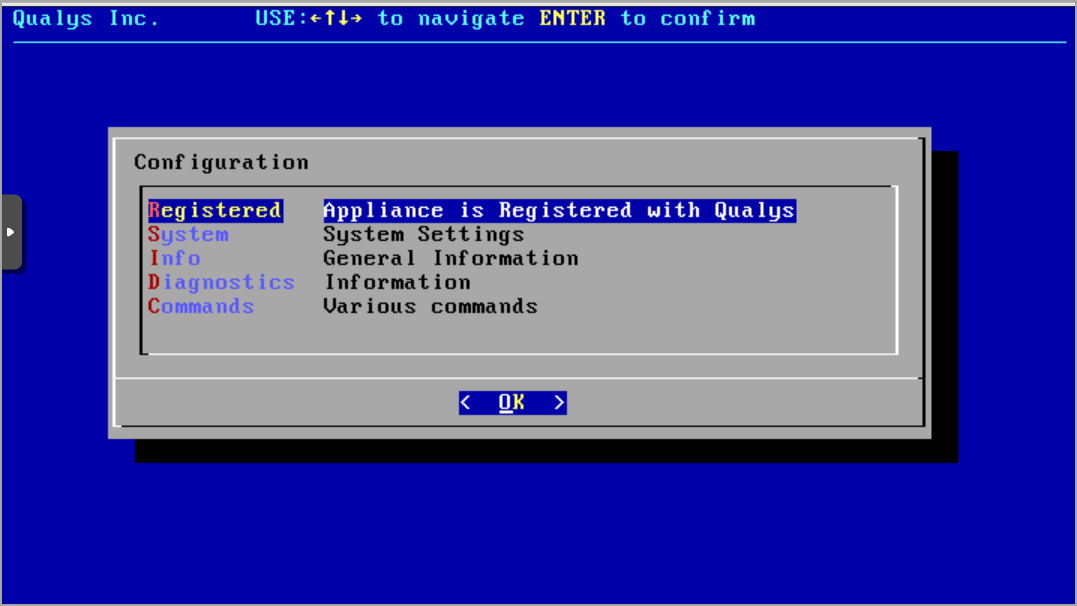
Open the console and verify that the Configuration menu shows Registered — Appliance is Registered with Qualys.
From the Qualys Web UI
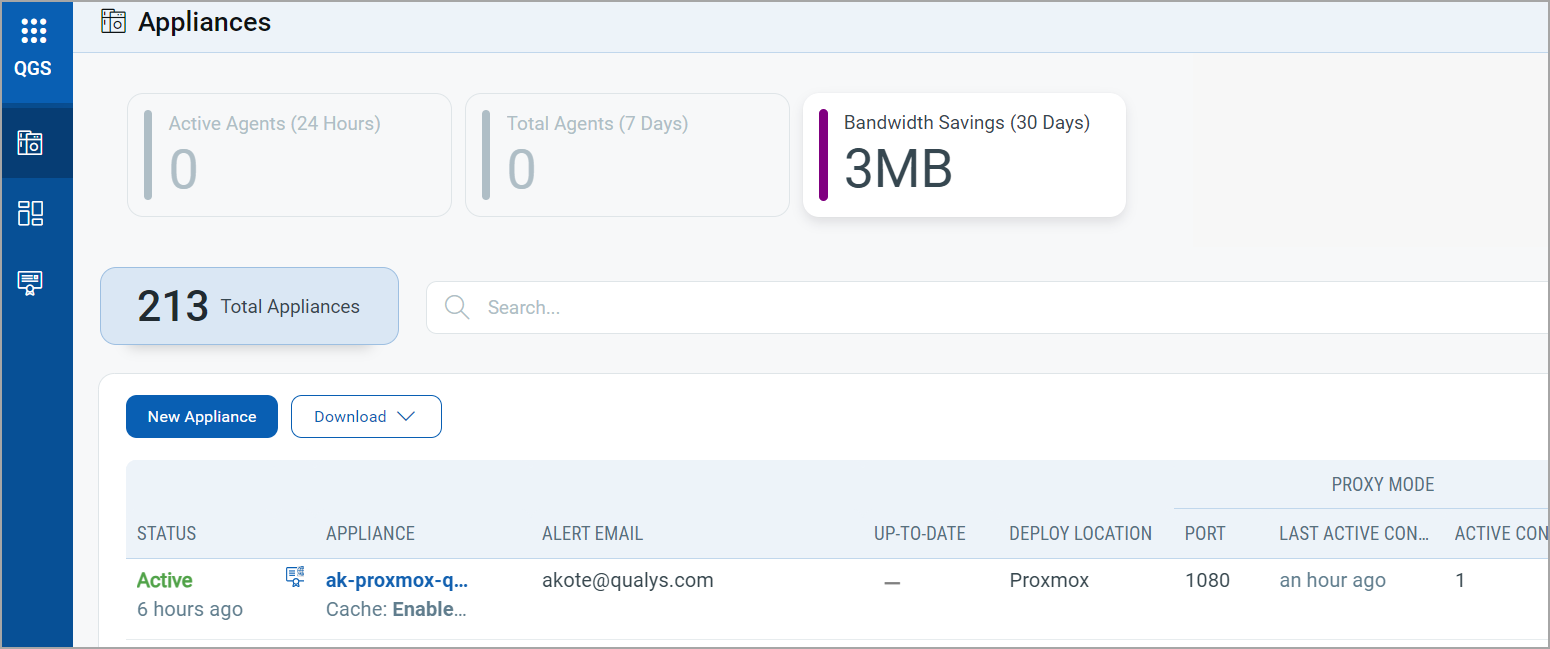
Log in to the Qualys Enterprise TruRisk Platform and navigate to QGS > Appliances. The appliance appears with a status of Active and the deploy location set to Proxmox.