Deploy Qualys Virtual Scanner Appliance from Custom Image
This section helps you understand how to deploy Qualys Virtual Scanner Appliance from the custom image.
- Only use the Qualys Virtual Scanner Appliance image available on the Azure Marketplace or the Signed URL provided by Qualys. Images downloaded from the Qualys UI do not work on Azure Stack, even with disk format conversions.
- Tested on Azure Stack build 1.1910.0.58 with Wire Protocol version 2015-04-05 only.
Perform the following steps to deploy Qualys Virtual Scanner from the custom image:
- Log into your Azure Stack account.
- Click Dashboard > Images from the main menu, then select the qVSA image you obtained from Qualys.
- Click New VM.
- Fill out the following fields:
- Name – This is the name of your Qualys scanner. Scanner VM name must be between 1 and 64 characters long and may contain alpha-numeric characters, dots, and hyphens '-' only. It must start and end with an alpha-numeric character.
- VM Disk type – You can choose a disk that best meets your requirements.
- Username – The Username is your personalization code, retrieved from the Qualys platform, with 'u' prepended: u2009XXXXXXXXXX
-
Authentication type - Choose Password. Since Qualys Virtual Scanner is a locked-down Linux appliance managed completely from the Qualys Enterprise TruRisk™ Platform, the Azure Stack username, password, and SSH public key are not used for authentication but rather as a mechanism to pass configuration information from Azure Stack to the appliance.
If you consider using SSL Proxy on your scanner, you can pass the proxy configuration through this field.Proxy server configuration
You can configure the Qualys Scanner to use an SSL proxy for all outbound communication with the Qualys Enterprise TruRisk™ Platform. We support both IP and FQDN for the proxy server configuration. You can specify the proxy server URL in the Password field using this format: proxy://username:password@proxyhost:port
Formatting:
If you have a domain user, the format is proxy://domain\usernsame:password@proxyhost:port
If authentication is not used, the format is proxy://proxyhost:port
where proxyhost is the IPv4 address or the FQDN of the proxy server, port is the port the proxy server is running onExamples:
proxy://jdoe:[email protected]:3128
proxy://jdoe:[email protected]:3128
Resource Group – You can either use an existing Resource group or create a new one.
To learn more about resource group, please visit Azure documentation: Manage Azure resource groups by using the Azure portal.
Location – local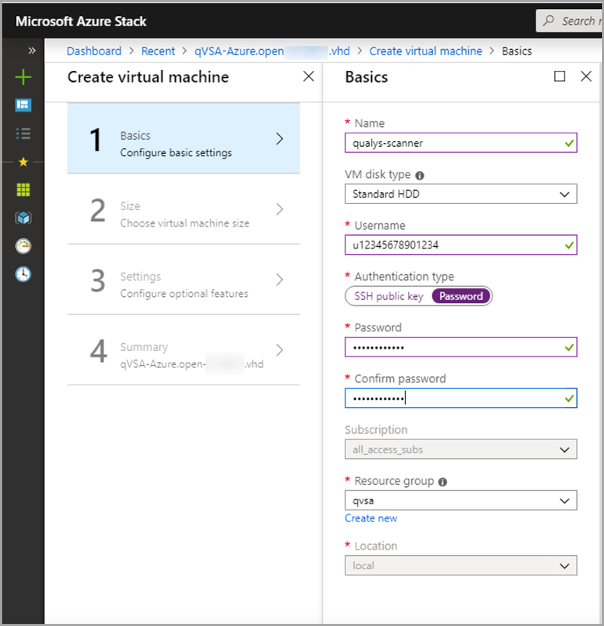
- Click OK.
- On the next screen, choose a size for your virtual scanner.
Qualys scanners support up to 16 cores and no more than 16 GB of RAM. We recommend a ratio of 3-4 GB of memory per core.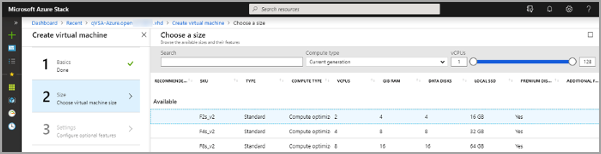
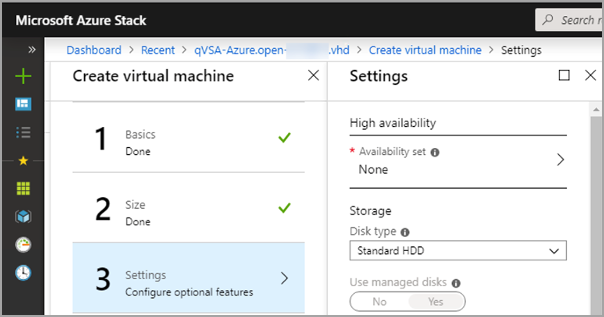
- In Settings, fill out the following details:
- High Availability – Choose None.
- Storage – Choose the Disk type for your Qualys scanner.
- Network – You should configure Virtual Network, Subnet and Public IP address for your VM.
To learn more about Virtual Network, refer to Azure documentation: https://docs.microsoft.com/en-us/azure/virtual-network/virtual-networks-overview.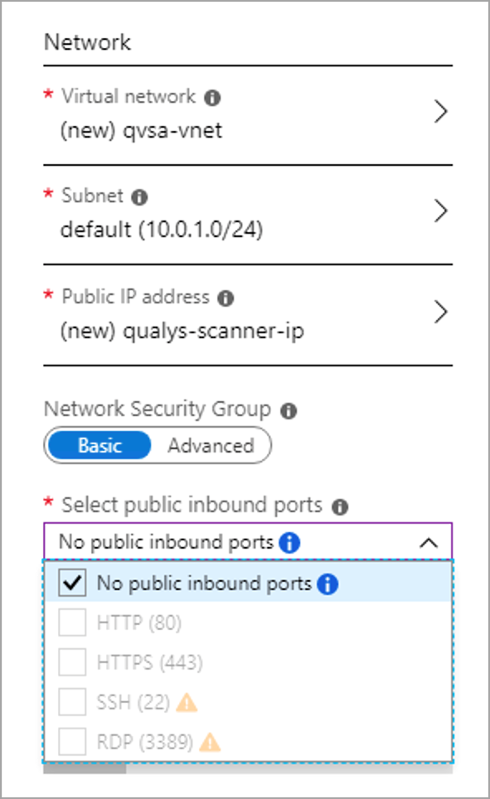
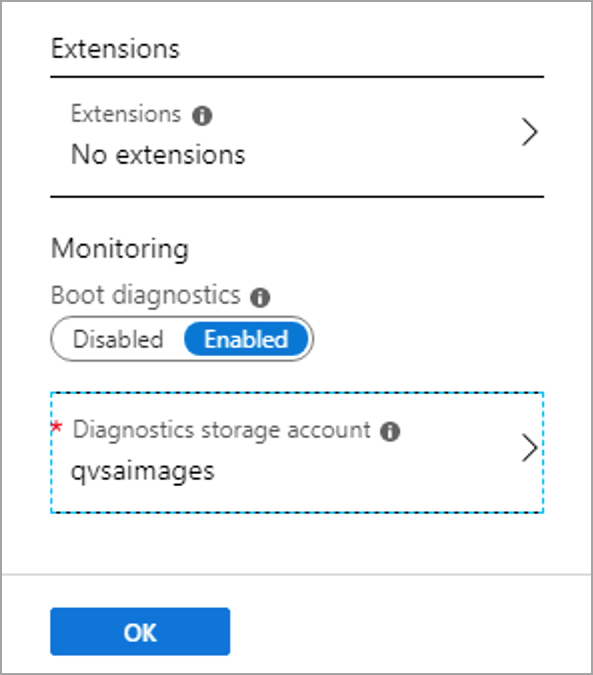
- Extensions – No extension.
- Monitoring – We recommend Monitoring to be Enabled. Choose Diagnostics storage account and click OK.
- Review the Summary of your VM. If everything looks good, click OK to start the scanner deployment.
- Once Azure completes the deployment, click Go to Resource to access the scanner deployment in your resource group.
Your scanner has been updated and is connected to the Qualys Enterprise TruRisk™ Platform. Depending on your location, this process may take some time. Once connected, you can use your Azure scanner from the Qualys Enterprise TruRisk™ Platform like any virtual scanner appliance.