Basic Workflow
Use the Scanner Capacity Calculator workflow to estimate the required scanner capacity, determine the optimal scanner pool size, and plan scan execution based on your workload and scanning requirements. Follow the guided stages to select the scan type, define workload parameters, configure scanner specifications, review capacity recommendations, and export the results for further analysis.
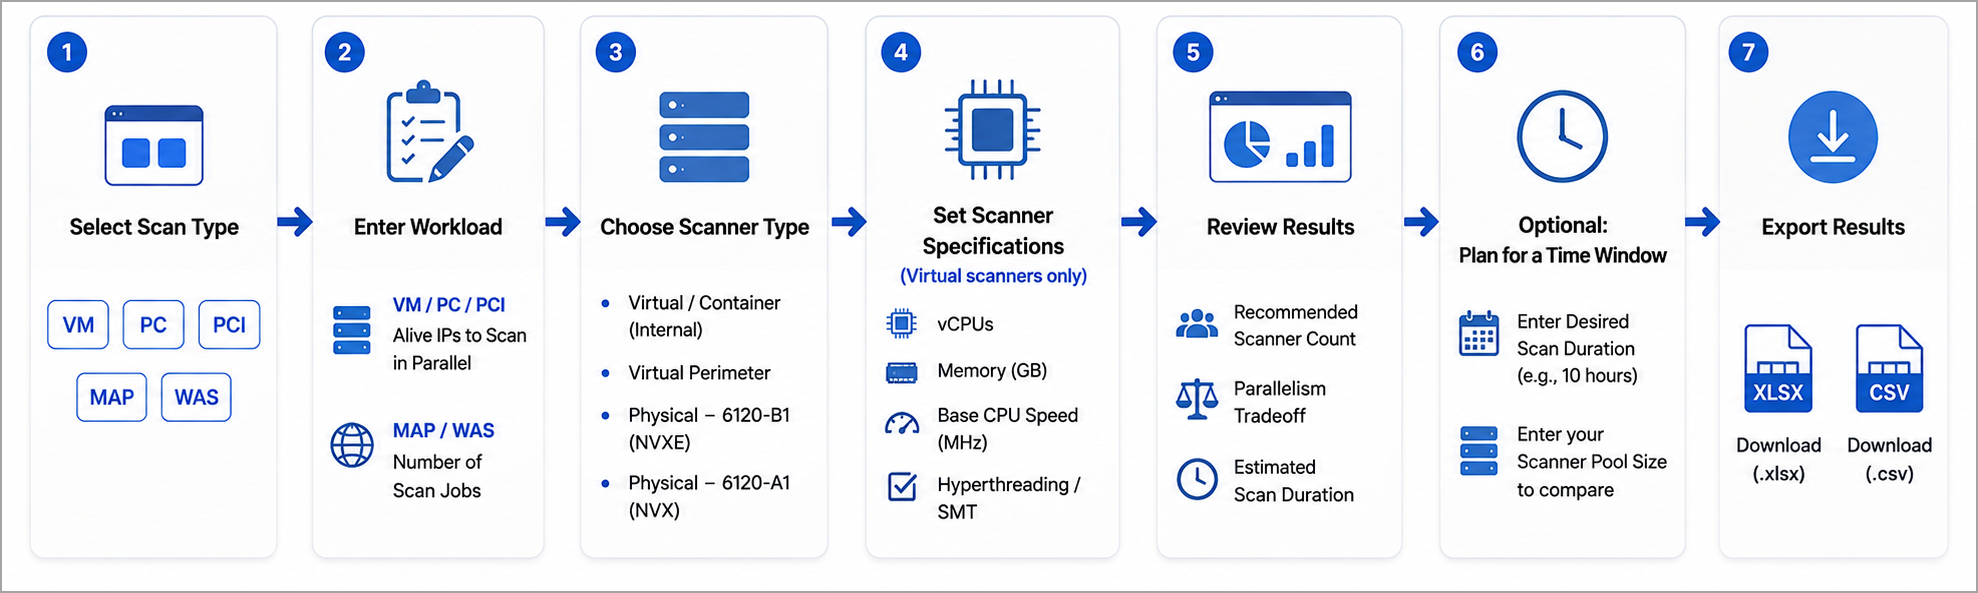
Follow these steps to get a scanner sizing estimate in under a minute:
-
Select your Scan Type
Click one of the five buttons at the top: VM, PC, PCI, MAP, or WAS. -
Enter your workload:
-
For VM / PC / PCI: Enter the number of Alive IPs to Scan in Parallel (total target IPs in scope).
-
For MAP / WAS: Enter the Number of Scan Jobs (one job per target subnet, domain, or web app).
-
-
Choose your Scanner Type from the dropdown:
-
Virtual / Container (Internal)
-
Virtual Perimeter
-
Physical - 6120-B1 (NVXE)
-
Physical - 6120-A1 (NVX)
-
-
Set scanner specifications (virtual scanners only):
-
vCPUs and Memory (GB) - use the sliders or type directly.
-
Base CPU Speed (MHz) - enter your hypervisor's per-core clock speed.
-
Hyperthreading / SMT - check the box if HT is enabled on your VM.
-
-
Review the results - The right panel updates automatically:
-
The large blue card shows your scanner count and parallelism tradeoff table.
-
For MAP/WAS, a single scanner count and estimated duration are shown.
-
-
Optional - Plan for a time window:
-
Enter a Desired Scan Duration (For example, 10 hours for an overnight window) to activate the Scan Time Planner.
-
Enter your Scanner Pool Size to see how your current pool compares to standard specs.
-
-
Export - Click Download (.xlsx) or Download (.csv) to save the full results.
For field-by-field configuration details and per-scan-type instructions, see Use Scanner Capacity Calculator.