Add your Virtual Scanner
This is the first step for deploying Scanner. Add a new virtual scanner appliance to your account and obtain a personalization code.
Follow these steps to add a new virtual scanner.
- Log in to the Qualys Enterprise TruRisk™ Platform.
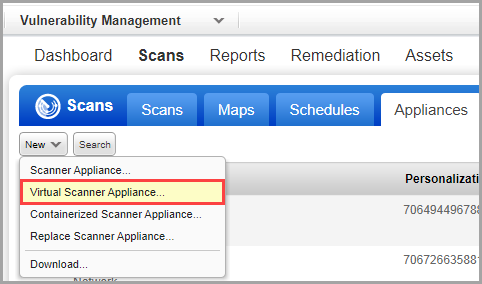
- Go to Scans > Appliances > New > Virtual Scanner Appliance.
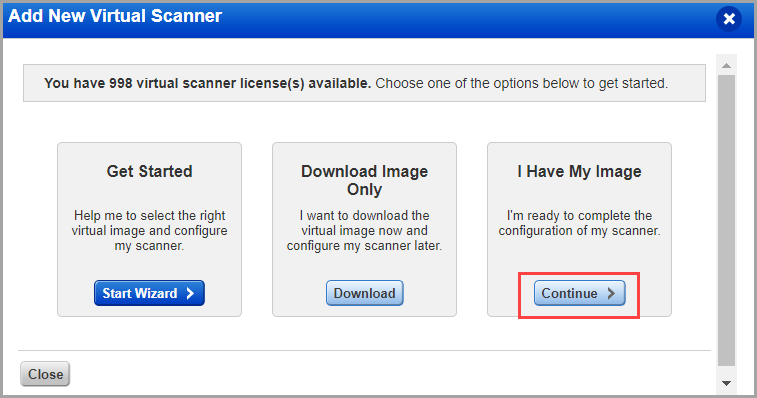
The Add New Virtual Scanner wizard is displayed - Click Continue, from I have My Image.
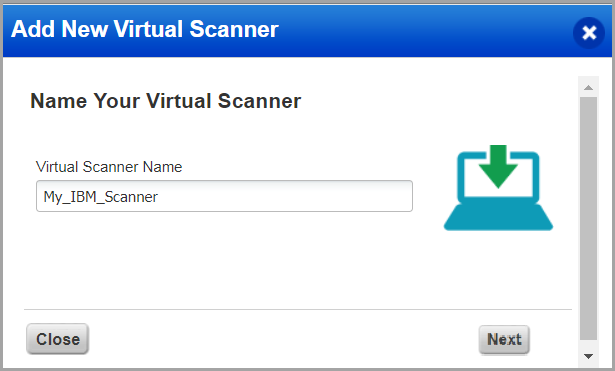
- Give your scanner a name, choose a virtualization platform, and click Next.
If you are a sub-user, you need to select an asset group assigned to your business unit by a Manager user. If you do not see any asset groups, request a Manager user to assign an asset group (other than the All group) to your business unit.
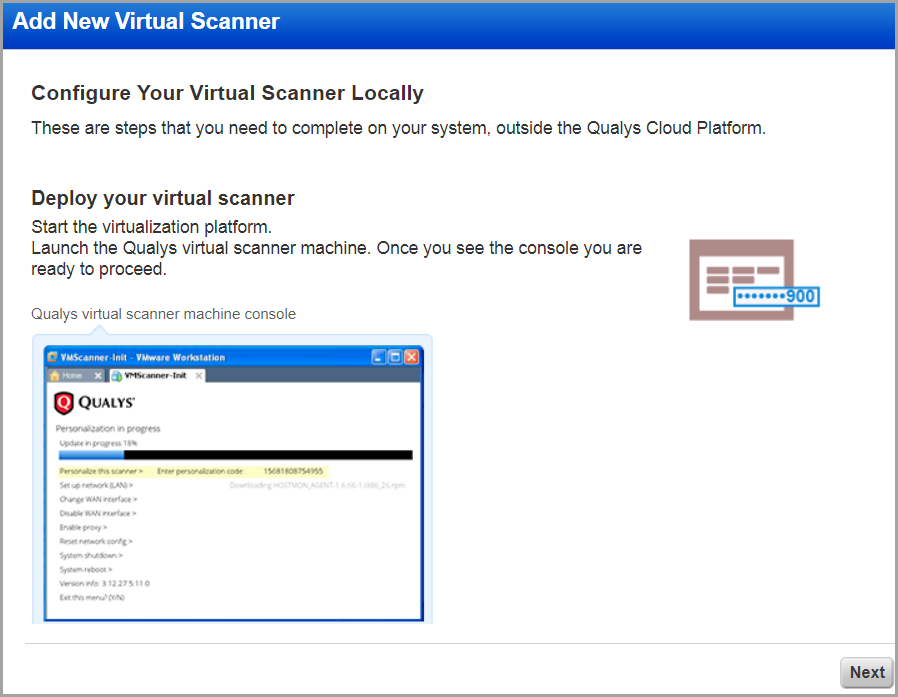
- Configure your virtual scanner locally.
This step applies to the IBM platform when downloading a scanner appliance image.
Locate the virtual scanner image on your local system. - Click Next to get the personalization code.
-
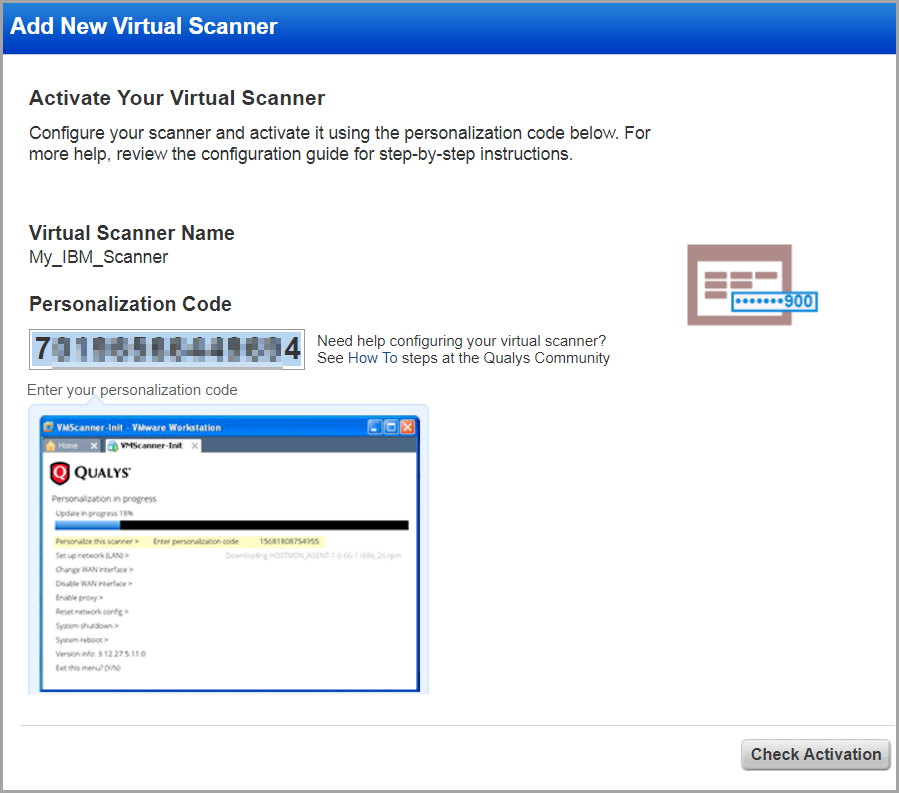
Get your Personalization Code.
-
Copy the code to a safe place, you need it later.
-
Click Check Activation to verify your scanner's activation.
- For generating Perscode through API, refer to the Add new virtual scanner API from the VM API documentation.
- You receive an 'Activation Code' in the API response, referred to as 'perscode' in the case of the Scanner Appliance.
The activation process may take time; you can close the window and check the activation status on your appliance list.
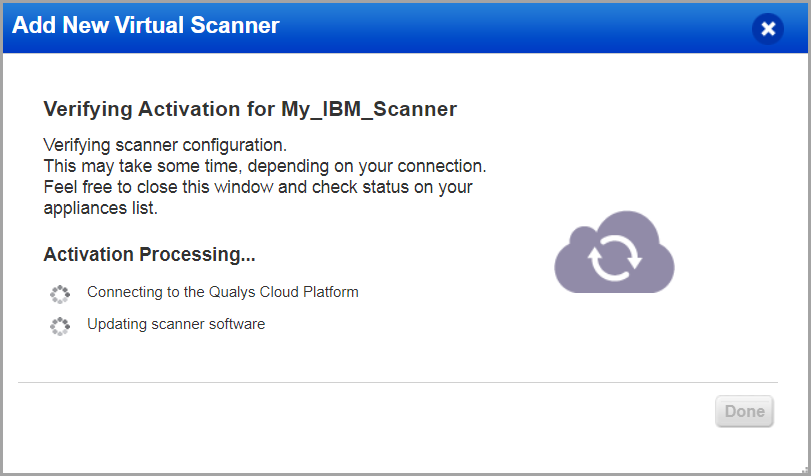
You have completed the configuration on Qualys Enterprise TruRisk™ Platform; proceed with the next step. -
Next Step
Step 3: Deploy Qualys Virtual Scanner Appliance in IBM Cloud