Power on the Scanner Appliance and Network Configuration
Upon scanner deployment, it is time to power on the scanner appliance and perform any necessary network configuration.
Power on the Scanner
Perform the following steps to power on the scanner:
- From the console, locate the scanner instance and click Power on.
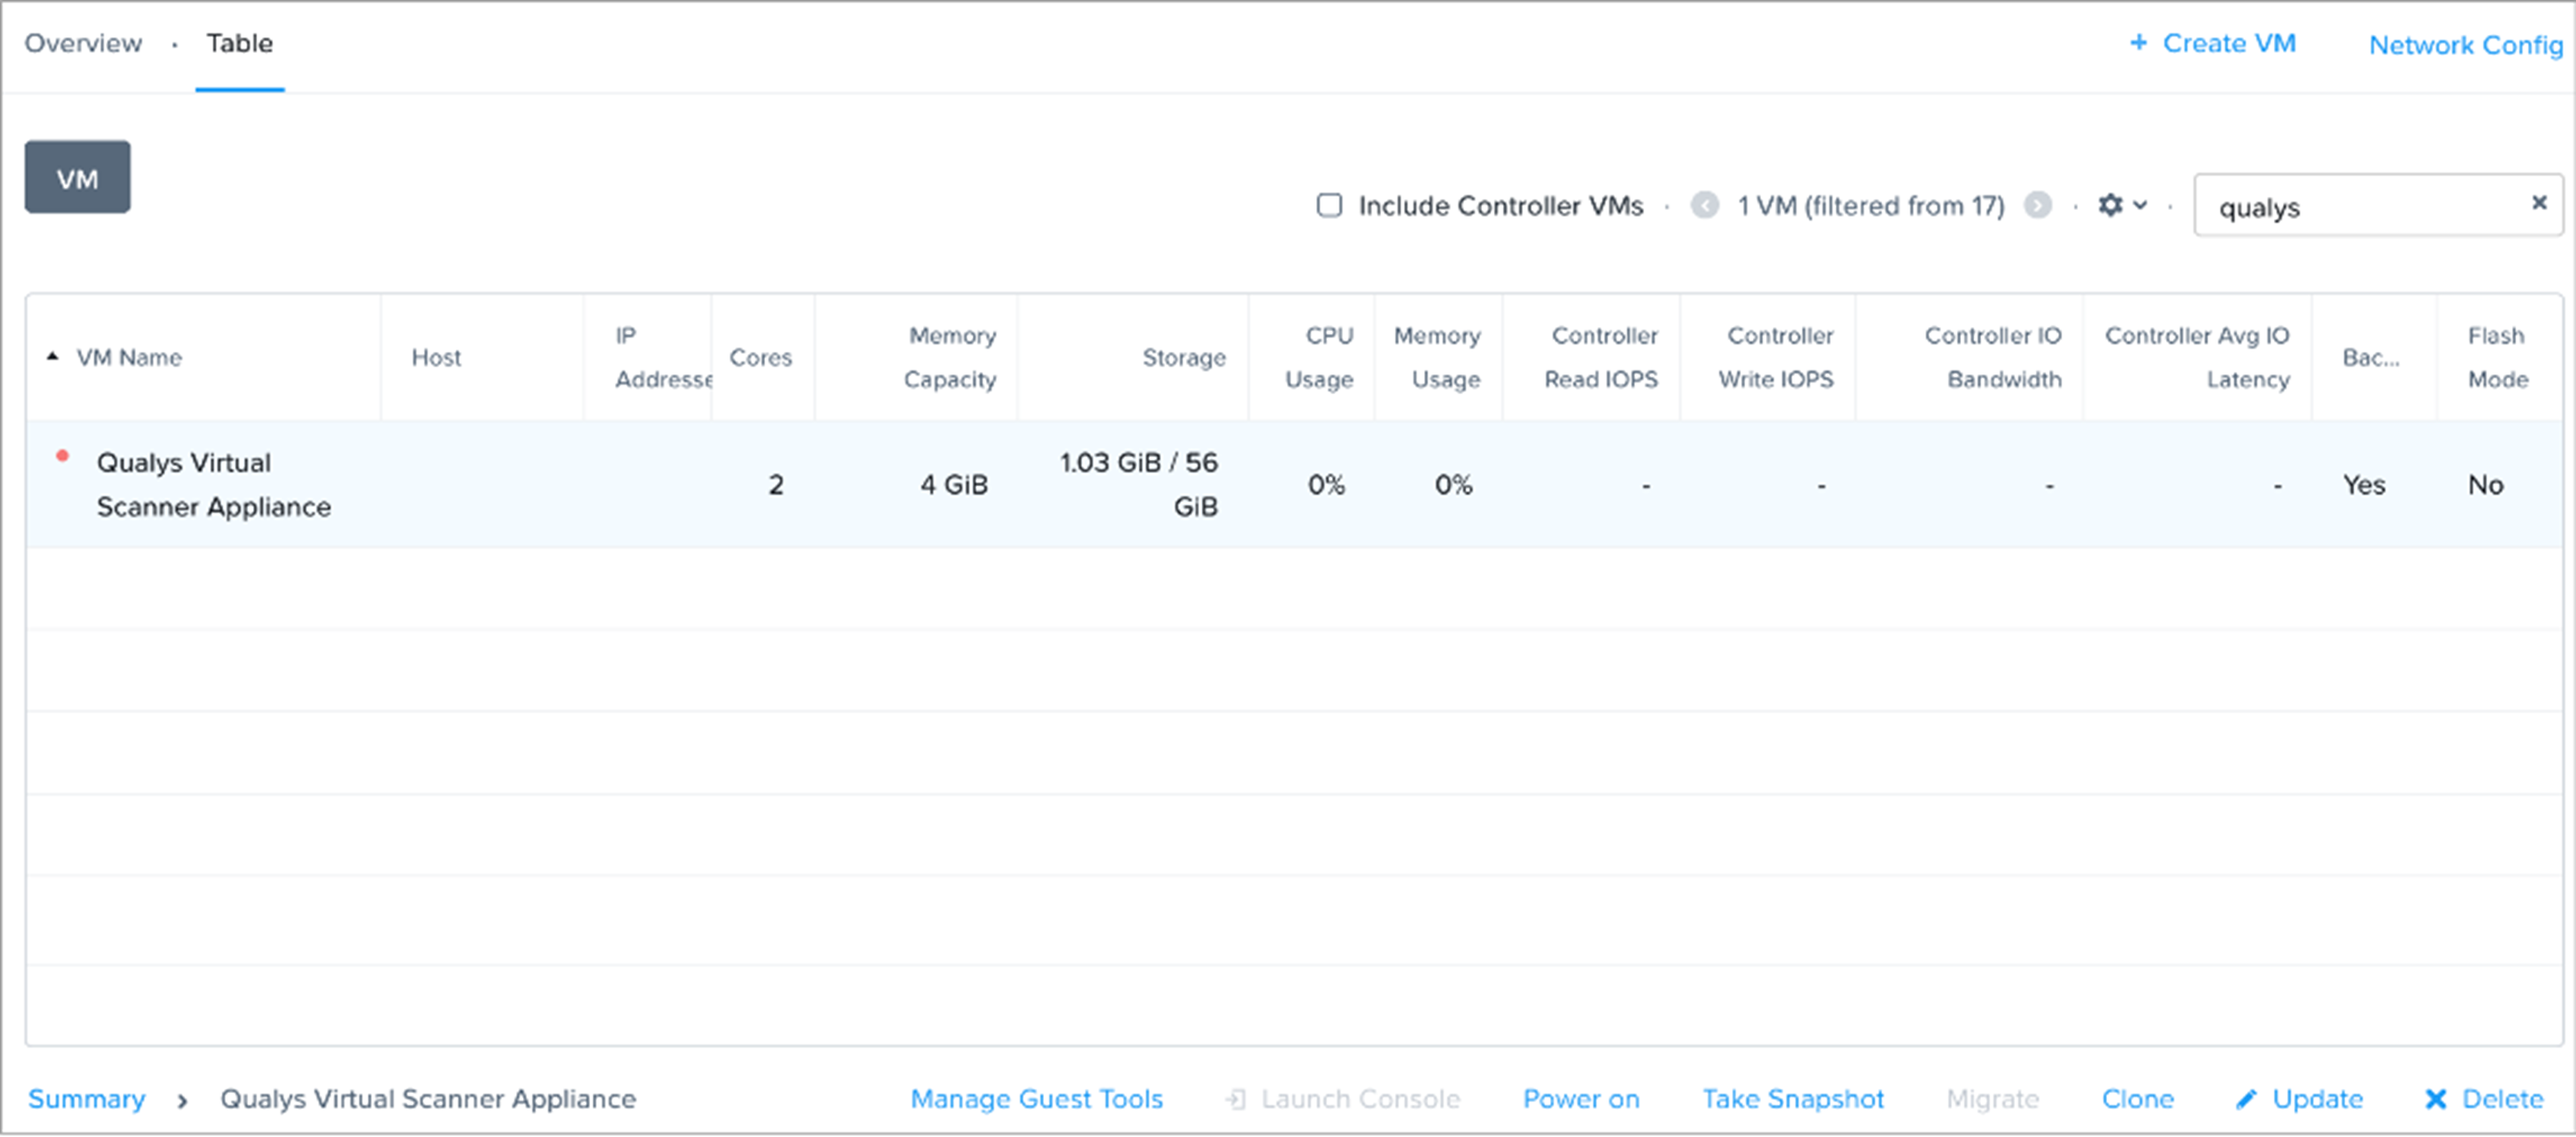
- Click Launch Console to monitor the scanner’s progress.
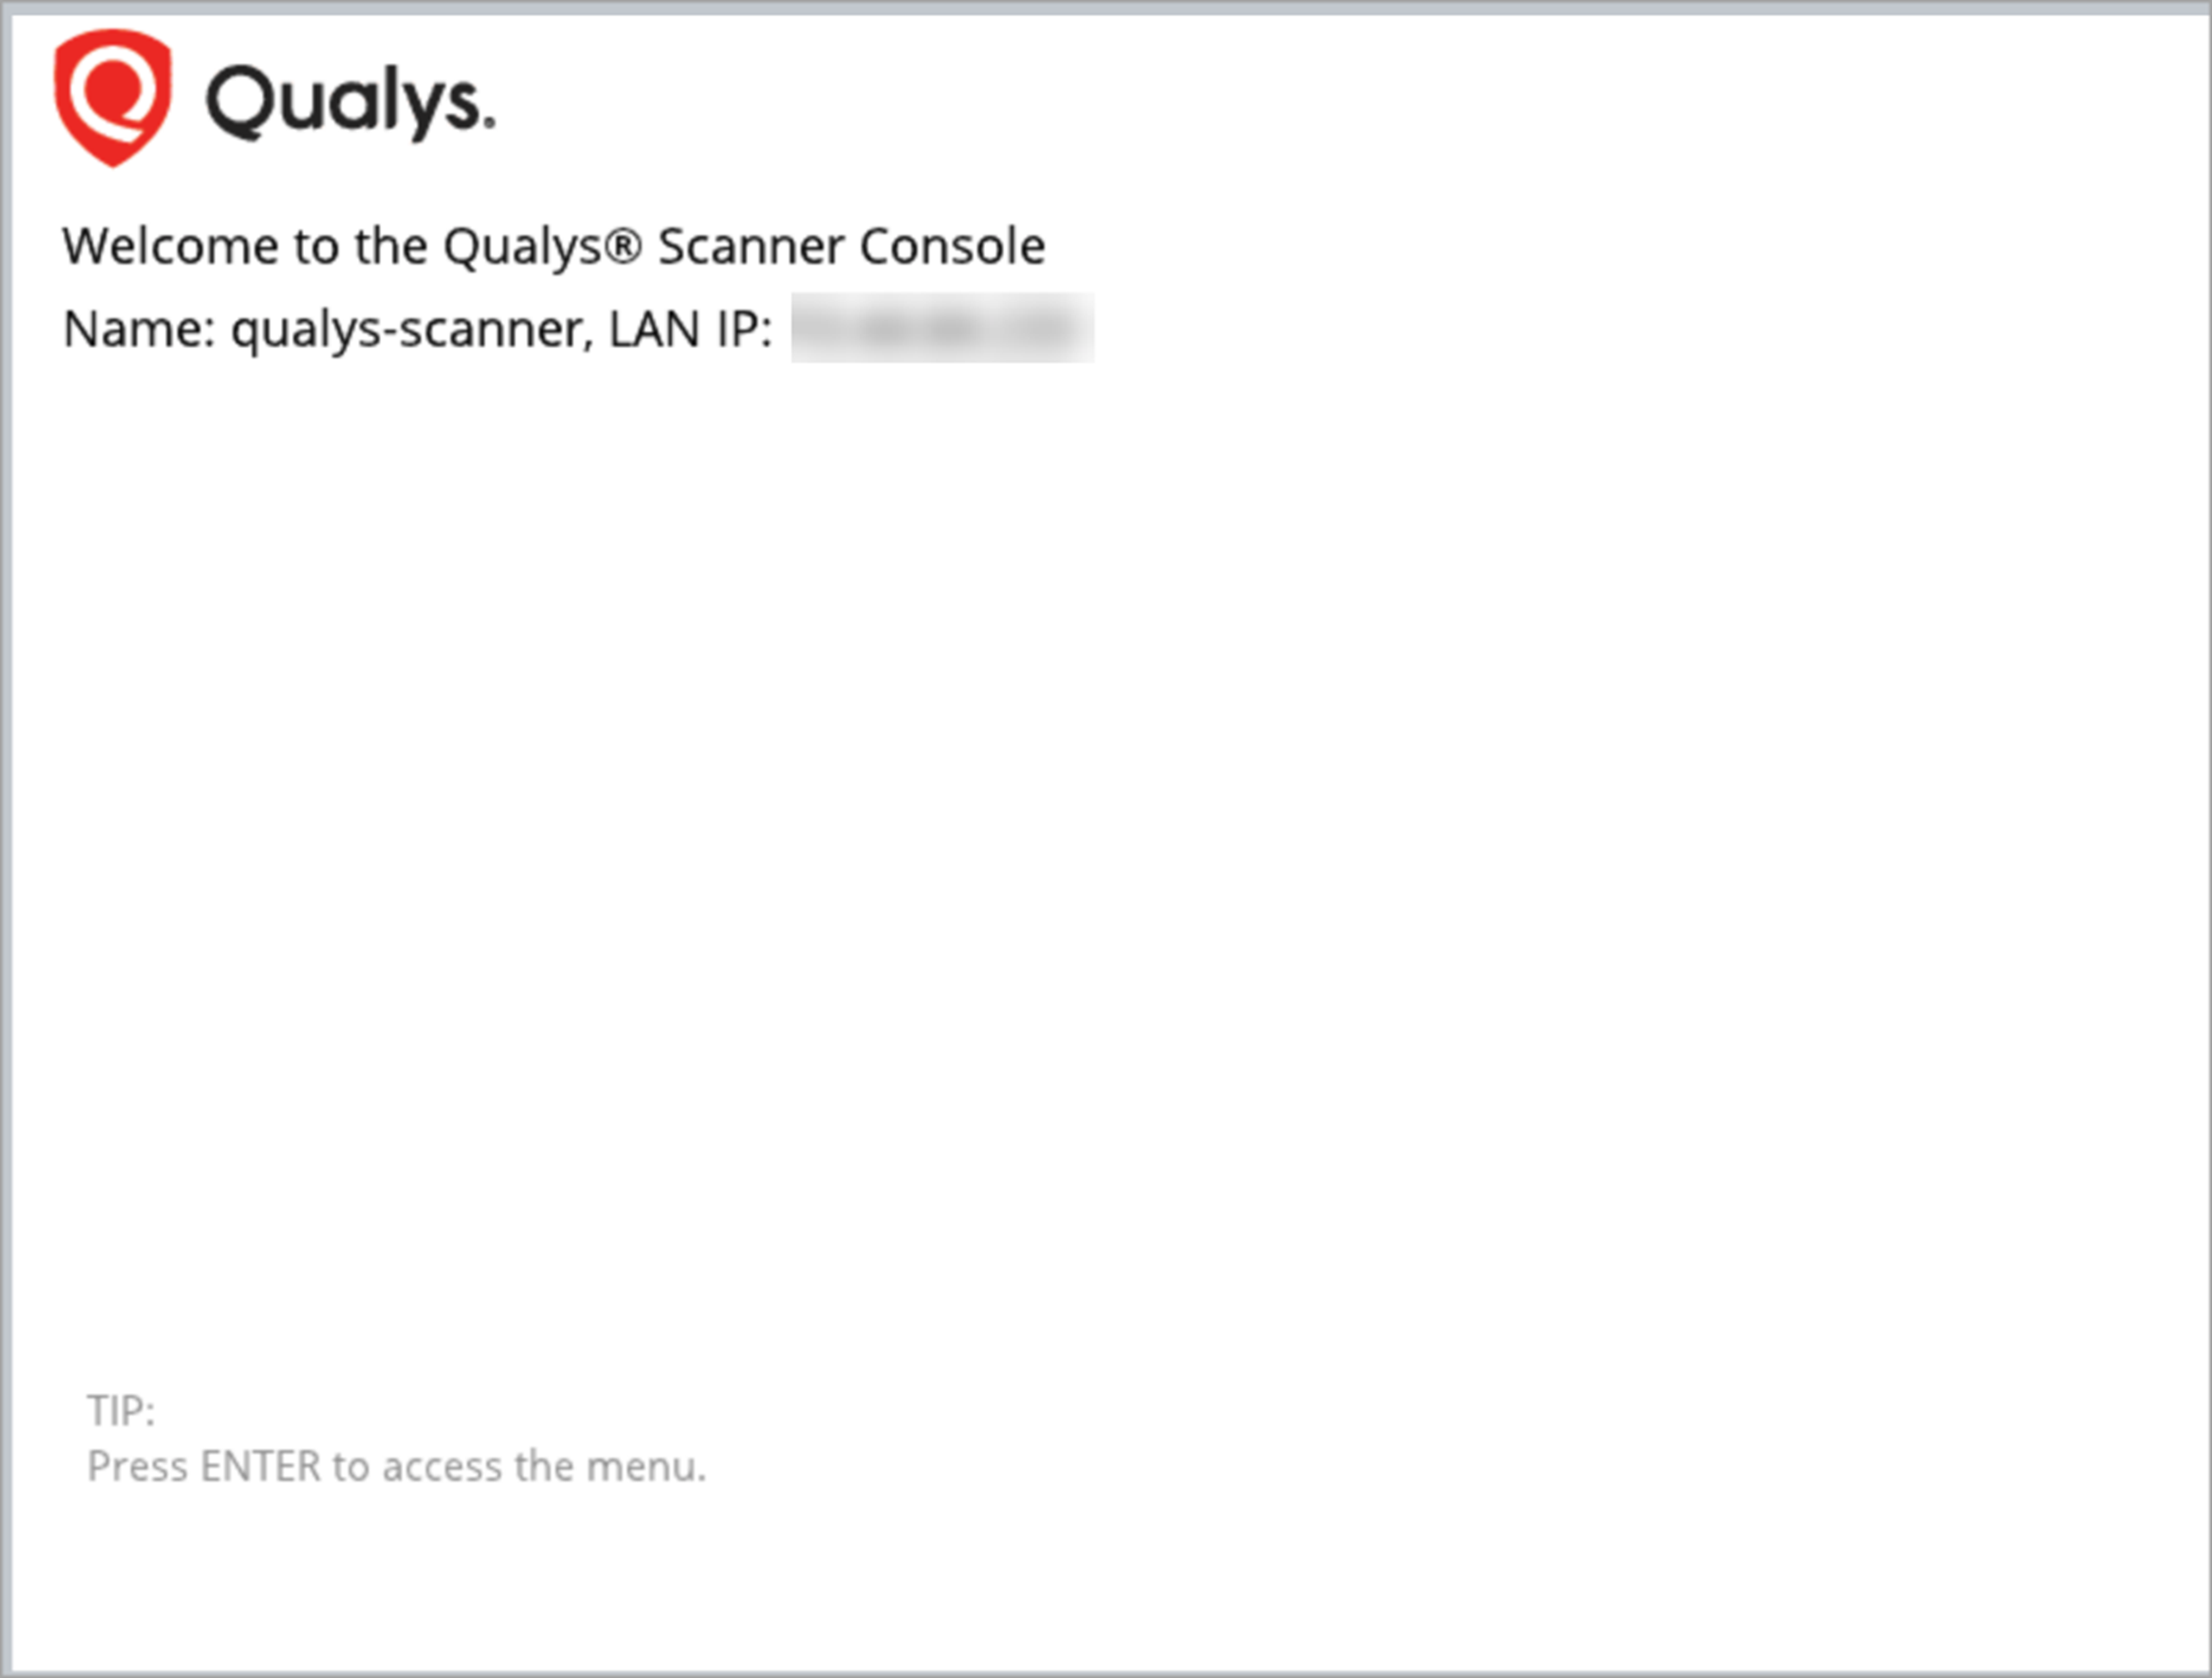
Your scanner gets updated and connected to the Qualys Cloud Platform. This process may take some time, depending on location. After the scanner is personalized and fully connected with Qualys Cloud Platform, the scanner console displays the message 'Welcome to the Qualys Scanner Console' with the Appliance name and assigned IP address.
Personalize the Scanner
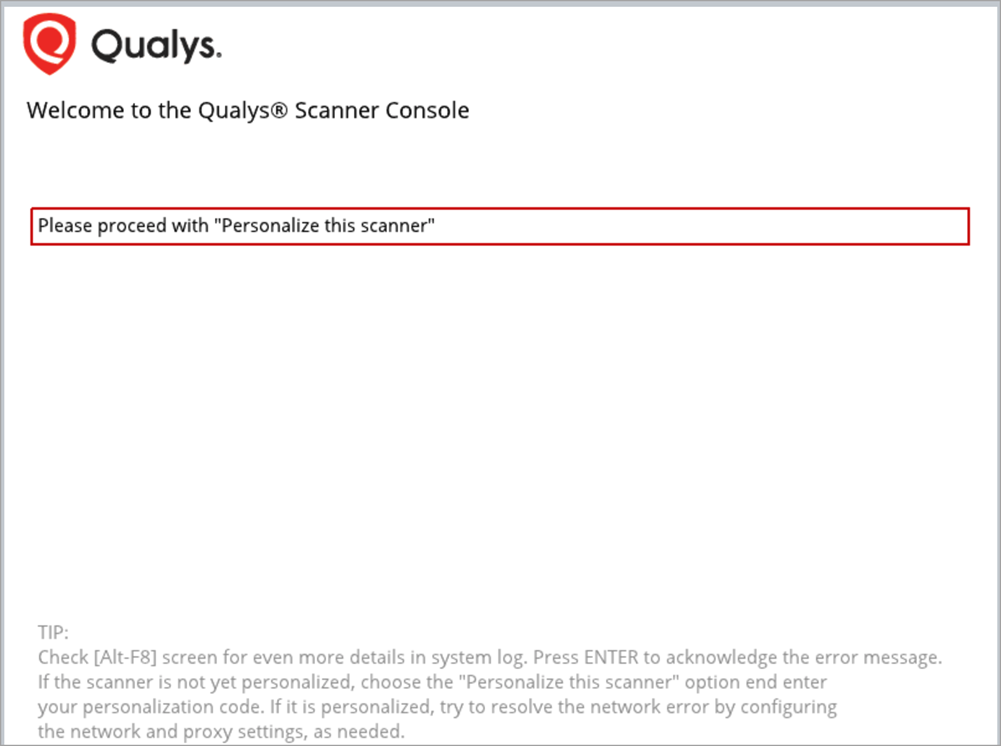
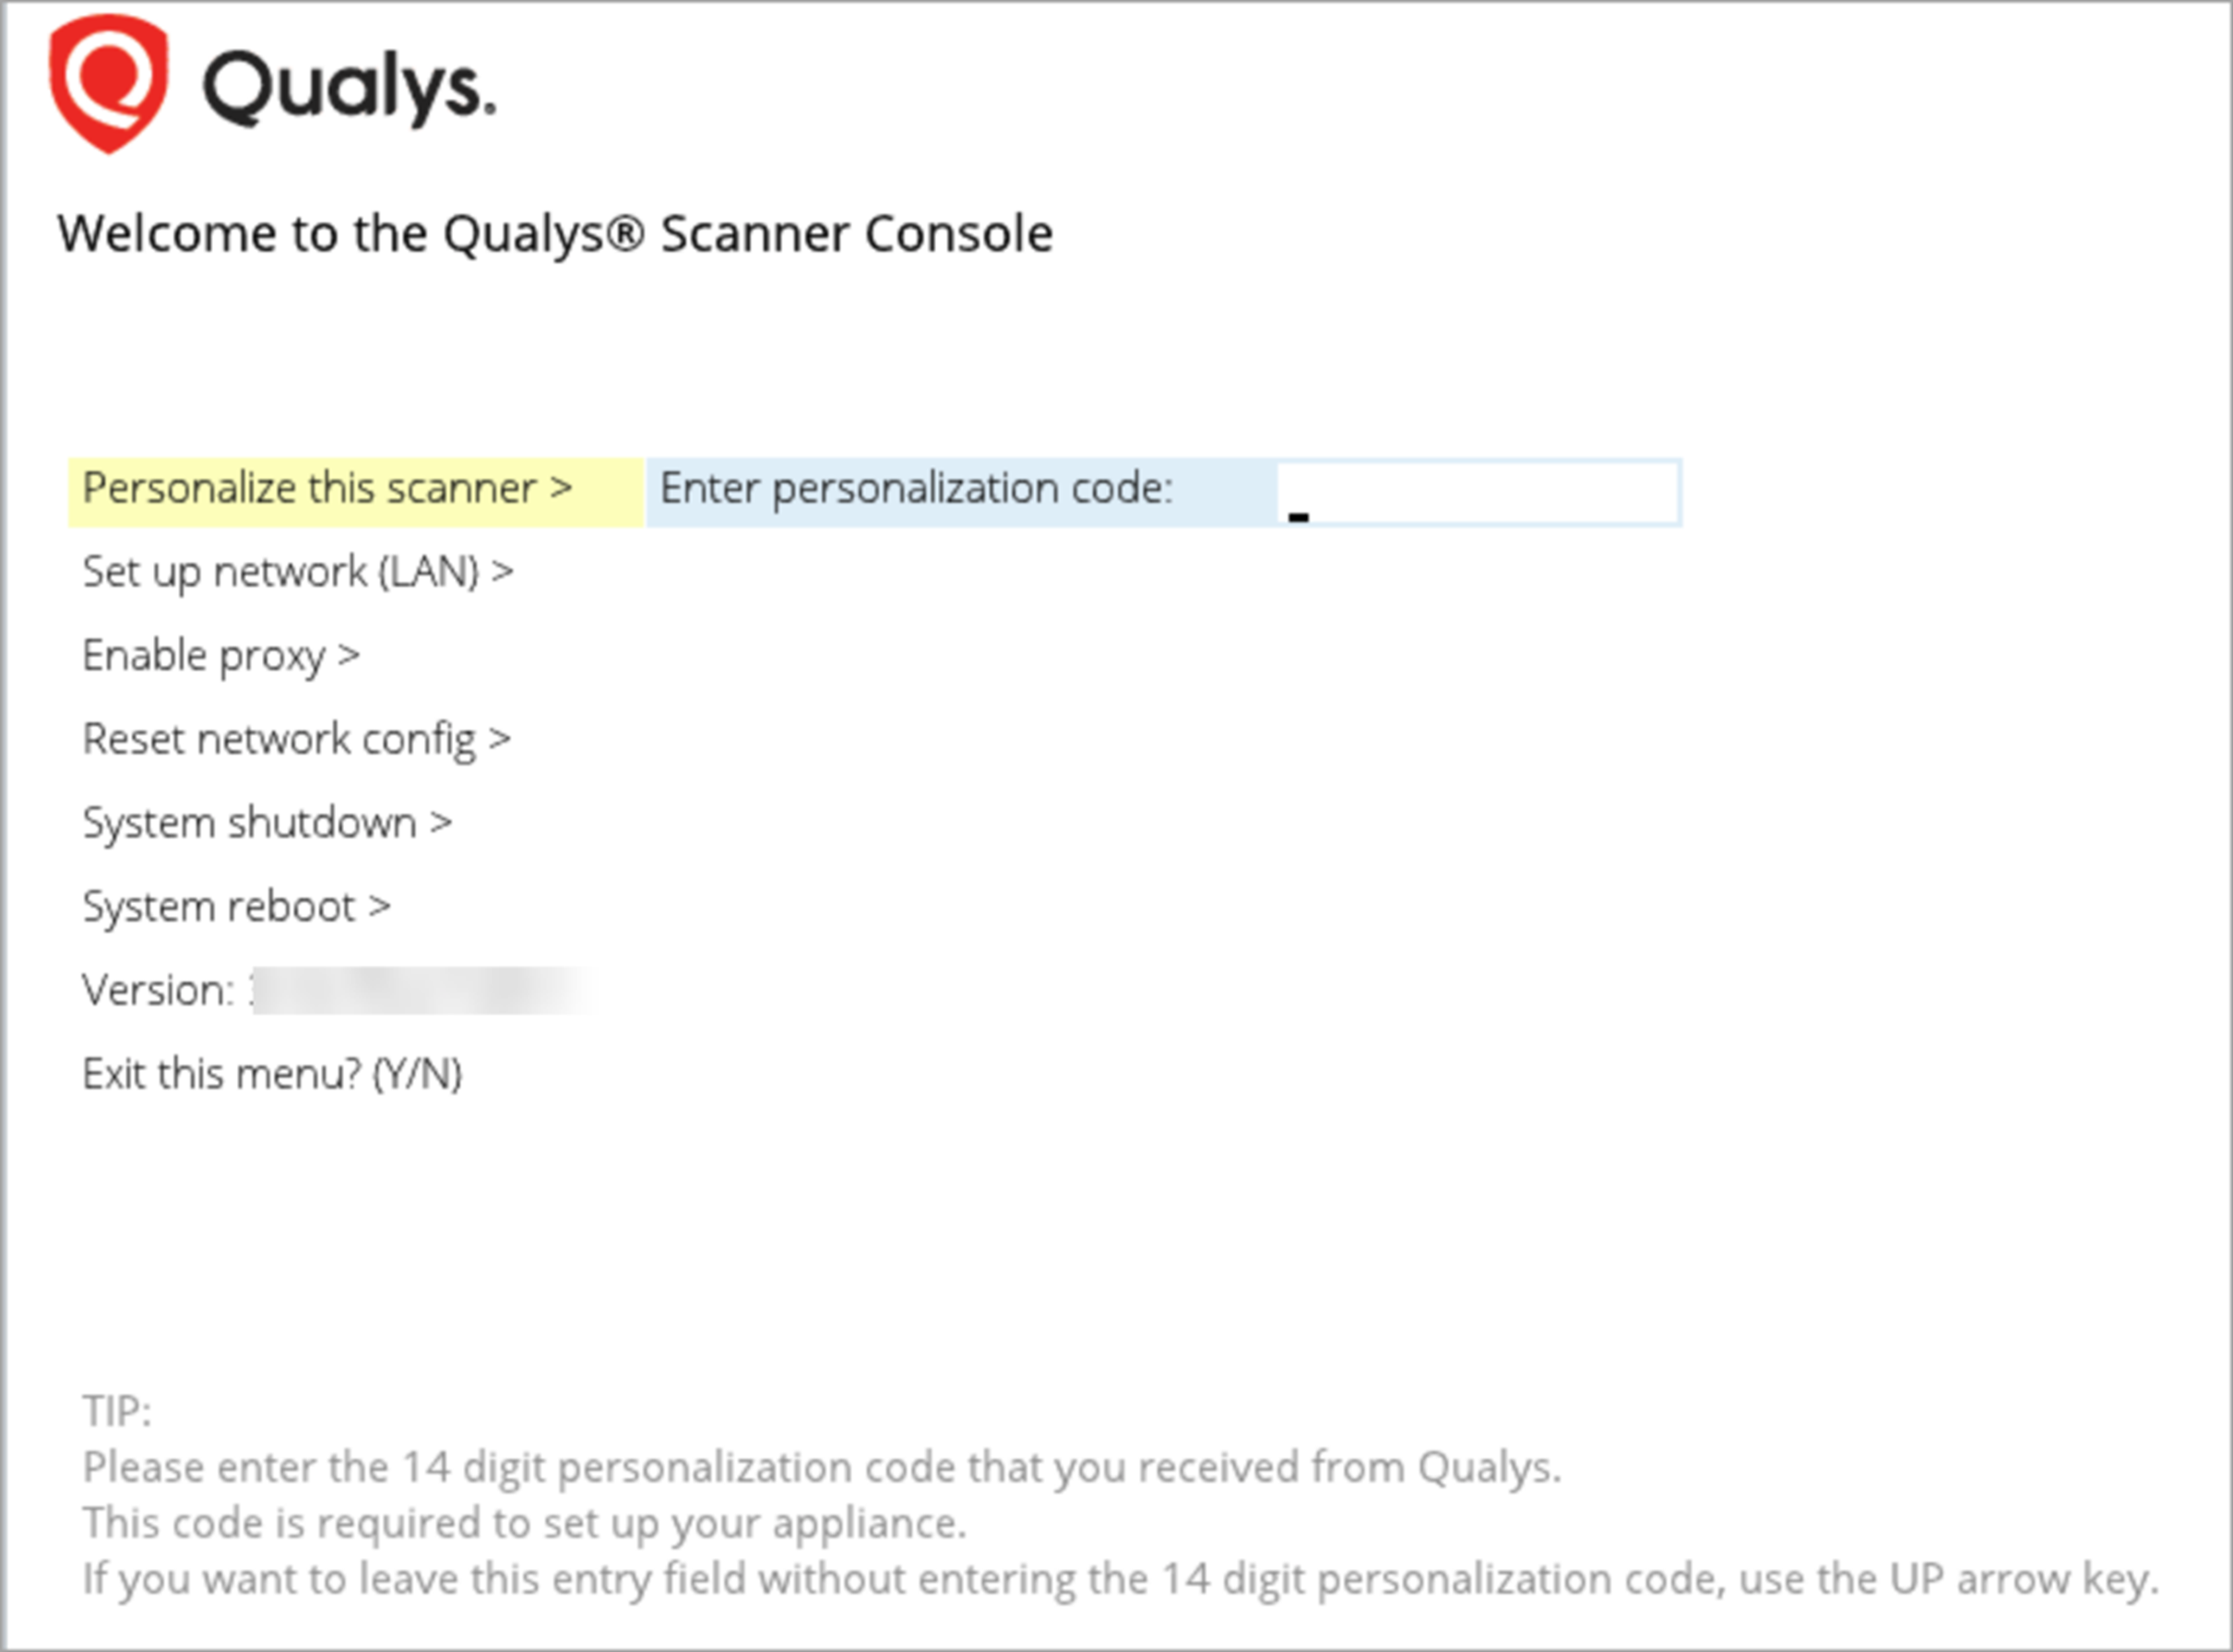
If the personalization code was not provided during the instance deployment, you can enter it by pressing enter to acknowledge the message, followed by selecting Personalize this scanner.
Enter the Personalization Code
Network Customization
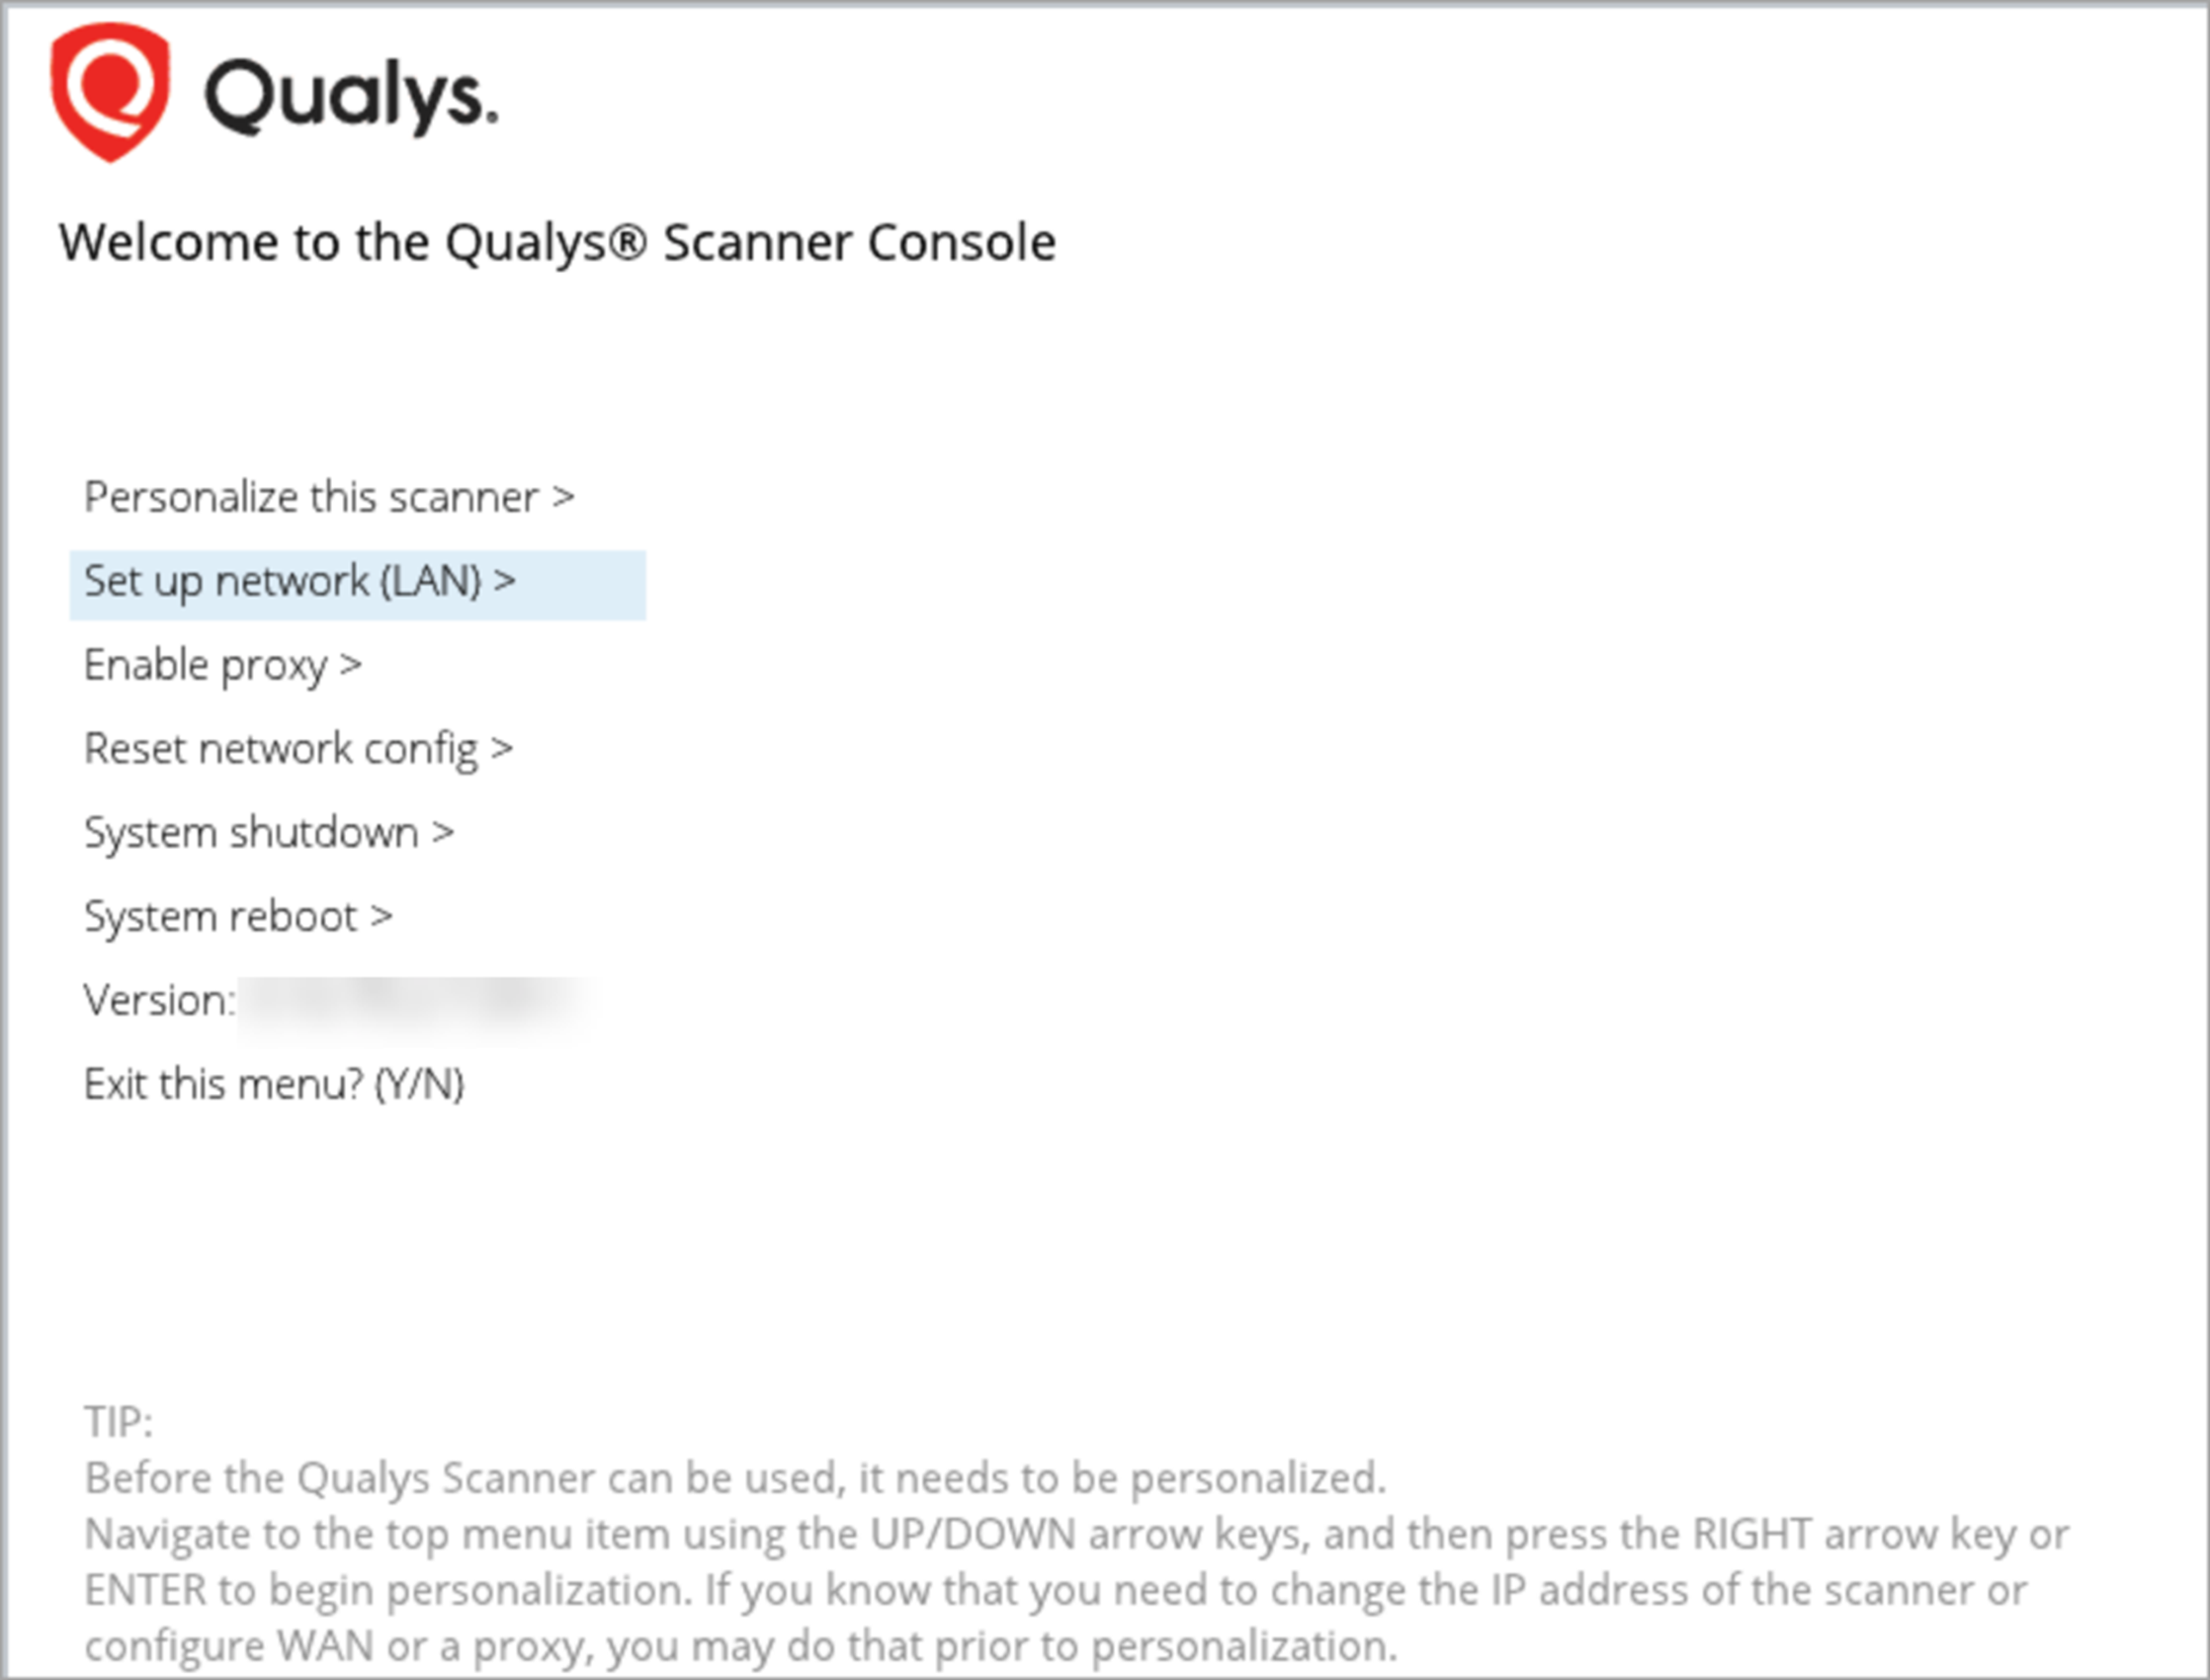
If static IP configuration was not provided during scanner deployment, the Qualys Scanner Console can be used for network customization, such as DHCP or static IP and proxy configurations. This customization becomes available before and after scanner activation is completed.
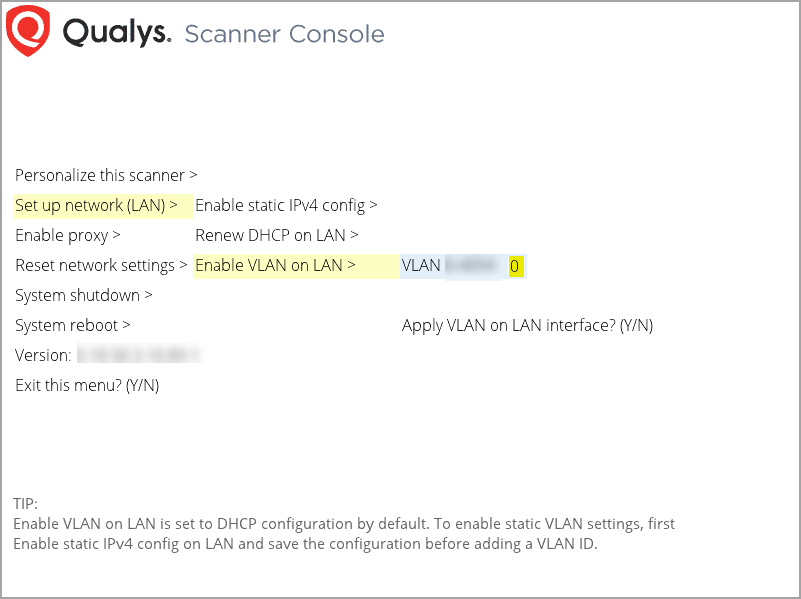
From the console, navigate to the menu items for Set up network (LAN) and/or Enable proxy:
If a static IP configuration was provided during scanner deployment, the network customization option is not available in the Qualys Scanner Console. You can only view the network configuration, as shown below.
Native VLAN Configuration
To configure the Native VLAN on LAN feature for Scanner Appliance on Nutanix(qVSA-3.10.89+), manual network attachment via the command line is required. Instead of attaching networks from the GUI during VM creation, add LAN and WAN networks using the command line.
Perform the following steps to configure VLAN:
- Login to Nutanix UI.
- Create a Scanner VM.
During VM creation wizard, do not attach any networks.
Do not power on the VM yet. - SSH into Nutanix Controller Virtual Machine.
- Attach LAN Network using acli command:
acli vm.nic_create <vm name> network=<network name> trunked_networks=<comma separated list of allowed VLAN IDs> vlan_mode=kTrunkedExample:
acli vm.nic_create scanner-vm network=lan-net trunked_networks=10,20,30 vlan_mode=kTrunked - After the networks are attached, power on the VM.
- From the TAGGER console, assign VLAN ID to the LAN interface.
Here, the ID is one of the IDs that are VLANs configured using acli command in step 4.