Installation
The toolkit is distributed as a Docker container image. Before you install it, review Prerequisites.
To download the tool, see qualys/scanner-replacement-toolkit - Docker Image.
Option A: Docker Hub Image (Recommended)
Install the toolkit as follows:
- Use a docker-compose.yml file with the following contents:
services:
  scanner-replacement:
    image: qualys/scanner-replacement-toolkit:1.0.1
    container_name: qualys-scanner-replacement
    restart: unless-stopped
    ports:
      # Localhost only (safe default): the UI is reachable from this machine only.
      # To allow access from other machines, change to "3001:3001" (all interfaces)
      # or "<host-ip>:3001:3001", and put a reverse proxy with TLS and authentication
      # in front. Never expose the toolkit to the internet.
      - "127.0.0.1:3001:3001"
    # Security hardening: drop all Linux capabilities (the app needs none —
    # no raw sockets, no privileged ports, no kernel-level operations) and
    # block privilege escalation via setuid/setgid binaries.
    cap_drop:
      - ALL
    security_opt:
      - no-new-privileges:true
    volumes:
      # Persist replacement state across restarts.
      # The container runs as non-root user 'appuser'. If you get permission
      # errors on Linux, ensure the host ./data directory is writable:
      #   chmod 777 ./data
      - ./data:/app/data
      - ./qvsa:/app/qvsa:ro
    environment:
      - NODE_ENV=production
      - PORT=3001
      # Address the app listens on INSIDE the container. Keep 0.0.0.0 — the ports:
      # mapping above can't reach the app otherwise. Who can connect from outside
      # is controlled by the ports: line, not by this setting.
      - BIND_ADDRESS=0.0.0.0
      # Set to the file name of your qVSA OVA. For new scanner deployments, always
      # use the latest qVSA image from the Qualys platform to stay up to date with
      # fixes and security patches.
      - QVSA_OVA_PATH=/app/qvsa/qVSA.x86_64-4.2.21-1.ova
    healthcheck:
      test: ["CMD-SHELL", "wget -qO- http://127.0.0.1:$${PORT:-3001}/api/health || exit 1"]
      interval: 30s
      timeout: 5s
      retries: 3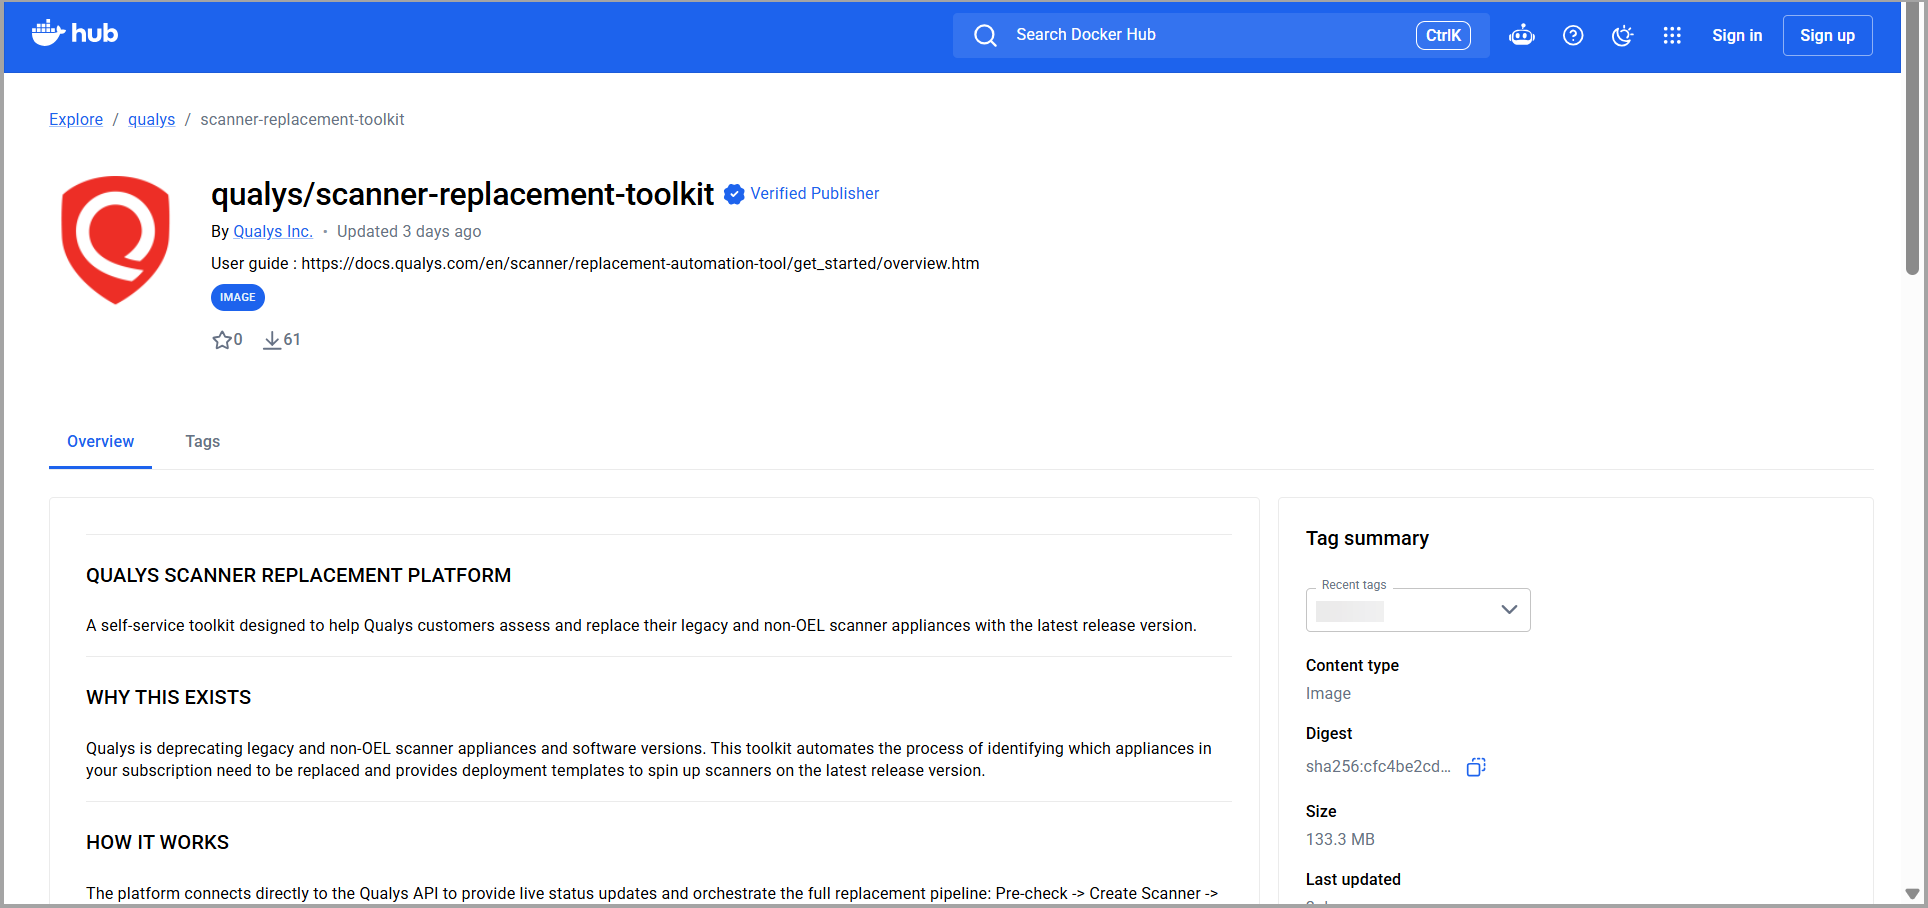
- Create a directory for persisted state:
mkdir data
- (VMware auto-deploy only) Mount your qVSA OVA file:
mkdir qvsa
cp /path/to/qVSA.x86_64-*.ova qvsa/
For new scanner deployments, always use the latest qVSA image from the Qualys platform to stay up to date with fixes and security patches.
- Start the container:
docker compose up -d
This pulls the image automatically from Docker Hub. Terraform is pre-installed in the image, so no additional setup is required if you plan to use automatic VM deployment. - Open http://localhost:3001 in your browser.
Option B: Air-Gapped Installation
If the host running the toolkit cannot reach Docker Hub directly, pull the image on a host that can reach Docker Hub, then transfer it:
- On a host with internet access:
docker pull qualys/scanner-replacement-toolkit:1.0.1
docker save qualys/scanner-replacement-toolkit:1.0.1 -o scanner-replacement-image.tar
- Transfer scanner-replacement-image.tar and docker-compose.yml to the air-gapped host.
- On the air-gapped host, load the image:
docker load -i scanner-replacement-image.tar
- Create the data directory and, if needed, the qvsa OVA mount directory as described in Option A.
- Start the container:
docker compose up -d
Accessing Toolkit From Other Machines
By default the UI is reachable from the Docker host only (127.0.0.1:3001:3001 in docker-compose.yml). To let other machines reach it:
- Change the ports: mapping to "3001:3001" (all interfaces) or "<host-ip>:3001:3001" (one specific interface), keep BIND_ADDRESS=0.0.0.0, and run docker compose up -d again. The UI is then at http://<host-ip>:3001.
- Put a reverse proxy with TLS and authentication in front — the toolkit has no login page of its own beyond the Qualys sign-in.
- Restrict access with a host firewall to your admin workstations.
- Never expose the toolkit to the internet.
Upgrading from 1.0.0
To upgrade an existing installation:
- In your docker-compose.yml, set the image to qualys/scanner-replacement-toolkit:1.0.1.
- Review the ports: line. Compose files created before 1.0.1 publish the toolkit on all network interfaces. Version 1.0.1 publishes it on 127.0.0.1 only; see Accessing the toolkit from other machines.
- Run docker compose pull, then docker compose up -d.
Saved replacement data in the data directory is kept. Starting with 1.0.1, the toolkit verifies the vCenter certificate by default. If your vCenter uses a self-signed or internal CA certificate, trust it once under vCenter certificate (see Auto-Deploy: VMware vSphere).
See Configuration Reference for the environment variables you can set in the docker-compose.yml file. Once the toolkit is running, see Connecting to Qualys to sign in.