Resize Disk
You can increase the disk size for your scanner appliance instance at any time, as often as needed.
Perform the following steps to resize the disk:
- Stop the instance.
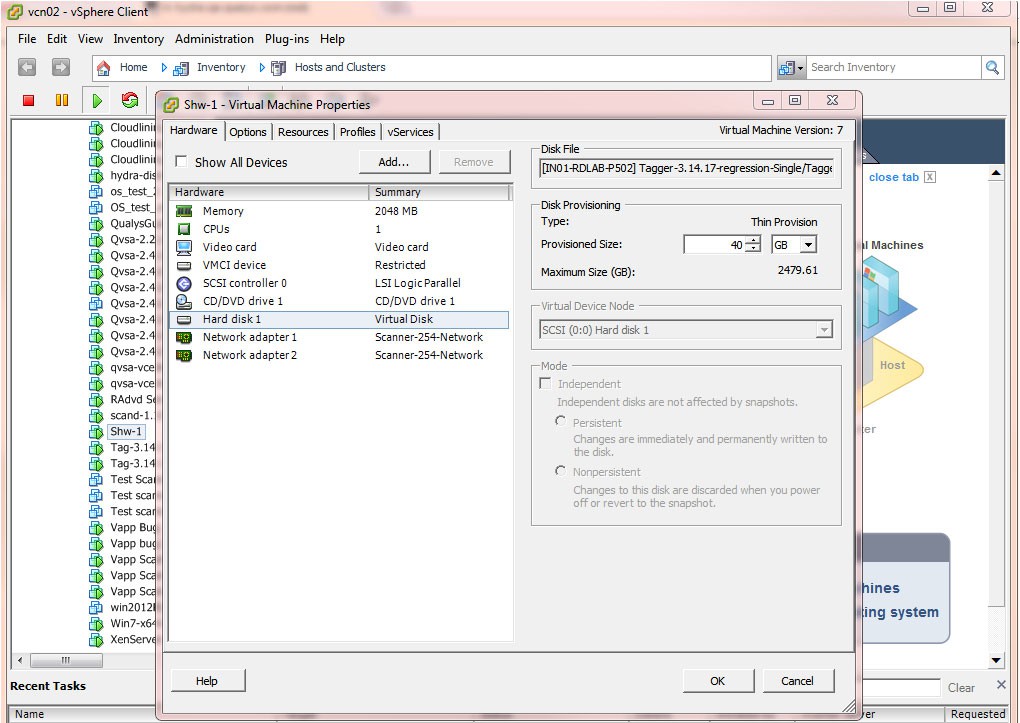
- Find the Hard Disk or Storage option in your Virtual Machine settings, and increase the disk size (reducing the size is not supported).
- Save your settings and start up your scanner.
Your scanner instance must come up with the new disk size.
Here is an example from the VMware ESXi/vCenter platform.
Convert Image to Another Format
Scanner image disks are available in VMDK and VHD formats. The qemu-img tool supports converting these into any format; for example, you can convert VMDK or VHD to QCOW2 or RAW.
The following command provides a list of supported formats:
qemu-img -h
The following steps describe how to convert an OVA file (with VMDK disk format) to QCOW2 and import it into the KVM hypervisor as a Linux/RedHat Enterprise virtual machine.
- On a Linux system, install the qemu-img tool.
- Download the Standard image in OVA format from Qualys (for example,
qVSA.i386-2.2.27-1.ova). - Extract the .vmdk disk image file from OVA as follows:
#] tar xvf qVSA.i386-2.2.27-1.ova
This will extract a qVSA.i386-2.2.27-1-disk1.vmdk file in the same location. - Convert the .vmdk disk image to .qcow2 format as follows:
#] qemu-img convert -f vmdk -O qcow2 qVSA.i386-2.2.27-1-disk1.vmdk qVSA.i386-2.2.27-1-disk1.qcow2 - Import qVSA.i386-2.2.27-1-disk1.qcow2 into KVM as a Linux/RedHat Enterprise virtual machine.