Google Apigee API Discovery Connectors
The Google Apigee API Discovery Connector enables Qualys to securely connect to your Google Cloud Platform (GCP) environment and automatically discover API assets managed through Google Apigee.
The connector continuously collects API inventory and configuration data to keep the Cloud Inventory, Cloud Security Assessment, and Asset Inventory up to date:
his ensures accurate visibility into your API surface and supports improved security posture management.
| Category | Supported Asset Type | Supported Finding Type |
|---|---|---|
| API Connector | APIs | N/A (Discovery only) |
Prerequisites
- An active TotalAppSec module subscription
- Access to your Google Cloud Apigee API Management platform with the required permissions as specified in the permissions for the role.
How to Obtain a JSON Key File
- Login to https://console.cloud.google.com/.
- Navigate to IAM& Admin / Roles > Roles, and click Create role.
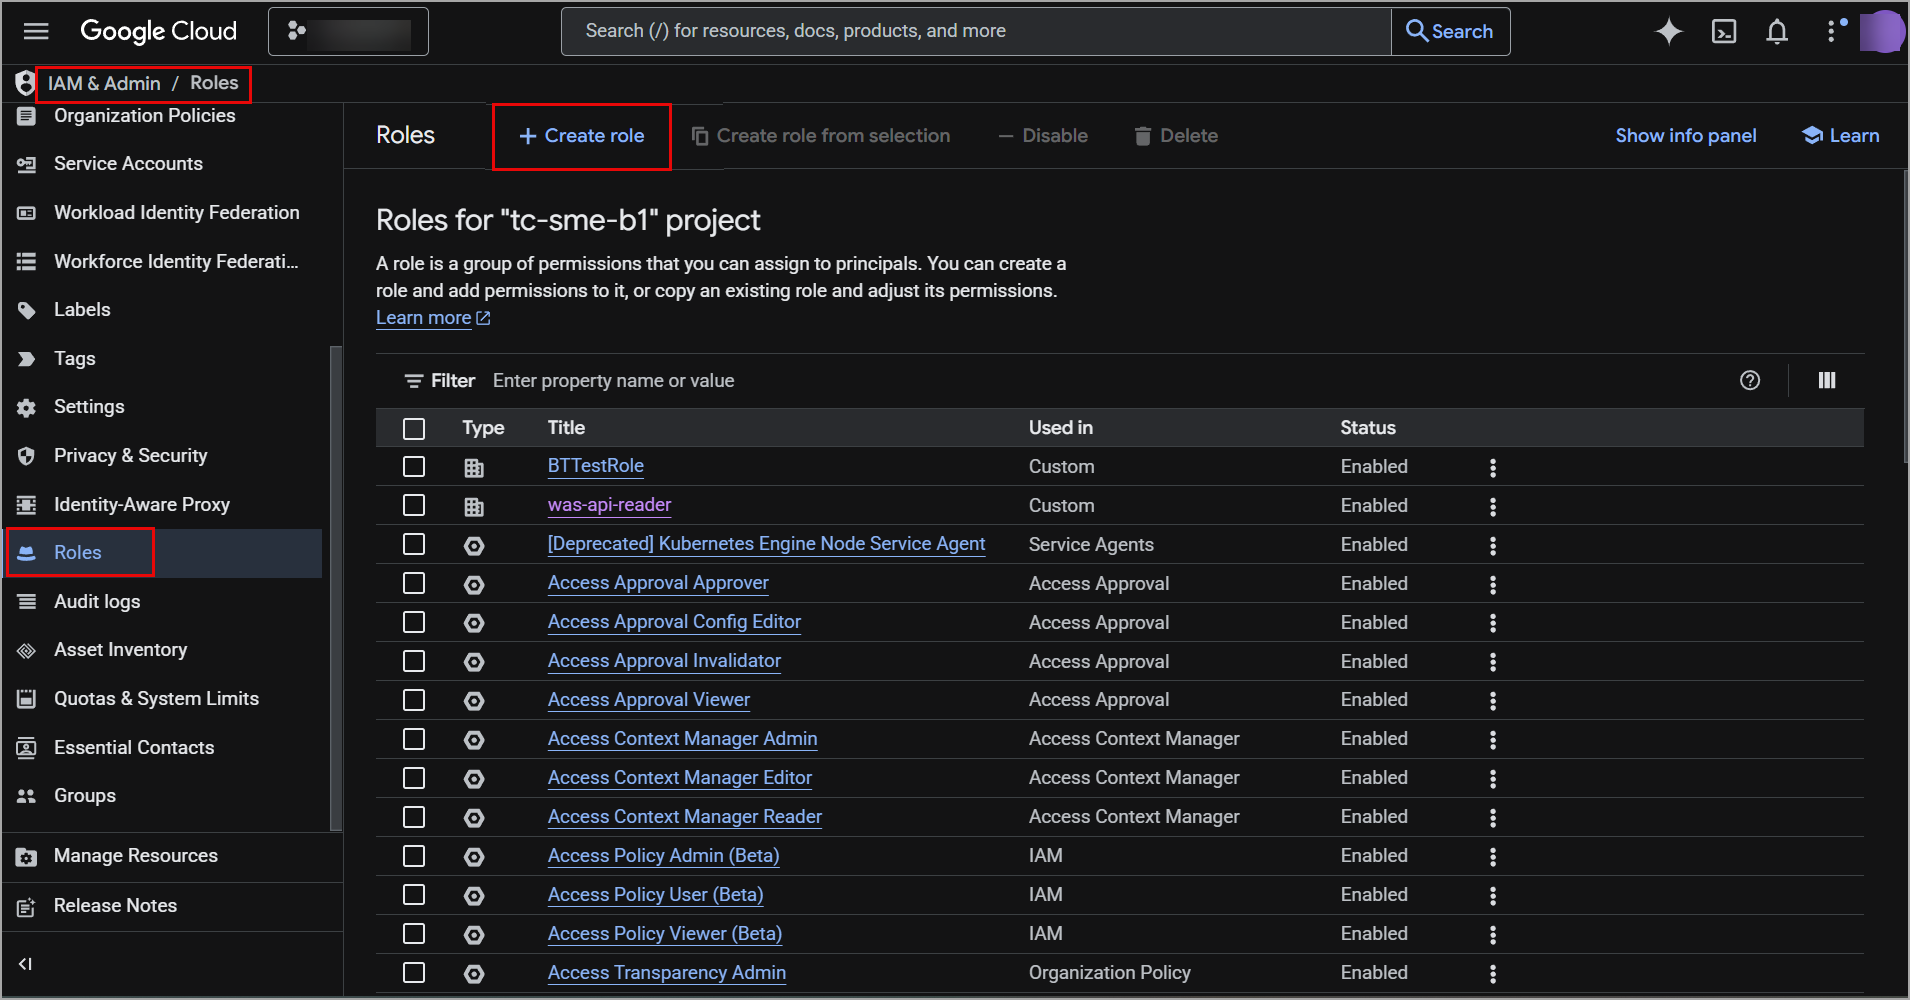
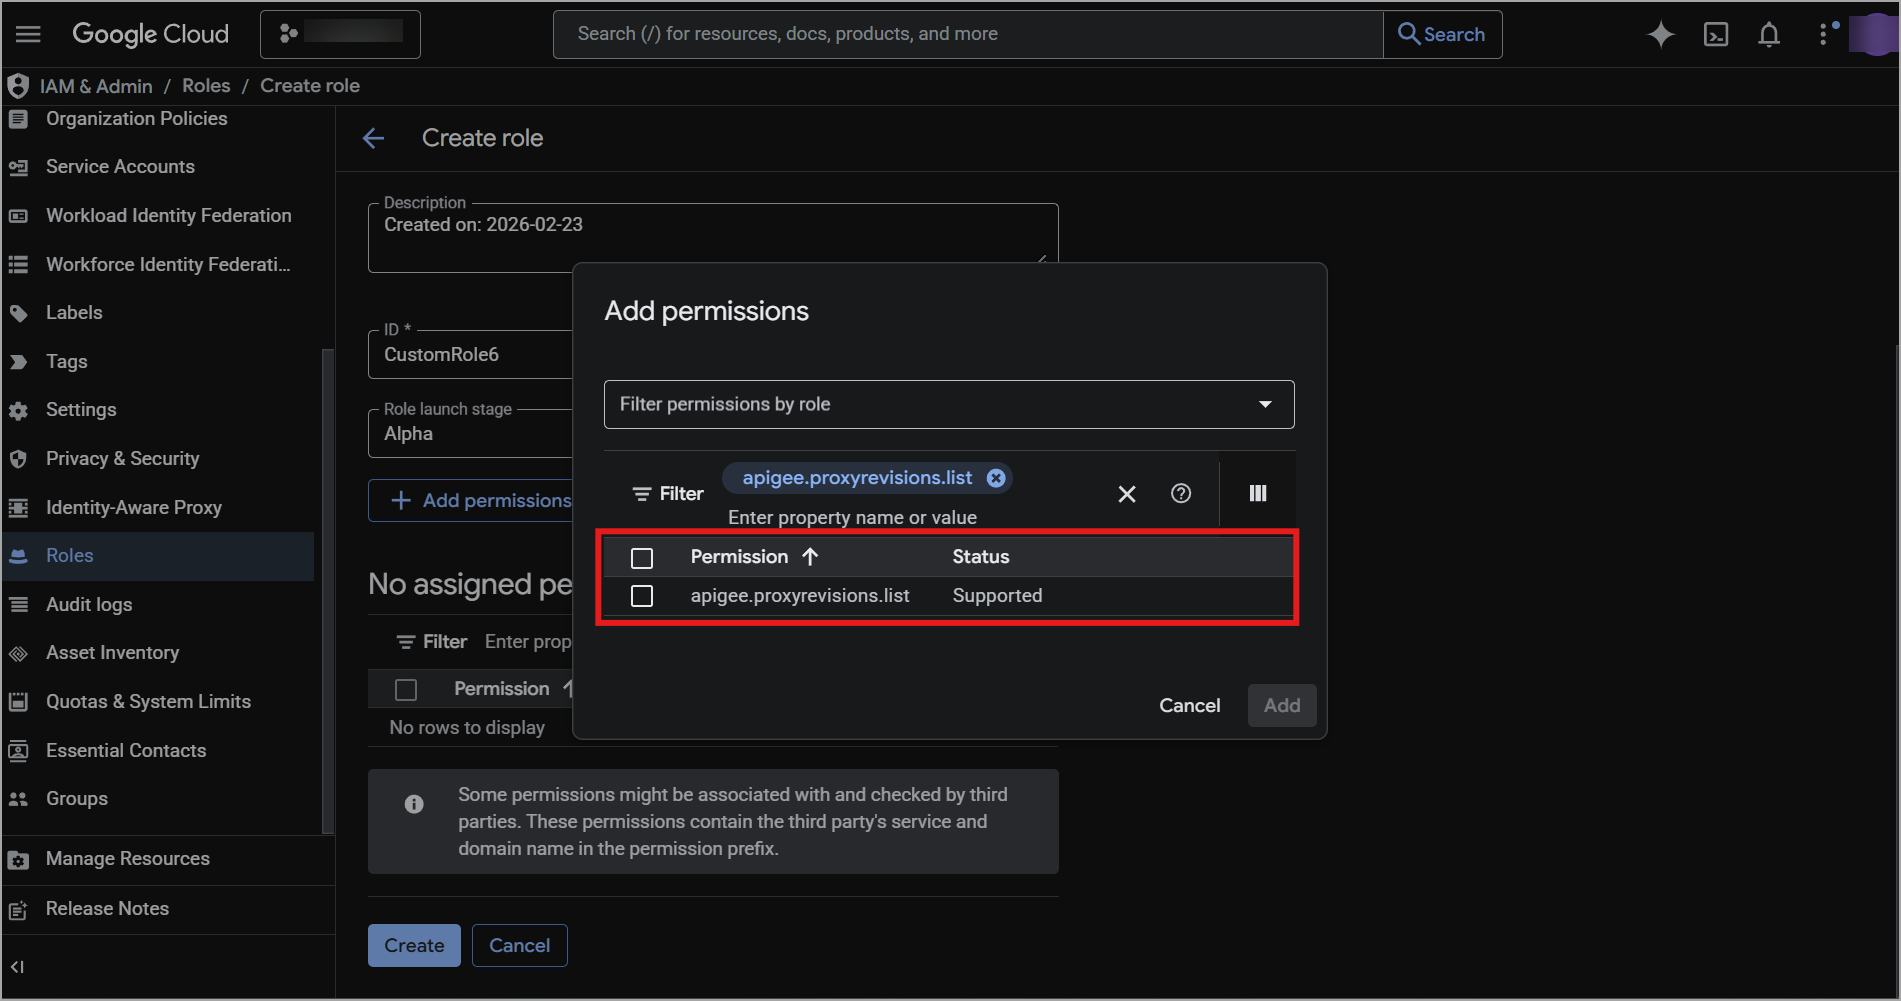
- Assign the following permissions to the role.
- apigee.deployments.list
- apigee.envgroupattachments.list
- apigee.envgroups.list
- apigee.proxies.list
- apigee.proxyrevisions.get
- apigee.proxyrevisions.list
The following image displays the addition of apigee.proxyrevisions.list permission:
- Create a service account:
- Navigate to IAM &Admin / Service accounts > Service Accounts, and click Create service account.
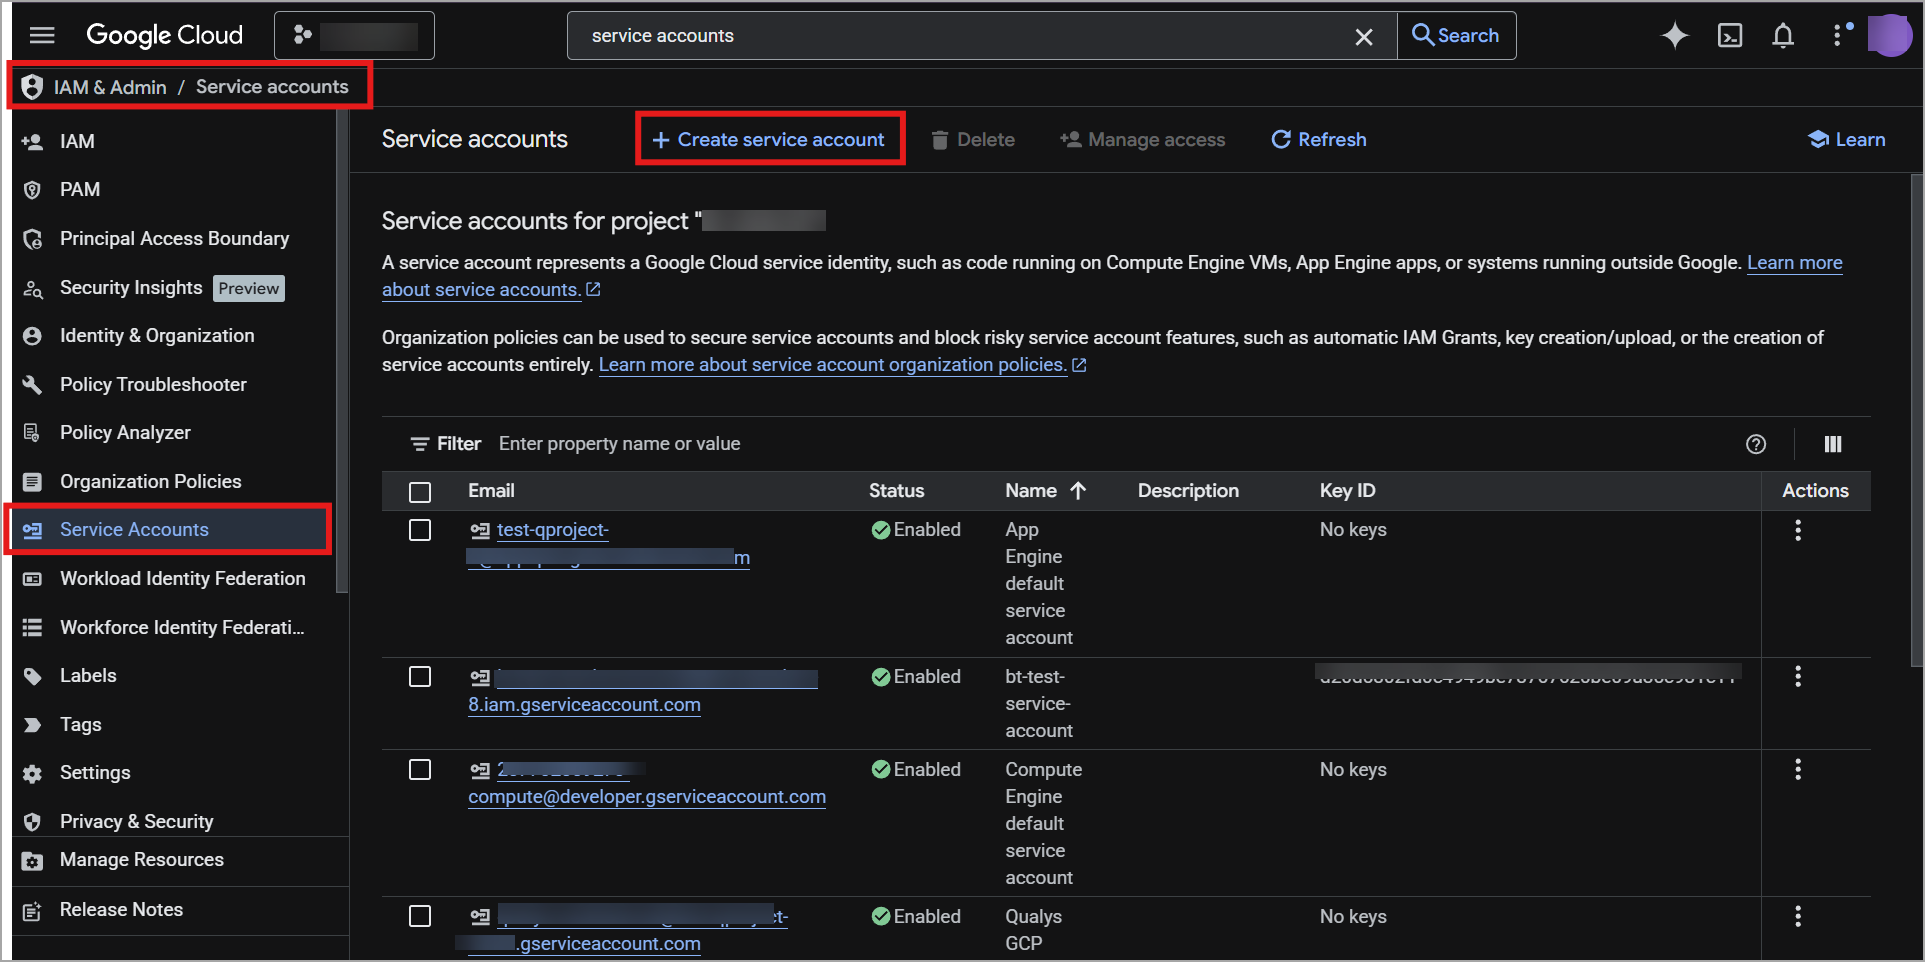
- In the Create service account, enter Service account name. The Service account ID is generated automatically based on this name.
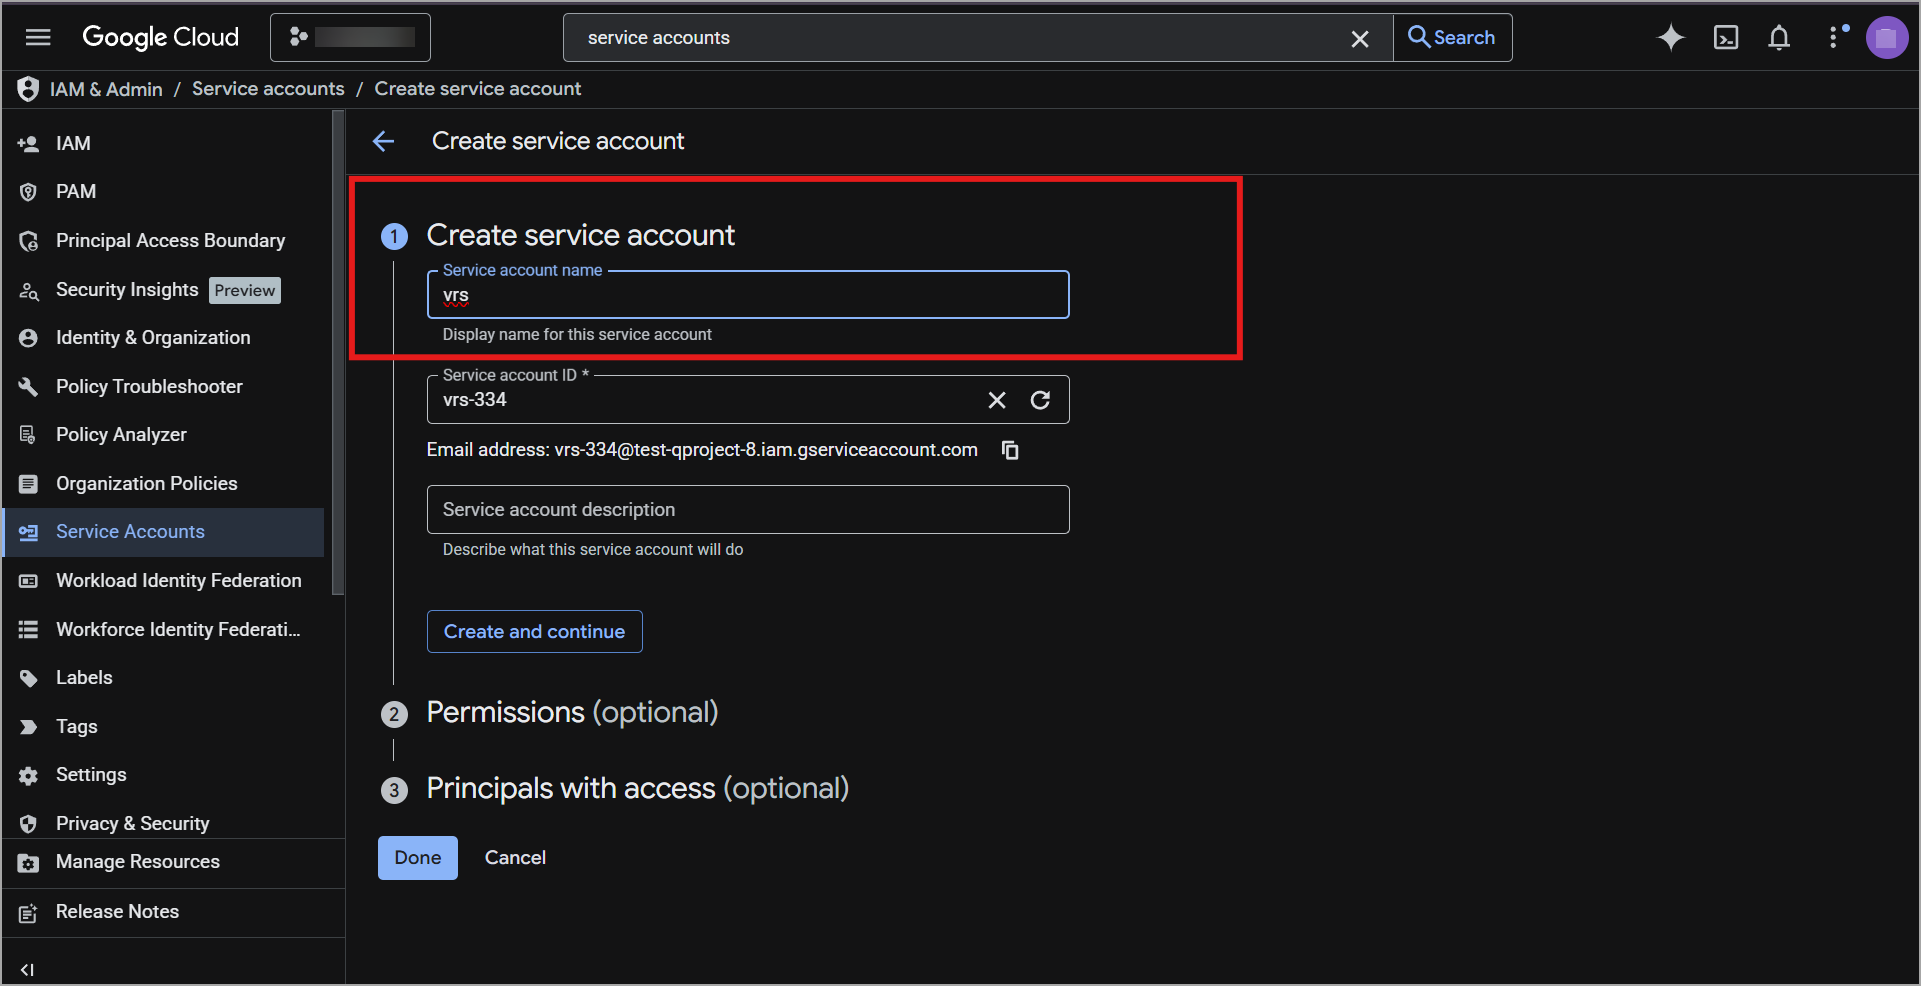
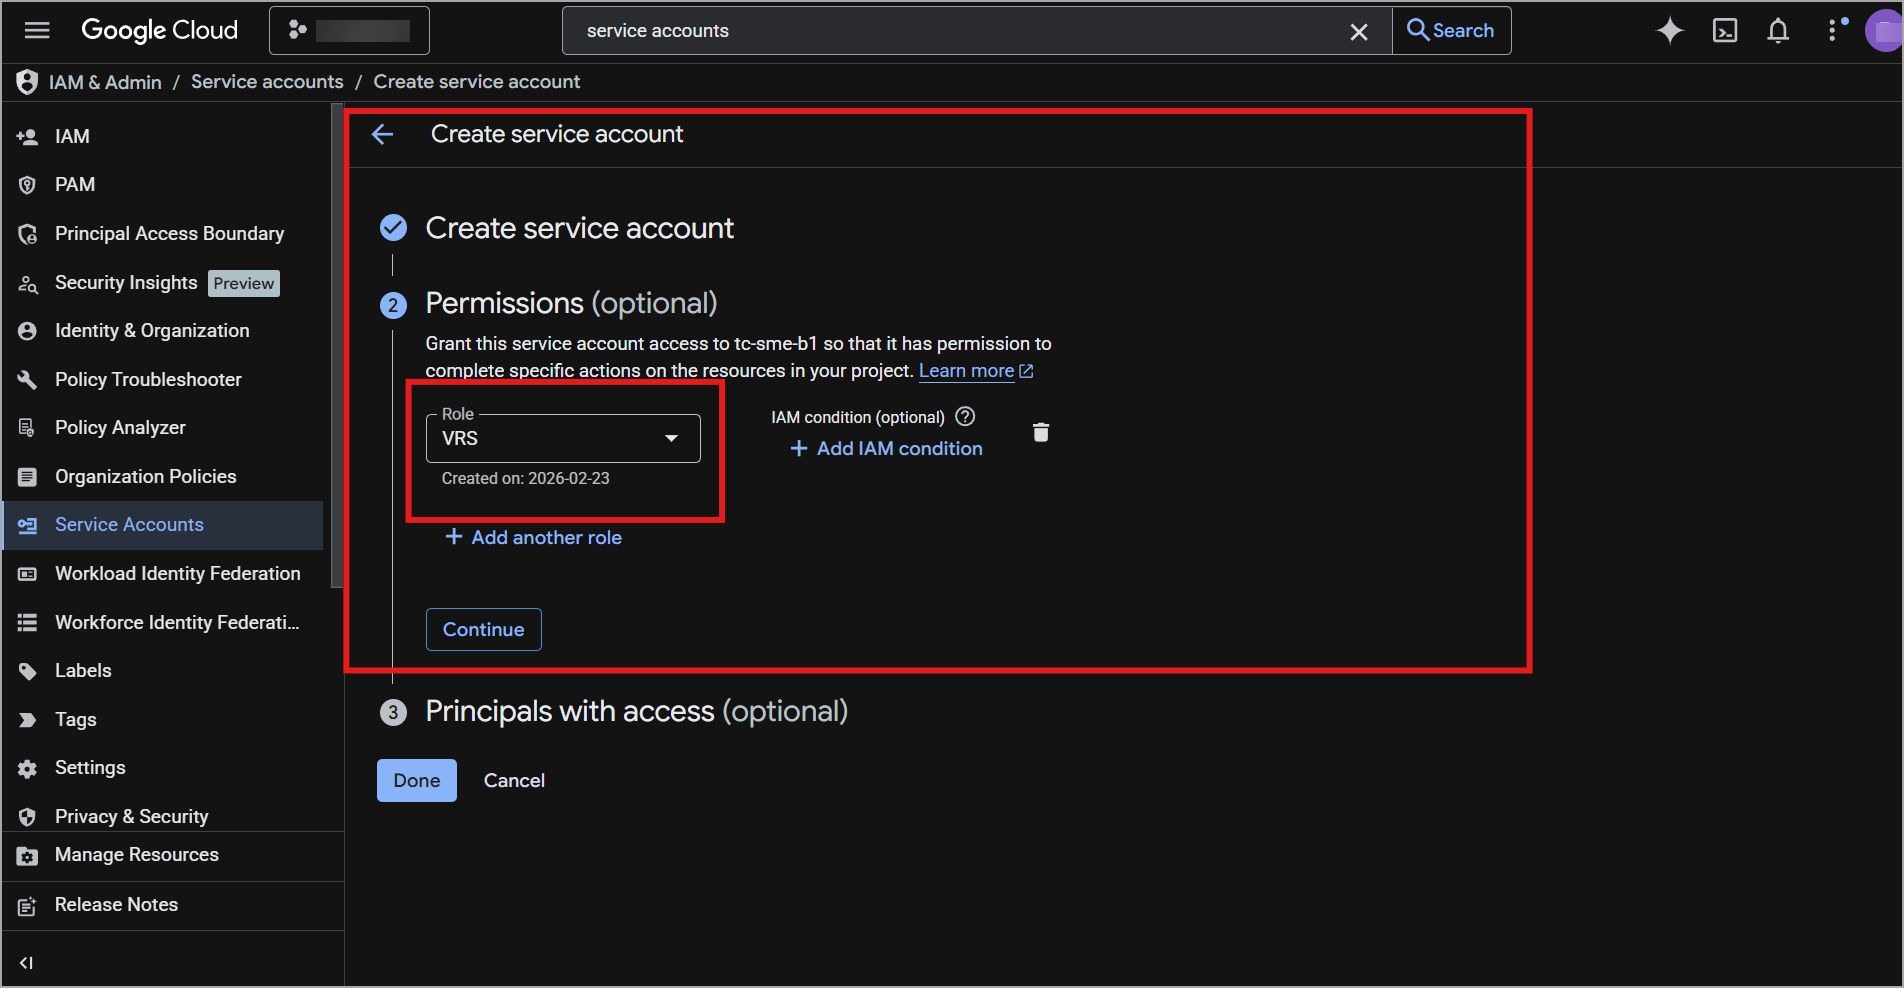
- Click Create and continue.
- In the Role field, select a role, and click Continue.
- Navigate to IAM &Admin / Service accounts > Service Accounts, and click Create service account.
- Create a new key in the service account.
- For the service account, click Actions > Manage keys.
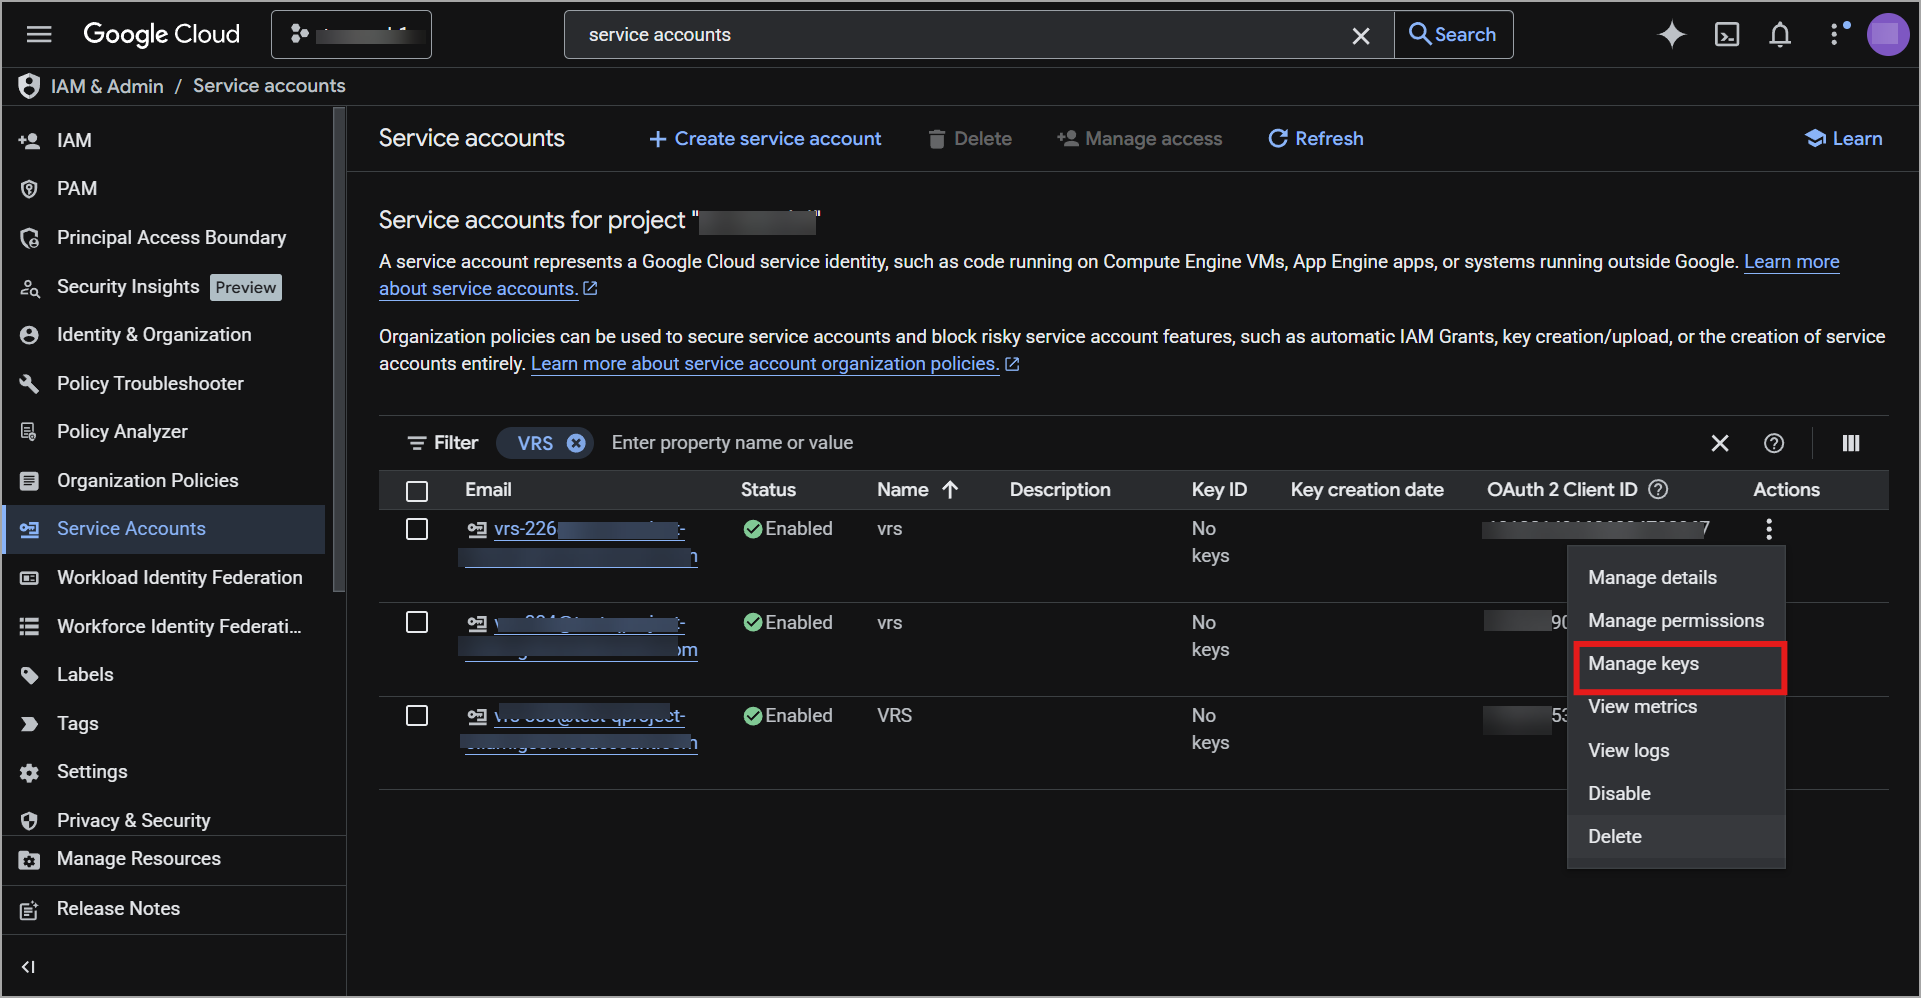
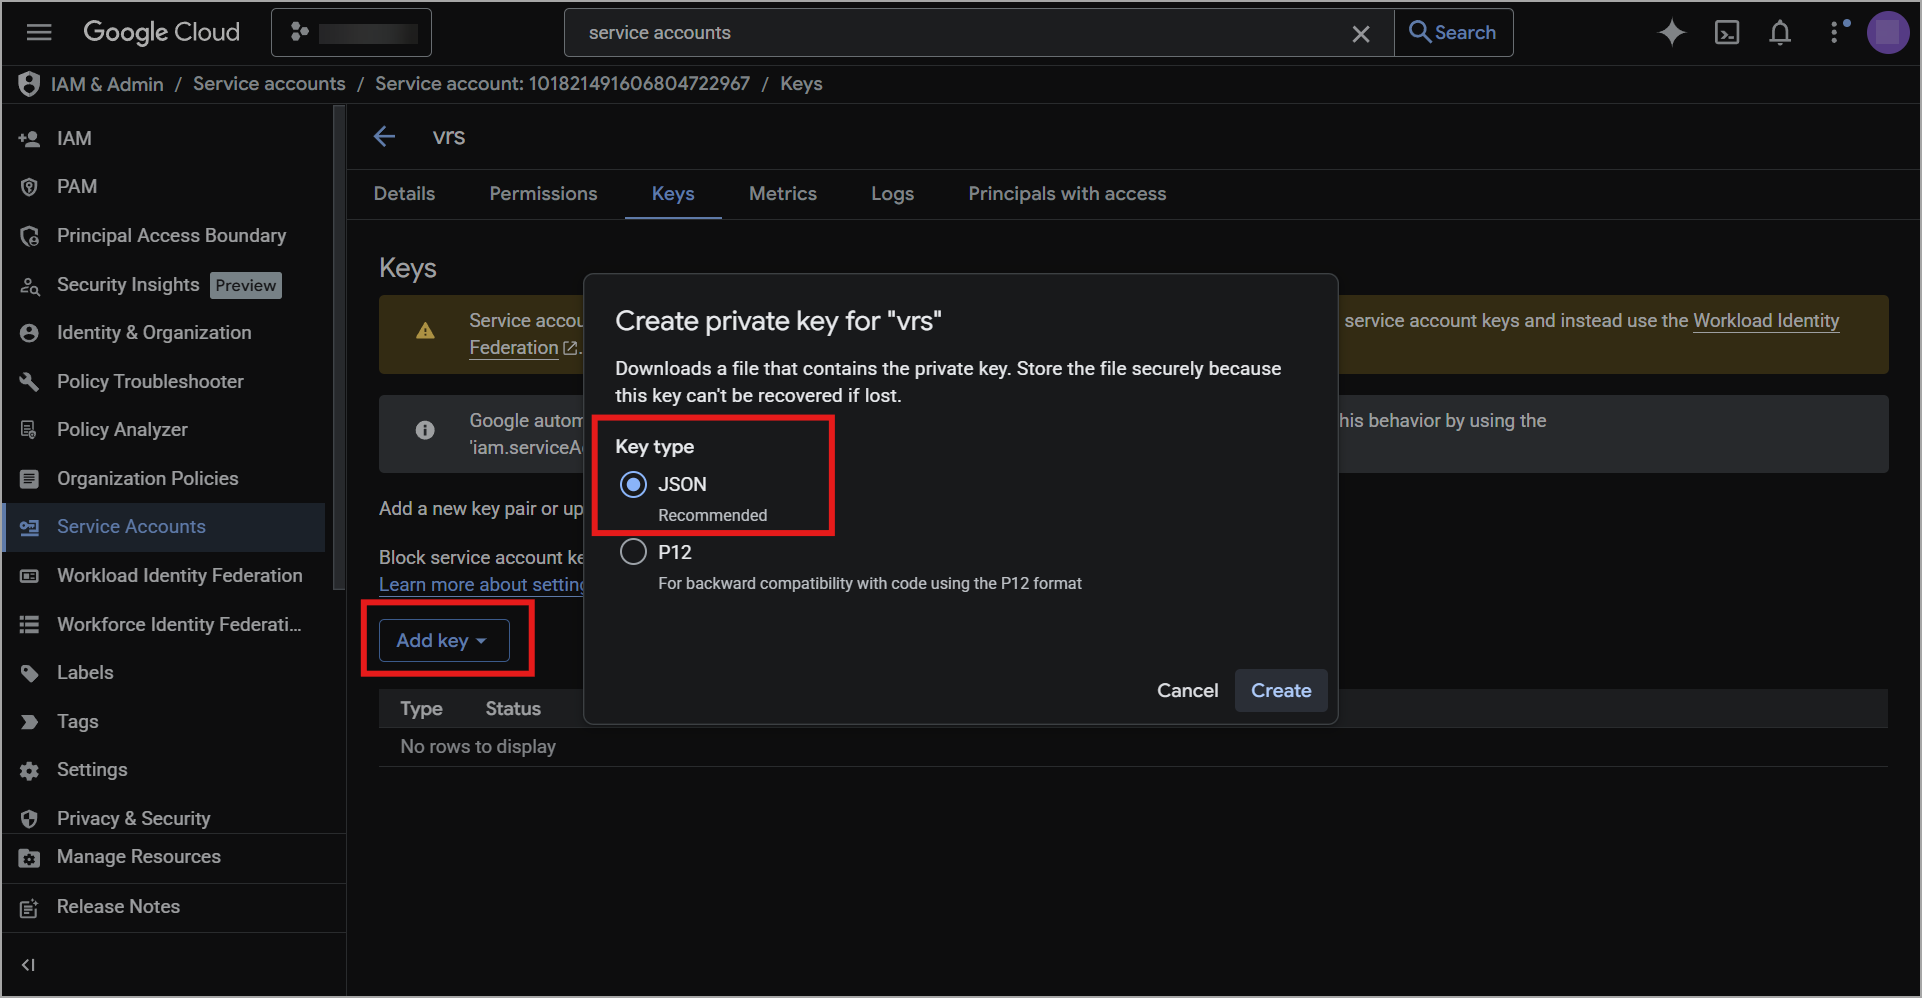
- Click Add key.
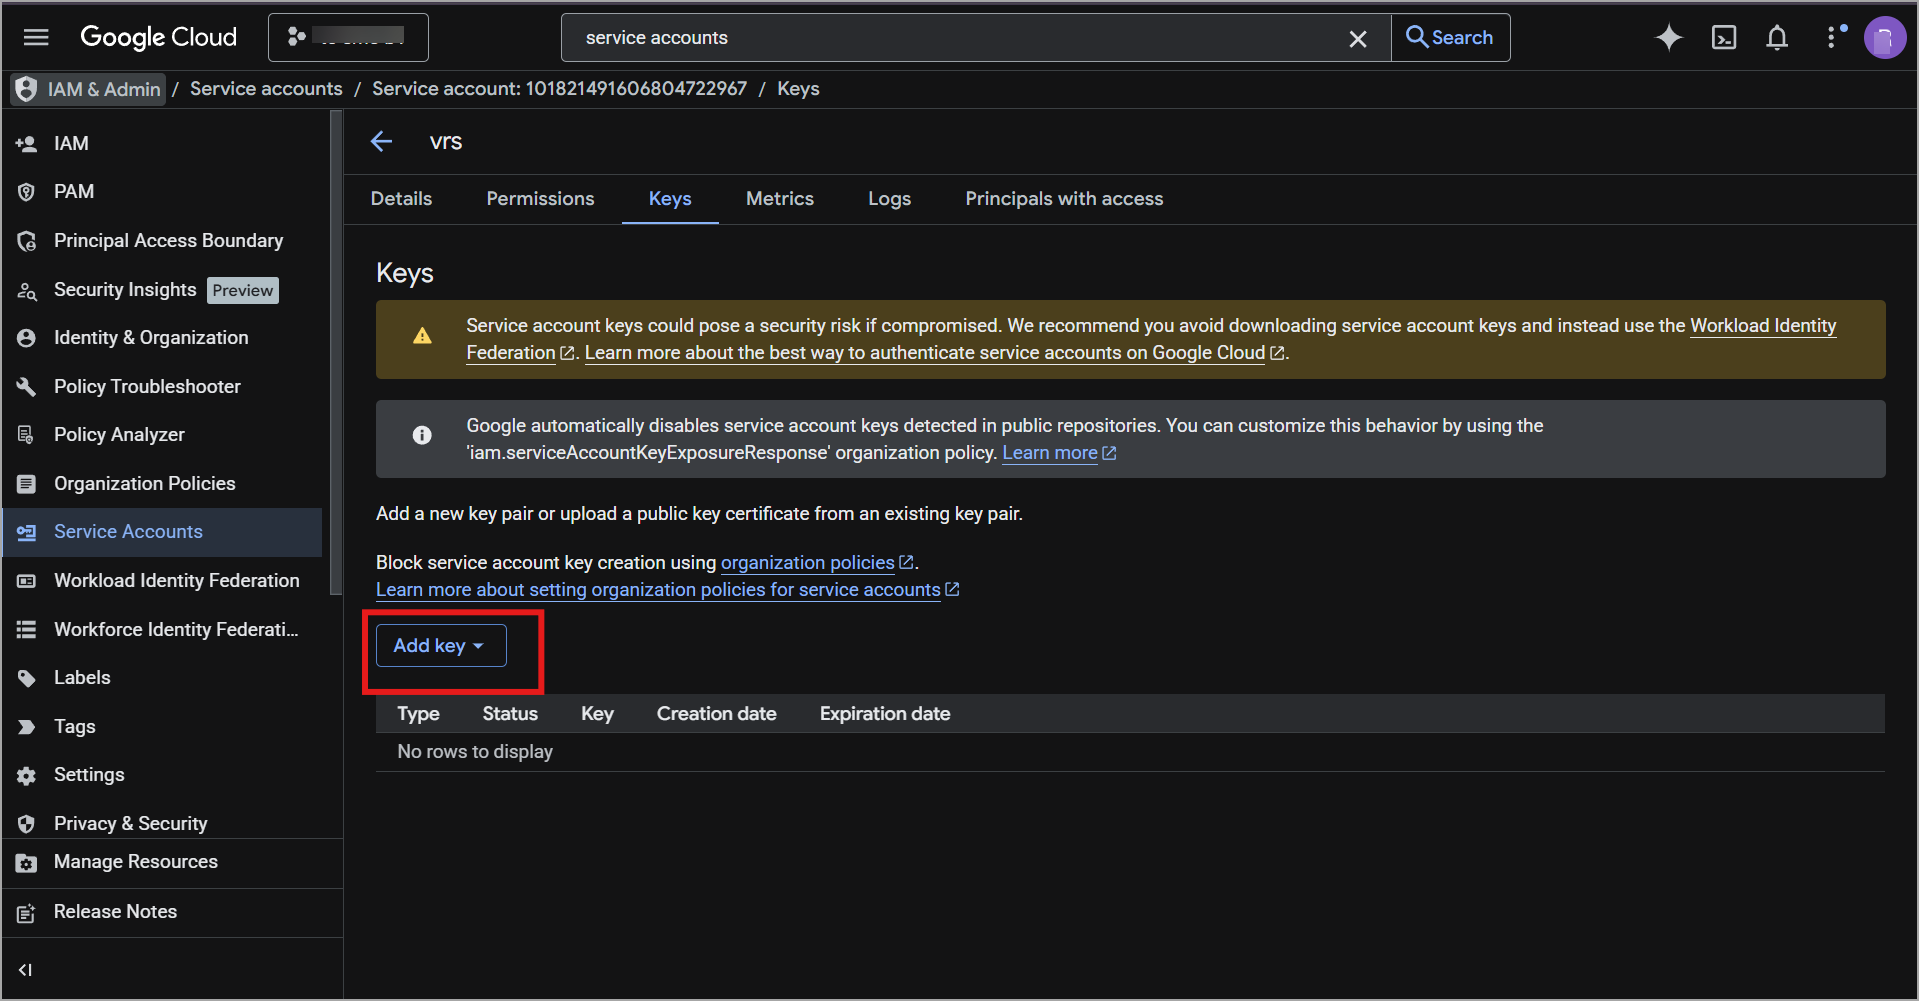
- In the Key Type, select JSON, and click Create.
- For the service account, click Actions > Manage keys.
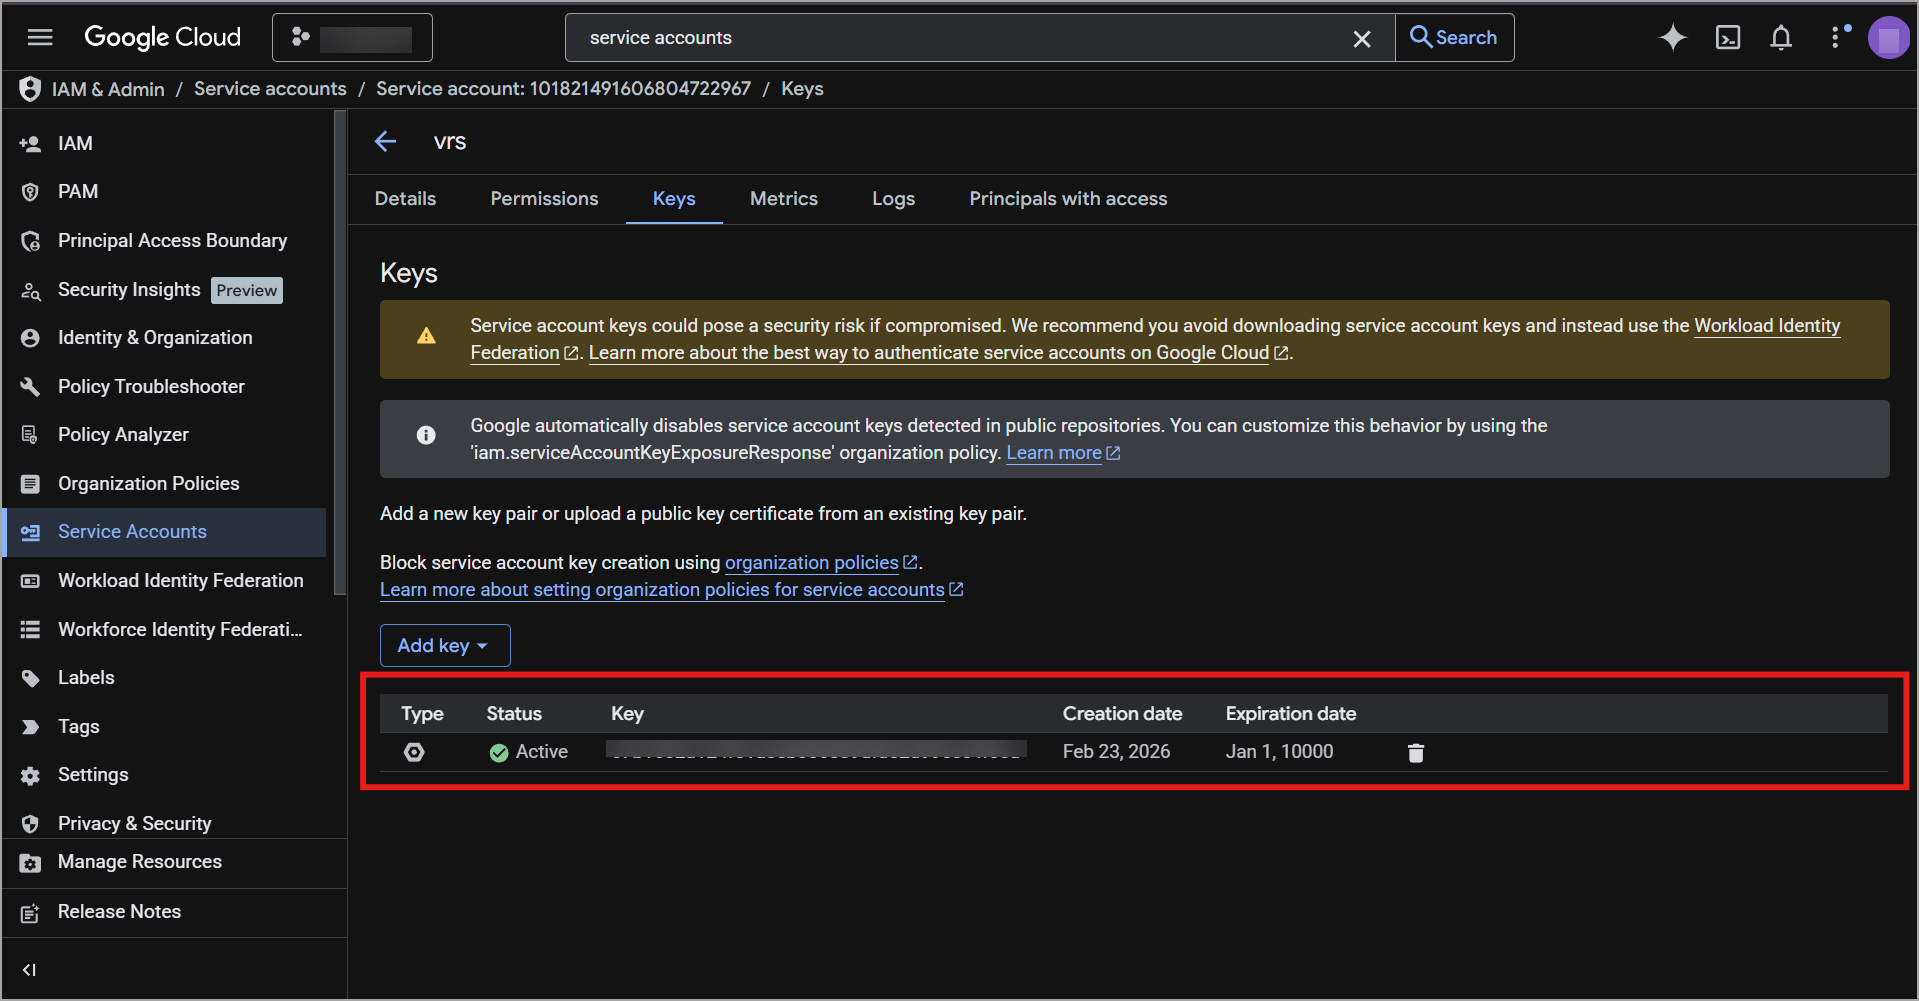
The JSON key file will be downloaded to your computer. Store this key file securely. Use the JSON file while creating the connector in the Basic Details step.
Permissions
The following table presents the Apigee management APIs and the required IAM permissions required for each operation.
| API Endpoint | IAM Permissions |
|---|---|
| GET /v1/organizations/{org}/envgroups | apigee.envgroups.list |
| GET /v1/organizations/{org}/envgroups/{group}/attachments | apigee.envgroupattachments.list |
| GET /v1/organizations/{org}/apis | apigee.proxies.list |
| GET /v1/organizations/{org}/apis/{api}/revisions | apigee.proxyrevisions.list |
| GET /v1/organizations/{org}/apis/{api}/deployments | apigee.deployments.list |
| GET /v1/organizations/{org}/apis/{api}/revisions/{rev} | apigee.proxyrevisions.get |
| GET /v1/organizations/{org}/apis/{api}/revisions/{rev}?format=bundle | apigee.proxyrevisions.get |
Connector Configuration
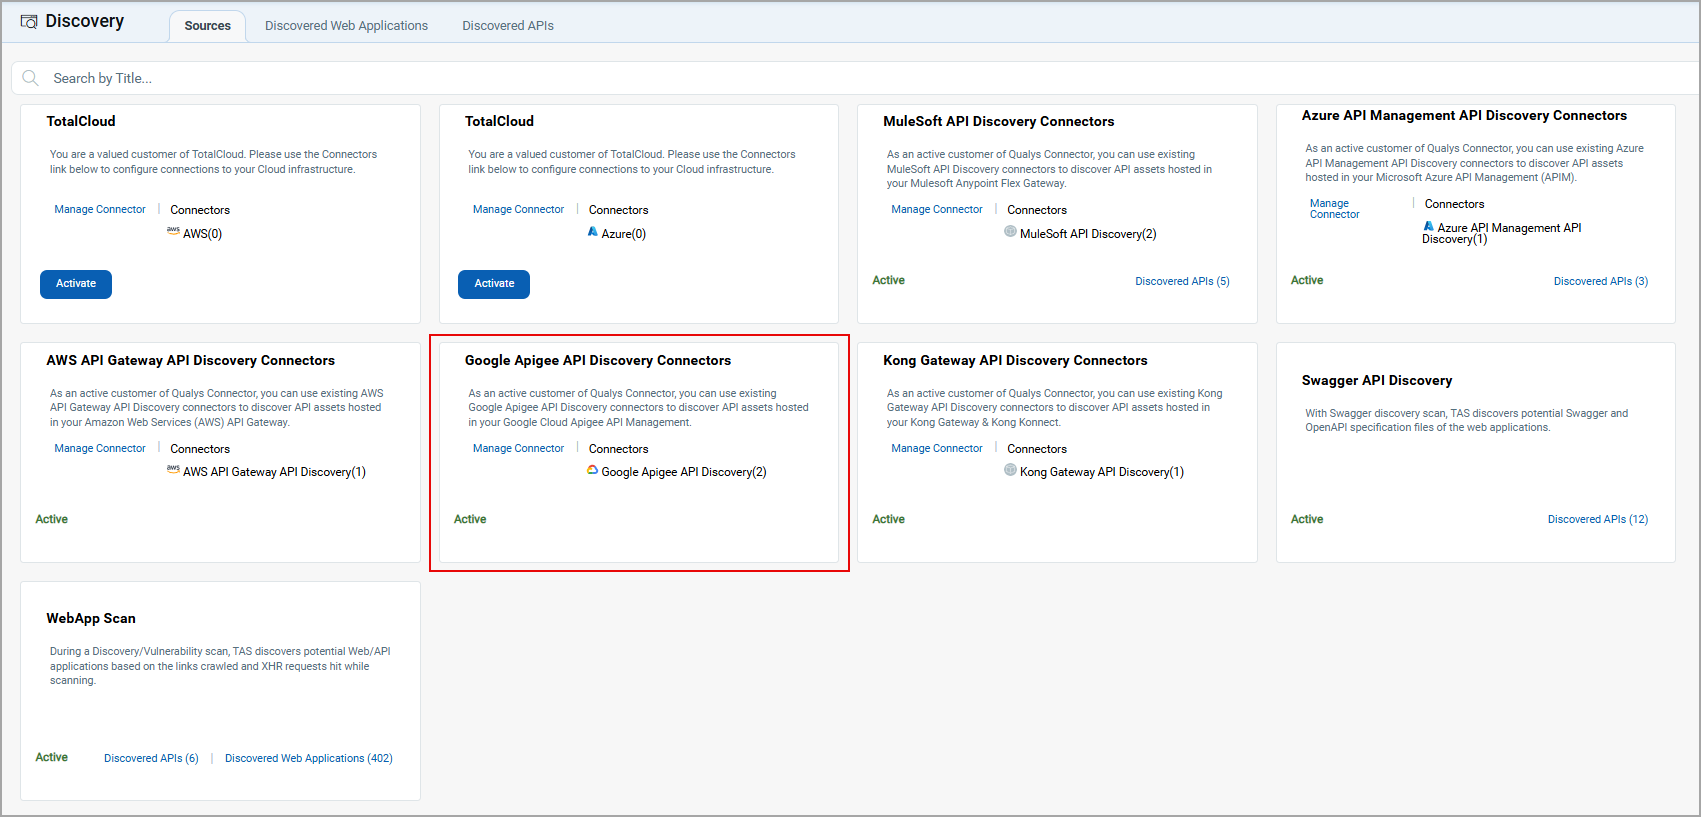
To create a new Google Apigee API Discovery Connector, navigate to the Discovery tab > Sources > Google Apigee API Discovery Connector, and click Create Connector.
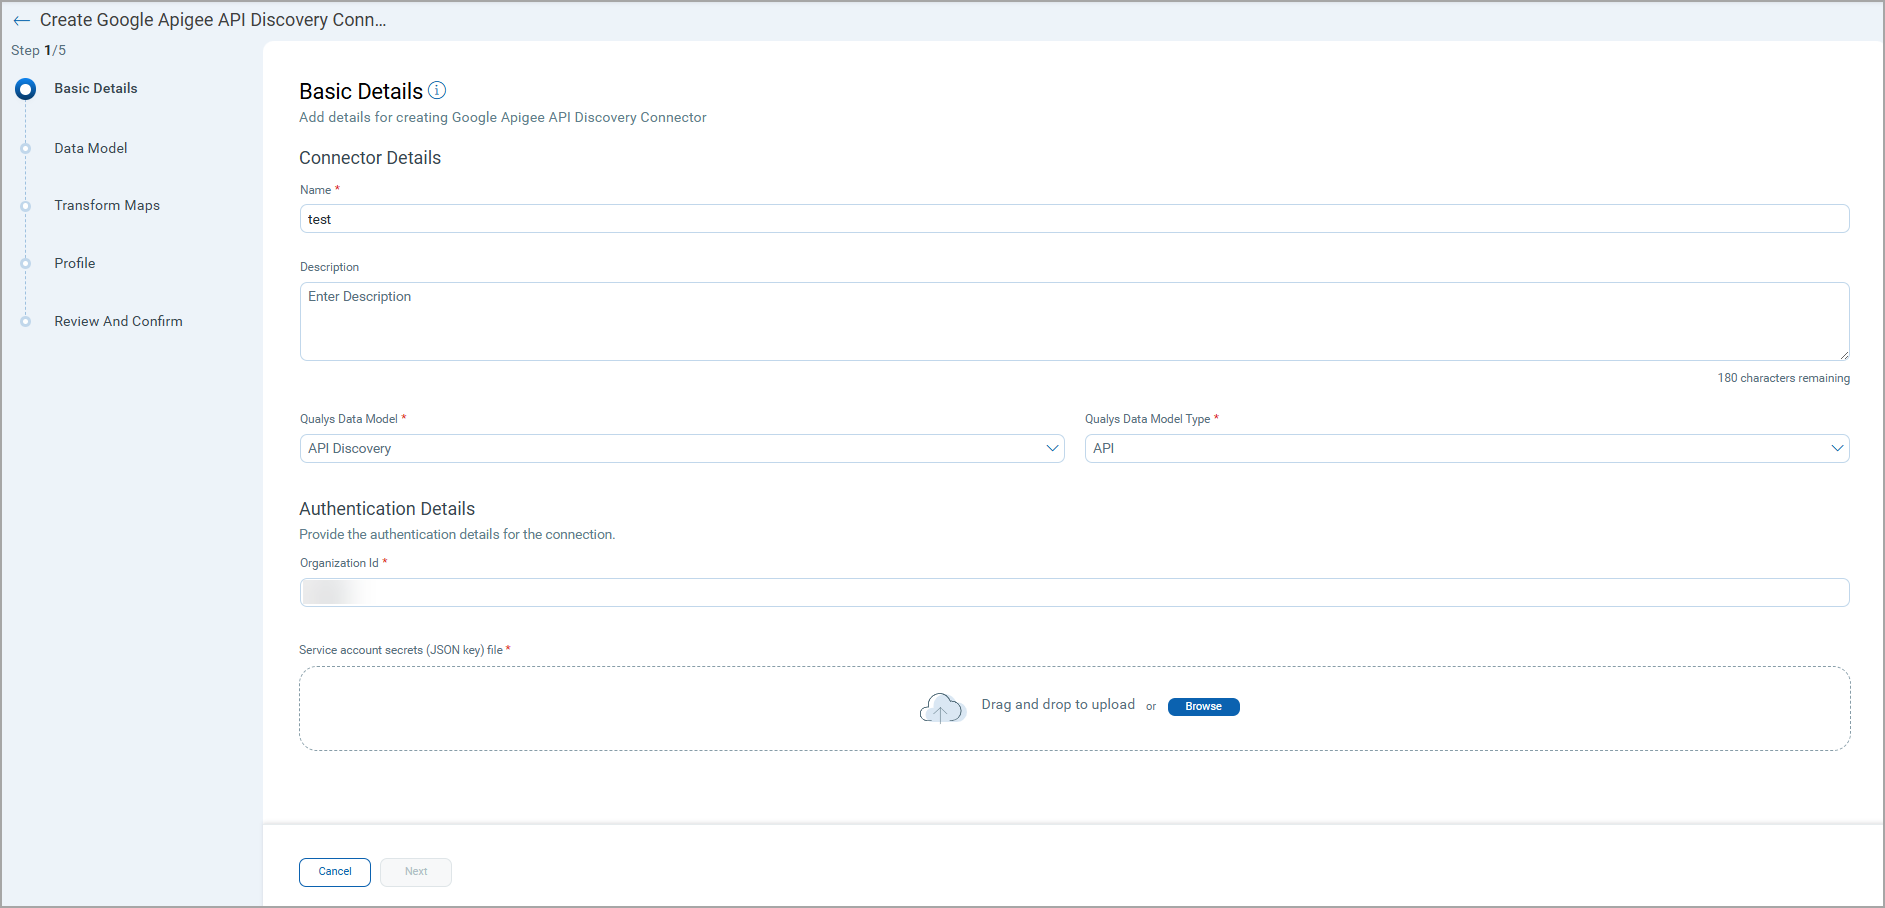
Basic Details
- Provide a Name and Description.
- Select the Qualys Data Model - API Discovery and Qualys Data Model Type - API.
- Provide required Authentication Details.
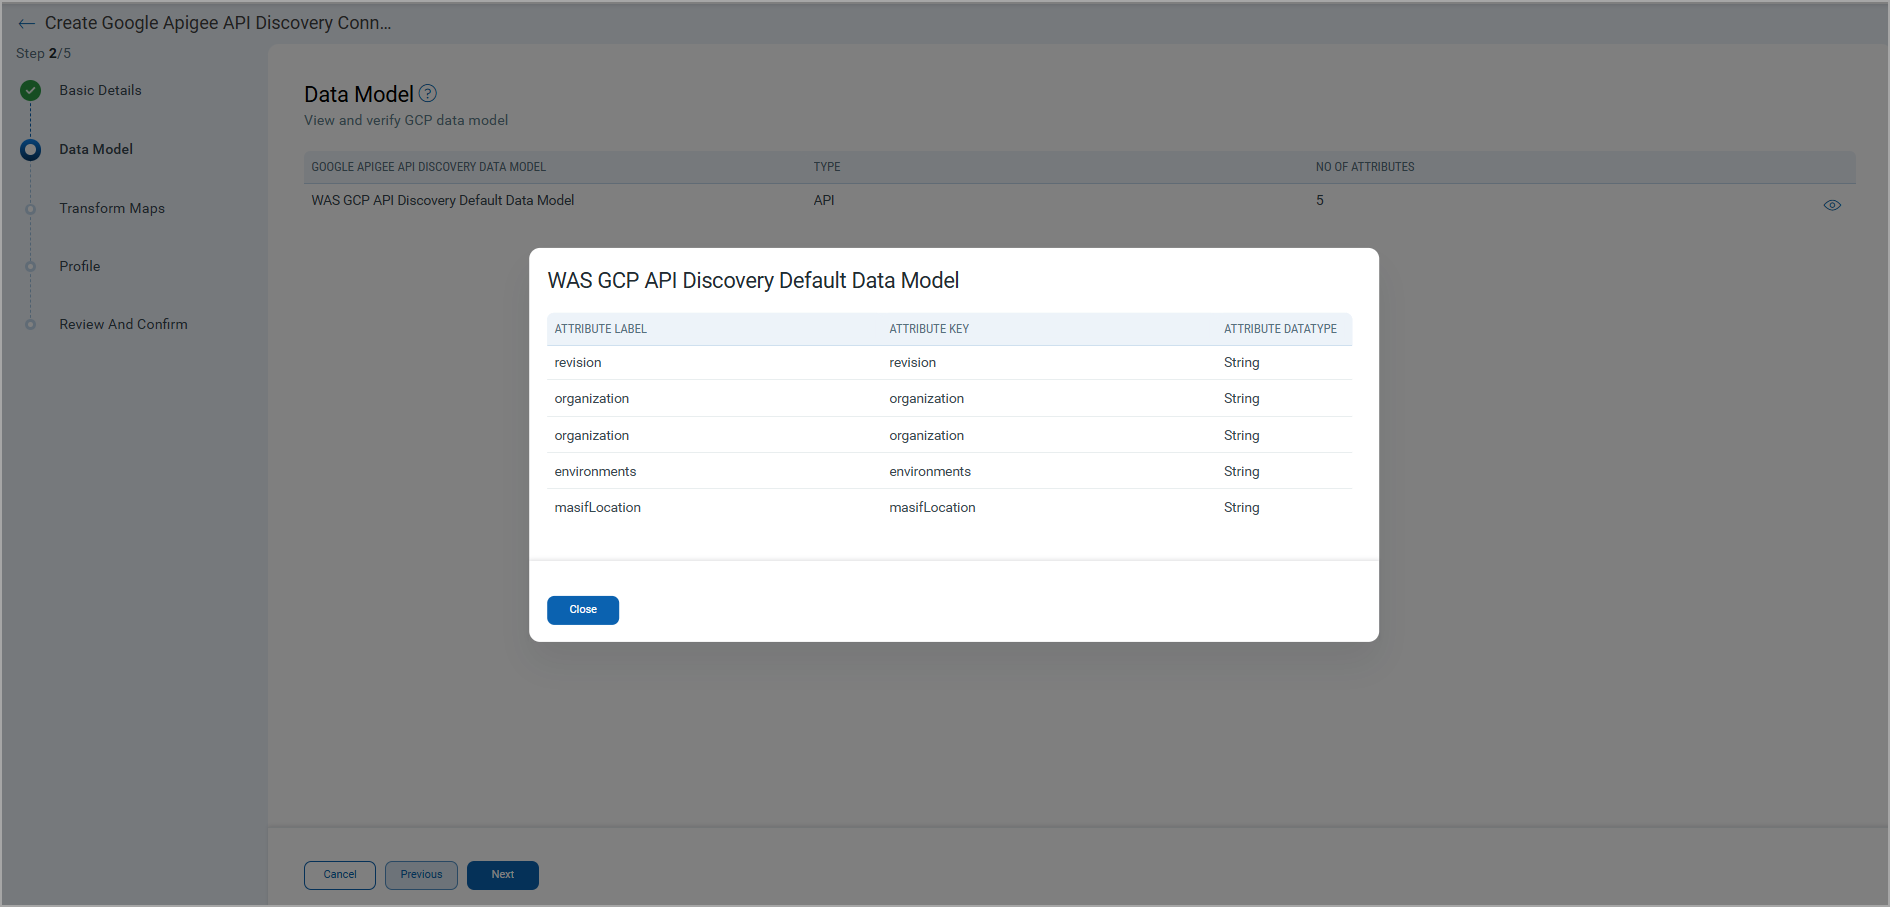
Data Model
The GCP API Discovery Default Data Model provides an out-of-the-box schema aligned with the Qualys schema.
Use the schema view to understand the attributes and structure of the imported API data.
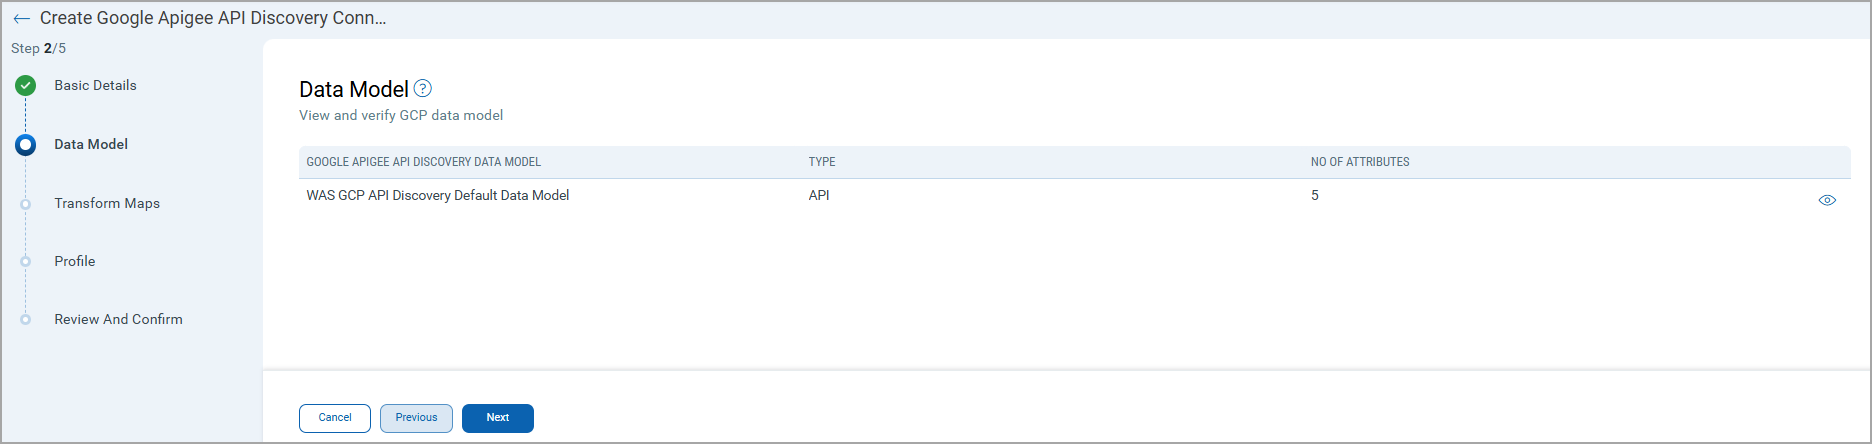
Here's the default data model mapping.
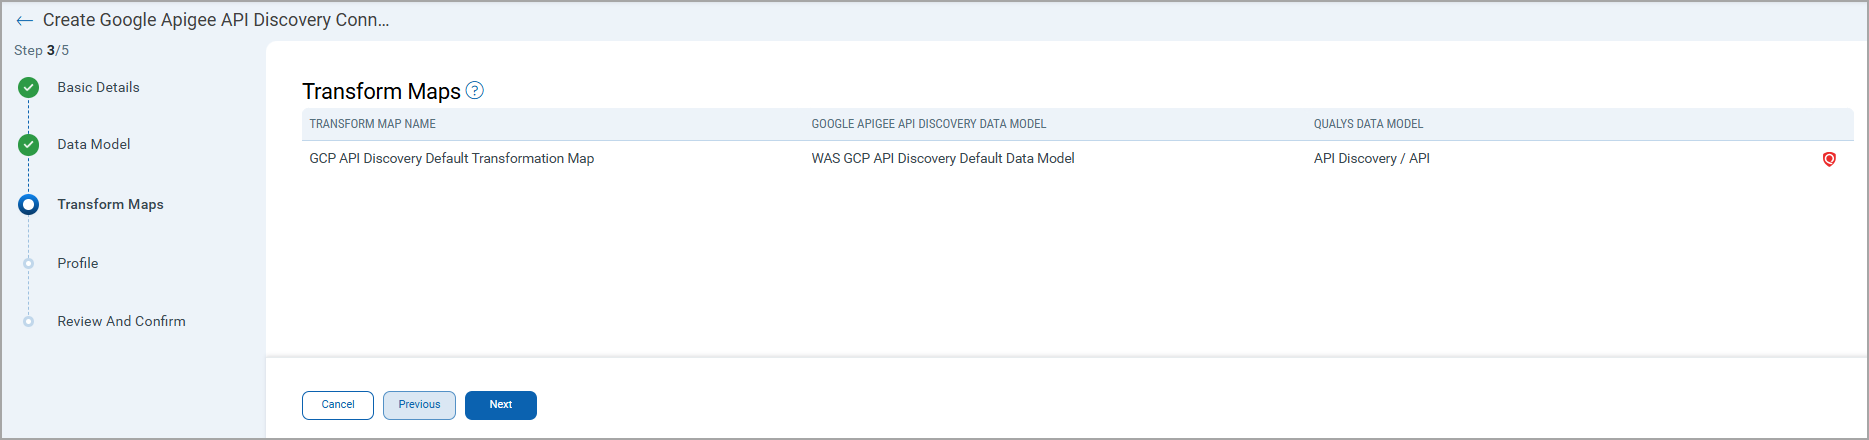
Transform Maps
Transform maps ensure data is correctly transformed during data import. Qualys provides the default transform map, and it cannot be edited.
Profile Configuration
Create a profile for your connector to control execution behavior. A profile decides the connector status, execution schedule and transform map to choose. The connector follows the configurations of this profile for all future executions.
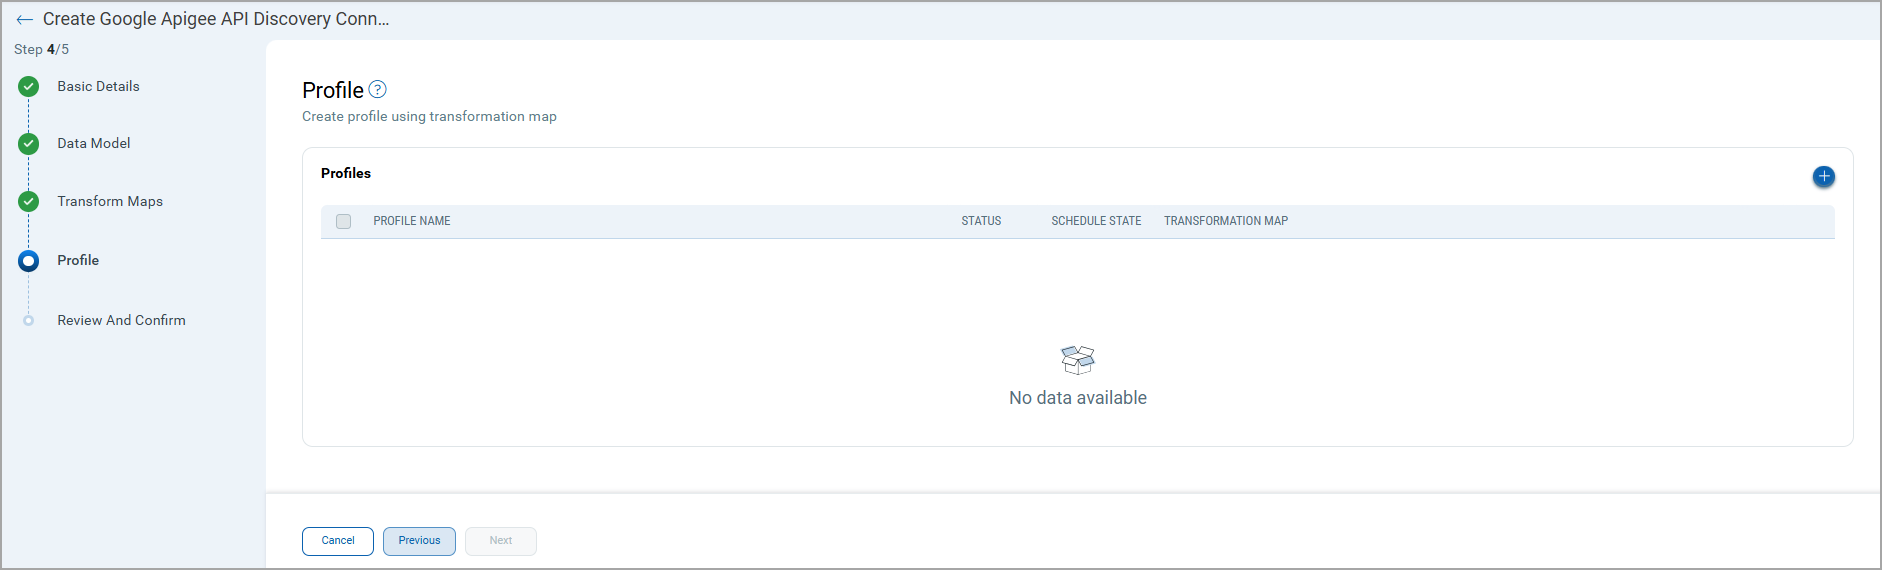
- Click
 to create a new profile.
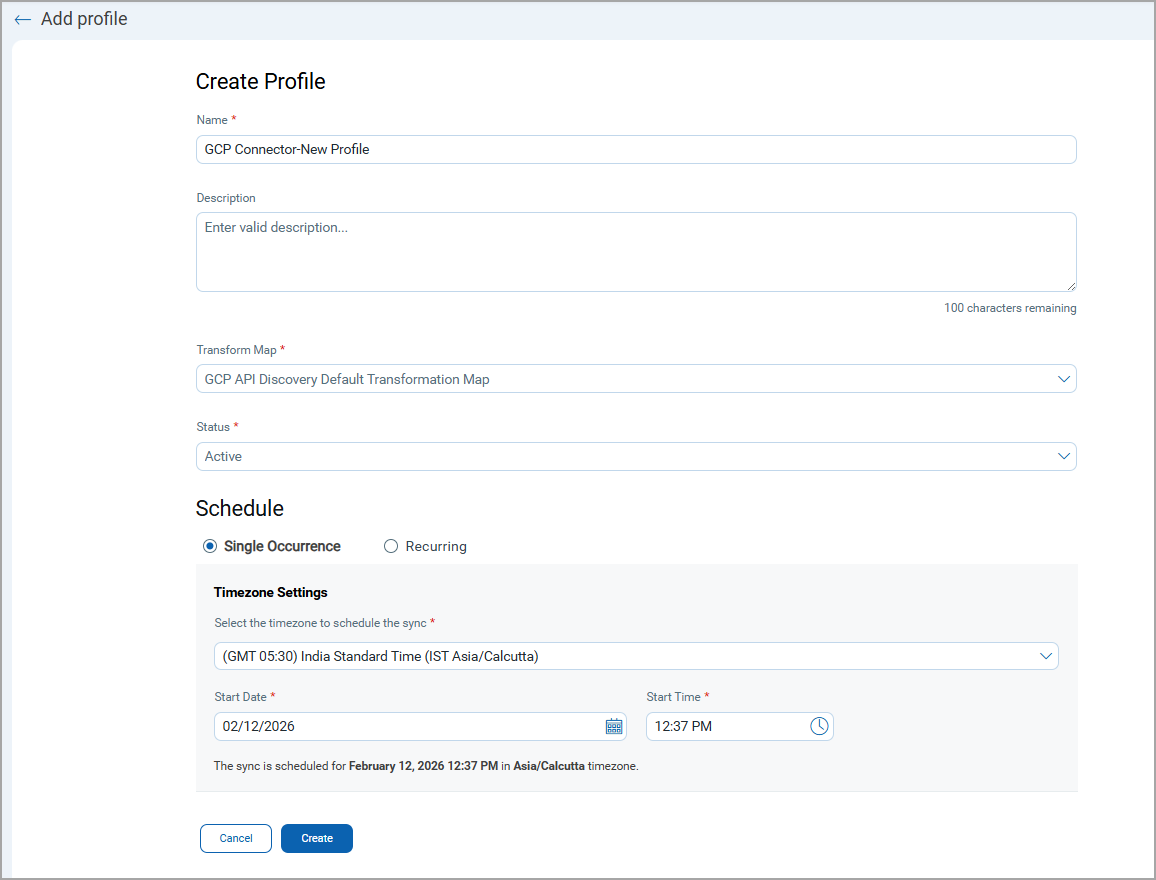
- In the Create Profile screen, provide the necessary inputs for your new profile:
- Provide a Name and Description.
- Select the required Transform Map for the data mapping.
- In the Status field select whether the connector should be in Active or Inactive state after creation.
- In the Schedule section, select Single Occurrence schedule or a Recurring schedule. For the Single occurrence, select the timezone, start time, and end time. For recurrent scheduling, select the timezone, frequency, start time, and end time.
- Click Create to add a new profile.
Connector States
After configuration, the connector progresses through these states:
| State | Description |
|---|---|
| Registered | Connector created and registered successfully |
| Scheduled | Connection execution is scheduled |
| Processing | A connection is executed and the connector is retrieving asset data. |
| Processed |
Asset discovery completed; findings ingestion may still continue. The Processed state indicates that the Connector is successfully configured but it is under the process of importing all your assets. This process may take some time. |
Logs
End-to-end logging provides enhanced visibility into connector activities from the TotalAppSec, enabling more effective analysis and troubleshooting. You can access these logs from the Logs tab.
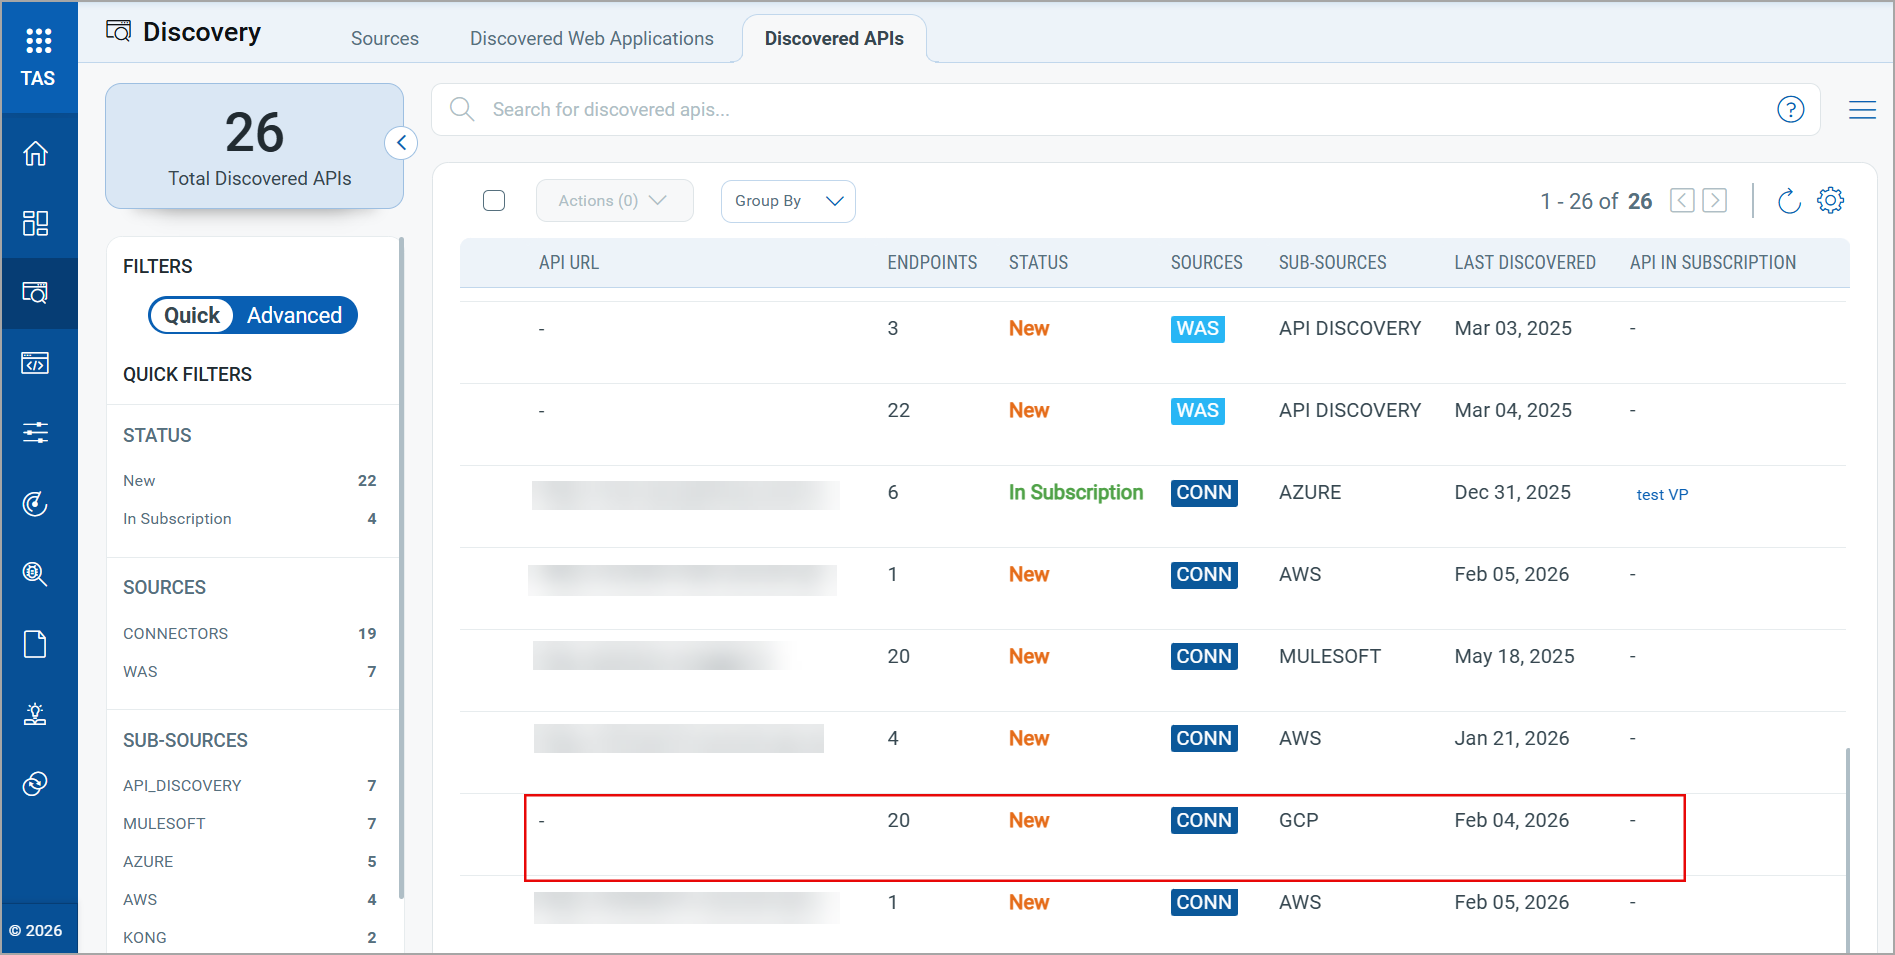
View Discovered Assets in TotalAppSec
Follow the steps to view your assets in the TAS application.
Sources
Discovered APIs
Here, you can view all API assets discovered by the GCP connector, along with additional details such as Status, URL, Endpoints, and so on.