Create Report Schedule
To create a schedule through the Dashboard tab or Report Schedule, perform the following steps
-
From the Dashboard, click the Tools
 menu and click Report Scheduling.
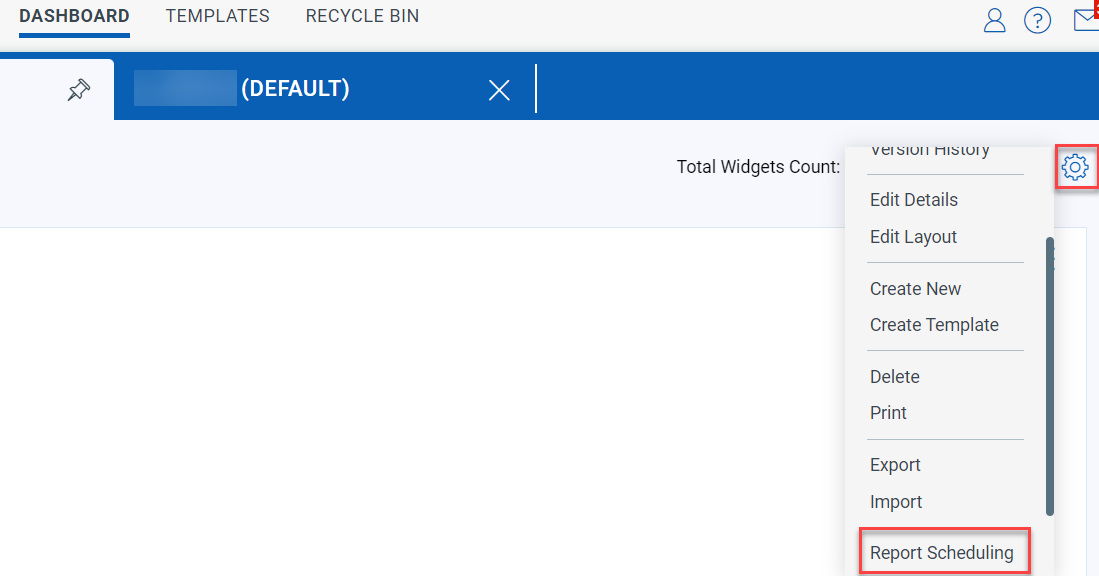
OR
From the Report Schedule, search and select the Dashboard from All Schedules, My Schedule, or Non Schedule dashboard lists.
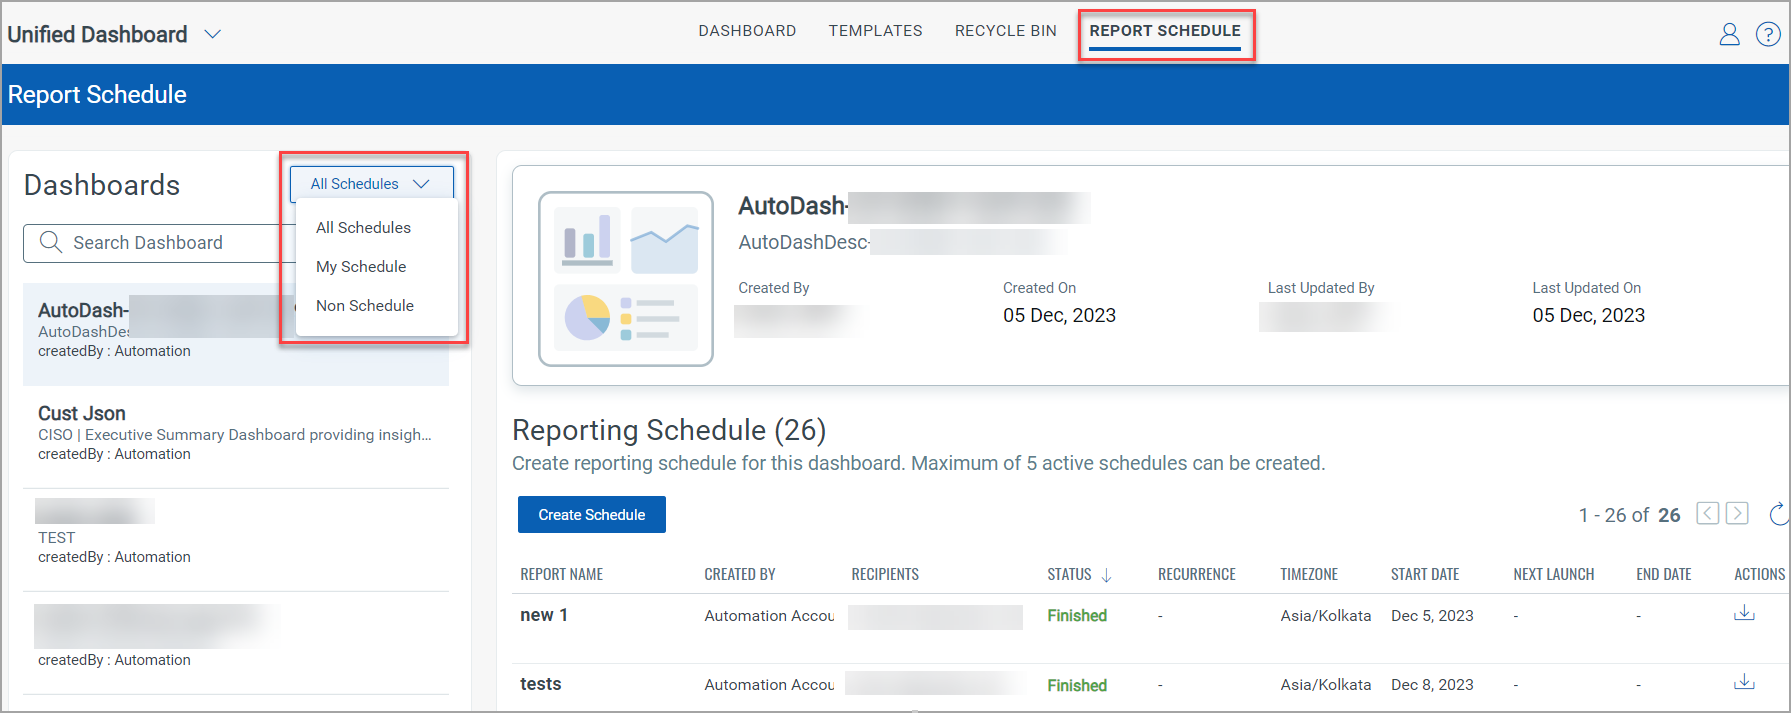
- Click Create Schedule and provide the name in the Report Name field. The Report Name can include alpha-numeric characters, underscore(_), hyphen (-), single quotation mark ('), and round brackets().
Sample Report Name: Windows assets - (2023)_'march'
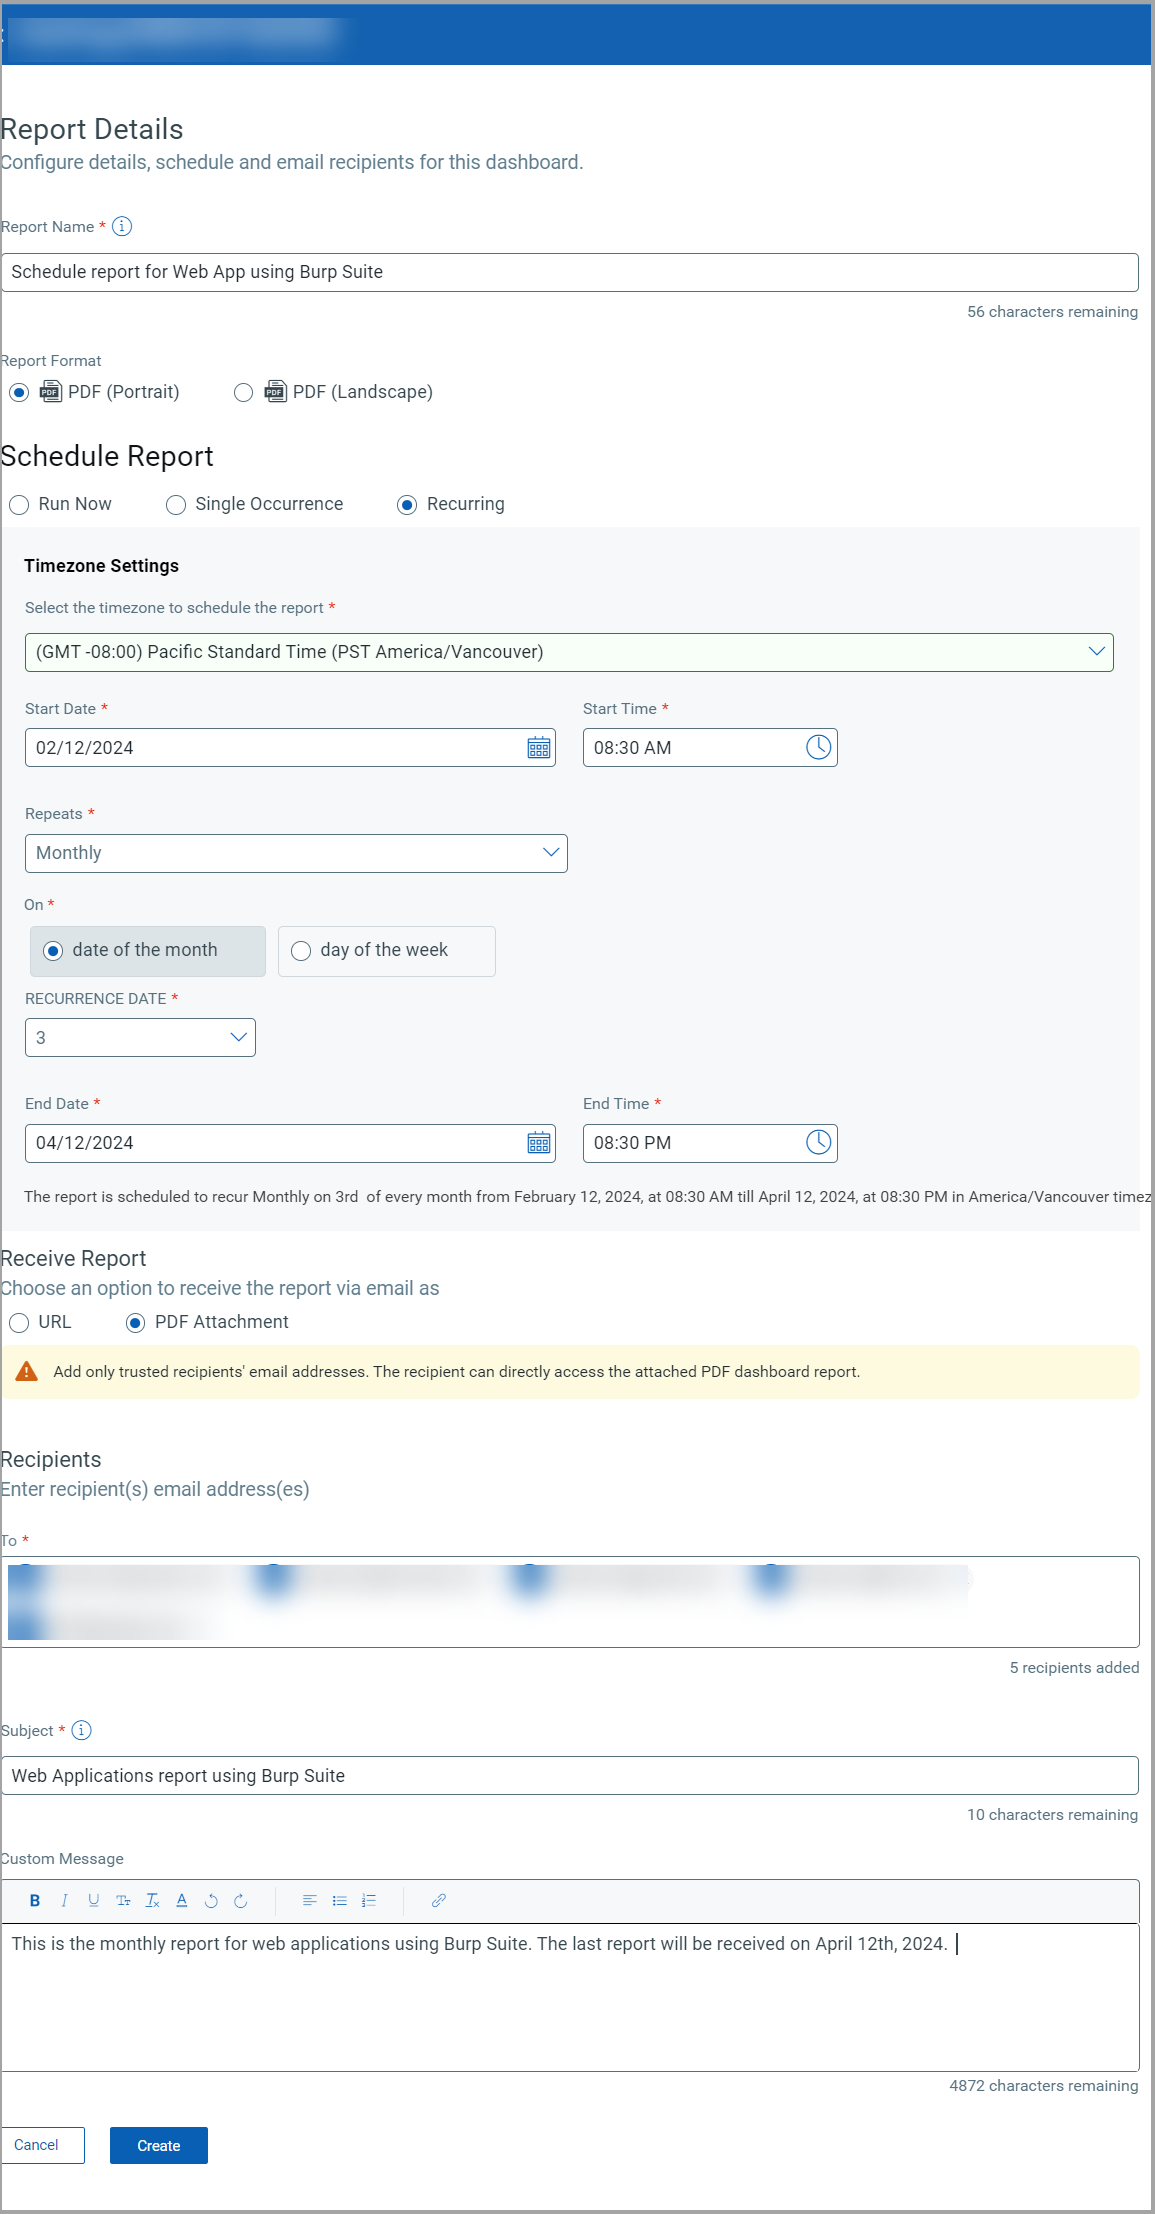
- Report Format- Select the required orientation between Portrait or Landscape for PDF output.
- Schedule Report- Select occurrence to run the schedule. Here, three options are given to run the report schedule
-
Run Now- Select Run Now option to run the report once.
You can create up to five Run Now schedules for dashboard reports. These reports will contain widgets only for VMDR and PA applications.
For PA application, dashboard reports supports only Numerical (Count and Ratio function), Bar, and Pie/Donut widget types. -
Single occurrence- Select the Single Occurrence option to run a report on a specific date and time.
- Recurring- Select the Recurring option to run the schedule recurrently for a specific duration. The report can be scheduled Daily, Weekly, or Monthly.
- Daily: Select this option if you want the dashboard to report daily at a specific date and time.
- Weekly: Select this option if you want the dashboard report on a specific day(s) of the week.
- Monthly: Select this option based on the date of the month or day of the week.
For Example: Assume your current date is 24th February and the time is 10:00 PM. Thus, the Start Date is by default shown as 24th February. If you change the Start Time to 8:00 PM for the Recurring option Daily, the Schedule report will also be triggered for 24th February.
-
- Timezone Settings: Select the timezone for dates to include in the Single Occurrence and Recurring type of schedule report.
- Recieve Report: To receive the report via email, choose the URL or PDF Attachment option. To download the report using the URL, log in to the QualysGaurd Portal. We recommend adding only trusted recipients' email addresses for the PDF Attachment option.
Recieve Report via email as URL is the default selection.
- Recipients: Enter Recipients, Subject, and Custom Message to send the dashboard reports. The Subject and Custom Message field can include alpha-numeric, underscore(_), hyphen(-), slash(/), series of single dots(...), number sign(#), round brackets(), ampersand(&), semi-colon(;), comma(,), dollar($), and curly brackets({}).
For Example: Subject: Nume1rical_widget-2023...
- Click Create.
A notification at the top right corner of the screen notifies once the dashboard report is successfully created. The following screenshot is an example of creating the Recurring Schedule Report:
A notification at the top right corner of the screen notifies once the dashboard report is successfully created. The created report is listed on the Reporting Schedule page.