Create/Edit Cassandra Record
Qualys supports Apache Cassandra authentication for compliance scans using Qualys apps PA, SCA. Simply create an Apache Cassandra authentication record with details about your credentials to authenticate to an Apache Cassandra database instance running on a host, and scan it for compliance.
The Scans > Authentication section is where you'll find authentication records saved in your account, including Cassandra records. Each Cassandra record identifies account login credentials, and targets.
See Cassandra Record Settings below for help with the settings that appear in the Cassandra record.
Note: This record type is only available in accounts with PA/SCA and is only supported for compliance scans.
What are the steps?
Follow these steps to create or edit a Cassandra record:
1) Go to Scans > Authentication.
2) Take one of these actions:
2a - To create a new Cassandra record, select New > Databases > Cassandra.
2b - To make changes to an existing Cassandra record, select a record in the list and choose Edit from the Quick Actions menu.
The New Cassandra Record or Edit Cassandra Record window appears (depending on the action taken). This is where you'll make your record settings.
3) Choose a tab on the left side of the Cassandra Record window to see the settings available. Provide the necessary inputs on each tab, then click Create (for a new record) or Save (when updating an existing record).
Cassandra Record Settings
See help below for the settings that appear on each of the tabs within the Cassandra record.
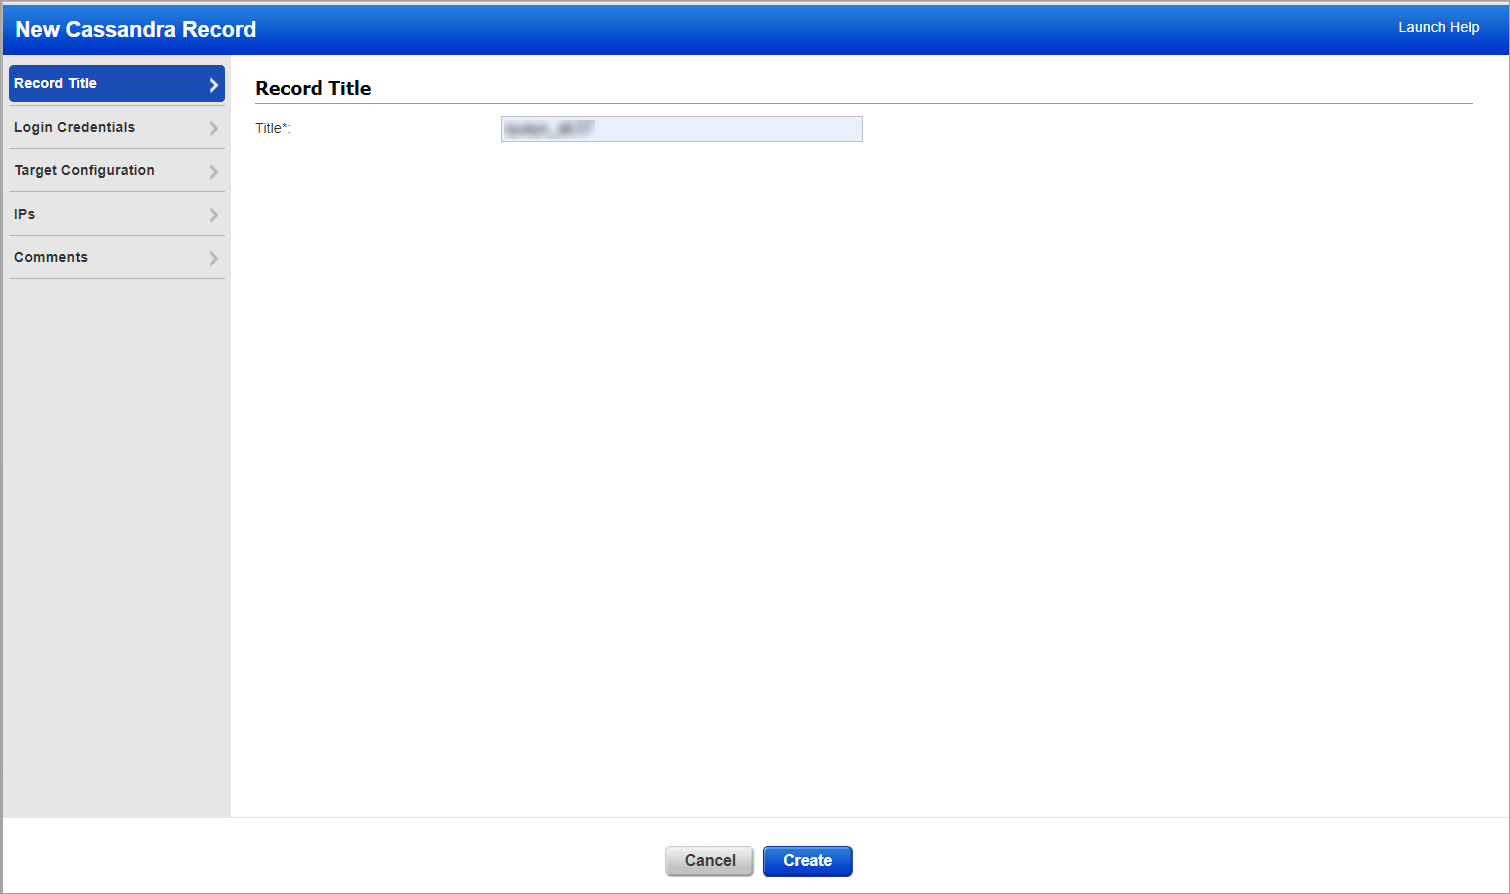
This section has basic settings for the record.
Title - Give the Cassandra record a title for easy identification.
Login CredentialsLogin Credentials
This section is where you'll provide credentials for the user account to be used for Cassandra authentication.
Authentication Type: Basic

Choose Authentication Type: Basic and then enter:
Username - Enter the username for the user account to use for authentication.
Password / Confirm Password - Enter the password for the user account. Then confirm the password.
Require Certificate -If you want to authenticate the Apache Cassandra instance via certificate and private key, then switch the Require Certificate toggle to YES.
Certificate Content- Enter certificate content if the Require Certificate toggle is switched to YES.
Private Key- Enter private key details if the Require Certificate toggle is switched to YES.
Passphrase- Enter password passphrase. If a client certificate is required, the private key specifies the client certificate. If this
key is protected by a passphrase, you can provide it here in this field.
Get passphrase from vault-Switch this toggle to YES, if you want to store the passphrase
to vault.
Passphrase Vault Type- If the passphrase is stored in a vault, then select the type of the vault that stores the passphrase.
Passphrase Vault Record-If the passphrase is stored in a vault, then, select the ID of the vault that stores the passphrase.
Configuration path-Enter the full path to Apache Cassandra yaml/yuml file.
Base path-Enter the base path to Apache Cassandra installation.
Authentication Type: Vault based
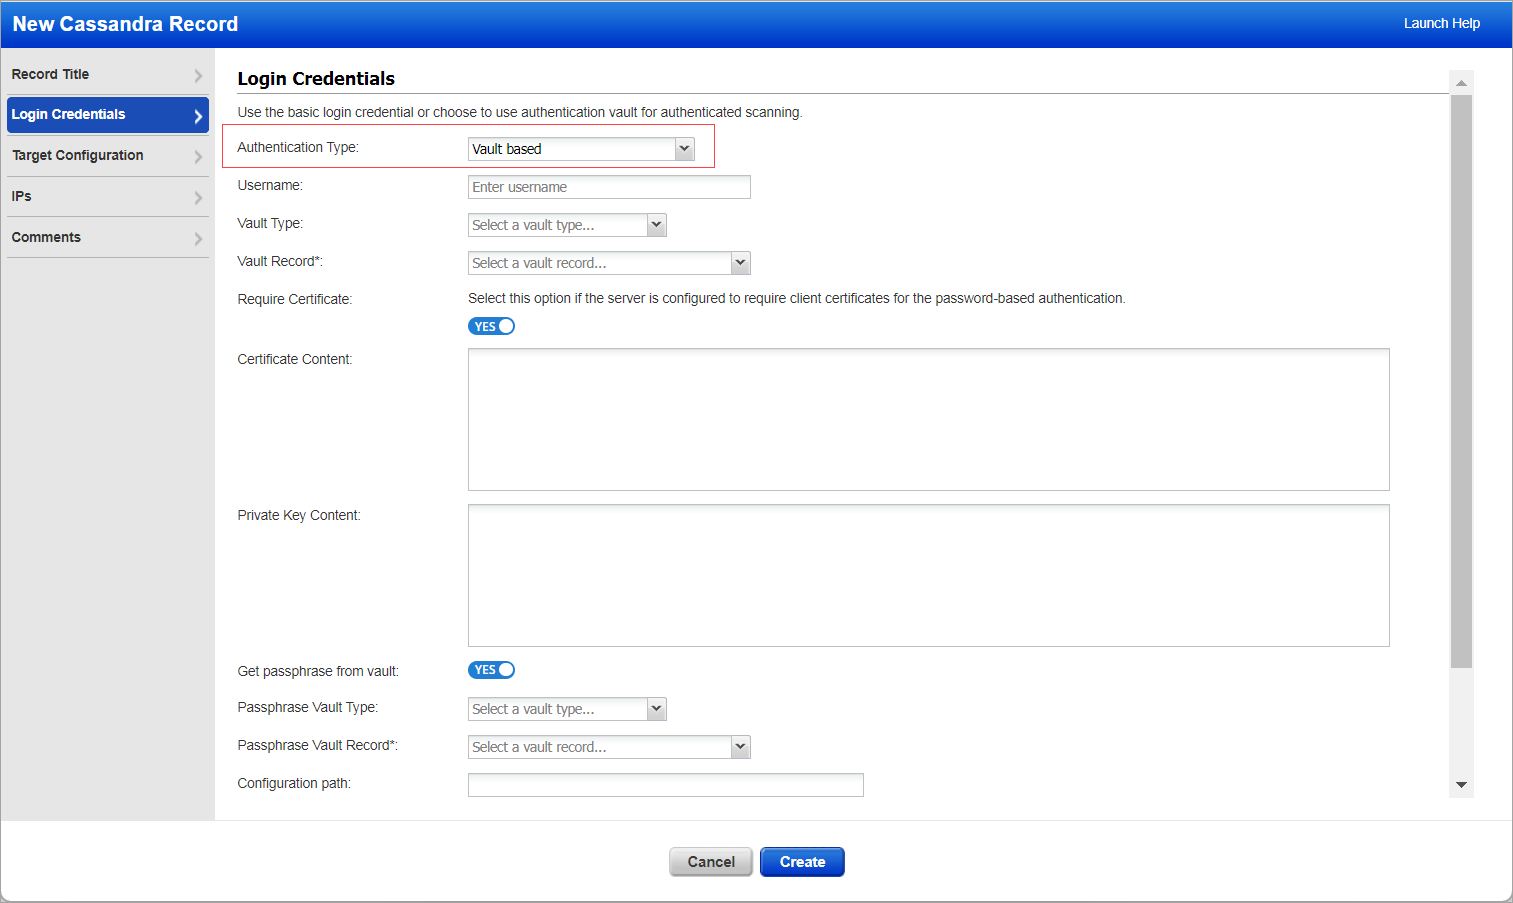
Choose Authentication Type: Vault based to retrieve the password from a password vault. You will need vault records already defined in your account to use this option.
Username - Enter the username for the user account to use for authentication.
Vault Type - Select the type of password vault you want to use. For each vault type, there will be additional information required. The information required depends on the vault type. Please refer to the online help for your vault type to learn more.
Vault Record - Select a vault record that you have already configured in your account. The vault record has vault credentials to securely access sensitive information stored in the vault.
Quick Links: How to Use Vaults | Vault Support Matrix
Require Certificate -If you want to authenticate the Apache Cassandra instance via certificate and private key, then switch the Require Certificate toggle to YES.
Certificate Content- Enter certificate content if the Require Certificate toggle is switched to YES.
Private Key- Enter private key details if the Require Certificate toggle is switched to YES.
Passphrase- Enter password passphrase. If a client certificate is required, the private key specifies the client certificate. If this
key is protected by a passphrase, you can provide it here in this field.
Get passphrase from vault-Switch this toggle to YES, if you want to store the passphrase
to vault.
Passphrase Vault Type- If the passphrase is stored in a vault, then select the type of the vault that stores the passphrase.
Passphrase Vault Record-If the passphrase is stored in a vault, then, select the ID of the vault that stores the passphrase.
Configuration path-Enter the full path to Apache Cassandra yaml/yuml file.
Base path-Enter the base path to Apache Cassandra installation.
Target ConfigurationTarget Configuration
This section has Target Configuration settings for the record.
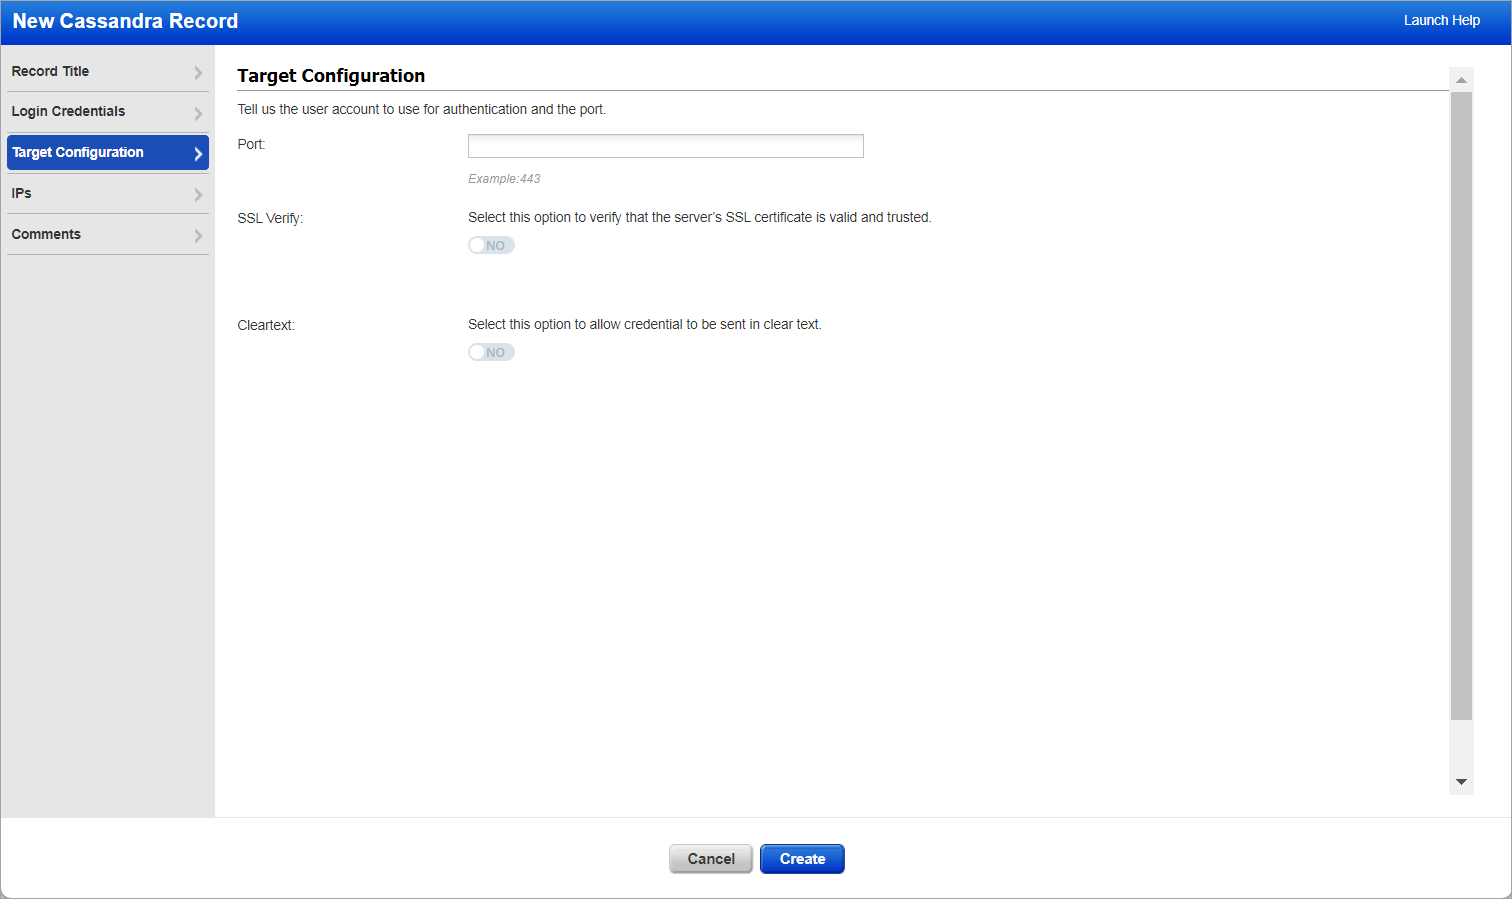
Port - Enter the port number that the Apache Cassandra database instance is running on.
SSL Verify - Select this option to verify the server's SSL certificate is valid and trusted.
Cleartext- Enable this option to send user credentials in clear text.
Enter or select the target compliance hosts (IPs) that you want to authenticate to with the credentials provided in this record. Each IP may be included in one Cassandra record. Each IP may be included in one Infoblox record.
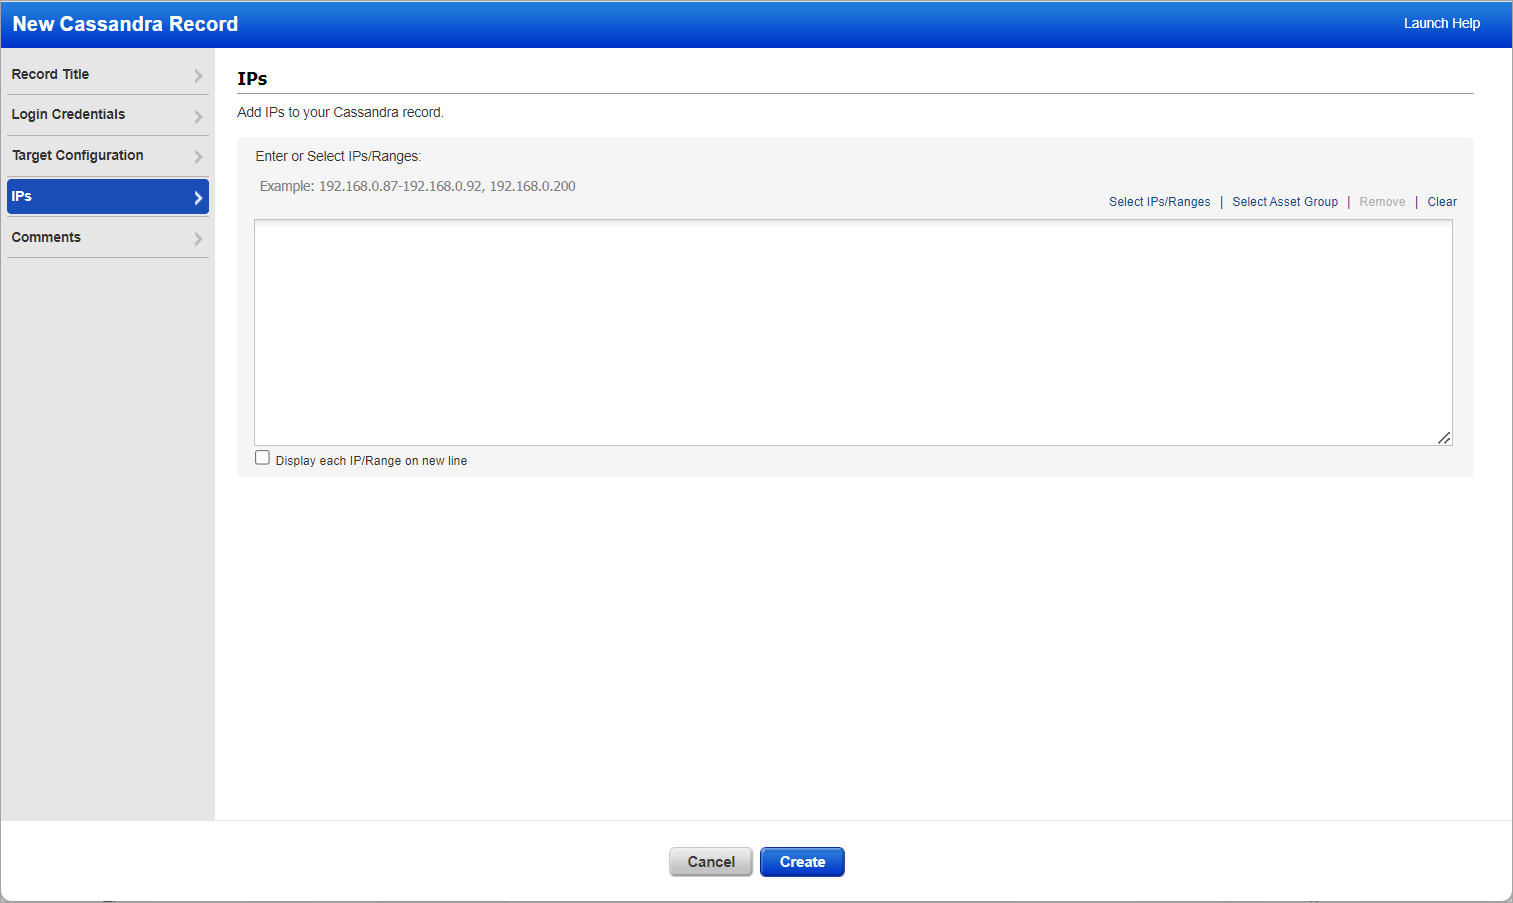
Select IPs/Ranges - Click this link to select IPs/ranges from a list of IPs in your account.
Select Asset Group - Click this link to add IP addresses from asset groups in your account. In the Add IPs from Asset Group window, you'll see the groups listed with the IPs included in each group. There's also a search option so you can quickly find groups in the list. Select one or more groups and click Add. The IPs from the selected groups will be added to the record.
Remove - Click this link to remove IPs/ranges from the record. This is especially useful if you want to remove one or more IPs from within an IP range. In the pop-up that appears, enter the IPs/ranges to remove, and click Remove. The IPs section in the record will be updated with the IPs removed.
For example, let's say the record includes the range 10.10.10.10-10.10.10.250. If you remove 10.10.10.122, the IPs field will be updated to 10.10.10.10-10.10.10.121, 10.10.10.123-10.10.10.250.
Clear - Click this link to clear the entire IPs field.
Display each IP/Range on new line - Check this option to arrange each IP address and IP range on a new line instead of the comma-separated list.
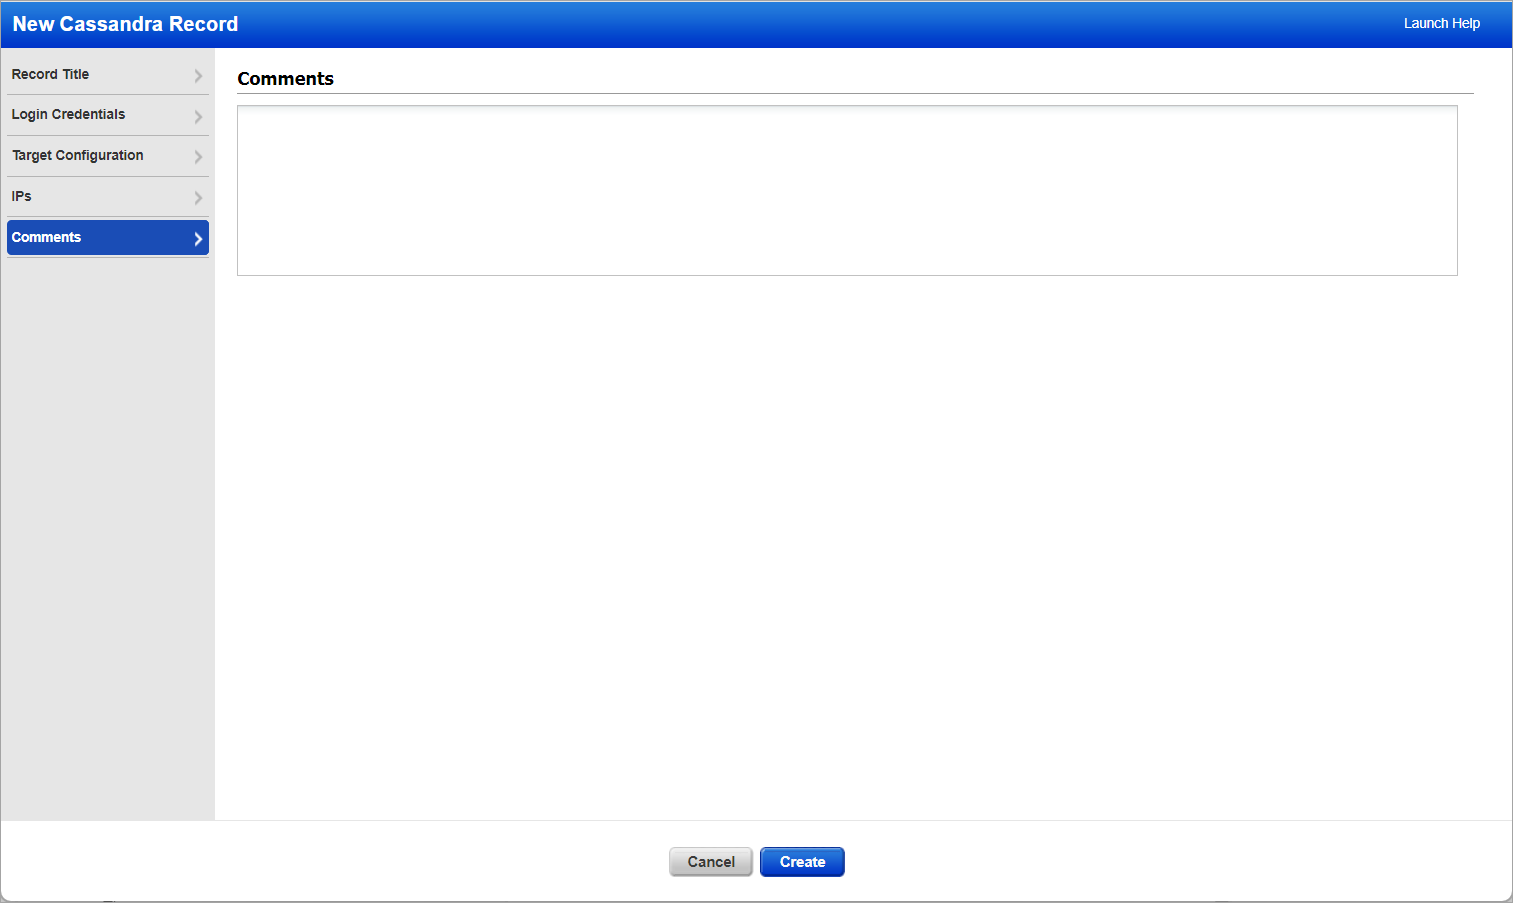
Provide important notes or comments for this record.