Set Up JBoss Server Authentication
We support vulnerability and compliance scans for JBoss servers. Simply create a JBoss Server record with details about your JBoss installation and operating mode. The same record may include details for both Windows and Unix installations.
System created authentication records
Did you know? You can allow the system to create JBoss Server authentication records for auto discovered instances and scan them.
Which technologies are supported?
For the most current list of supported authentication technologies and the versions that have been certified for VM and PA by record type, please refer to the following article:
Authentication Technologies Matrix
How do I get started?
- Go to Scans > Authentication.
- Check that you already have a record defined for each host running a JBoss server. For Windows hosts, a Windows record is required, and the record must have domain type "NetBIOS, User-Selected IPs" with the IP address assigned or the domain type "NetBIOS, Service-Selected IPs". For Unix hosts, a Unix record is required and must have the IP address assigned.
- Create a JBoss Server record for the same host (IP). Go to New > Applications > JBoss Server.
- Before launching a vulnerability scan pick Windows, Unix and JBoss Server authentication in your option profile. (All authentication options are used automatically for compliance scans.)
Note: If the Network Support feature is enabled, then the Windows/Unix record must have the same network selected as the JBoss server record.
Tell me about user permissionsTell me about user permissions
Managers can add authentication records. Unit Managers must be granted the permission Create/edit authentication records/vaults.
Do you have Tag Support enabled?Do you have Tag Support enabled?
If your subscription has Tag Support for Authentication Records enabled, then you'll see additional options for specifying hosts using asset tags. Choose an asset type and then provide IPs or tags to the record. Your asset type options are: IPs/Ranges, IP Range in Tag Rule and Asset Tags.
For domain level authentication, you can only add assets when the domain type is NetBIOS, User-Selected IPs. The Assets section is disabled when the domain type is NetBIOS, Service-Selected IPs, or Active Directory.
Asset Type: IPs/Ranges
Use this option to add IP addresses/ranges to the record. Enter the IP addresses/ranges in the field provided.
Asset Type: IP Range in Tag Rule
Use this option to add tags that have IP address ranges defined in the tag rule. All IP addresses defined in the tag rule will be associated with the record, including IPs that don’t already have the tag assigned. Click Add Tag to pick tags to include or exclude. Note that only tags with the dynamic tag rule “IP Address in Range(s)” will be available in the tag selector.
Asset Type: Asset Tags
Use this option to add tags to the record for the assets you want included. IP addresses with the selected tags already assigned will be associated with the record. Click Add Tag to pick tags to include or exclude.
JBoss Server Record Settings
See help below for the settings that appear on each of the tabs within the JBoss Server record.
This section has basic settings for the record.
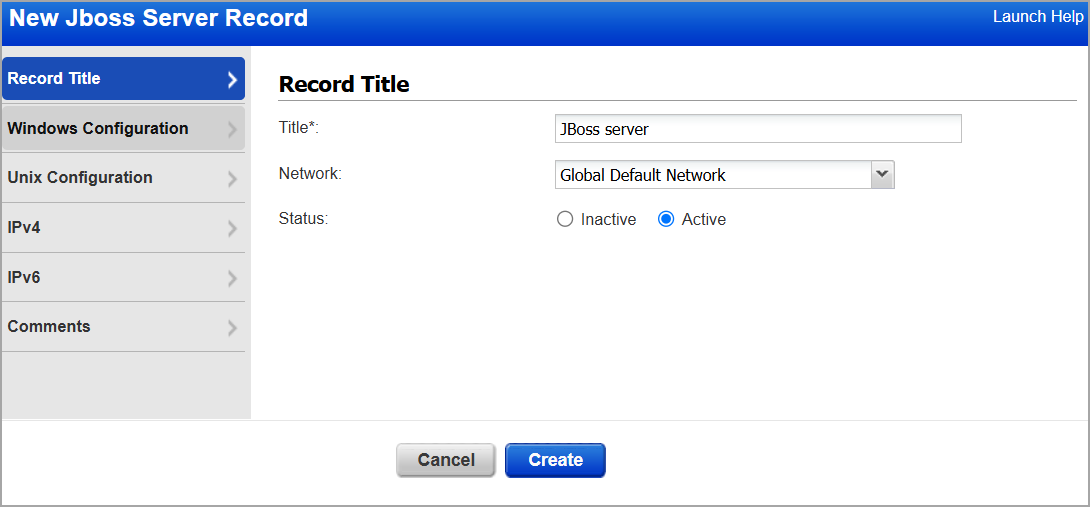
Title - Give the JBoss Server record a title for easy identification.
Network - (Applicable when the Network Support feature is enabled.) Select the network you want to use for this JBoss Server record. The Global Default Network is selected by default but you can choose a user-created network from the list.
Status - You can set the record as Active to enable it for authenticated scanning. Set it as Inactive to disable it.
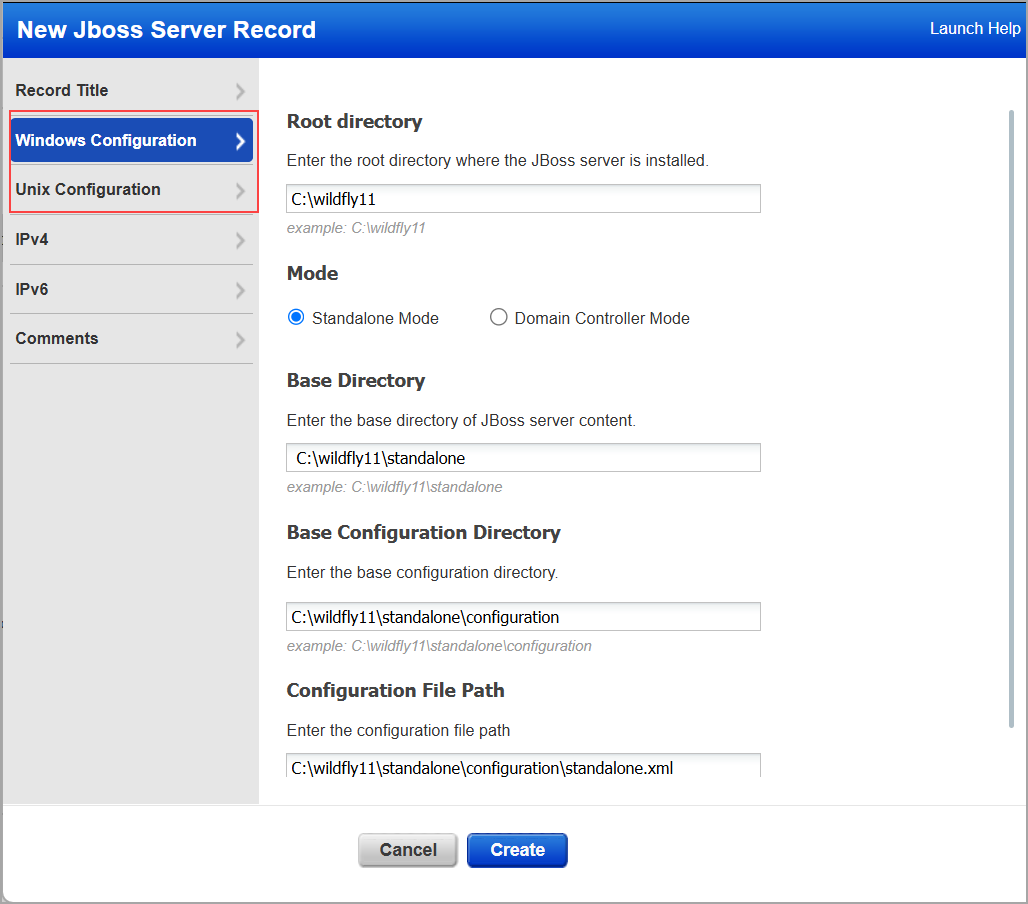
Windows/Unix Configuration Windows/Unix Configuration
Choose the Domain Controller or Standard operating mode to manage multiple JBoss Application Server instances from a single control point. You'll need to tell us where the Root directory, Base directory and Domain controller are installed.
Sample Configurations
Windows - Wildfly Standalone mode:
Root Directory - C:\wildfly11
Base Directory - C:\wildfly11\standalone
Base Configuration Directory - C:\wildfly11\standalone\configuration
Configuration File Path - C:\wildfly11\standalone\configuration\standalone.xml
Windows - Wildfly Domain Controller mode:
Root Directory - C:\wildfly11
Base Directory - C:\wildfly11\domain
Base Configuration Directory - C:\wildfly11\domain\configuration
Domain Configuration File Path - C:\wildfly11\domain\configuration\domain.xml
Host Configuration File - C:\wildfly11\domain\configuration\host.xml
Unix - JBoss Standalone mode:
Root Directory - /jboss-eap-6.3
Base Directory - /jboss-eap-6.3
Base Configuration Directory - /jboss-eap-6.3/standalone
Configuration File Path - /jboss-eap-6.3/standalone/configuration/standalone.xml
Unix - Wildfly Standalone mode:
Root Directory - /opt/wildfly-11.0.0.Final
Base Directory - /opt/wildfly-11.0.0.Final/standalone
Base Configuration Directory - /opt/wildfly-11.0.0.Final/standalone/configuration
Configuration File Path - /opt/wildfly-11.0.0.Final/standalone/configuration/standalone.xml
Unix - Wildfly Domain Controller mode:
Root Directory - /opt/wildfly-11.0.0.Final
Base Directory - /opt/wildfly-11.0.0.Final/domain
Base Configuration Directory - /opt/wildfly-11.0.0.Final/domain/configuration
Domain Configuration File Path - /opt/wildfly-11.0.0.Final/domain/configuration/domain.xml
Host Configuration File - /opt/wildfly-11.0.0.Final/domain/configuration/host.xml
Unix - Jboss Domain Controller mode:
Root Directory - /jboss-eap-6.3
Base Directory - /jboss-eap-6.3/domain
Base Configuration Directory - /jboss-eap-6.3/domain/configuration
Domain Configuration File Path - /jboss-eap-6.3/domain/configuration/domain.xml
Host Configuration File - /jboss-eap-6.3/domain/configuration/host.xml
Enter or select the target compliance hosts (IPs) that you want to authenticate to with the credentials provided in this record. Each IP may be included in one JBoss Server record. Each IP may be included in one Infoblox record. You can add IPv4 and IPv6 addresses to your JBoss Server record.
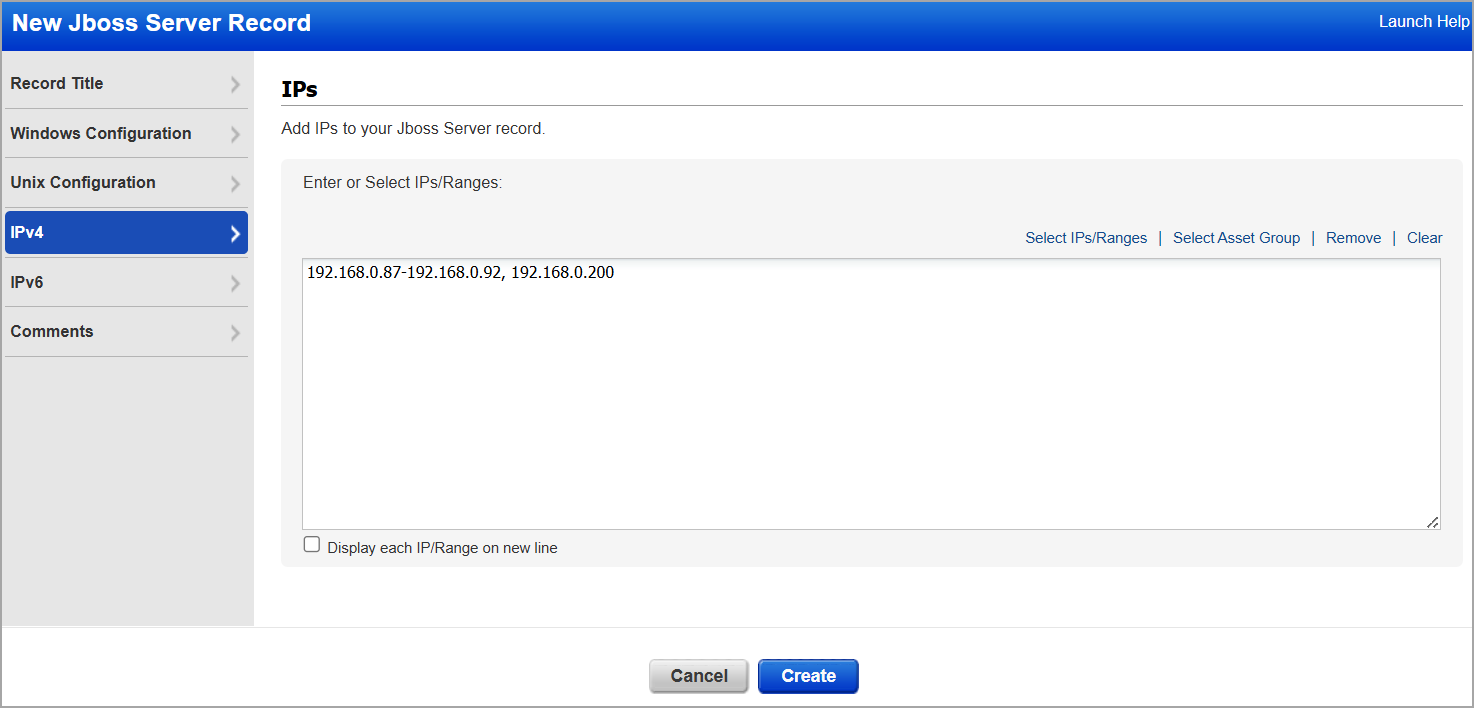
Select IPs/Ranges - Click this link to select IPs/ranges from a list of IPs of IPv4 and IPv6 in your account.
Select Asset Group - Click this link to add IP addresses from asset groups in your account. In the Add IPs from Asset Group window, you'll see the groups listed with the IPs (IPv4 and IPv6) included in each group. There's also a search option so you can quickly find groups in the list. Select one or more groups and click Add. The IPs from the selected groups will be added to the record.
Remove - Click this link to remove IPs/ranges (IPv4 and IPv6) from the record. This is especially useful if you want to remove one or more IPs (IPv4 and IPv6) from within an IP range. In the pop-up that appears, enter the IPs/ranges to remove, and click Remove. The IPs section in the record will be updated with the IPs removed.
Clear - Click this link to clear the entire IPv4 field.
Display each IP/Range on new line - Check this option to arrange each IPv4 address and IPv4 range on a new line instead of the comma-separated list.
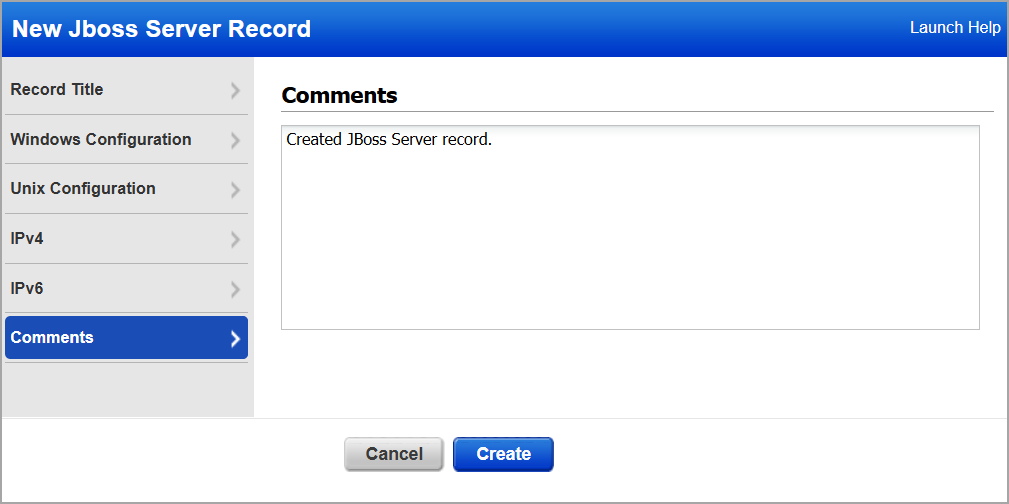
Provide important notes or comments for this record.