Create/Edit PCI Option Profile
Use the PCI Option Profile when you want to launch an external PCI scan. We provide the profile named Payment Card Industry (PCI) Options to get you started. You can also create your own PCI profiles.
See PCI Option Profile Settings below for help with the various settings that appear within the New PCI Option Profile.
What are the steps?
To create or edit a PCI option profile:
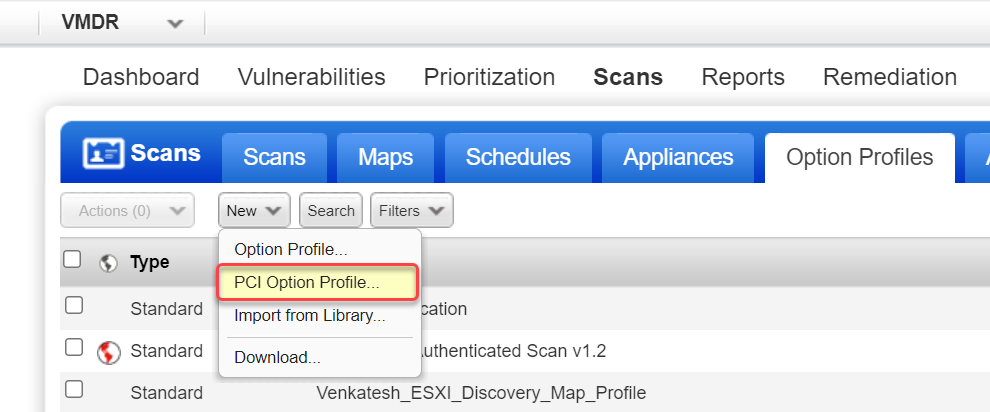
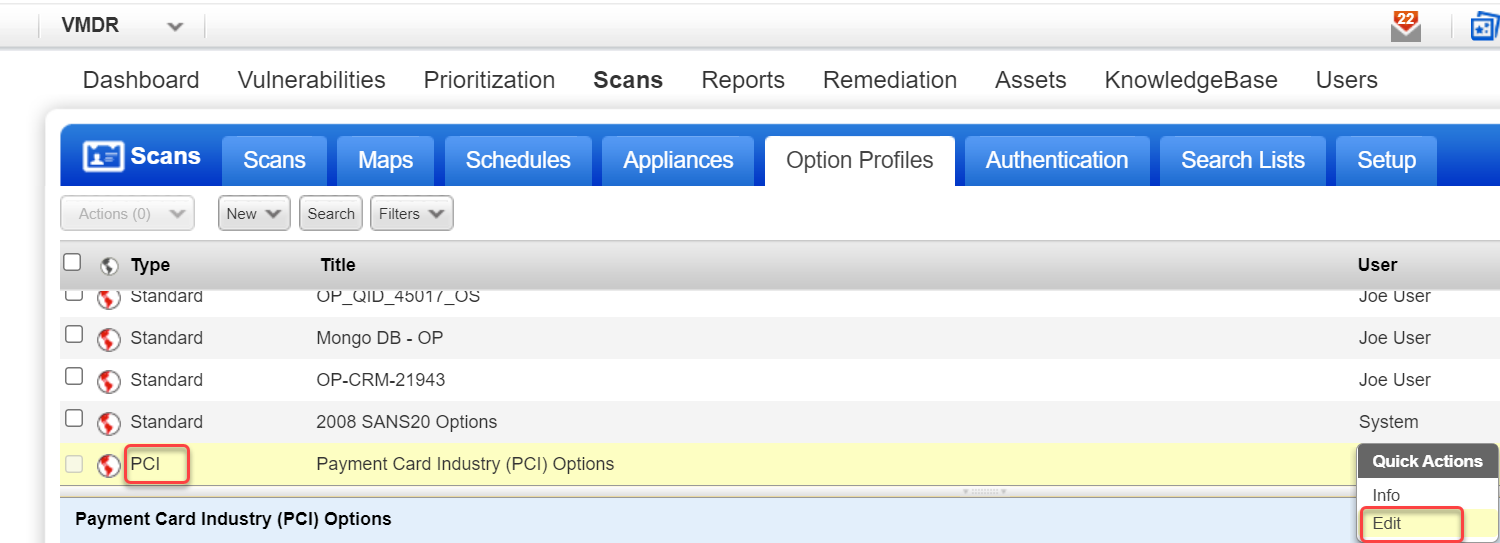
- Go to Scans > Option Profiles.
- Take one of these actions:
- To create a new PCI option profile, select New > PCI Option Profile.
 Or,
Or,
To make changes to an existing PCI option profile, select a PCI option profile in the list and choose Edit from the Quick Actions menu.
 The New PCI Option Profile or Edit PCI Option Profile window appears (depending on the action taken). This is where you define your PCI scan settings.
- To create a new PCI option profile, select New > PCI Option Profile.
- Select a tab on the left side of the PCI option profile window to see the scan and Additional settings available.
- Make your selections on each tab.
- Click Save to save your PCI option profile.

PCI Option Profile Settings
See the following links to get help for the various settings that appear on each of the tabs within the PCI option profile.
- Option Profile Title: This section has basic settings for the PCI option profile such as title, owner, and global setting.
- Scan: This section has settings that you are allowed to edit that reflect in the PCI scans such as performance, scan dead hosts, and more.
- Additional: This section allows you to configure the ports to scan during host discovery.
How do I see all the scan settings?
To view all the PCI scan settings, including those that cannot be edited, select Info from the Quick Actions menu for the PCI Option Profile.
Restore Default Settings
If you have made changes in the PCI Option Profile window and want to return to the default settings, click Restore Defaults in the PCI Option Profile window. We reset all the settings across all the tabs.