Privilege Level to Scan Cisco NX-OS ACI
Cisco ACI (Application Centric Infrastructure) is a software-defined networking (SDN) solution designed to automate and manage network resources in data centers.
This consists of the Application Policy Infrastructure Controller (APIC), which serves as the centralized management and automation hub. APIC controls leaf switches and spine switches that form the ACI fabric, providing high-speed connectivity and scalable network architecture.
User and access management in Cisco ACI is centralized through APIC. Administrators define and manage user accounts, roles, and permissions using APIC's interface or REST APIs. Role-Based Access Control (RBAC) is employed to regulate access to network resources based on predefined roles, ensuring secure and efficient network operations.
A read-only user for APIC must be used to scan its NX-OS leaf switches.
The minimum privilege level of the user role can be set to read-all. The admin role has read access to all classes and write access to all configurable classes.
Perform the steps to configure a user with a security domain and create an authentication record.
- Steps to configure a user with a security domain and adding customer roles and privileges
- Steps to create an authentication record for Cisco NX-OS ACI Mode
Steps to Configure a user with a security domain and adding customer roles and privileges
To configure a user with a security domain:
- Login to Cisco APIC.
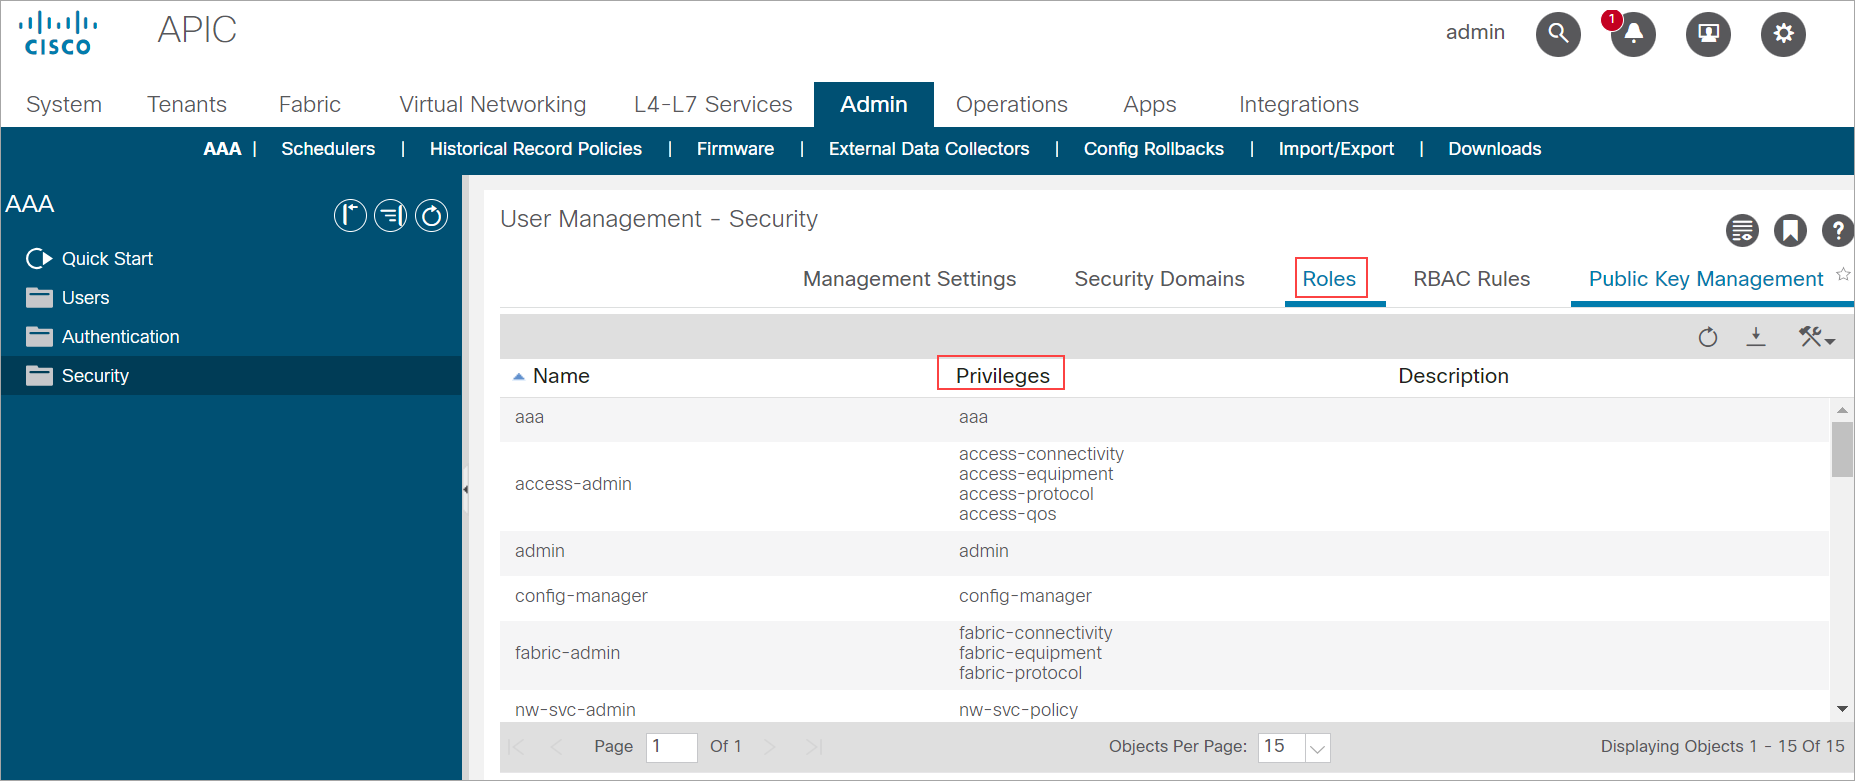
- Go to Admin tab > AAA (Authentication, Authorization, and Accounting) menu.
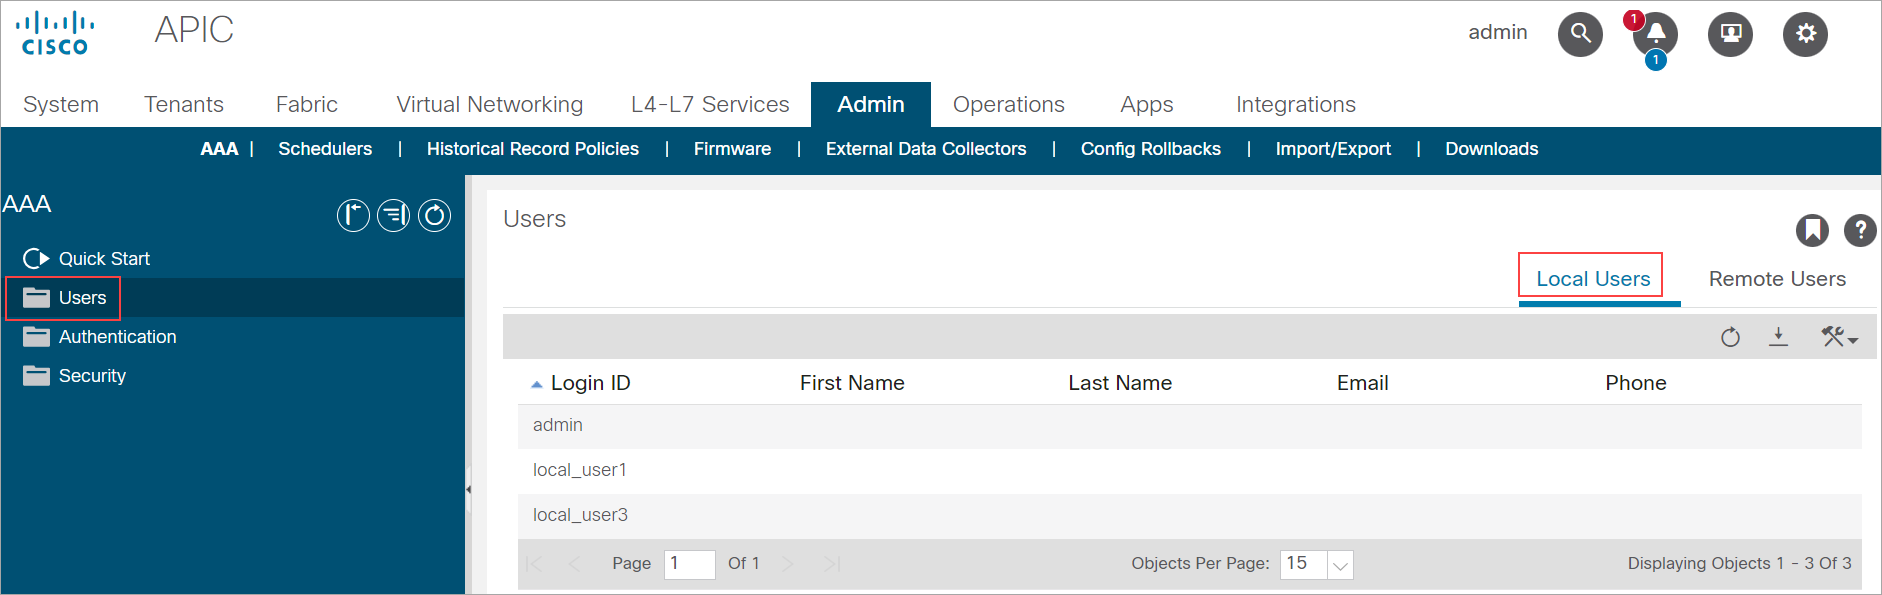
- Click Users in the left navigation pane.
Ensure you are on the Local Users tab in the work pane.
- Click the Actions icon drop-down list in the work pane, and then click Create Local User.
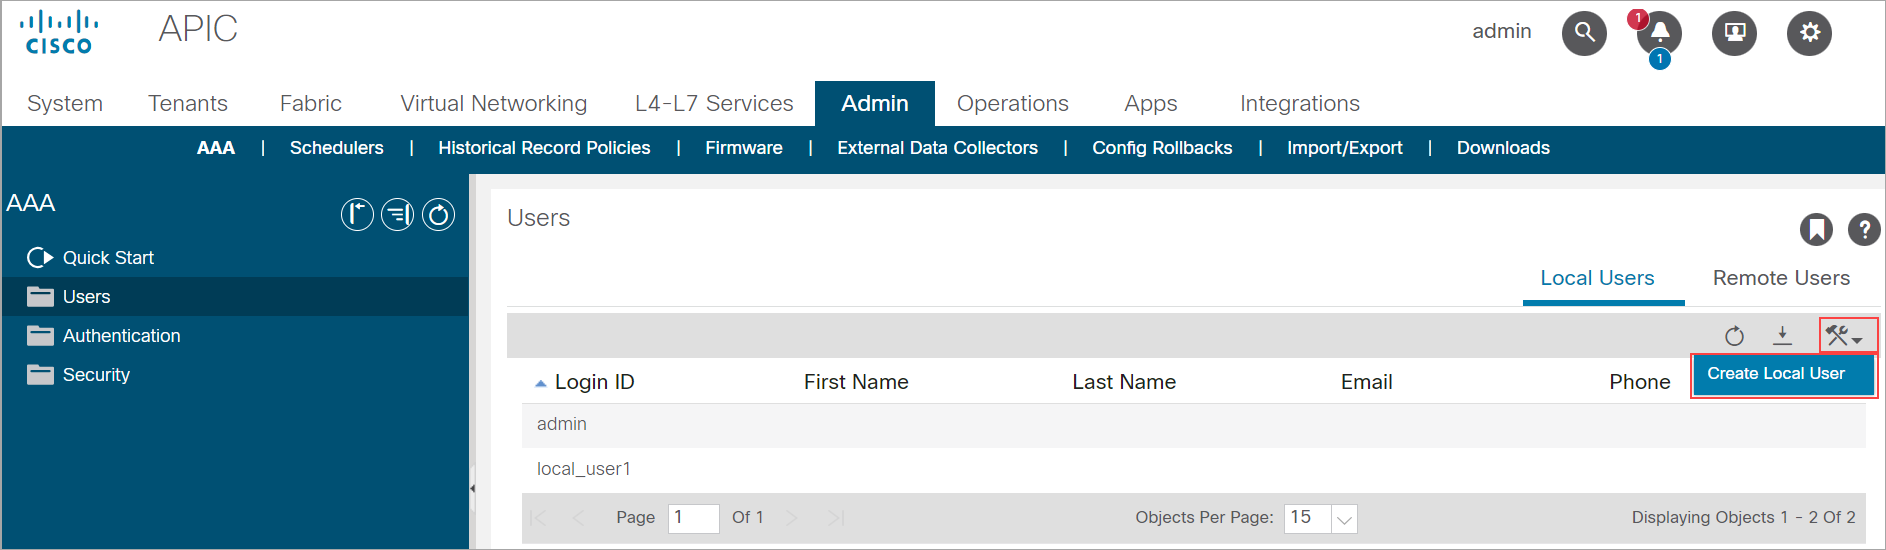
The Create Local User window opens. - Enter the user ID in the Login ID field.
- Enter password and retype the same password in the Password and Confirm Password fields.
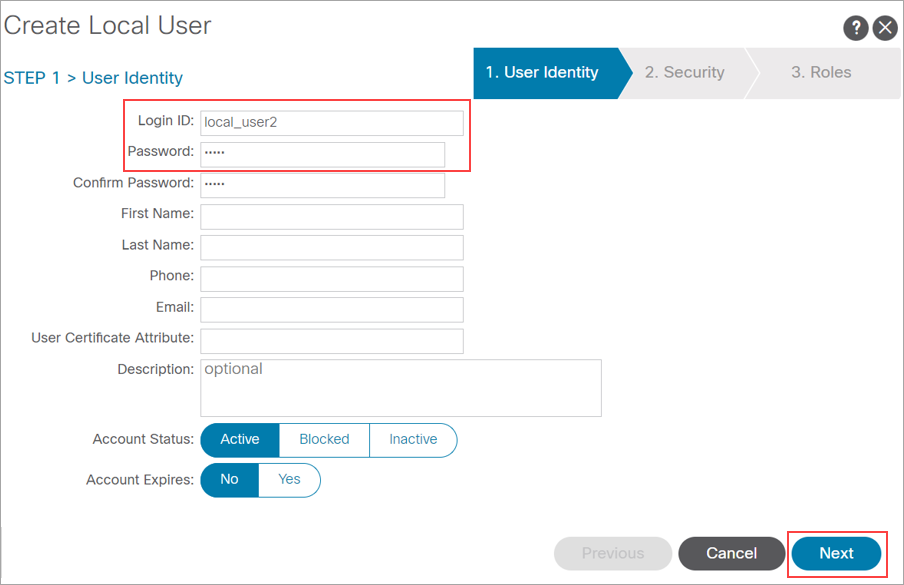
- Click Next. This navigates to the Security domain.
- Select the checkbox all under Security Domain, and then click Next to navigate to the Roles domain.

- Click add symbol in Domain all.
- Click Role Name drop-down list to select read-all.
- Configure the Role Privilege Type as Read.
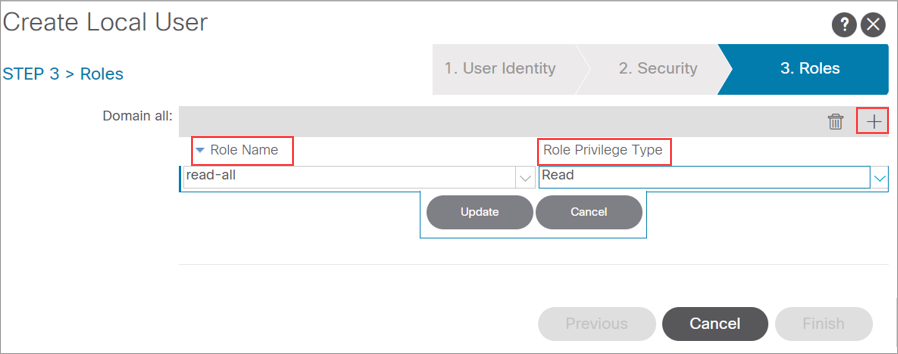
- Click Update.
A set of Privileges can also be added to different roles.
Steps to create an authentication record for Cisco NX-OS ACI Mode
You can create an authentication record by selecting:
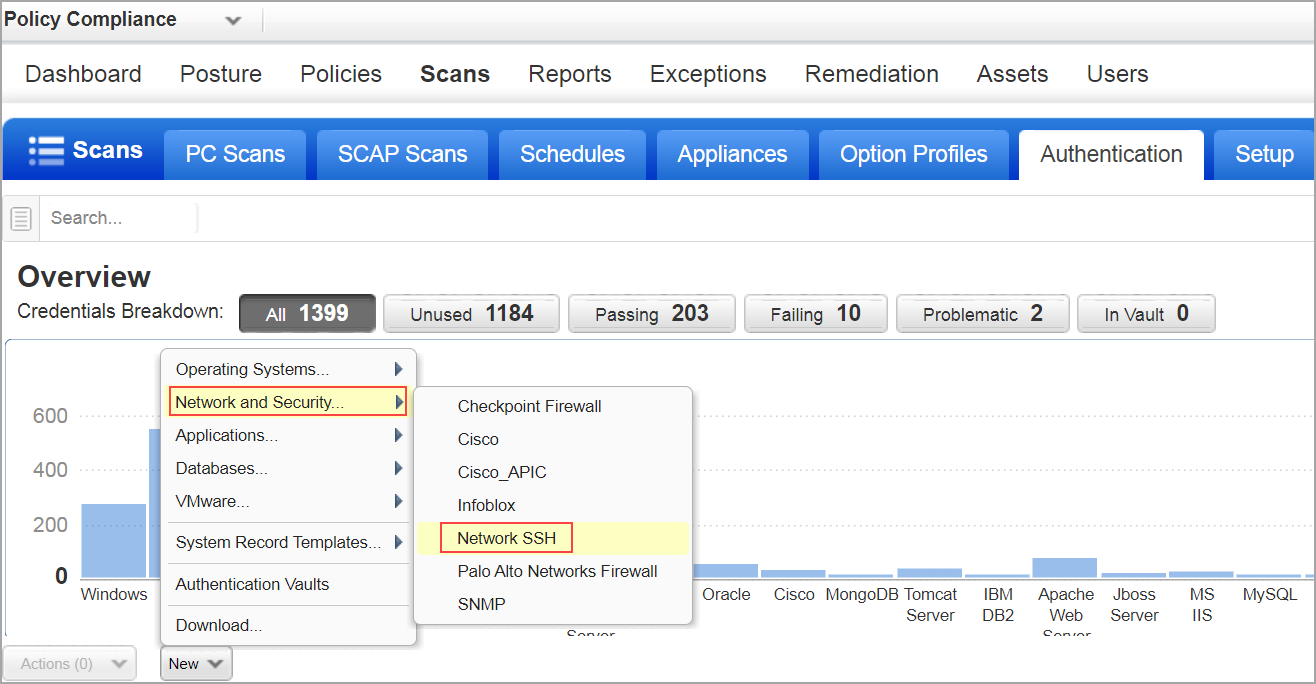
Create an authentication record by selecting Network and Security
- Go to Scans > Authentication > New > Network and Security > Network SSH.
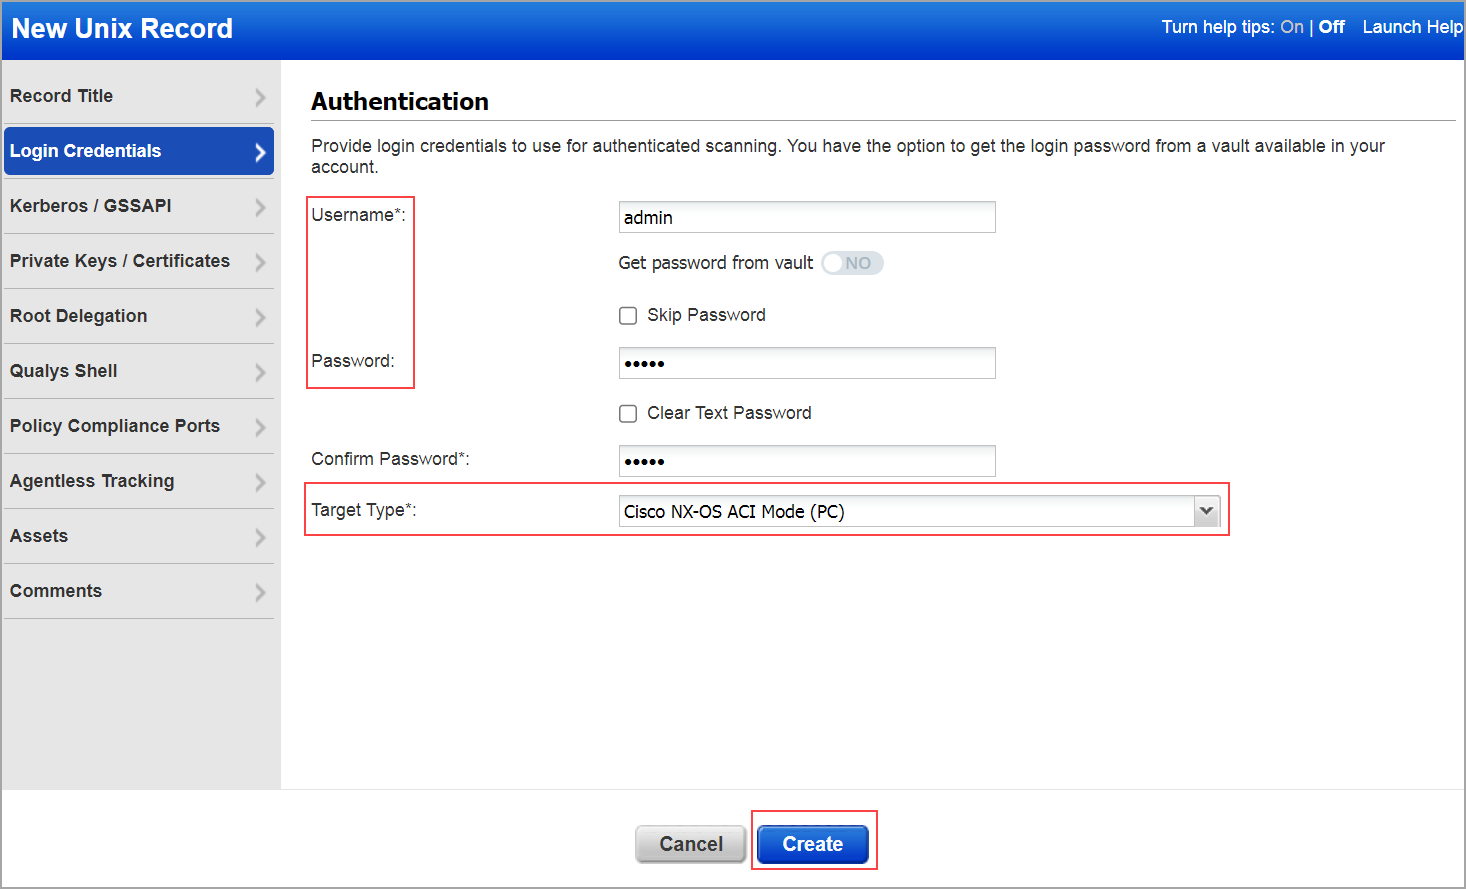
- Enter the Username, Password and Confirm Password.
- Select the Target Type as Cisco NX-OS ACI Mode (PC).
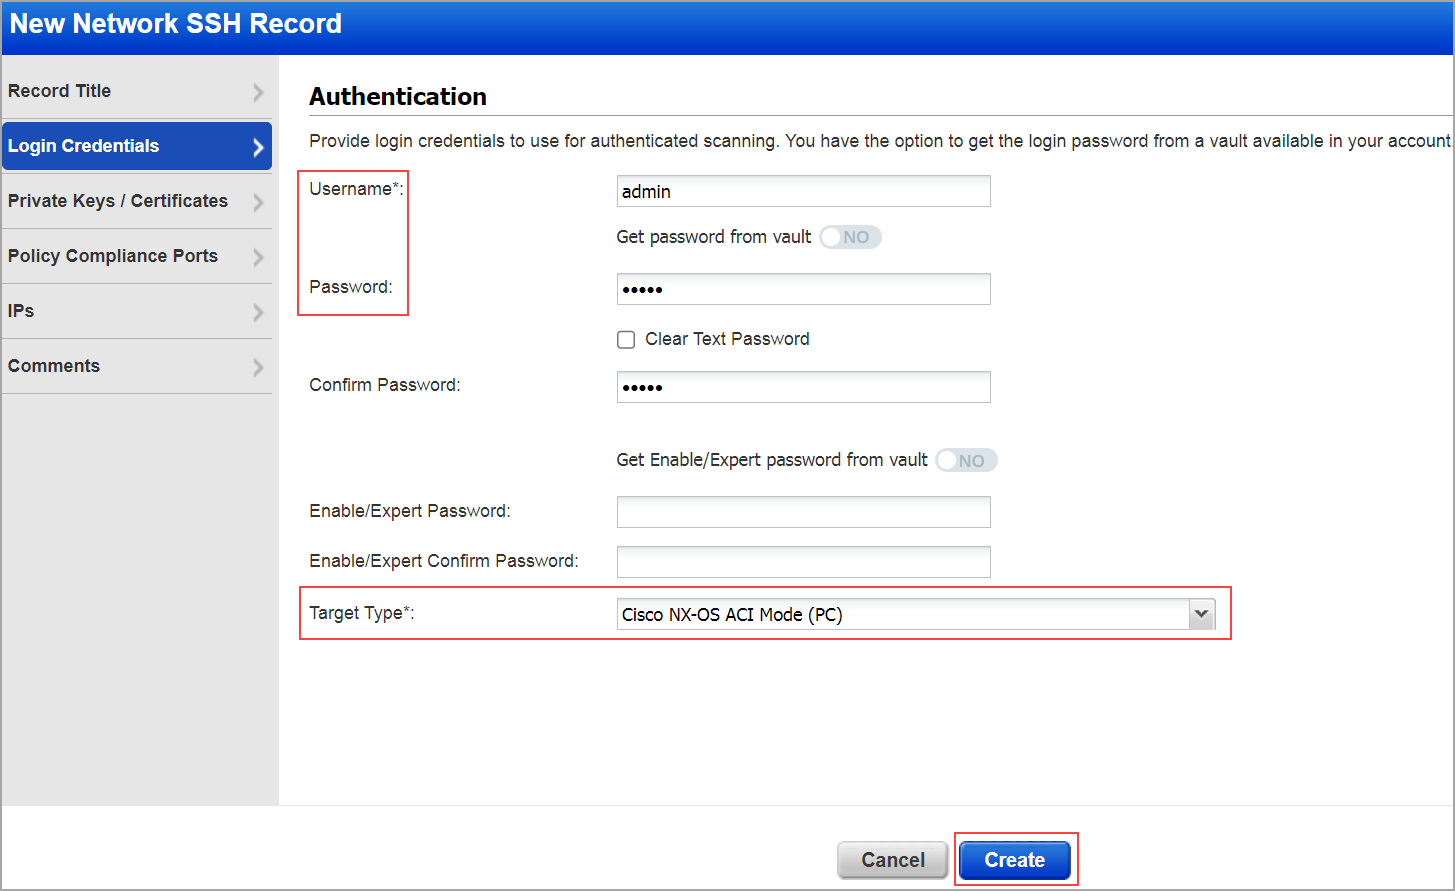
- Click Create.
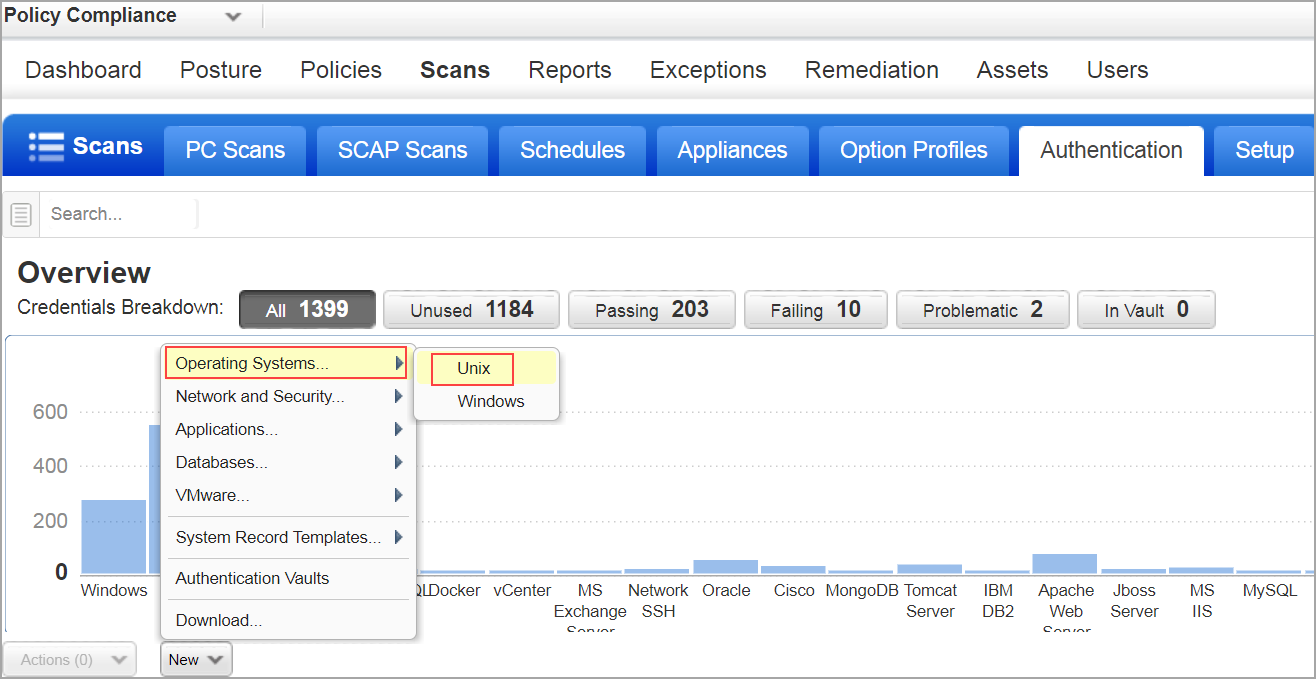
Create an authentication record by selecting an Operating System
- Go to Scans > Authentication > New > Operating System > Unix.
- Enter the Username, Password, and Confirm Password.
- Select the Target Type as Cisco NX-OS ACI Mode (PC).
- Click Create.