Privileges for Scan User Account for A10 Advanced Core OS 4.x
For the PC scan to work properly, identify A10 advanced core OS devices and fetch each system's patch status. The scan user account you provide for authentication must have privileges to access the command listed below:
Set of Commands used in SignaturesSet of Commands used in Signatures
- show slb template cipher
- show slb template server-ssl
- show aflex all
- show run
- show running-config waf
- show running-config waf template
- show running-config slb template
- show running-config slb service-group
- show running-config slb server
- show admin detail
- show running-config hostname
- show running-config banner
- show running-config health monitor
- show running-config logging host
- show running-config
- show terminal
- show running-config web-service
- show running-config admin-lockout
- show log policy
- show ntp status
- show clock
- show management
- show interfaces management
A10 signatures that use the above-mentioned commands must have Read privilege with Privilege type as Global along with Access as CLI.
Create scan users on A10 Core OS
To create scan users on A10 Core OS:
- Log in to the A10 device with an admin user created earlier on the setup of the A10 target.
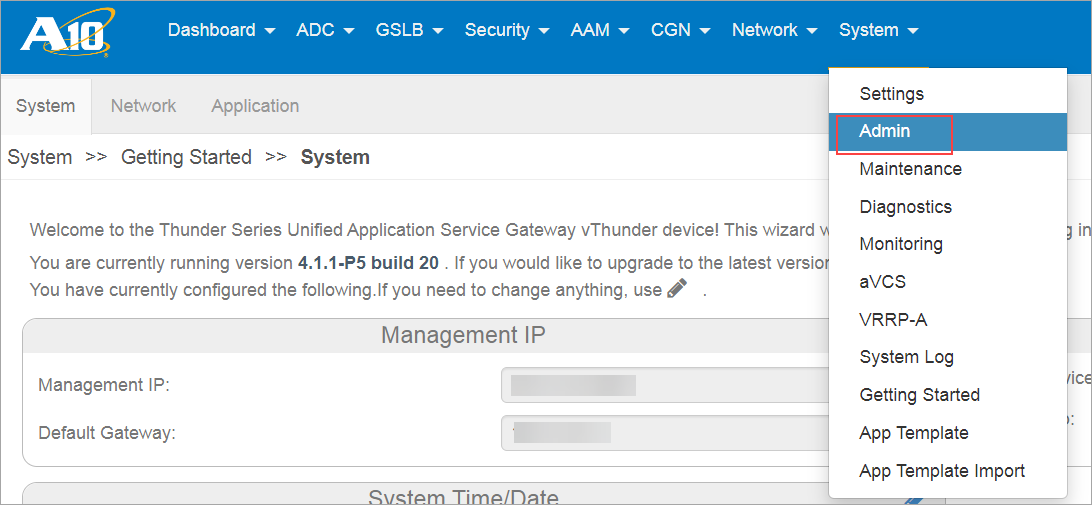
- Go to System > Admin > Users.
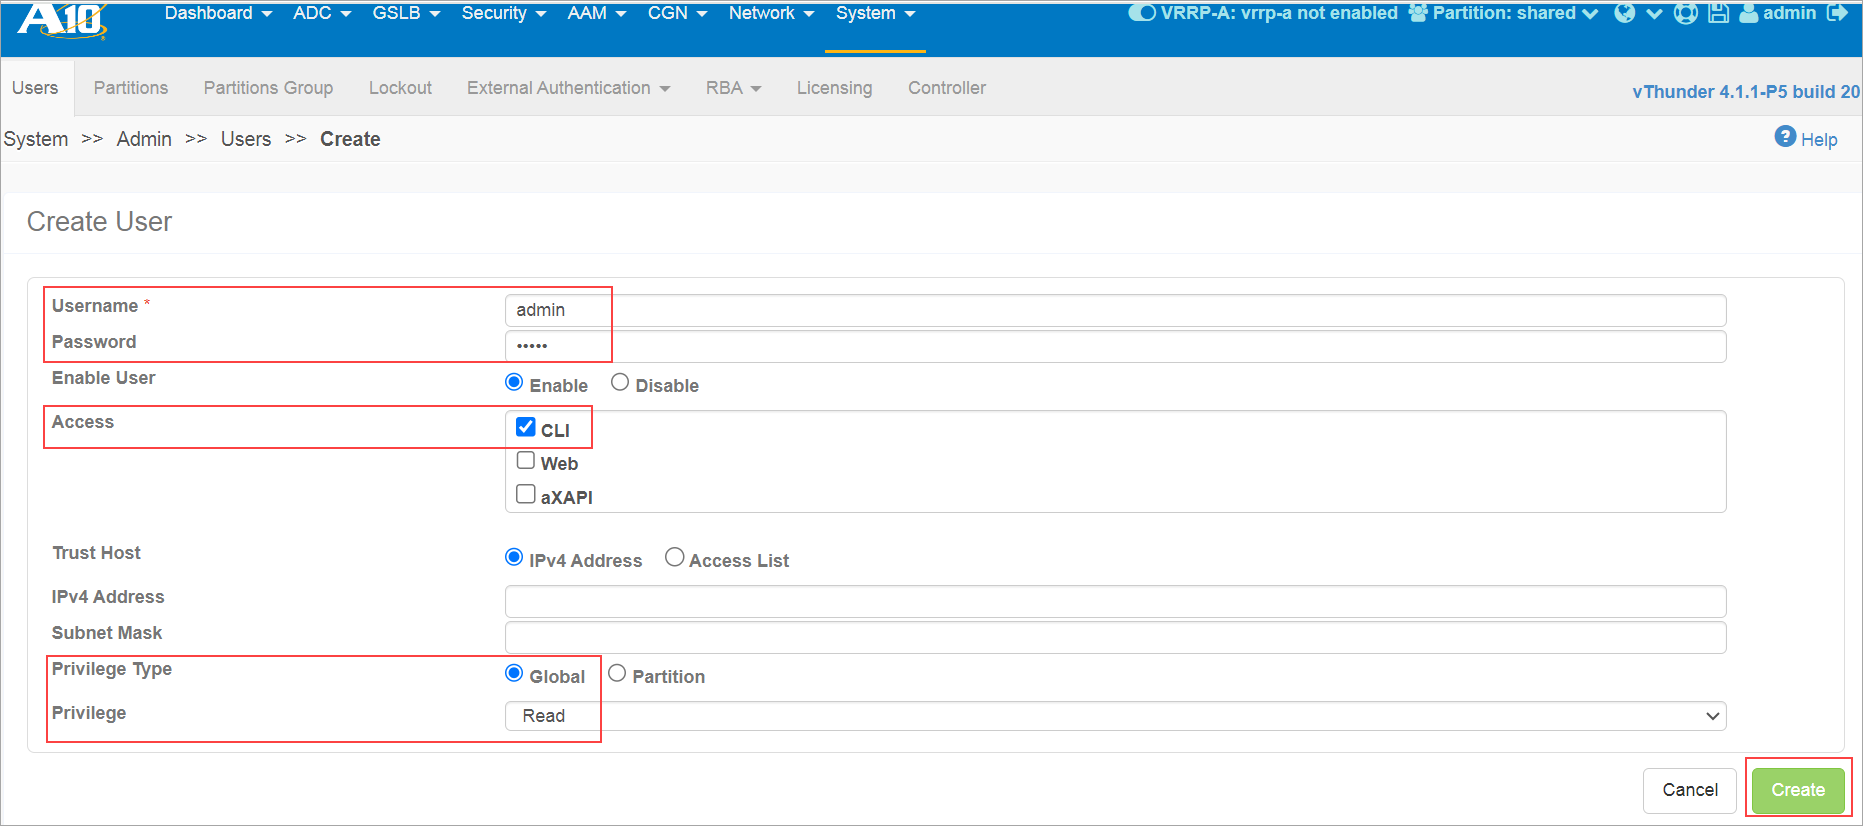
- Enter the Username and Password
- Select CLI under Access, Privilege Type as Global, and Privilege as Read.
- Click Create.
Create an Authentication Record
To create an authentication record:
- Go to Scans > Authentication > New > Network and Security > Network SSH.
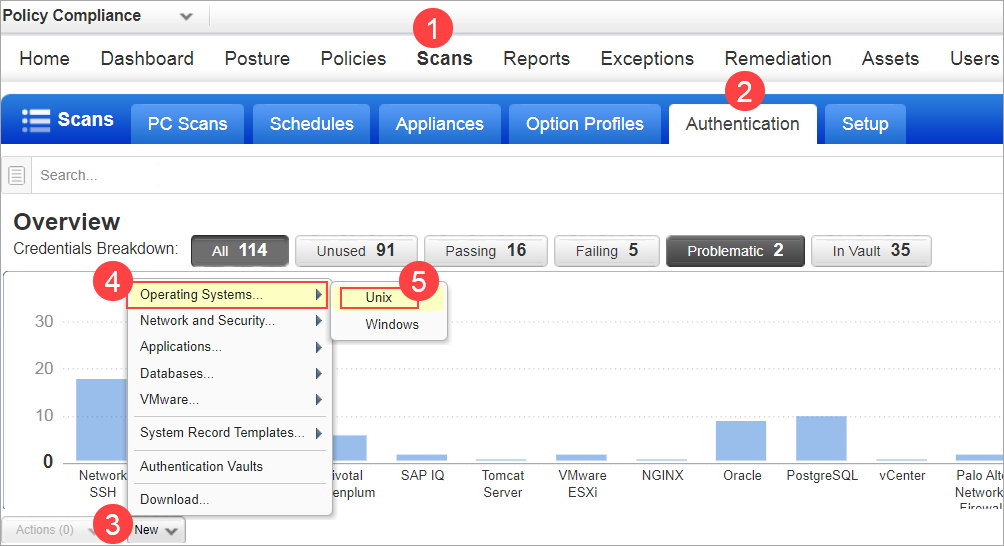 The New Unix Record window opens.
 - Enter the Username and Password.
- Select the Target Type as A10 (VM/PC) from the drop-down list.
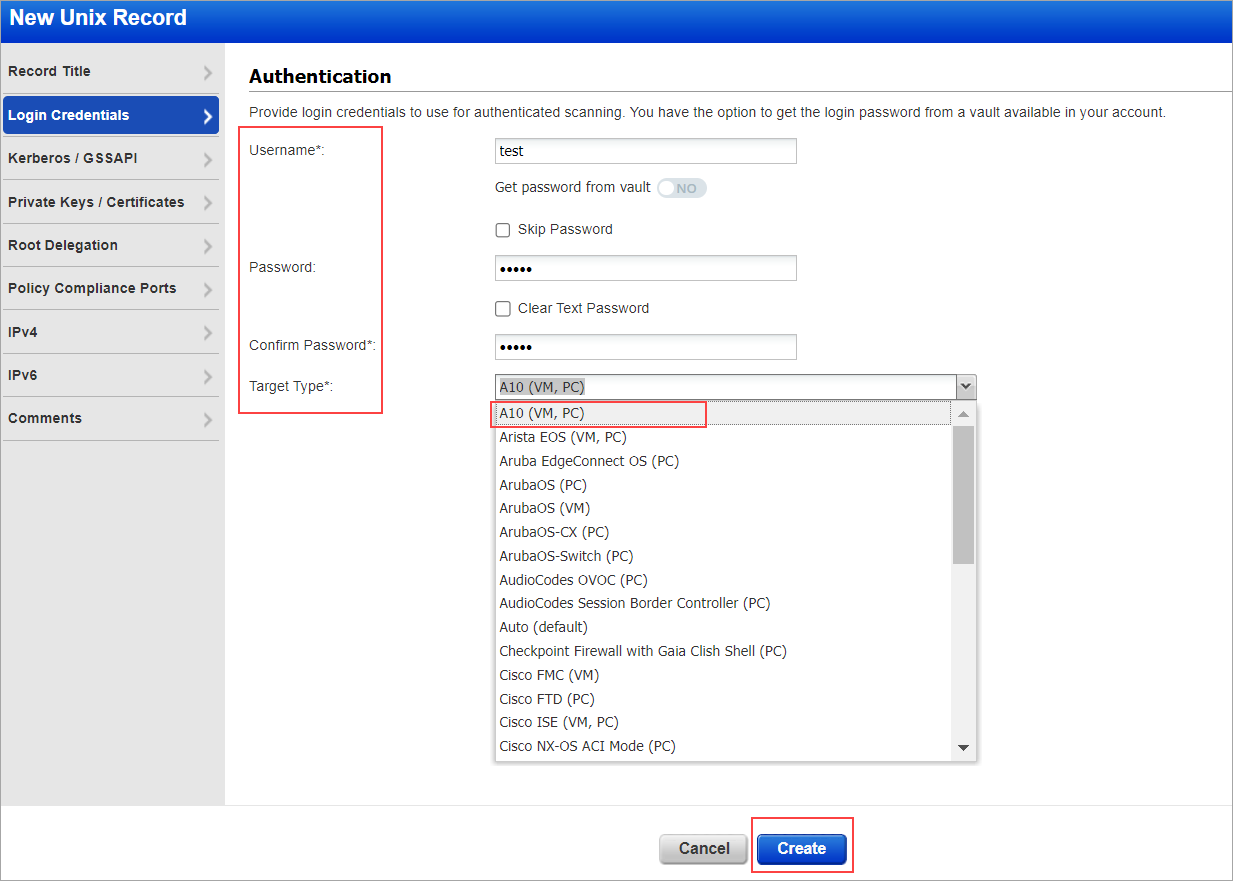
- Enter the IPs/Ranges under the IPs tab.
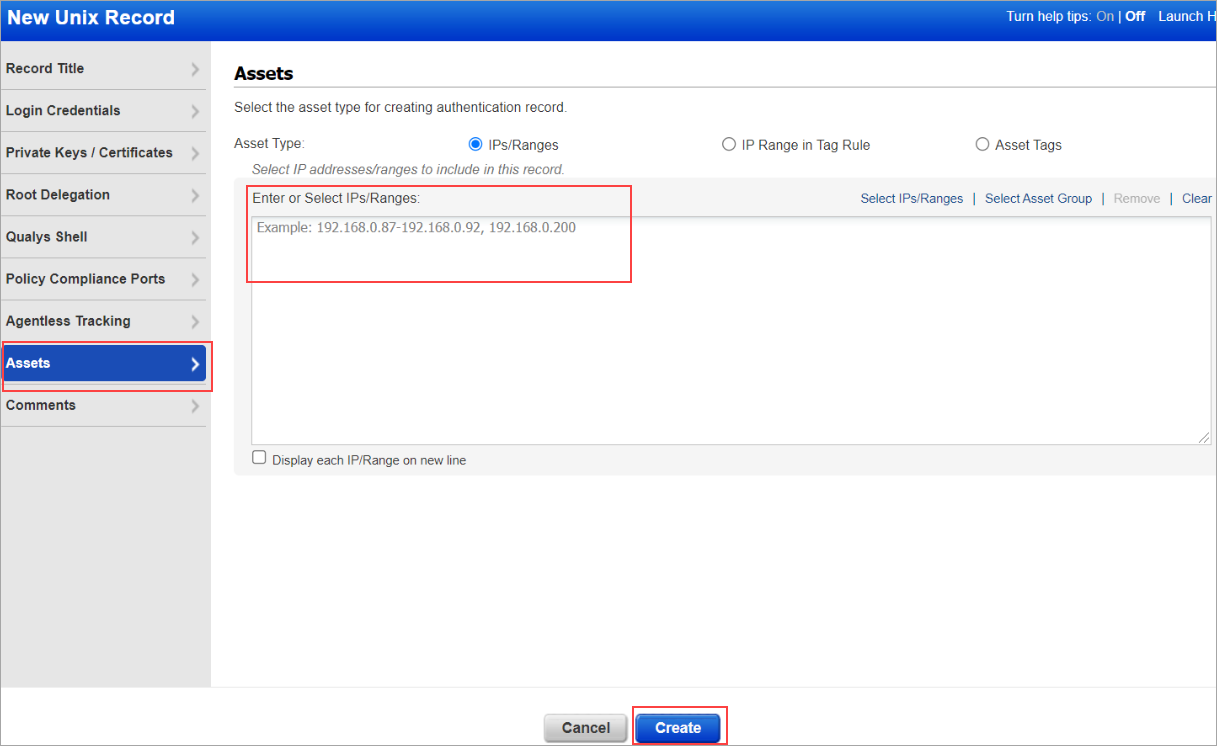
- Click Create.