Activate or Deactivate Scan Schedule
You can activate or deactivate the configured scan schedule as per the requirement. A new scan will not be launched until the scan schedule is activated.
You need not delete the scan schedule or reconfigure it. Deactivate the scan schedule, and when needed, you can activate it with saved configurations.
If you activate or deactivate the schedule while creating a new scan schedule by selecting the Deactivate task check box.
To activate the scan schedule:
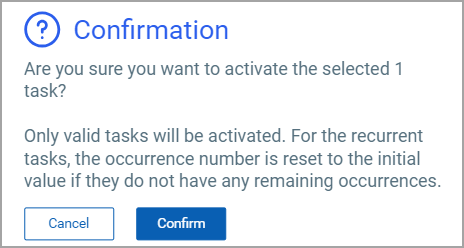
- Select a scan schedule, and from the Quick Actions menu, click Activate.
- In the Confirmation window, click Confirm.
To deactivate the schedule:
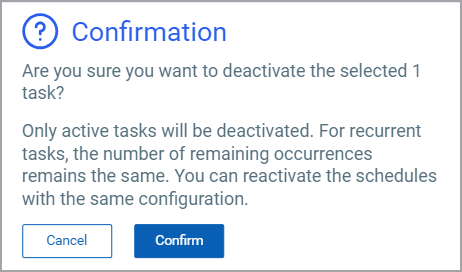
- Select a single scan schedule, and from the Quick Actions menu, click Deactivate.
- In the Confirmation window, click Confirm.
Activate or Deactivate Multiple Scan Schedules
You can select multiple scan schedules, and select Activate or Deactivate from the Actions menu.
If you select Activate, only the scan schedules that are in the Inactive status are activated. If you select Deactivate, only the scan schedules that are in Active status are deactivated.