RedHat Quay Registry
Follow the steps below to add a RedHat Quay registry in order to scan it.
- Download the latest Registry sensor. Go to Configurations > Sensors > Download Sensor and pick Registry. Select the environment where you want to deploy the sensor and follow the installation instructions on the screen. Ensure the registry sensor is in Running state and continue to the next step.
- Go to Assets > Registries > New Registry to add your registry and set up a scanning schedule.
- Provide the following information:
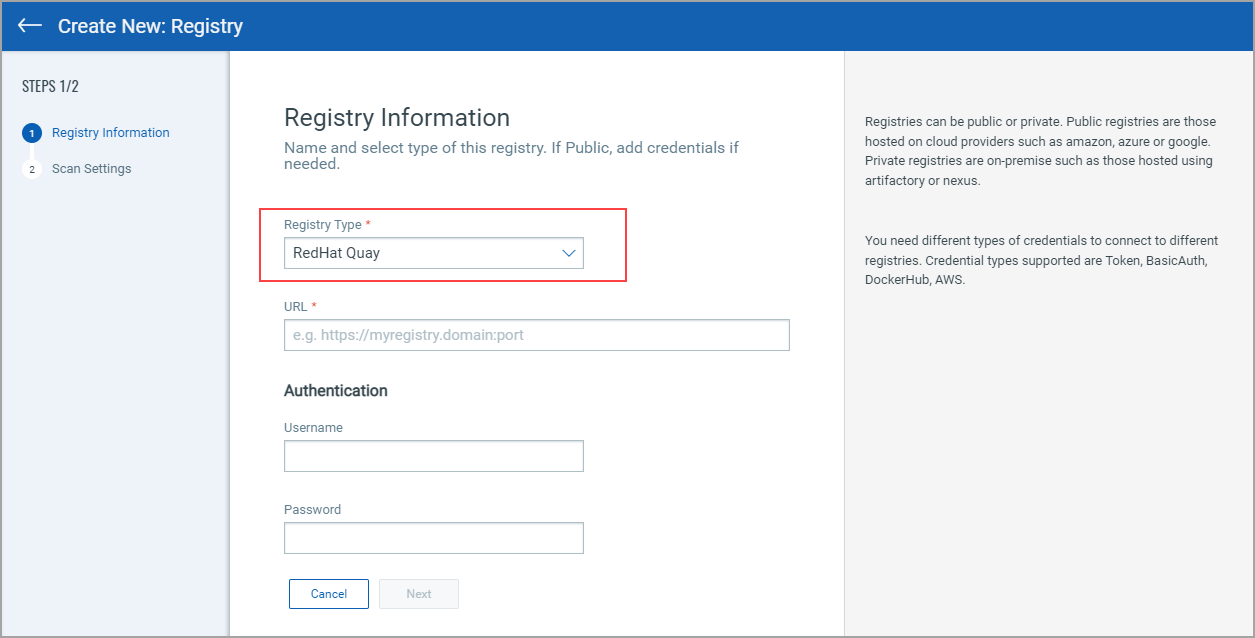
- Registry Type: Choose registry type RedHat Quay.
- URL: Enter the registry URL (e.g. https://quay.io).
- Authentication: Enter authentication credentials for connecting to your registry. You can provide a standard username and password (for an account with Admin or Super User privileges) or robot account credentials. For a robot account, the username is formatted as UserName+RobotAccountName and the password is the password token value for the robot account.
- After adding registry information, click Next to enter scan settings. Like with other registry types, you can choose to scan immediately (On Demand) or on an on-going basis (Automatic). For help with scan settings, see Configure Scan Settings.