Download and Configure Cloud Agents for EDR
You need to install a Cloud Agent (CA) activated for EDR on each asset you want to monitor for suspicious activity. You must upgrade to following Cloud Agent versions to utilize all the EDR functionality:
- Windows: 4.1 and above
- Linux: 6.1.0 and above
- Mac:
- 6.1.0.21 and above (ARM)
- 6.0.0.30 and above (Intel)
Download Cloud Agent
Perform the following steps if you are a new EDR customer:
- From the EDR welcome page, click Download Cloud Agent.
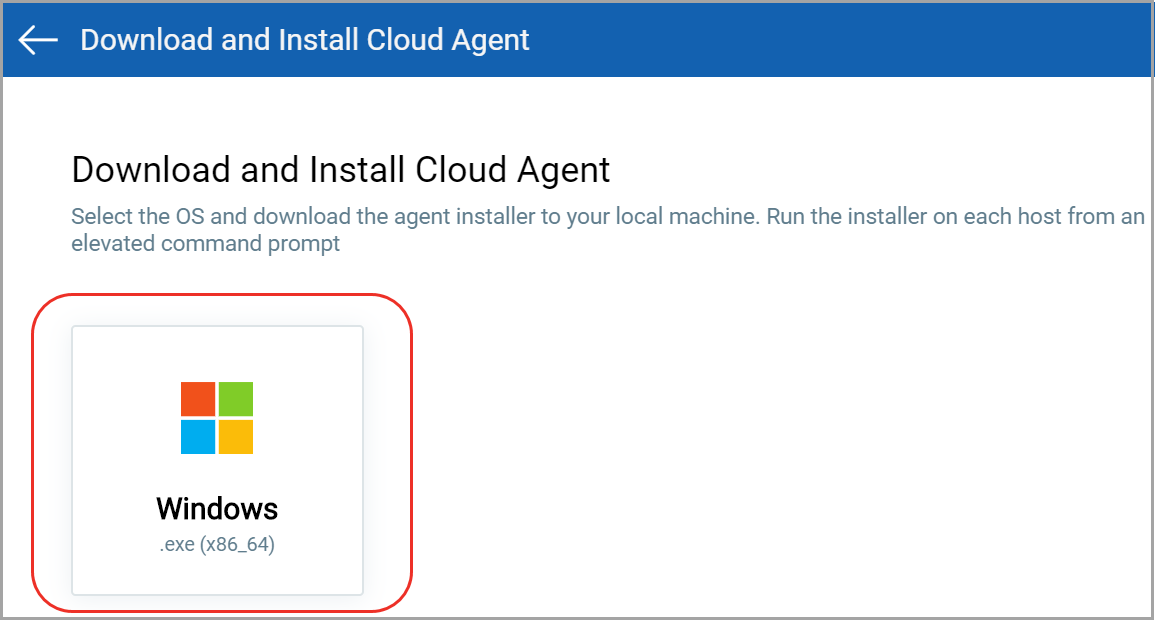
- In the Download and Install Cloud Agent page,
- If you want to download Windows agent, click Windows.exe . The following example screenshots represent Windows installation.
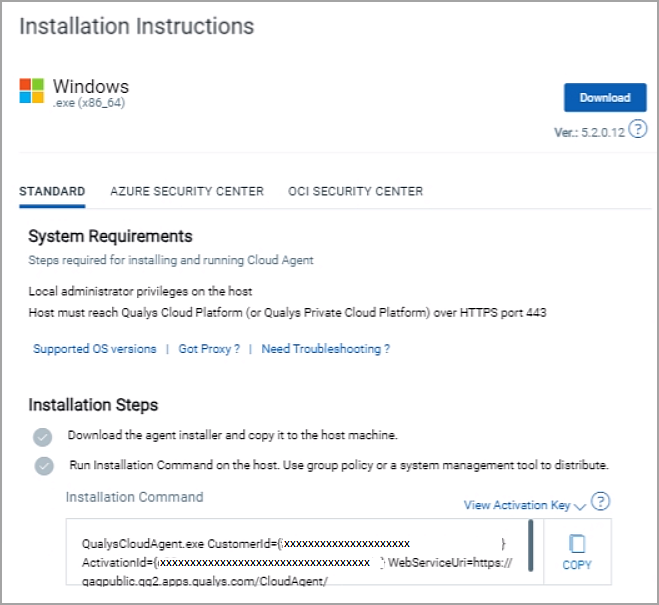
Download the agent installer from the Installation Instructions page, download the agent installer and copy it to the host machine.>
Run the command from an elevated command prompt, or use a system management tool to install the agent as per your organization's standard process for installing software.QualysCloudAgent.exe CustomerId={xxxxxxxx-xxxx-xxxxxxxxxxxxxxxxxxxx}
ActivationId={xxxxxxxx-xxxx-xxxx-xxxxxxxxxxxxxxxx}
WebServiceUri=<platform_url>/CloudAgent/ -
If you want to download Mac agent, from the dropdown list select platform-specific architecture and Agent version.
ARM Select platform as MACOSX_M1 and Agent version 6.1.0.21 Intel Select platform as MACOSX and Agent version 6.0.0.30
- If you want to download Windows agent, click Windows.exe . The following example screenshots represent Windows installation.
- After you successfully download and install the Default installation key and want to install more activation keys, see Install and Activate Cloud Agent.
Configure Cloud Agents
Perform the following steps if you are an existing EDR customer:
- From EDR welcome page, click Configure Agents for EDR.
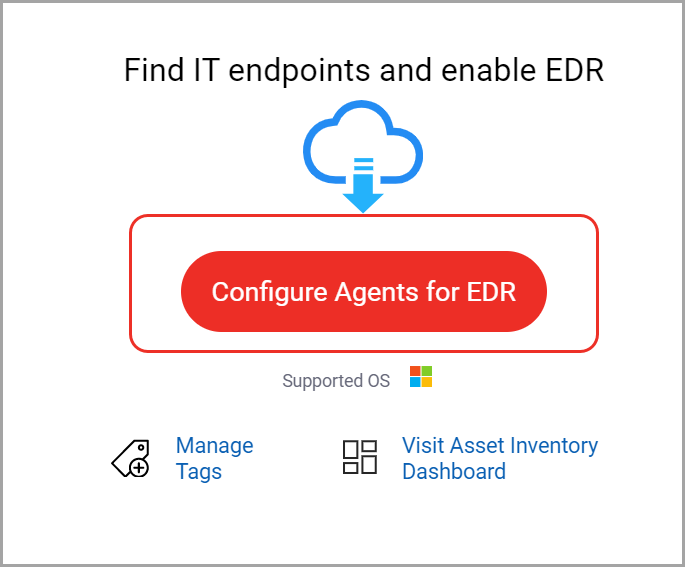
- On the Configure Agents for EDR window, you can:
- Select the existing activation key and upgrade the associated agents for EDR. For more information, see Upgrade Existing Agents.
- Install the new Cloud Agent and activate the agent for EDR. For more information, see Install and Activate Cloud Agents.
Upgrade Existing Agents
- From the EDR homepage, click the Configure Agents for EDR and select one or multiple Activation Keys from the Configure Agents for EDR window.
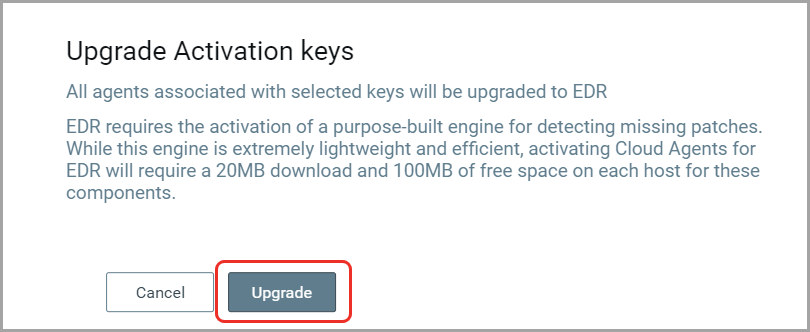
- Click Upgrade.
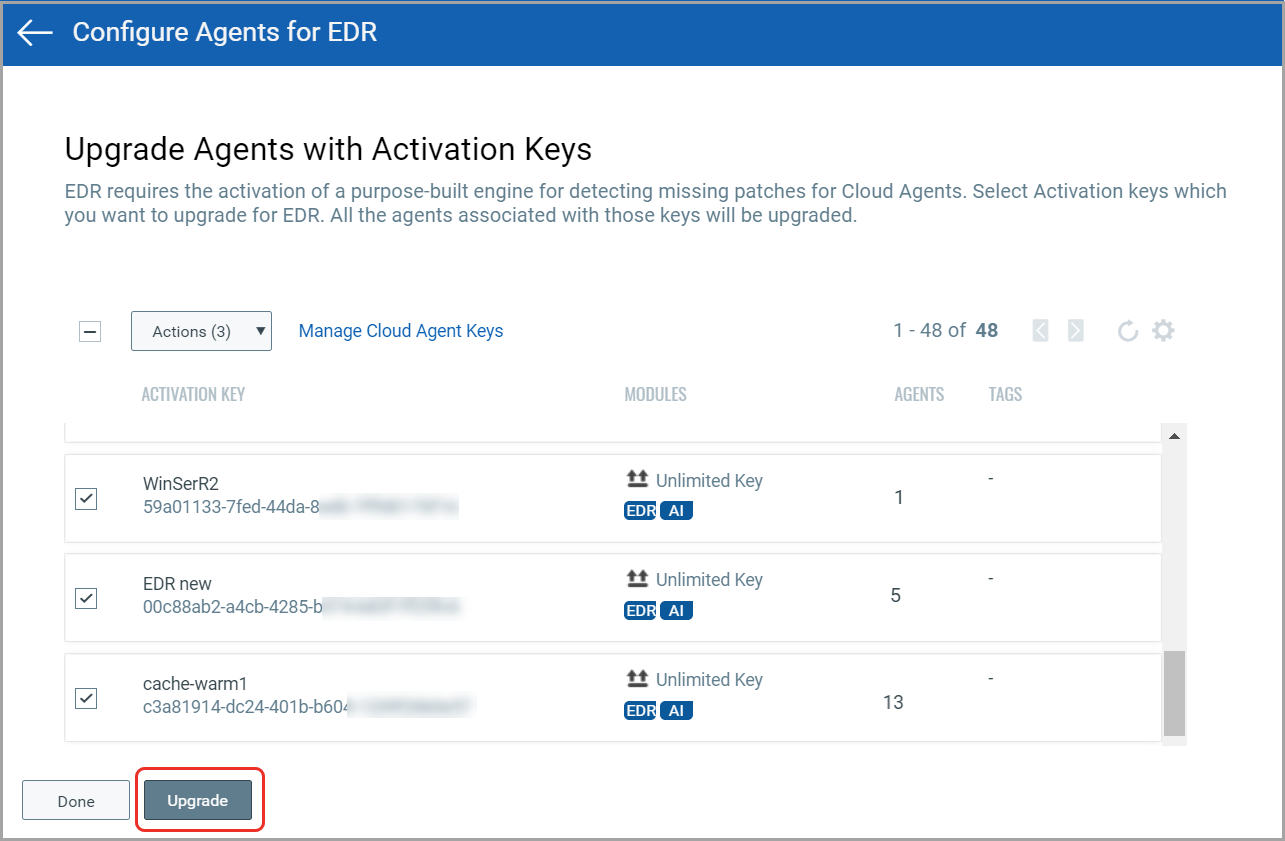
- On the confirmation window, click Upgrade to initiate the process. All the agents associated with the activation key will be upgraded and enabled for EDR.
Install and Activate Cloud Agent
Our Variable "Cloud Platform" is not defined provides continuous security updates through lightweight cloud agents. Go to the Cloud Agent (CA) application to install agents and activate them for EDR. It's possible to activate existing agents for EDR with other capabilities, like VM and Variable "pc_short" is not defined.
|
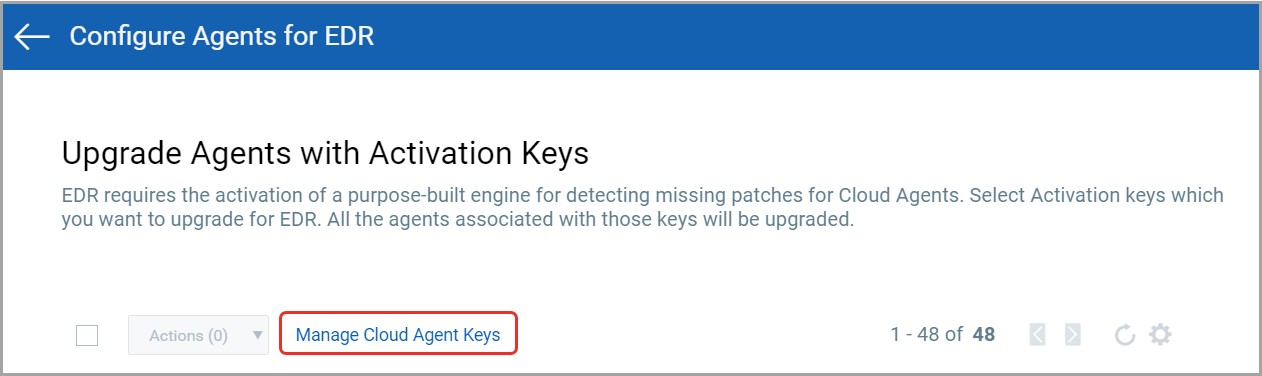
1. From the EDR homepage, click Configure Agents for EDR. Click Manage Cloud Agent Keys. You are redirected to the Cloud Agent application. |
|
|
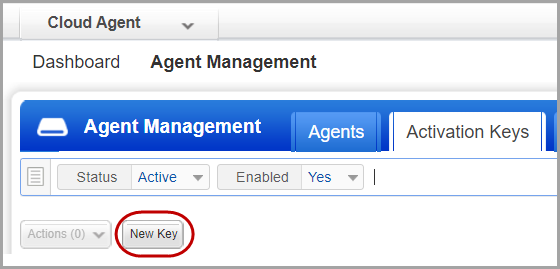
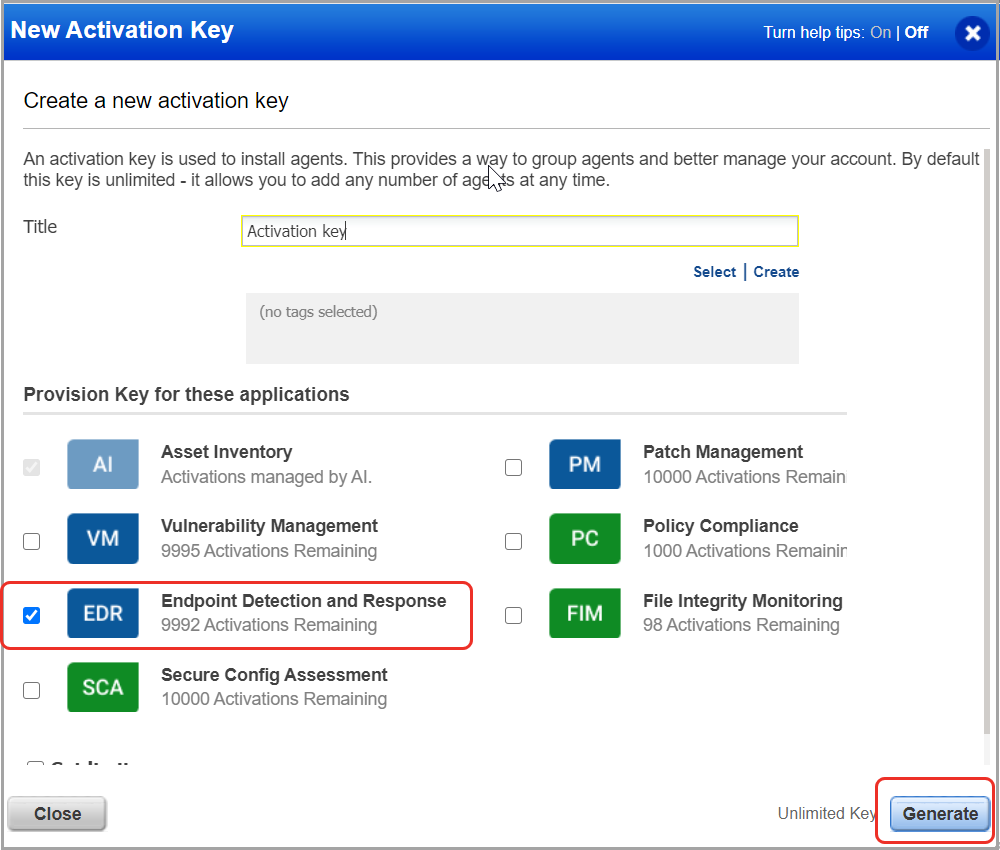
2. Click Agent Management > Activation Keys > New Key. Give a title and provision for the EDR application and click Generate. You can provide the same key for any other applications in your account. |
|
|
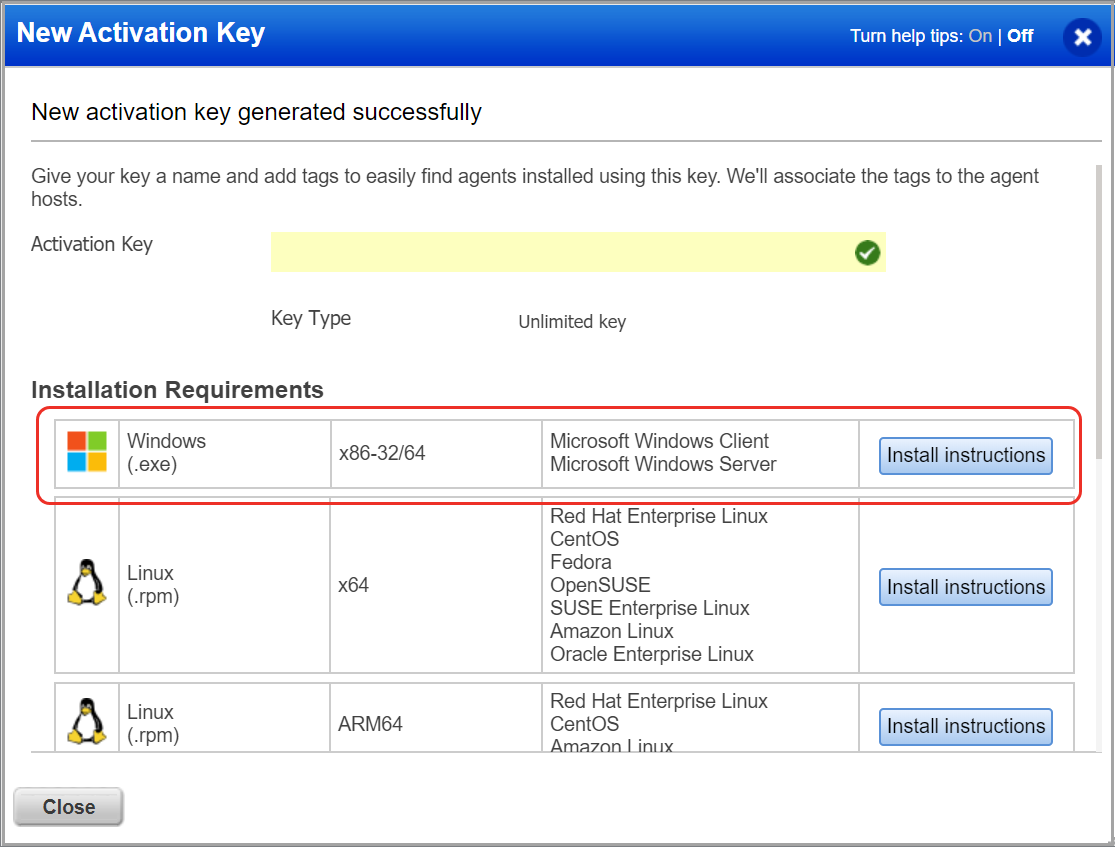
3. For Windows: Click Install Instructions.
Want to do this step later?Want to do this step later? No problem, just exit the wizard. When you’re ready, return to your activation keys list, select the key you want to use, then Install Agent from the Quick Actions menu. |
 |
|
4. For Windows: Review the installation requirements and click Download. Run the installer on each host from an elevated command prompt, or use a systems management tool or Windows group policy. Your agents should start connecting to our Variable "Cloud Platform" is not defined. Do not download the package; simply copy the activation key. |
|
|
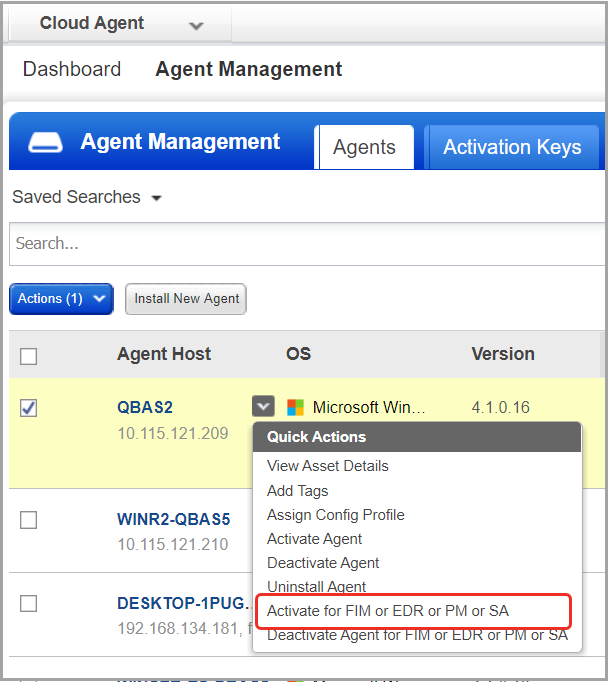
5. Activate your agents for EDR. Go to the Agents tab, choose an agent and Activate for FIM or EDR or PM or SA from the Quick Actions menu. (Bulk activation is supported using the Actions menu). In the Activate Agents window, enable the EDR agent and click Activate. Before creating a profile, assign Malware Protection tags. For more information, see Create and Assign Tags. For Mac: Check the EDR manifest at the specified location once the EDR module is activated. EDR Manifest: |
|
Post Installation Steps for Mac
- After the installation is complete, check the status of the qualys-cloud-agent, qualys-edr, and qualys-epp processes using the commands below:
ps -ef | grep qualys-cloud-agent

ps -ef | grep qualys-edr - Check the EPP health status in the EDR module under the Asset tab.
- Search for a Mac agent using the asset.agentid:<agent ID> search token.

- Ensure Full Disk Access is enabled for the EDR service/process to remain active and operational.
To Enable Full Disk Access for the Cloud Agent on macOS:
- Open System Settings.
- Go to Privacy & Security from the sidebar.
- Scroll down and select Full Disk Access.
- Locate Cloud Agent in the list and toggle it on.
- When prompted, click Quit & Reopen to apply the changes.
Create a New Profile to enable EDR
As part of cloud agent installation and setup, you should enable EDR from the Configuration Profile of the Cloud Agent application. This is required for EDR data collection. You can enable EDR only when the agents are activated with EDR. Perform the following steps in the Cloud Agent application to enable EDR in a New Profile:
- From the Agent Management, click Configuration Profiles.
The Initial Profile is a system-generated profile that is listed in the Configuration Profiles by default. This profile can not be edited or deleted.
- Click New Profile.
- The Configuration Profile Creation window lists 8 steps you can configure per your organization's infrastructure.
In Step 1- Basic Details, the profile name is the mandatory field. Click Continue if your network infrastructure does not require the configuration settings.
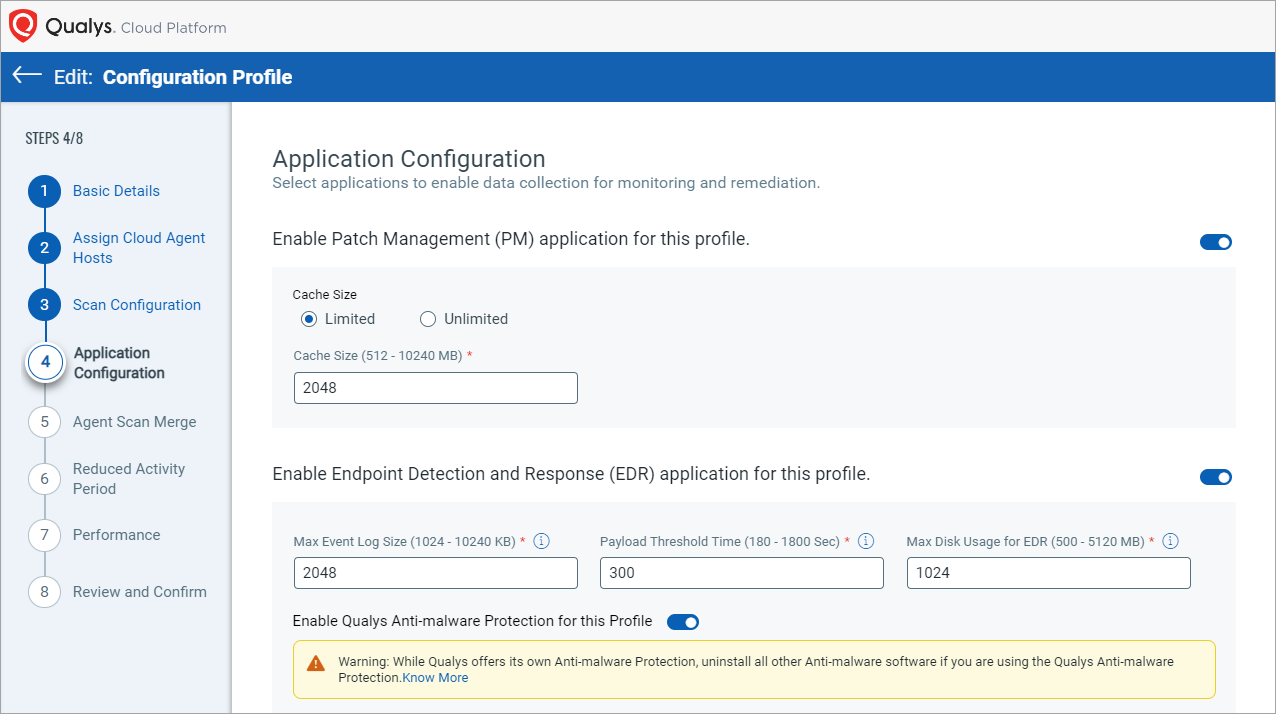
- At Step 4- Application Configuration, toggle Enable EDR application module for this profile. In the Configuration section of Step 4, the default value of the EDR artifacts are provided. However, as per your network infrastructure requirement, you can change the Max event log size, Payload threshold time, and Maximum disk usage for EDR data.
The following screenshot is an example of EDR enabled in a new profile:
- At Step-8, click Finish.
Once the profile is created and EDR is enabled, you receive a notification at the top-center of the page, and the newly created profile is listed in the Configuration Profiles section. The following screenshot is an example of a newly created profile with EDR enabled: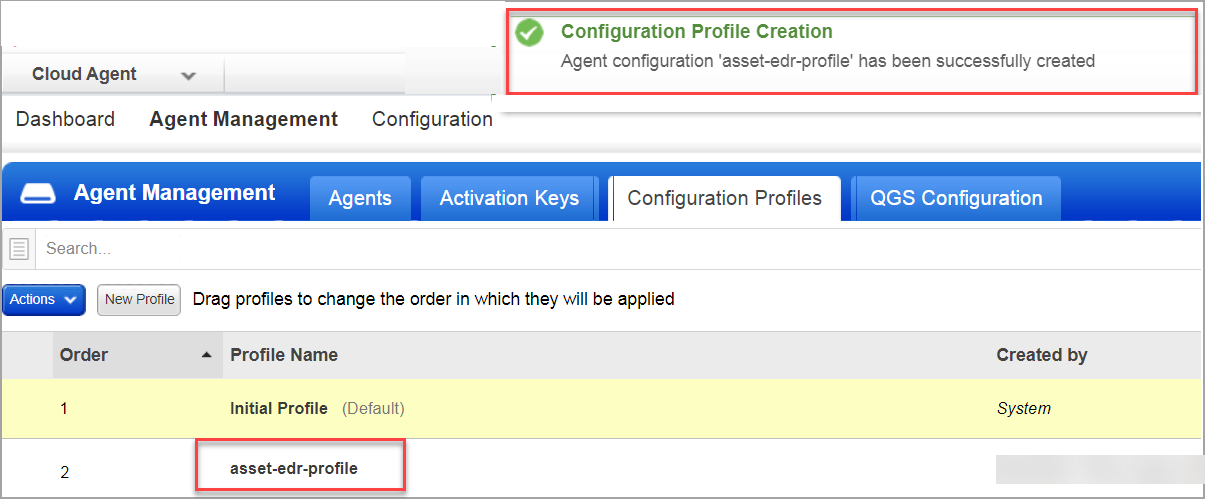
Assign a Profile to an Agent
Once the profile is created and listed in the Configuration Profiles, you should assign a profile to an agent. Perform the following steps in Cloud Agent application to assign a profile to an agent:
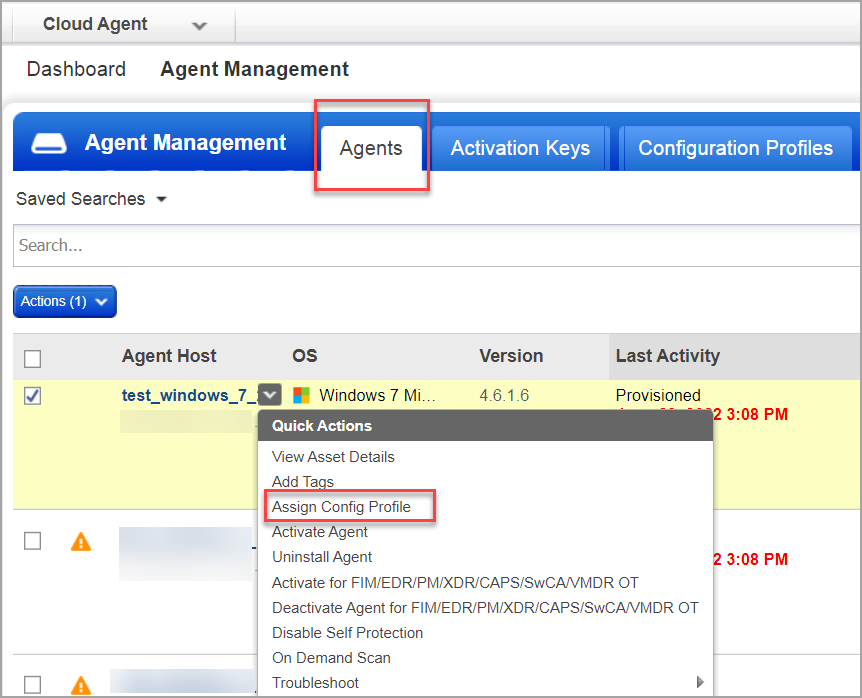
- In the Agent Management, click Agents.
- Hover the mouse on any of the assets to view the Quick Actions menu.
- Click Assign Config Profile.
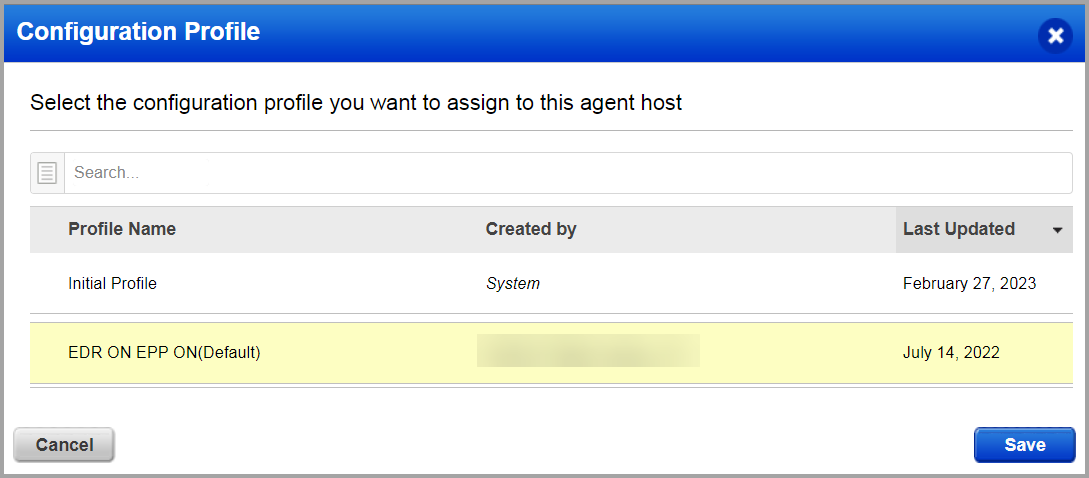
- In the Configuration Profile window, select the profile name from the list and click Save.
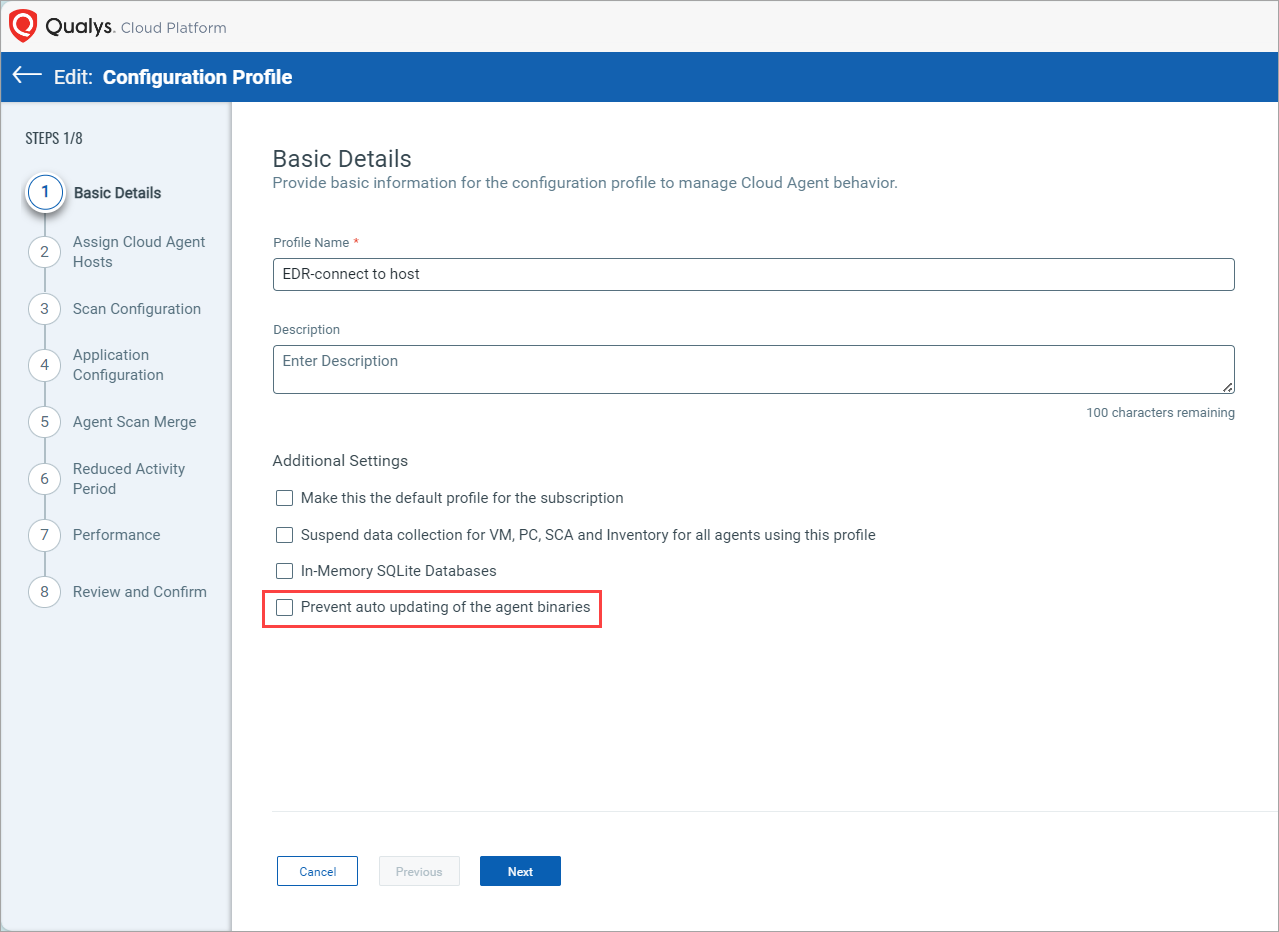
Update Qualys Agent Version of Assets
If you are on a previous agent version, update the version from the Cloud Agent application. From the Configuration Profiles tab, edit the existing profile or clear the Prevent auto-updating of the agent binaries option while creating a new profile. The following screenshot is an example that shows the Prevent auto-updating of the agent binaries option being cleared: