Remediation Action
On the Hunting tab, you can view malicious, suspicious, non-malicious, non-suspicious events detected on your assets. You can remediate malicious and non-malicious events detected on the assets using the Quarantine File, Delete File, and Kill Process options. The event score is assigned based on the detection engine such as Malware Detection, Yara rules (if enabled), Behavioral Analysis, Threat Intelligence, etc.
You can perform remediation actions for a single event or multiple events. Bulk remediation can happen only for similar events on the Events tab. You cannot apply bulk remediation action if you select a file from page 1 and another from page 2 of the Events tab. At a time, you can apply bulk remediation for 200 events.
Remediation action is not available for Registry events.
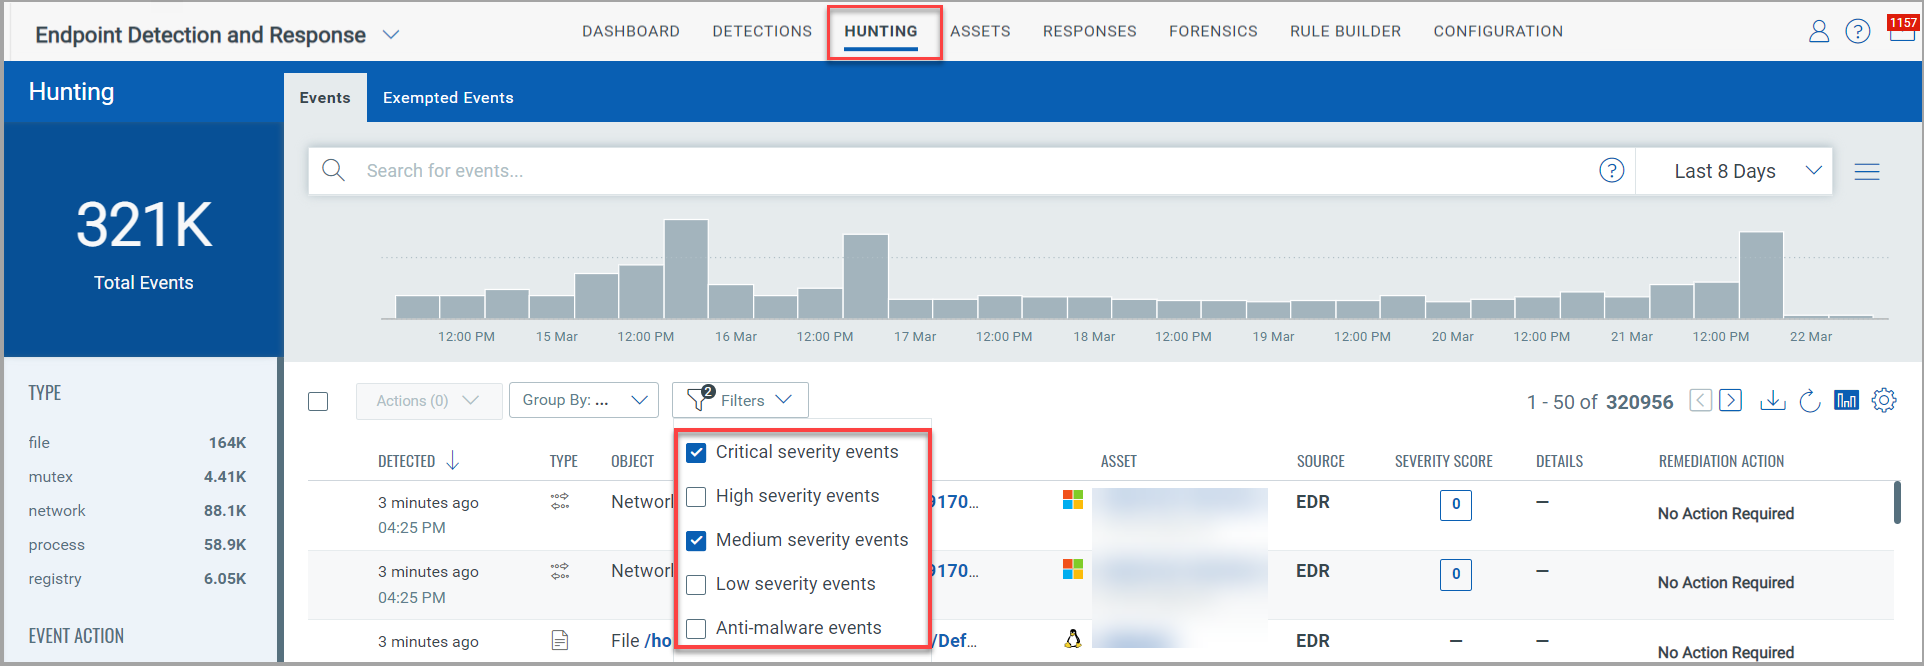
Use the Filters option to view the events with a specific severity.
Remediation Action for File events
You can remediate malicious file events using the following options:
- Quarantine File: Using this option, the file is encrypted and moved to the Quarantine folder (C:\ProgramData\Qualys\QualysAgent\Quarantine\) on your asset. The Quarantine folder is automatically created once you upgrade to agent 4.0 and above. You can undo this action and restore the file to its original location using the UnQuarantine option from the User Activity tab. For more information, see UnQuarantine File.
- Delete File: Using this option, the file is permanently deleted from your asset. You cannot undo this action.
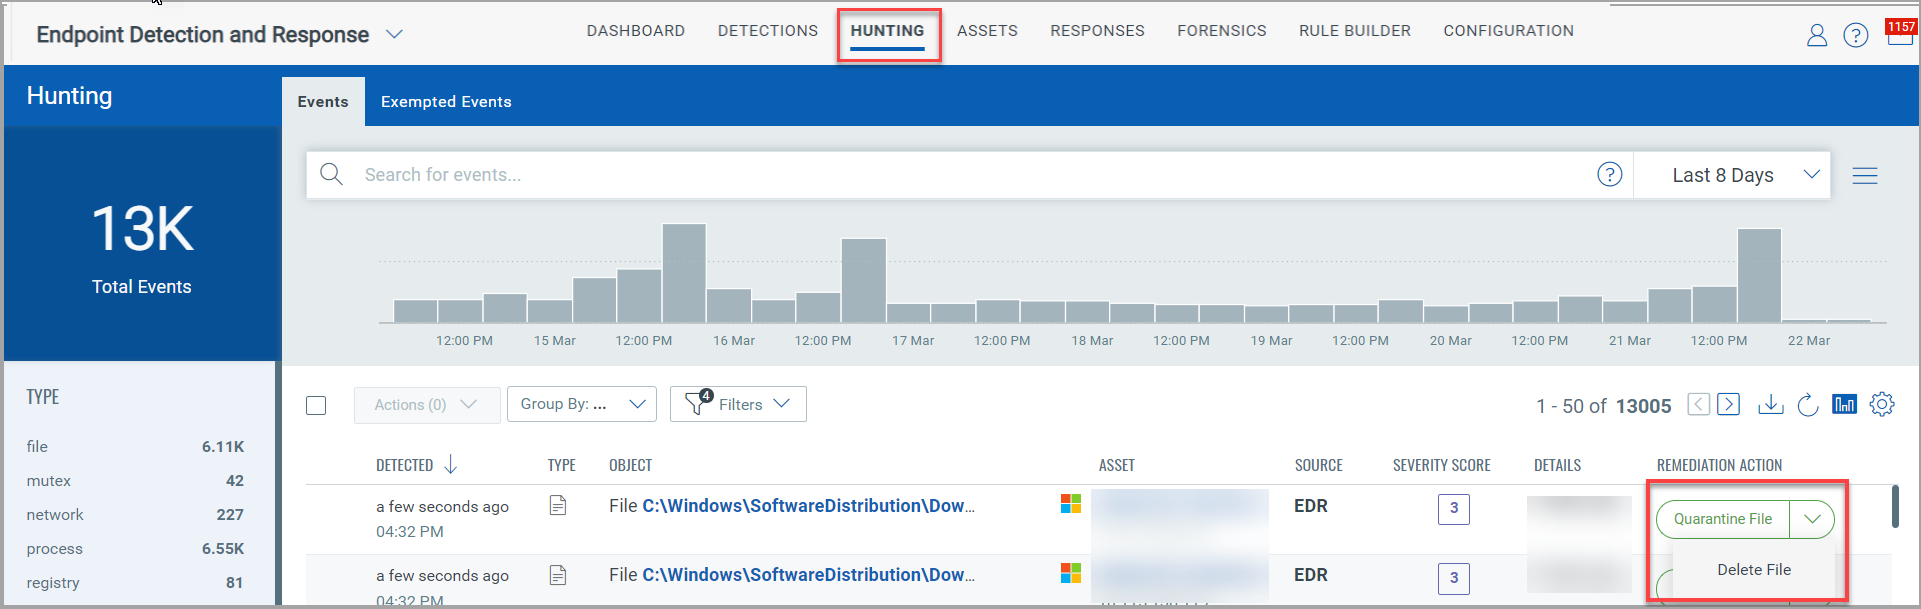
Perform the following steps to remediate a single file event:
- Select the required file event, and from the Remediation Action column, click Quarantine File or Delete File from the drop-down list.
- Alternatively, select multiple file events to perform bulk remediation and click Actions. Select Quarantine Files or Delete Files from the drop-down list.
You can also perform the remediation action from the Event Details page.
- Alternatively, select multiple file events to perform bulk remediation and click Actions. Select Quarantine Files or Delete Files from the drop-down list.
- The following window is displayed based on your selection (Quarantine File/Delete File). Enter the required comment and click Execute Action.
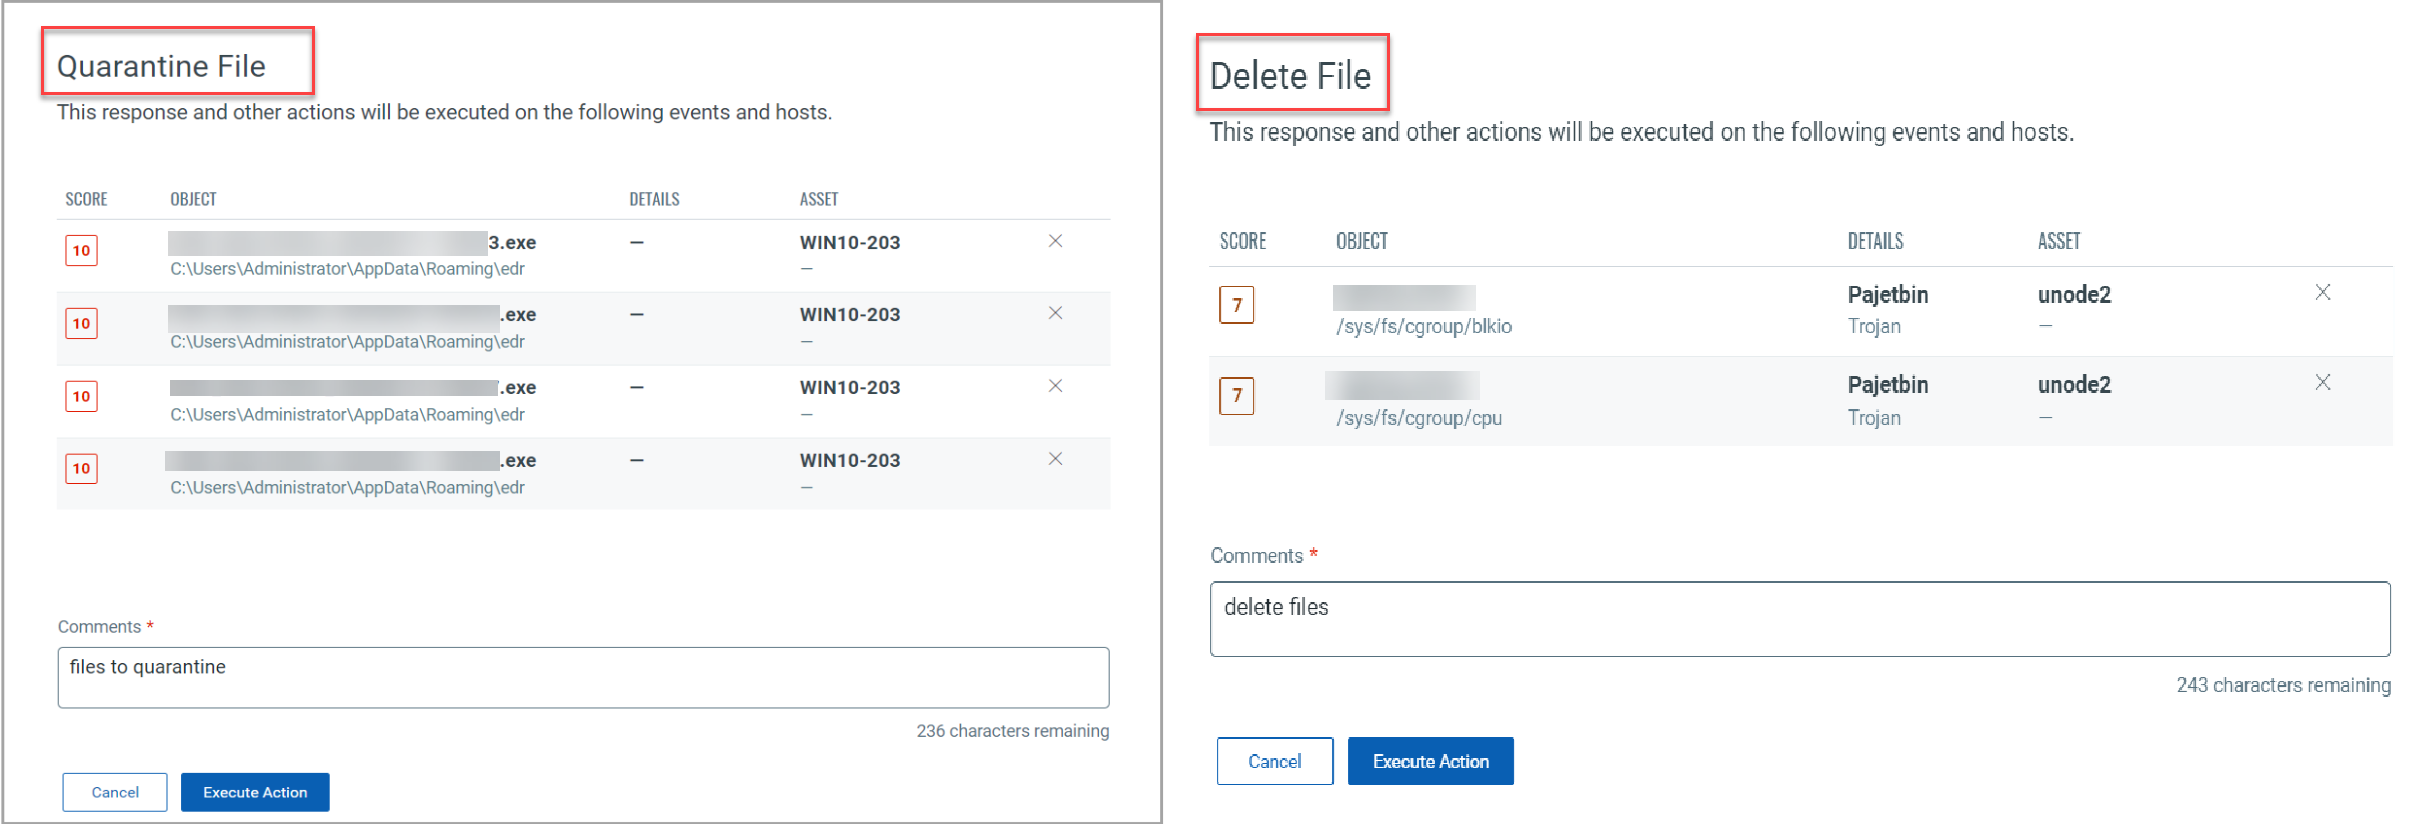
-
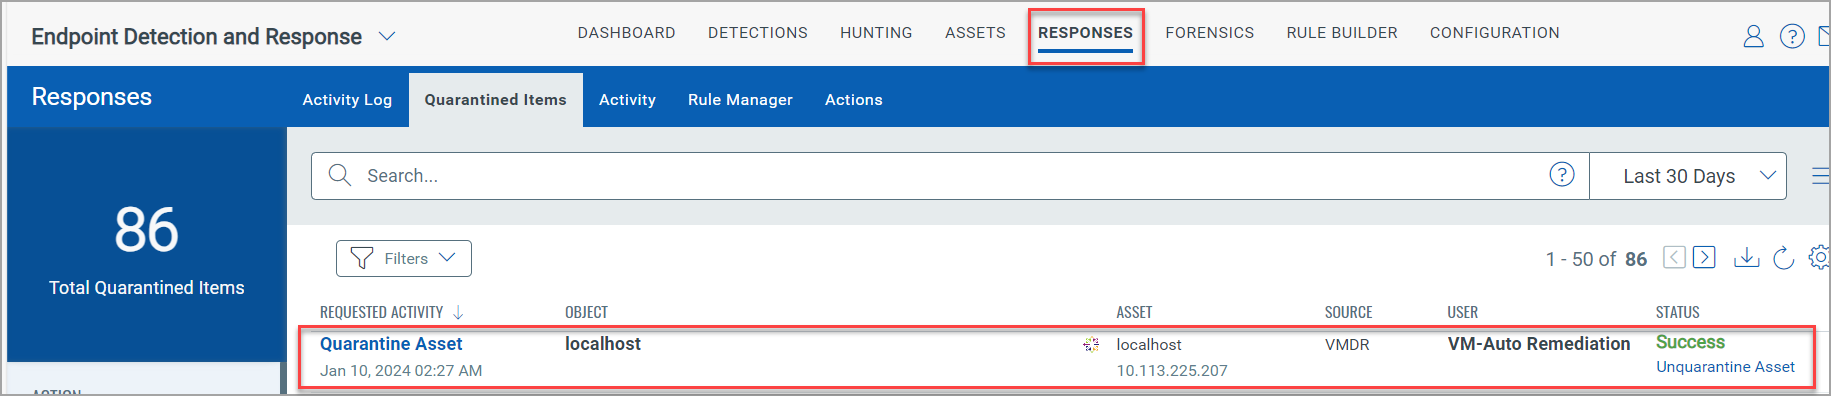
A pop-up message indicating the status of the submission request is displayed on the top-right corner of the screen. You can click View Request Status from the pop-up message to view the remediation request's status (In Progress, Success, Failed). You will be redirected to the Responses tab.
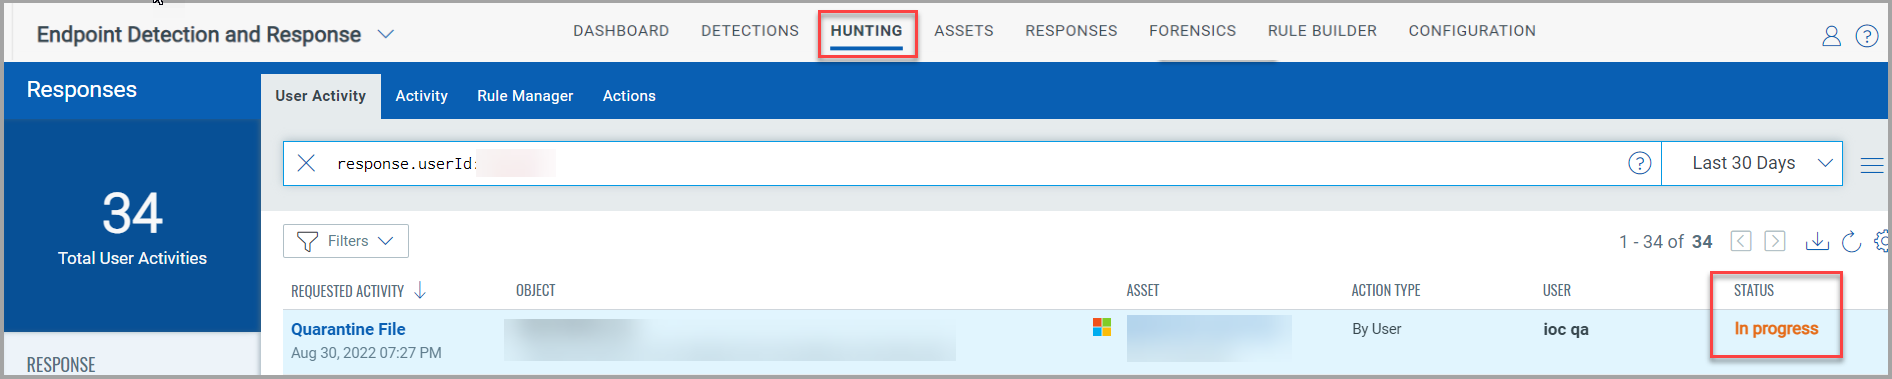
- Alternatively, you can also view the status of the remediation request from the Remediation Action column on the Hunting tab.
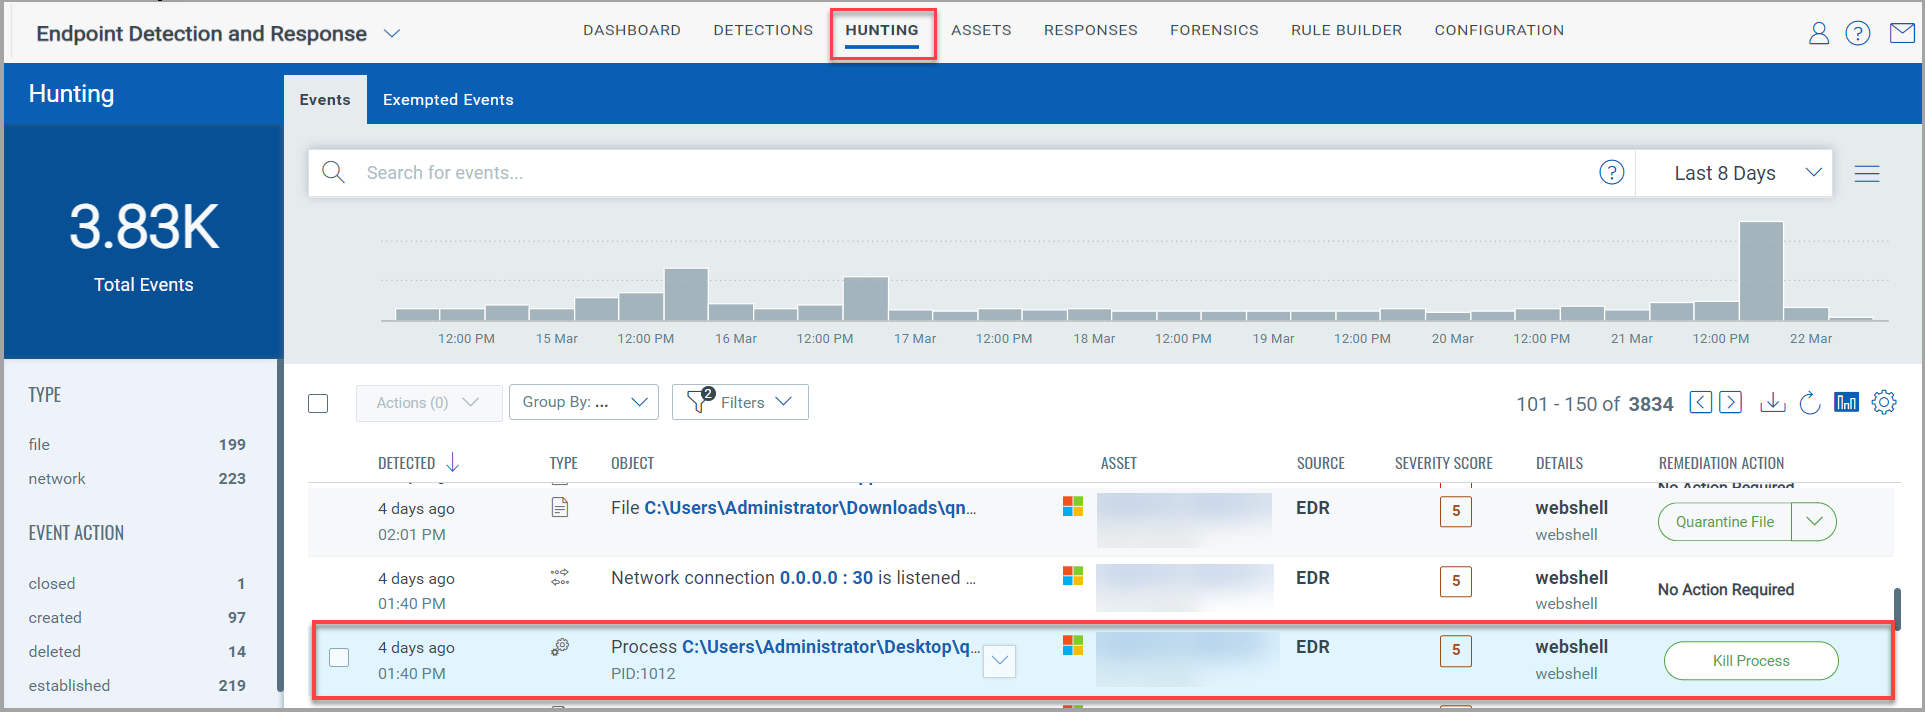
Remediation Action for Process events
For Process events, we provide Kill Process remediation action. When you perform the Kill Process action for events, it kills the corresponding parent process.
- Select the required event from the Hunting tab, and select Kill Process from the Remediation Action column.
- Alternatively, to perform bulk remediation, select multiple Processes. Click Actions. Select Kill Processes from the drop-down list.
Auto-Remediate from the Event Details page
You can also perform the remediation action from the Event Details page.
-
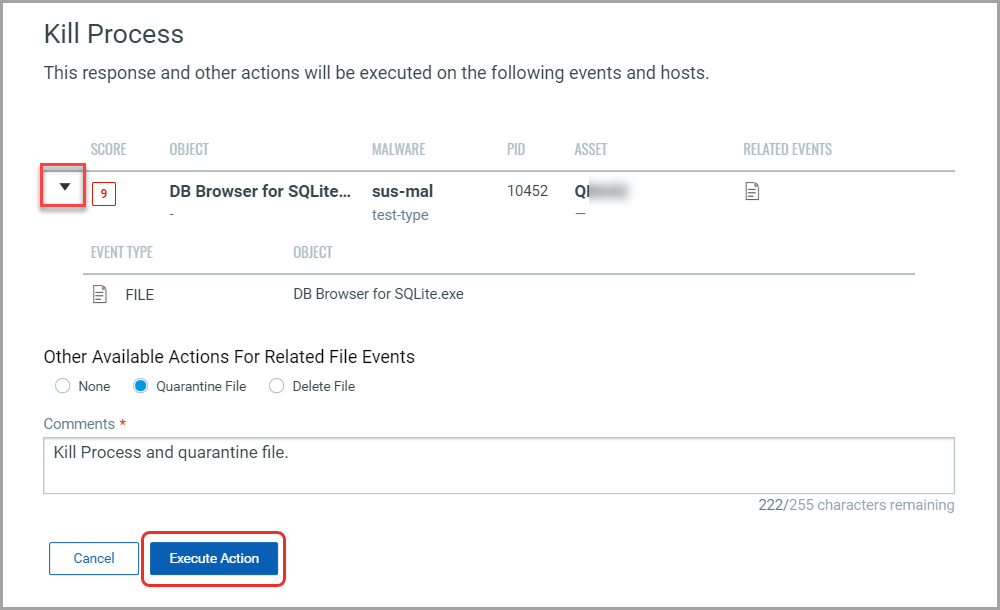
Use the arrow button below the Score column to view the list of related events. If the event has related files, you can choose to Quarantine File, Delete File or perform no action by selecting None.
-
Enter the comment and click Execute Action.
The following screenshot is an example of the Kill Process window:
-
A pop-up message indicating the status of the submission request is displayed on the top-right corner of the screen. You can click View Request Status from the pop-up message to view the remediation request's status (In Progress, Success, Failed). You will be redirected to the Responses tab.
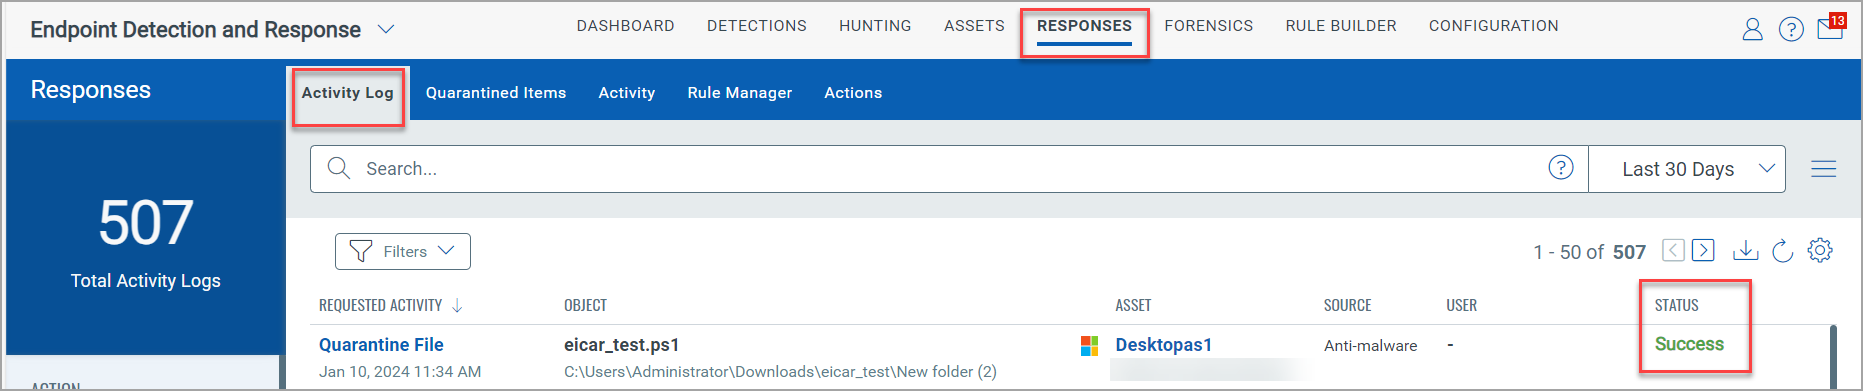
Alternatively, you can view the remediation request status from the Remediation Action column on the Hunting tab.
Auto-Remediate from Responses
You can auto-remediate an event by setting a rule from the Responses tab. You can configure auto-remediate action for the following cases:
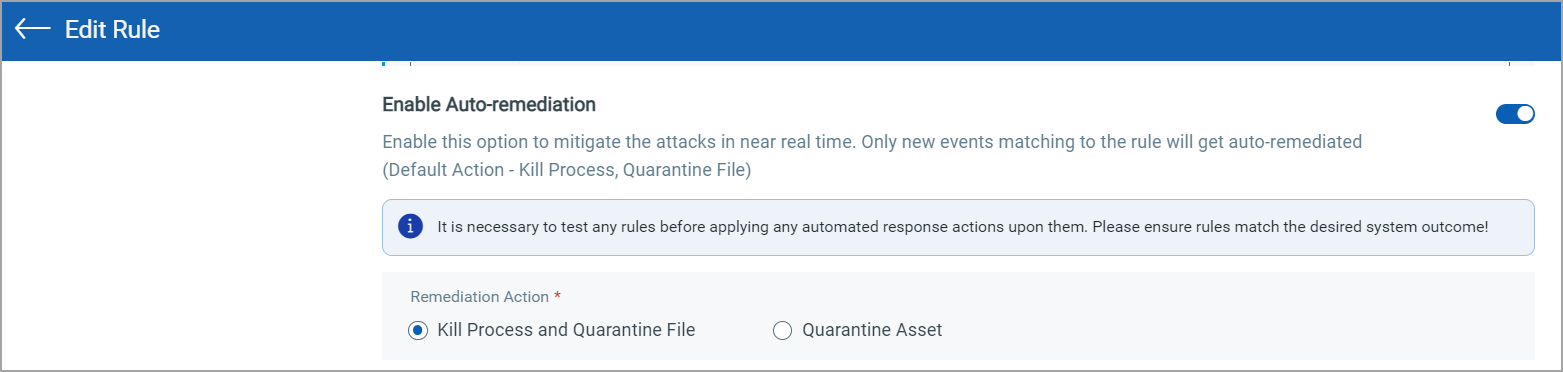
- Kill process and quarantine file
- Quarantine asset
Perform the following steps to auto-remediate an event from the Responses tab:
To perform remediation functionality for Network or Mutex event, you can remediate the parent process of that Network or Mutex event.
-
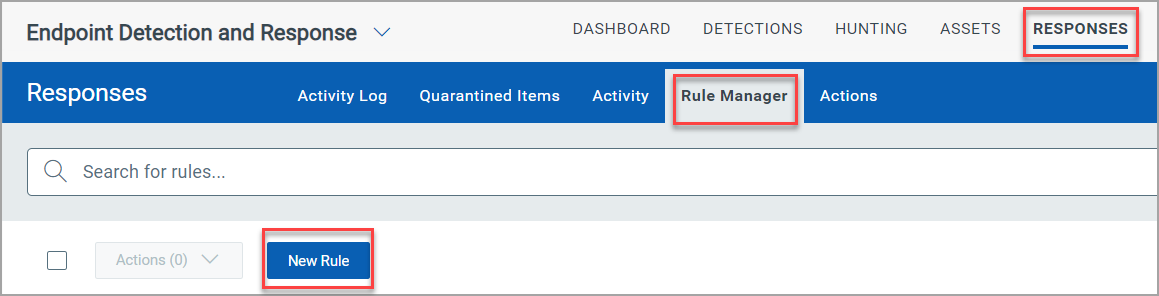
Click Rule Manager > New Rule.
-
In the Create New Rule window, provide the inputs in the mandatory fields. Fields marked in red asterisk
 are required.
 -
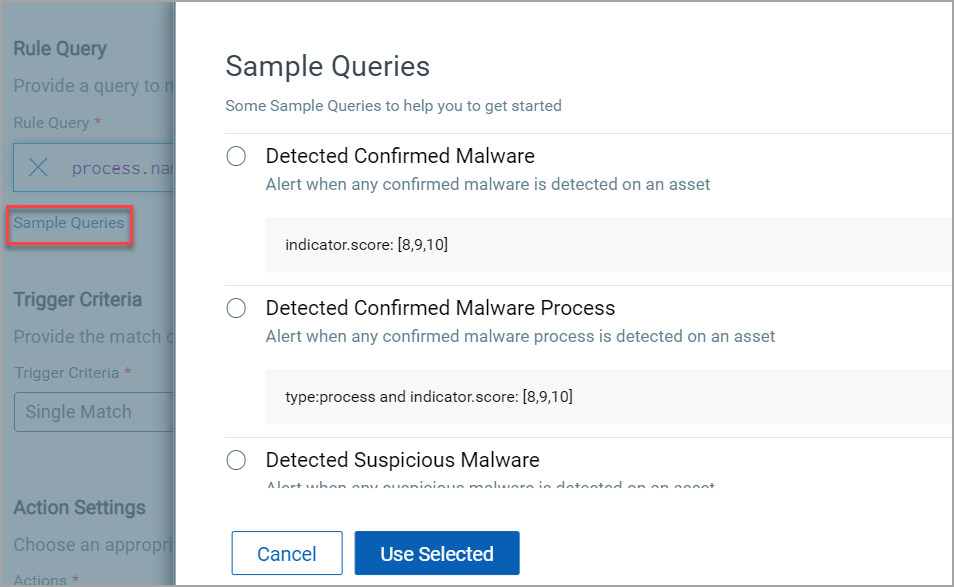
In the Rule Query, input the query that will trigger the alert. You can also view and input the Sample Queries.
-
From the Trigger Criteria drop-down, select the required criteria.
-
Toggle the Enable Auto-remediation to apply the rule for the new events. The Kill Process and Quarantine File data will be displayed in the Quarantined Items section of the Responses tab.
-
Click Save.
Once you save, the configured quarantine action is automatically triggered.