Running an OnDemand Scan via User Interface
This section allows you to configure scheduled or manual scans for your endpoints.
| Setting | Action |
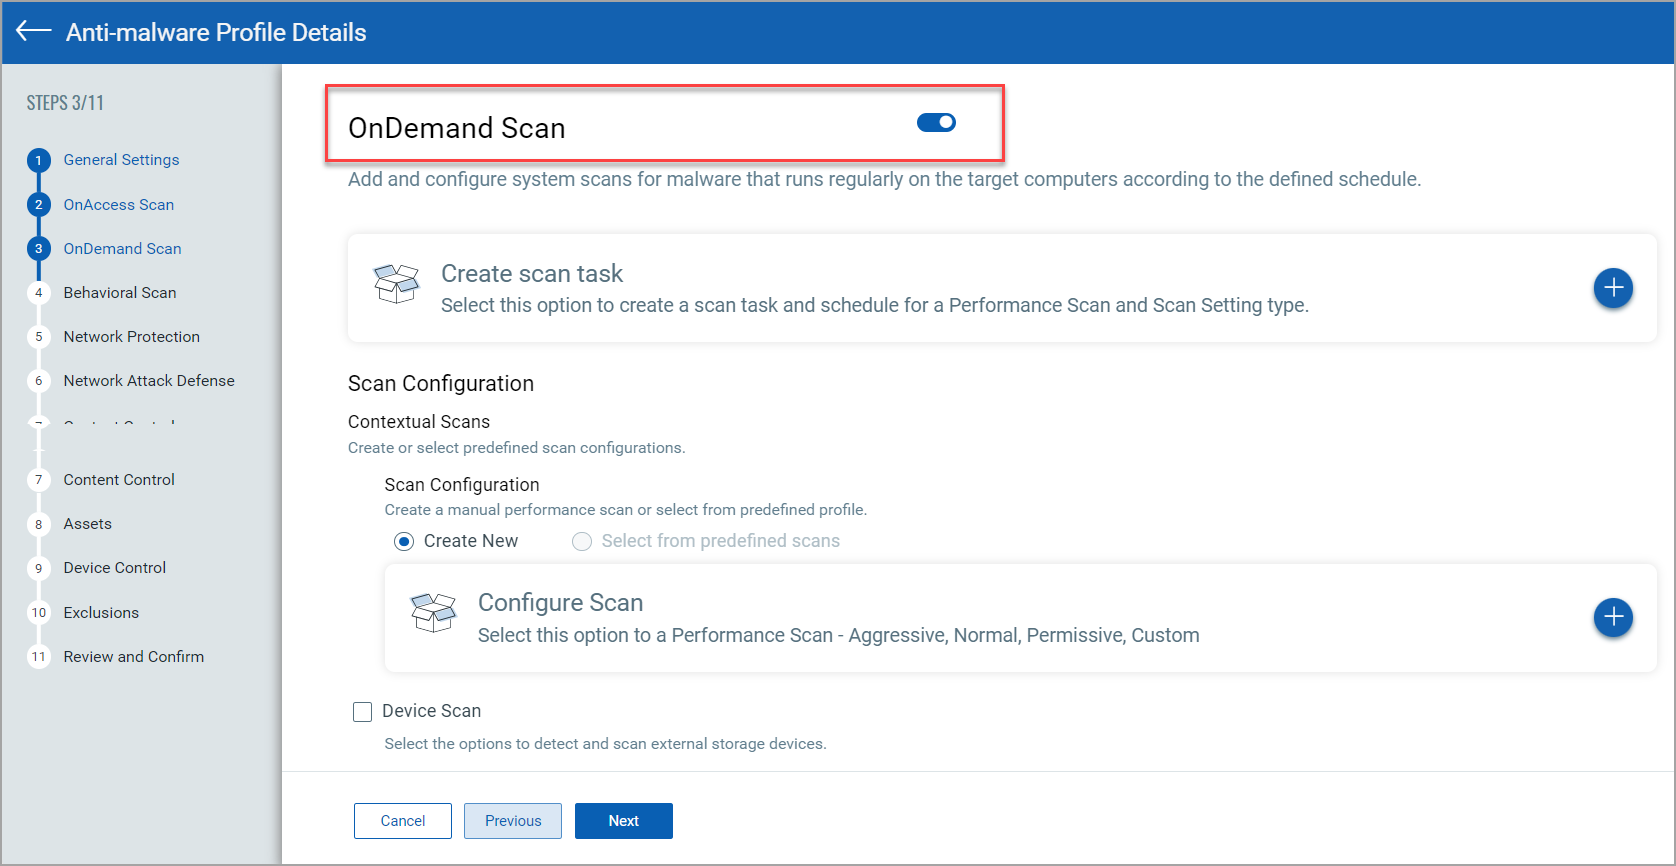
| OnDemand Scan | This toggle activates scanning initiated manually or according to a defined schedule. |
| Create Scan Task | Define the on-demand scan job, including its name, schedule, scope, and actions to perform when threats are detected. See Create Scan Task. |
| Optional Settings |
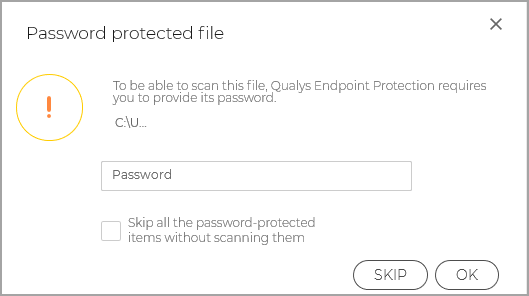
Device Scan: Select this checkbox to allow scanning of external storage devices such as CD/DVD media or USB drives. Retain a Backup File Copy: Select this checkbox to exclude the entire storage device from scanning. Specify the data size limit in MB. Retain a Backup File Copy: Select this checkbox to disinfect the original file and retain a quarantined copy of it. |
Create Scan Task
| Setting | Action |
| Task Details |
Name: Provide a name for the scan task. Description: Describe the scan task. Run with low priority: Select this checkbox to run the anti-malware scan or remediation process with reduced system resource usage. Shut down the computer when scan is finished: Select this checkbox to power off the system automatically after the scheduled or on-demand malware scan completes. Scan Options: Define the scope of the scan—Quick, Full, Network, or Custom
Target Section: Specify the target to be scanned. |
| Scan Configuration |
Name: Provide a name for the scan configuration. Scope: Define a scope. Scan Settings: Selects the scanning intensity—Aggressive, Normal, Permissive, or Custom.
Archive: Select this checkbox to allow scanning of compressed archive files. Scan Email Archives: Select this checkbox to allow scanning of email archive files. Miscellaneous: Select the checkboxes of the scan options from the list.
Actions: Define primary and secondary actions for infected, suspected, and rootkit detections. |
| Schedule |
Recurrence: Configure the scan frequency as Daily, Weekly, or Monthly. Start Date / Start Time: Specify when the scheduled scan begins. If scheduled run time is missed, run task as soon as possible: Select this checkbox to run a scan automatically if the scheduled time was missed. |