Creating Reports on FIM Assets
Asset reports provide the much-needed overview of your asset system and ensure efficient monitoring of assets that are within your monitoring scope. Gaining visibility into your assets at a granular level is crucial, especially for PCI compliance because as per PCI-DSS guidelines, all assets in scope must have FIM actively running on them.
Qualys FIM helps you with the required asset information in real time, which helps you to be audit-ready. You can also choose to create reports specifically on those assets that are non-compliant as per PCI-DSS requirements 11.5 v3.2.1 and 11.5.2 v4.0.
Create Reports on FIM assets
- Navigate to the Reports > Report Rules tab.
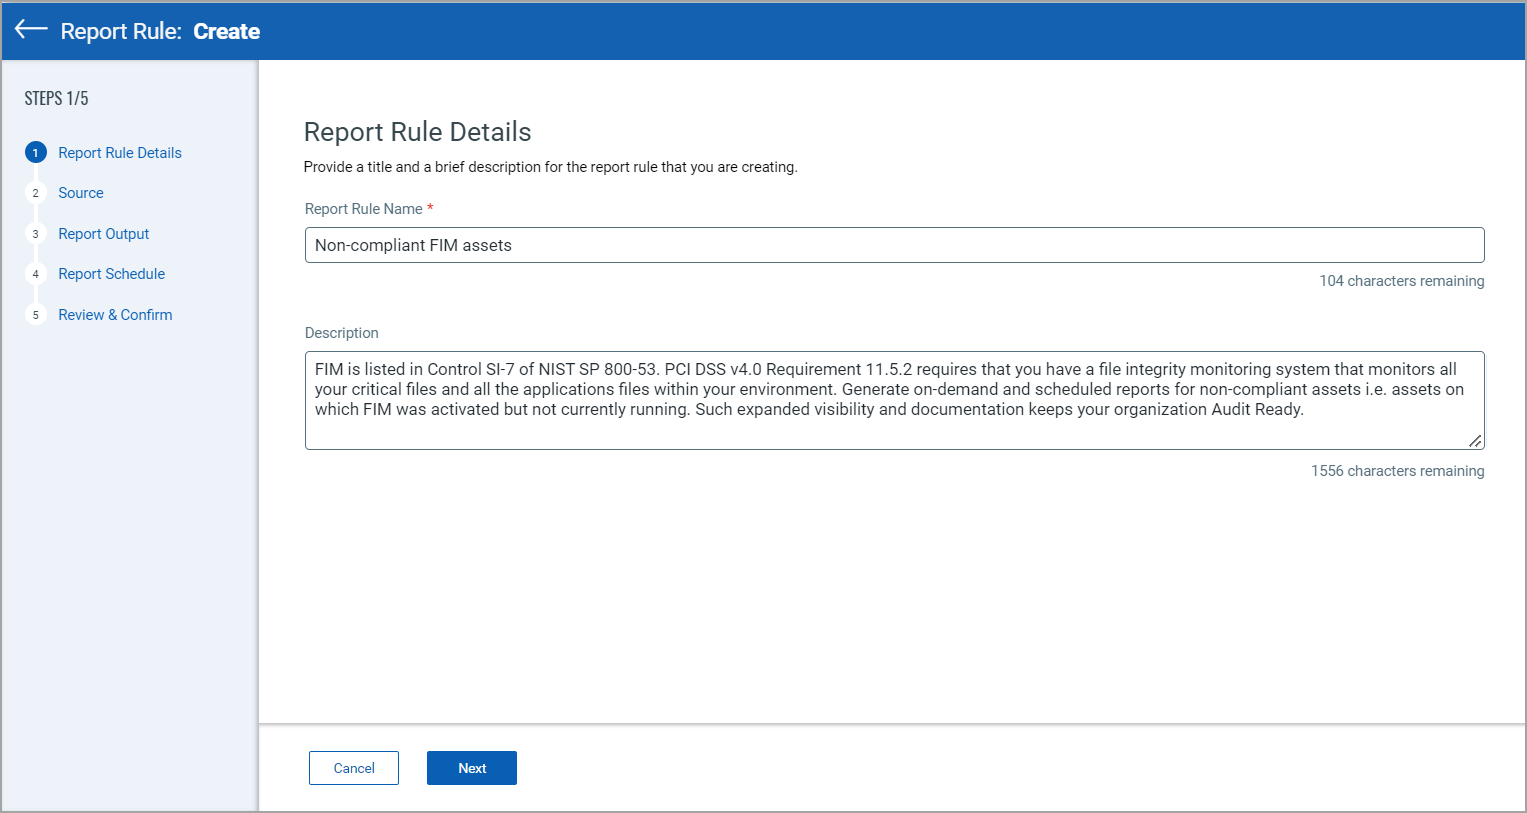
- Click Create Report Rule to view the Report Rule Details page.
- Enter the Report Rule Name, and a brief Description.
-
Click Next to view the Source page.
-
Select Report Source as Assets that you want to include in the rule.
-
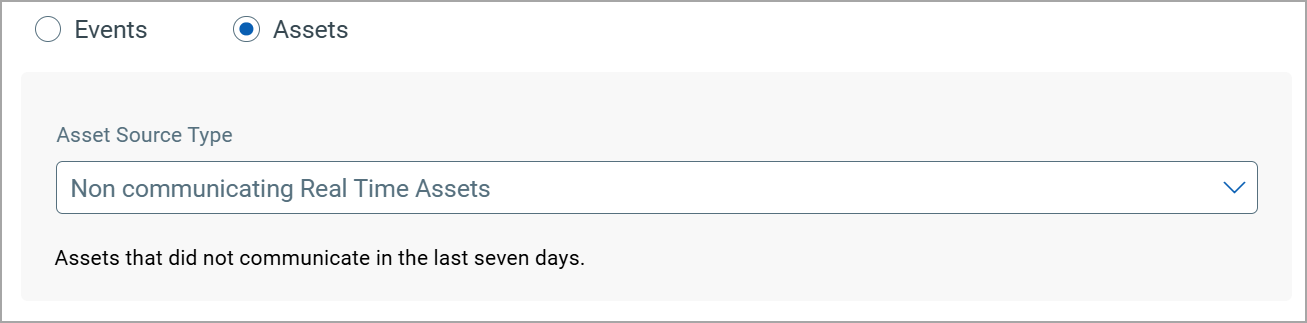
Select a Asset Source Type from the list:
-
Custom Query: Enter a query using supported QQLs to include assets in the report as required. You can select the Fetch non compliant FIM Assets based on PCI DSS 4.0 Requirement 10.7.2 checkbox to generate report on assets that are not compliant as per the specified PCI DSS requirements.
For more information on asset tokens, refer to Searching FIM Asset Tokens.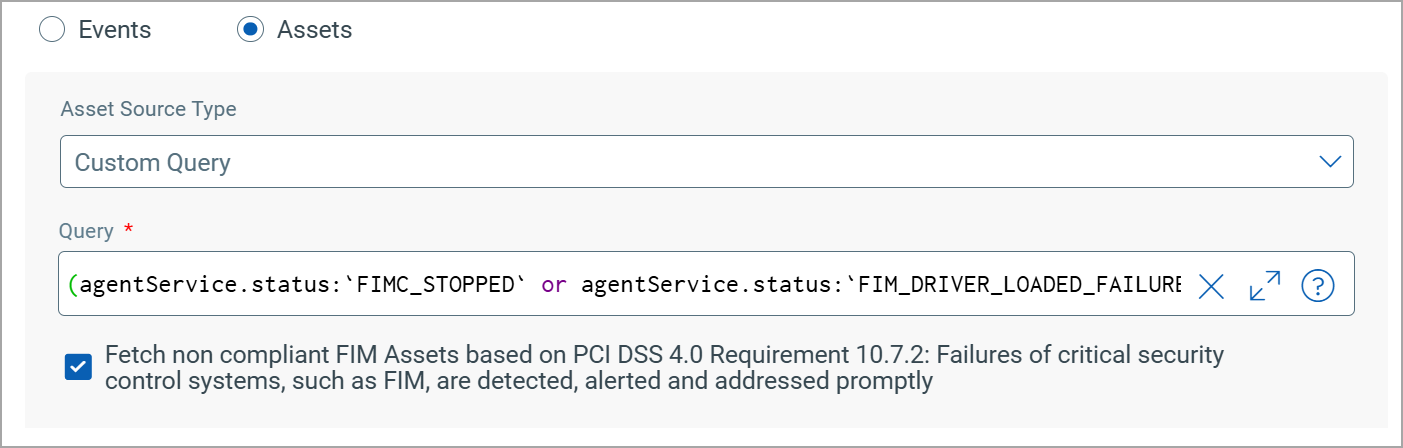
-
Non communicating Real Time Assets: This source type includes all assets that have not communicated in the last seven days.
When updating a report rule, Qualys recommends using the same Report Source that was selected during report creation. You can update the Source Type, but changing the Report Source is not supported and may lead to inconsistencies in the report data.
-
- Click Next to view the Report Output and Notification page.
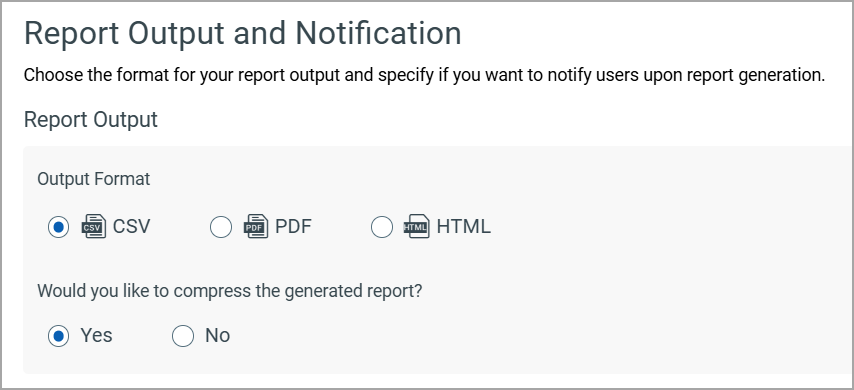
- In the Report Output and Notification page, perform the following steps:
- Select the desired report Output Format, (CSV, PDF, or HTML) for your report.
- Select Yes if you want the report to be compressed. Otherwise, click No.
-
If you want to send notifications to stakeholders when a report is generated, select the Notification checkbox.
-
Enter a Notification Subject.
-
Enter the email IDs of the stakeholders you want to notify in the To text box.
You can enter a maximum of 10 recipients. -
Optionally, in the Message Body text box, enter the email message to be sent along with the report.
The notification email includes a link to download the report from the Qualys platform.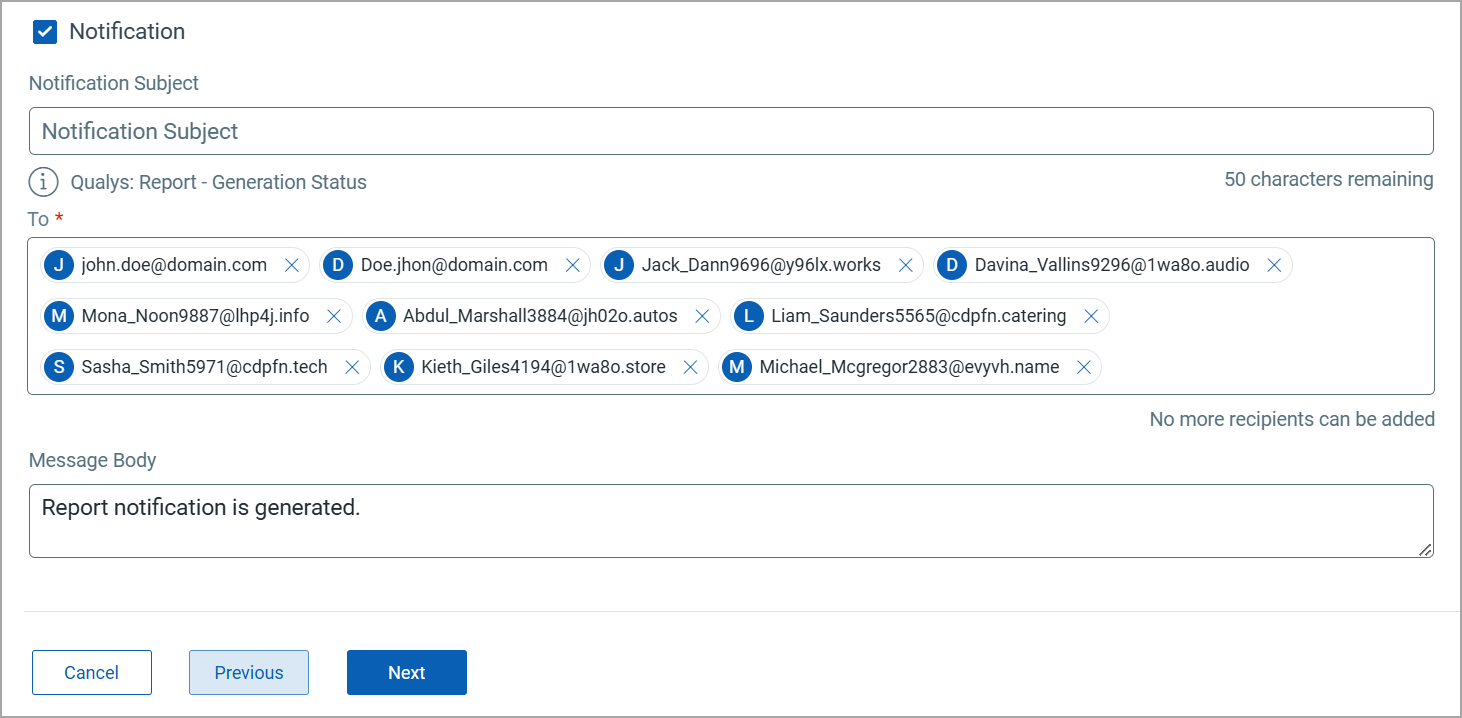
The Qualys user ID and password are required to download the report, which is valid for seven days. Ensure the report is downloaded before the link expires.
- Click Next to view the Report Schedule page.
In the Report Schedule page, if you want to schedule the report generation, you can have a one-time schedule or a recurring schedule. For more information, refer to Schedule the Report Execution.
Schedule the Report Execution
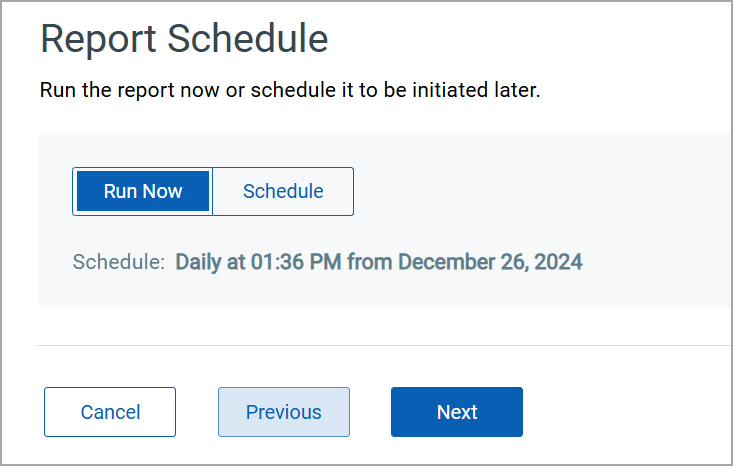
On the Report Schedule page, you can choose one of the following options to generate reports:
- Run Now: Generate the report immediately after creating the report rule.
- Schedule: Set up a recurring schedule to run the report automatically at specified intervals.
To schedule the report, follow these steps:
- To generate the report without a schedule, select Run Now and click Next.
- To set up a recurring schedule, follow these steps:
-
Click the Schedule tab.
-
Select the Recurring Job checkbox.
-
From the Repeats drop-down list, select the frequency of the report execution.
The default value selected is Daily.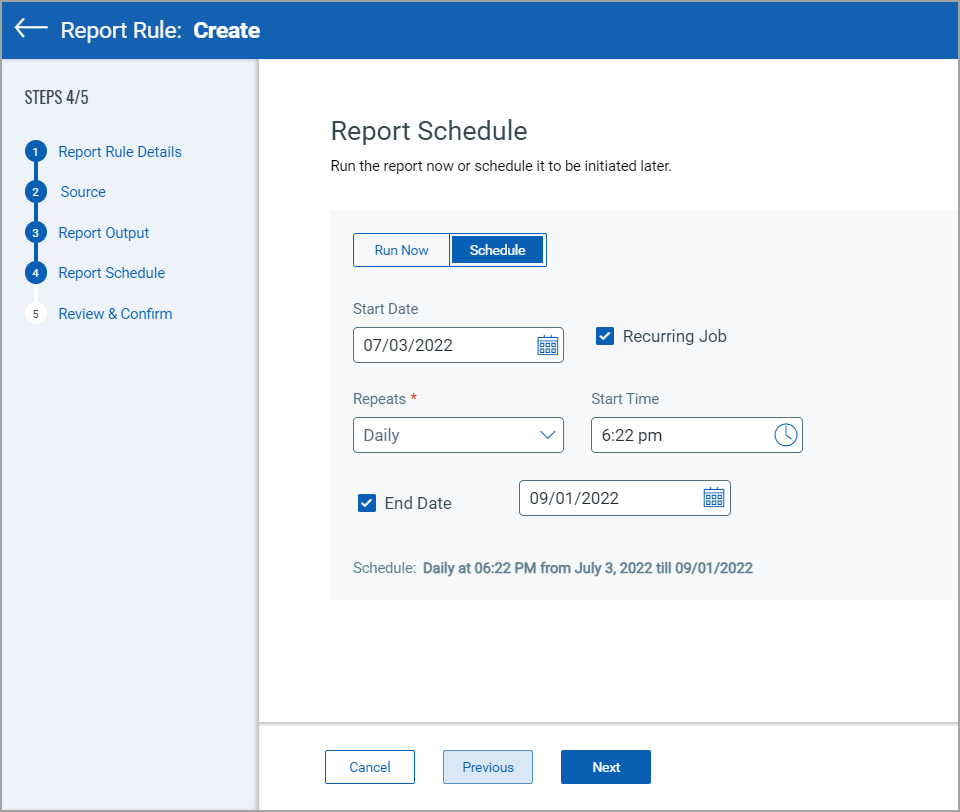
-
Select/enter the relevant inputs for options and fields that are displayed depending on the schedule you select from the Repeats drop-down list.
Schedule Options Daily
Select this option to schedule the report to run daily on the selected Start Date and Start Time.
Example:
You schedule the report to run daily at 7:00 AM, starting on 06/15/2025.
On June 15, the report runs at 7:00 AM.
Report Data: The report includes data from June 14, 7:00 AM to June 15, 7:00 AM. This means the report includes the last 24 hours of data.
Weekly
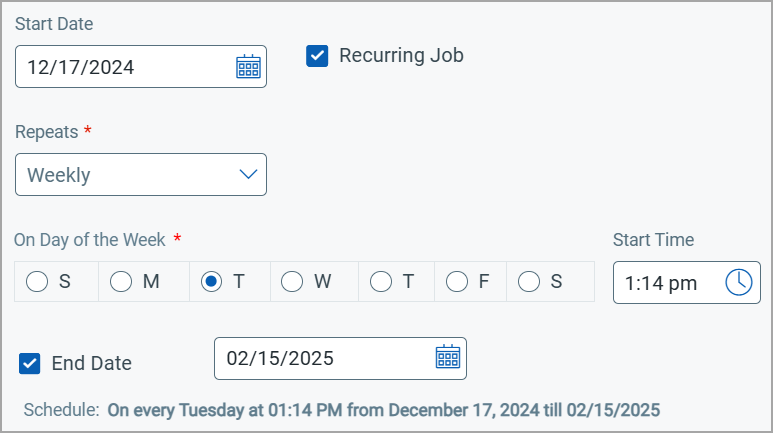
Select this option to schedule the report to run every week on the selected day.
The Start Date and Start Time indicate when the schedule begins.Example:
You schedule the report to run every Monday at 7:00 AM, starting on 06/15/2025.
On Monday, June 16, the report runs at 7:00 AM.
Report Data: The report includes data from June 09, 7:00 AM to June 16, 7:00 AM. This means the report includes the last 7 days of data.
Monthly

Select this option to schedule the report to run every month on the selected date. The Recurrence Date denotes the date the report is generated.
The Start Date and Start Time indicate when the schedule begins.
Example:
You schedule the report to run on the 15th of each month at 7:00 AM, starting on 06/15/2025.
On June 15, the report runs at 7:00 AM.
Report Data: The report includes data from May 15, 7:00 AM to June 15, 7:00 AM. This means the report includes the last 1 month of data.
Quarterly
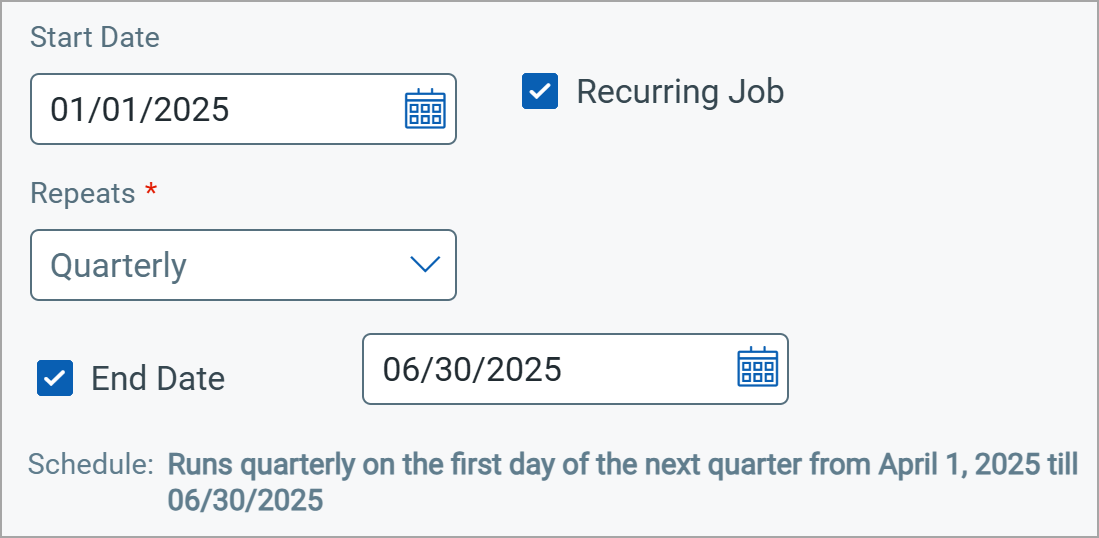
Select this option to schedule the report to run on the first day of every quarter.
The Start Date and Start Time indicate when the schedule begins.
Example:
You schedule the report to run on the first day of every quarter, starting on 06/15/2025.
The report runs on July 1st.
Report Data: The report includes data from April 1st to June 30th. This means the report includes the last 3 months of data.
Yearly
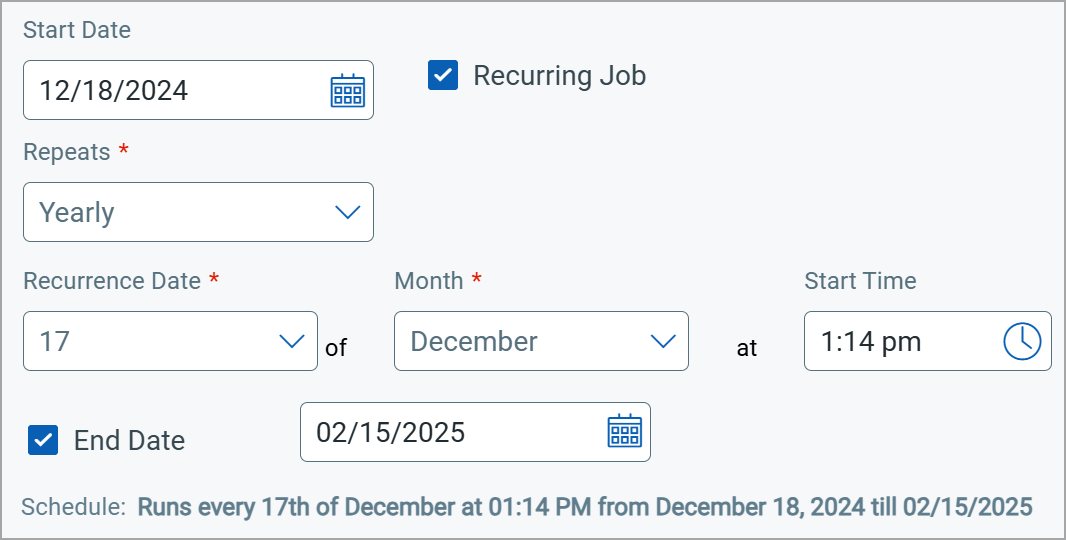
Select this option to schedule the report to run yearly on a specific day of a selected month. The Recurrence Date and Month specify when the report is generated.
The Start Date and Start Time indicate when the schedule begins.
Example:
You schedule the report to run on the 15th of June every year at 7:00 AM, starting on 06/15/2025.
On June 15, 2025, the report runs at 7:00 AM.
Report Data: The report includes data from June 14, 2024 to June 15, 2025. This means the report includes the last 1 year of data.
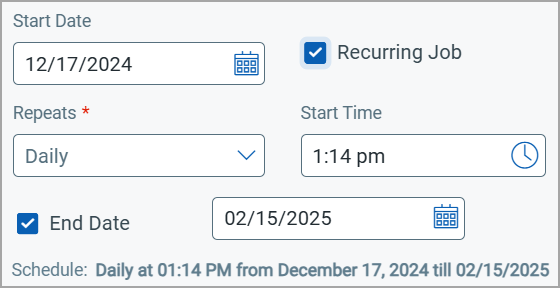
The default value for the Start Time is the current time +20 minutes. You can manually change the time if required.
- Select the End Date check box and specify the end date for the recurring schedule of the report.
The default value is the 10th day from the current date.
-
- Click Next to view the Review & Confirm page.
- Click
 to make changes in the respective pages if required.
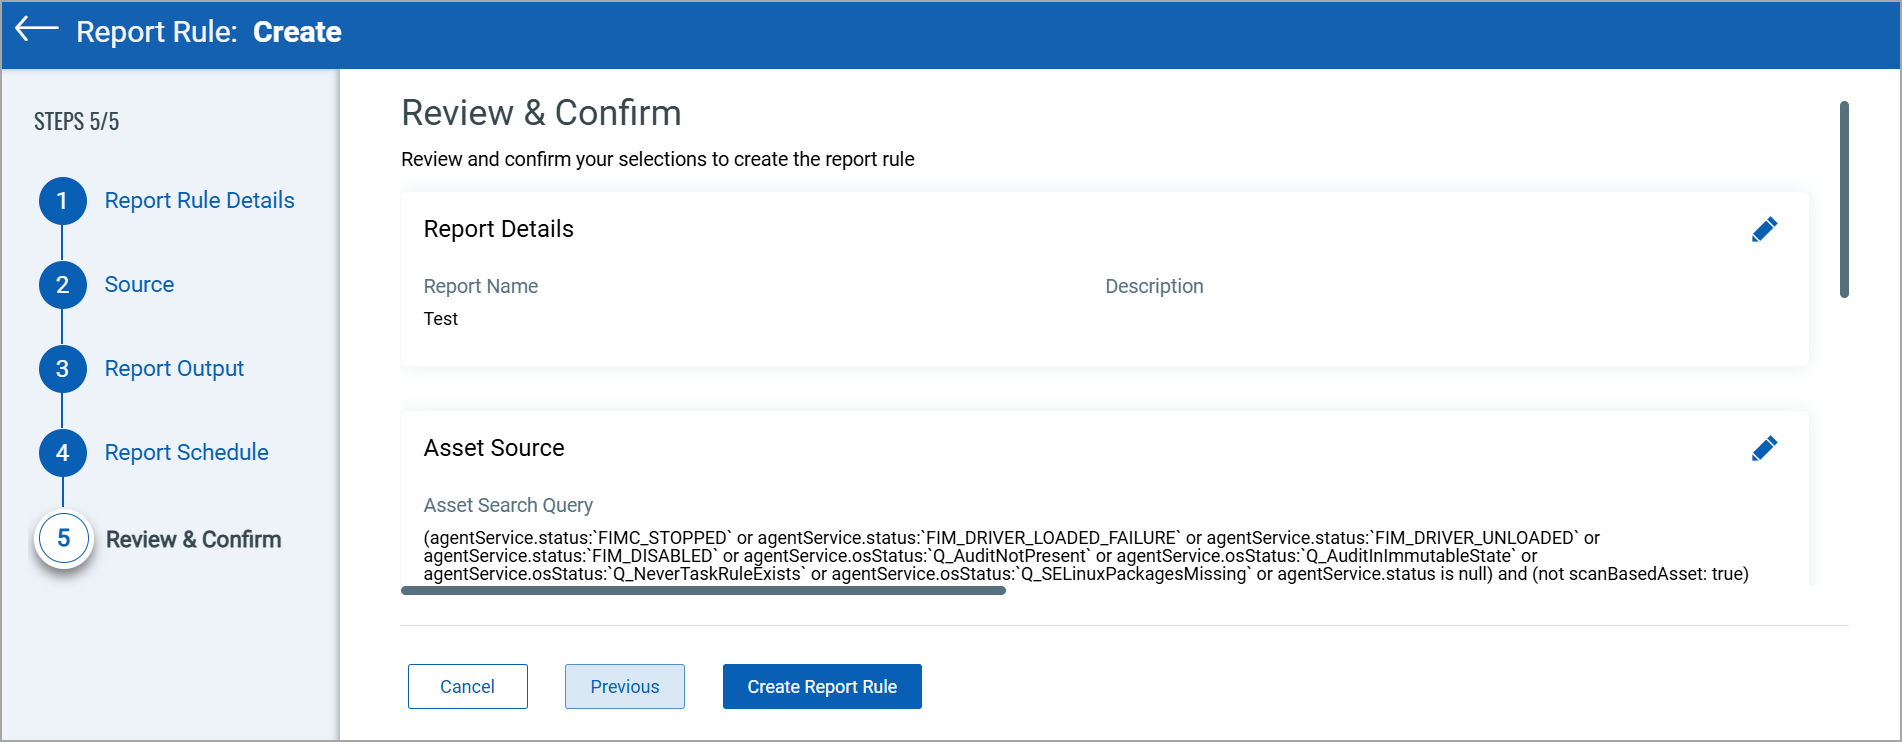
- Click Create Report Rule.
After the report rule is created, it is listed in the Report Rules tab.
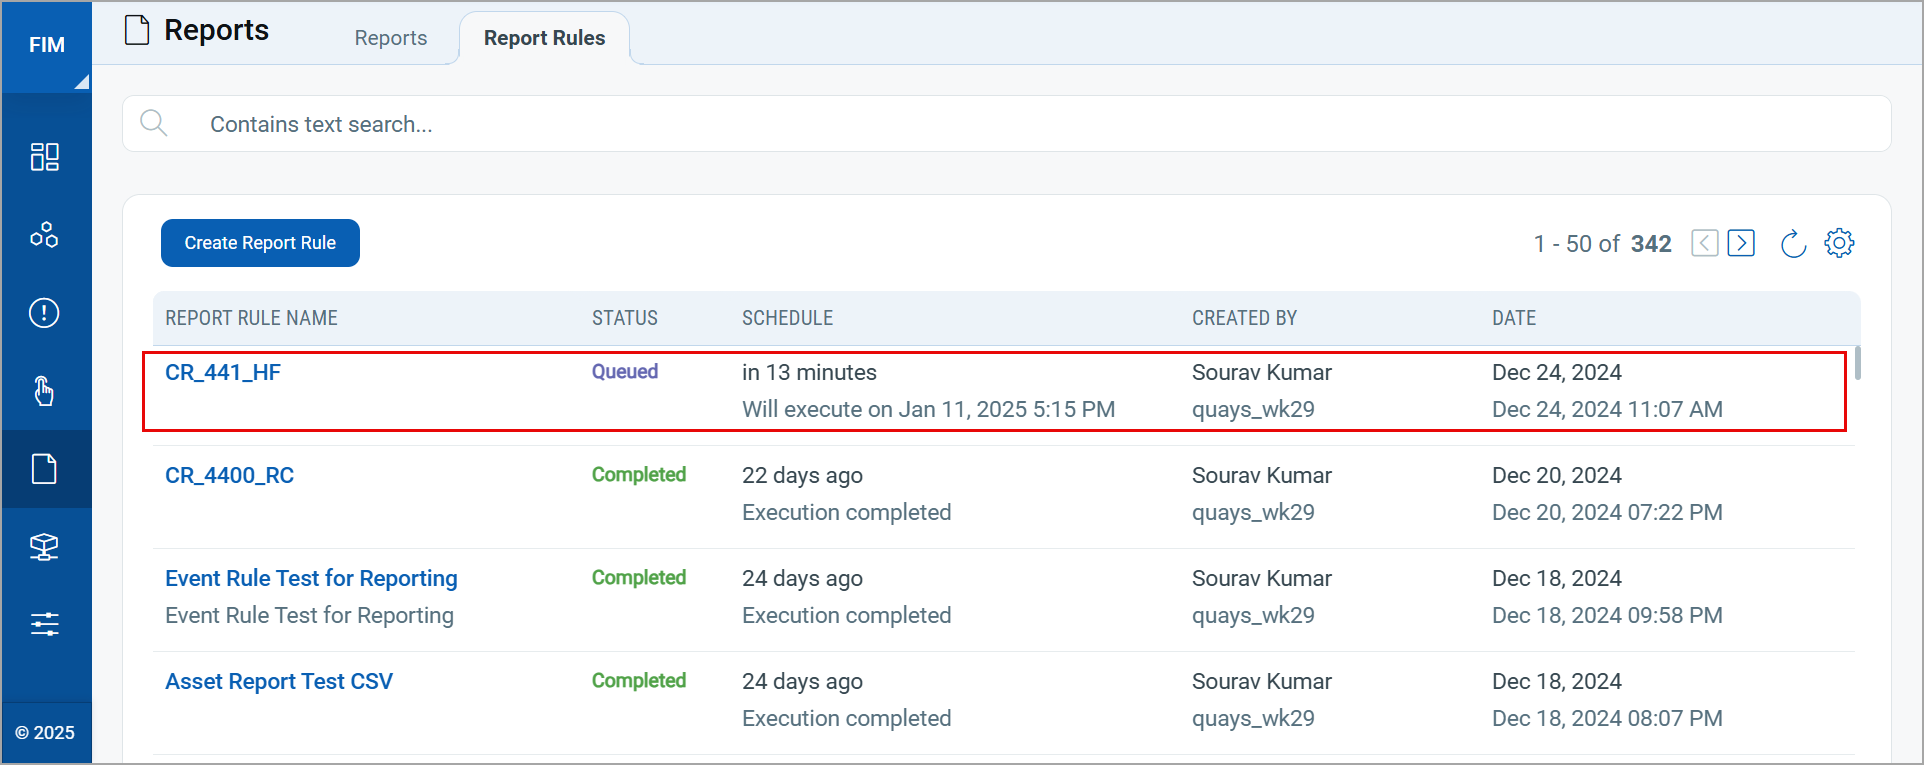
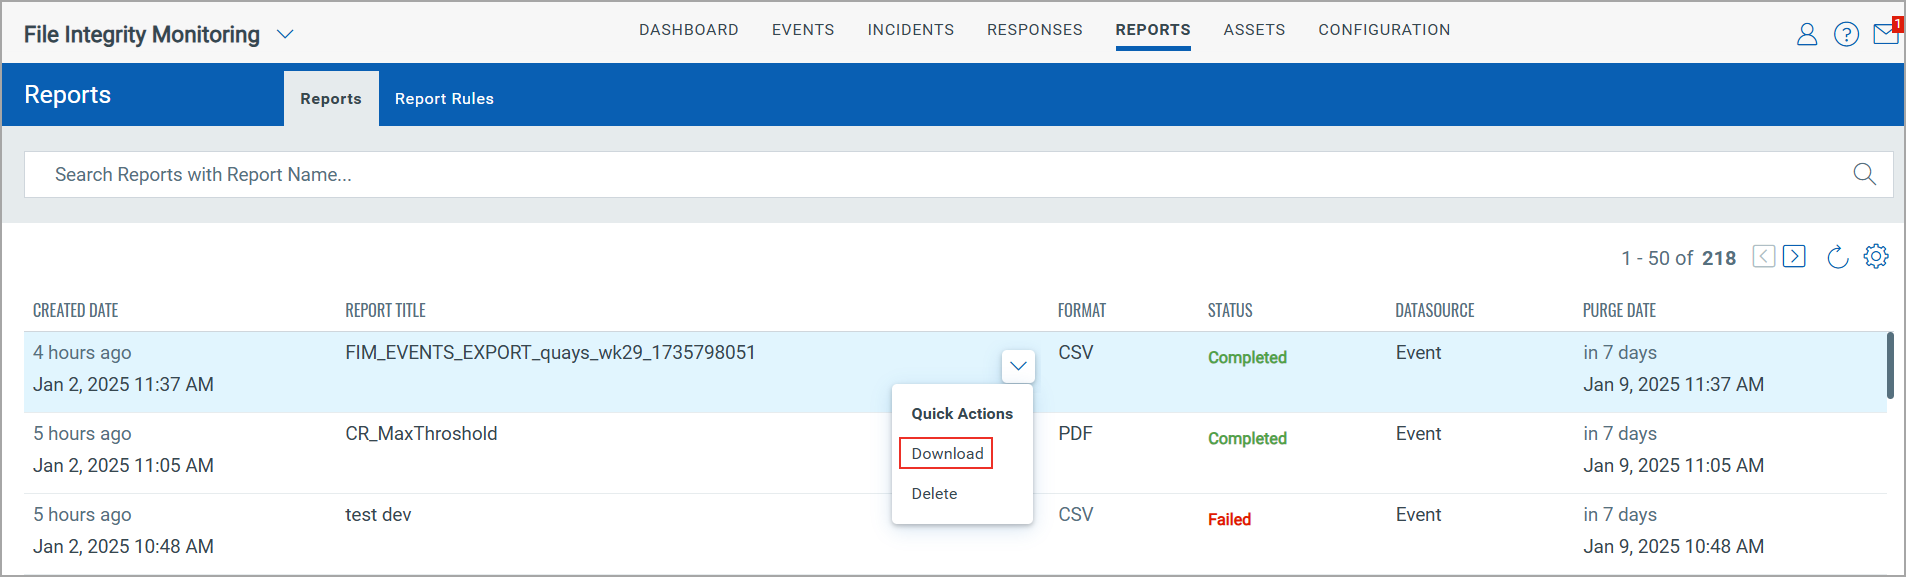
Generated reports are displayed with the Completed status in the Reports tab. You can download the report from the Quick Actions menu.
Reports with status other than Completed can be rerun. This functionality applies to all types of data sources, including event-based, asset-based, and incident-based reports.