Launch Virtual Scanner Appliance in AWS Commercial Marketplace via AWS Portal
AWS customers (US) can launch a virtual machine(VM) from the Qualys Virtual Scanner Appliance image available in AWS Marketplace via the AWS Console.
Launch an AMI instance in Amazon AWS
Qualys Virtual Scanners can be launched from the AWS marketplace or a custom AMI shared with your AWS account.
You can also launch an AMI instance using the AWS Management Console:
- Sign in to the console.
- Go to Services > EC2, and enter AMI settings per below.
Deploy the Qualys Virtual Scanner Appliance
To Launch from the AWS Marketplace, follow these steps:
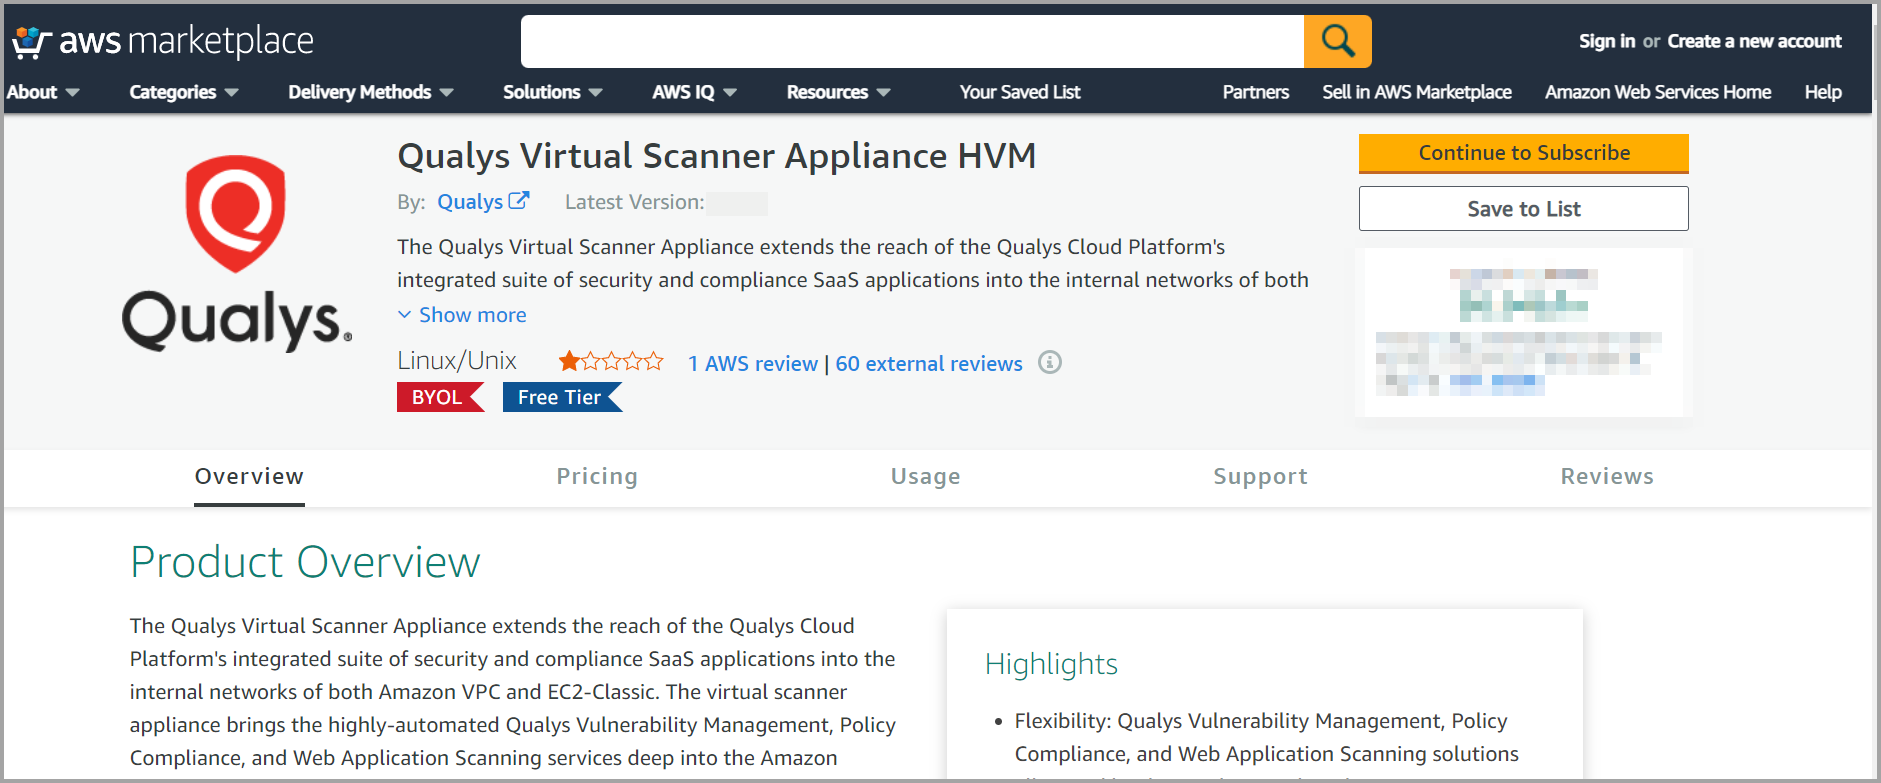
Go to Qualys Virtual Scanner Appliance page at AWS Marketplace and login to your AWS account.
AWS Marketplace: Qualys Virtual Scanner Appliance HVM
To Launch Custom AMI from AWS Console
To launch from a custom AMI that has been shared with your AWS account:
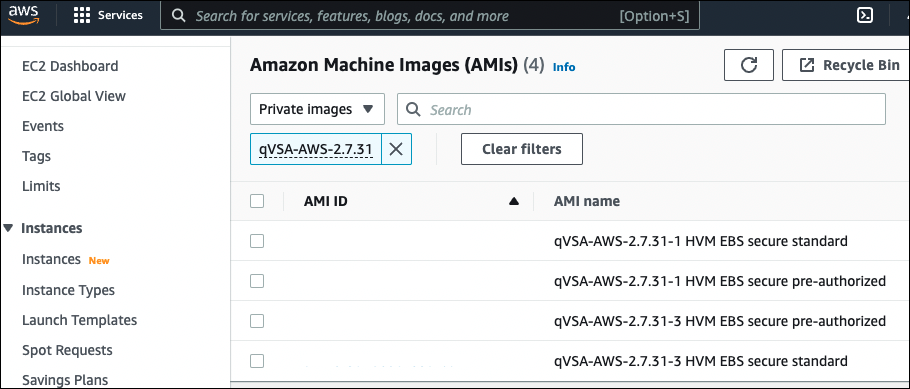
- Log in to your AWS console.
- Go to Images - AMI – Private Images.
- Enter ‘qVSA’ in the search box.
- Check all Qualys virtual scanner images shared with your account:
-
Launch the virtual scanner AMI in a region.
-
Use the wizard to enter AMI settings.
Qualys supports the V2(token required) version. In the Advanced Details section, select the Metadata version accordingly.In the User data field, you must enter the personalization code obtained from Qualys. In addition, you can configure other optional parameters.
Configuration Parameters in User Data
The following table includes the complete list of configurable parameters in user data.
Parameter
Description
Format/Example
Required
PERSCODE
Personalization code obtained from Qualys.
PERSCODE=12345678901234
Required
PROXY_URL
Proxy server details. Used when the scanner does not have direct connectivity to the Qualys Enterprise TruRisk™ Platform.
PROXY_URL=username:password@proxyhost:port
Example: PROXY_URL=jdoe:[email protected]:3128
Optional
DNS_SERVERS
Specify up to two custom DNS servers on the scanner, separated by a comma.
When configured, these DNS servers will be added at the top of the /etc/resolv.conf file. If the scanner is also configured with a DHCP lease, the DNS servers provided by the DHCP lease will be added below the custom entries.
DNS_SERVERS=dns1.example.com,dns2.example.com
Example: DNS_SERVERS=8.8.8.8,8.8.4.4
Optional
If you use a proxy server, ensure that you configure the Amazon EC2 API Proxy server settings in Qualys UI.
For more information, refer to Define Amazon EC2 API Proxy settings in Qualys UI.
Virtual Appliance Connecting to Qualys Enterprise TruRisk™ Platform
Once launched, Virtual Appliance connects to Qualys Enterprise TruRisk™ Platform. This step registers the Virtual Scanner Appliance with your Qualys account. Also, your appliance downloads all the latest software updates immediately and is ready for scanning.