Deploying Custom Image Using Command-line Tool
This section describes how to deploy a Qualys Virtual Scanner Appliance using the Google gcloud CLI tool.
- You can deploy a Custom Image using the Command-line Tool using any one of the following
- You can monitor Post-deployment progress here.
Starting with qVSA image version 4.1.82, Qualys Virtual Scanner Appliances, deployed on GCP, support the following Google Shielded VM features. To ensure proper functionality, these features must be enabled during deployment:
- Secure Boot
- Virtual TPM(vTPM)
- Integrity monitoring
For more information on how the Qualys Virtual Scanner Appliance is secured, see Scanner Appliance FAQs.
Deploying Scanner Appliance on Private Cloud Platforms (PCP) or SCPs with No Access to Google Cloud Marketplace
First, you need to create a Qualys scanner image from a qVSA image link provided to you by Qualys Operations.
Once you have created the image, you can use the gcloud tool to deploy a Qualys Virtual Scanner Appliance in Google Cloud.
This scanner, once deployed, functions as a standard Virtual Scanner and can scan based on IP address or CIDR block.
- Step 1: Create a Qualys Scanner image in GCE with the gcloud tool
- Step 2: Deploy a Qualys Virtual Scanner Appliance
Step 1: Create Qualys Scanner image in GCE with the gcloud tool
Perform the following steps to download the provided image tarball, upload it to your Google Cloud Storage bucket, and create a UEFI-compatible image suitable for Shielded VMs.
-
Download the .tar.gz file using the Signed URL / SAS URL provided to you by Qualys and save the file locally on your system.
-
Upload the downloaded file into a bucket within your own Google Cloud project. You can upload the image by using the GCP UI console or the gsuitil CLI tool.
Example:
gsutil cp qVSA-GCE.x86_64-4.1.82-1.tar.gz gs://<your-bucket-name>/Replace <your-bucket-name> with the name of your bucket.
- To ensure the image fully supports Shielded VM and performance features, you must enable the appropriate guest OS features when creating the GCP image.
This is an example gcloud command you can use.
Replace <your-bucket-name> with the name of your bucket.
gcloud compute images create shielded-qvsa-gce-x86-64-4-1-82-1 \

	    --source-uri=gs://<your-bucket-name>/qVSA-GCE.x86_64-4.1.82-1.tar.gz \

	    --family=qvsa \

	    --guest-os-features=UEFI_COMPATIBLE,VIRTIO_SCSI_MULTIQUEUE,SEV_CAPABLE,GVNIC
On our current GCP Marketplace image , the following features are supported:UEFI_COMPATIBLE, VIRTIO_SCSI_MULTIQUEUE, SEV_CAPABLE,GVNIC
Step 2: Deploy Qualys Virtual Scanner Appliance
The following gcloud command creates an instance with no service account assigned to it.
The 'metadata' option is where PERSCODE and Proxy server configuration should be specified, separated by a comma.
Use this command:
gcloud compute instances create qualys-scanner --image-project=qvsa-test --image=qvsa-gce-x86-64-4-1-82-1 --zone us-east1-b --custom-cpu=2 --custom-memory=4096MiB --metadata=PERSCODE=12345678901234,PROXY_URL=proxy_user:[email protected]:8080 --no-scopes --no-service-account
If you want to deploy a Shielded VM on GCP, you should add these three gcloud parameters:

--shielded-secure-boot \

--shielded-vtpm  \

--shielded-integrity-monitoring.
Example:
gcloud compute instances create qualys-scanner-shielded --image-project=qvsa-test --image=qvsa-gce-x86-64-4-1-82-1 --zone us-east1-b --custom-cpu=2 --custom-memory=4096MiB --metadata=PERSCODE=12345678901234,PROXY_URL=proxy_user:[email protected]:8080 --no-scopes --no-service-account --shielded-secure-boot --shielded-vtpm --shielded-integrity-monitoring
On your newly deployed Scanner VM, you should see all three secure boot options enabled:
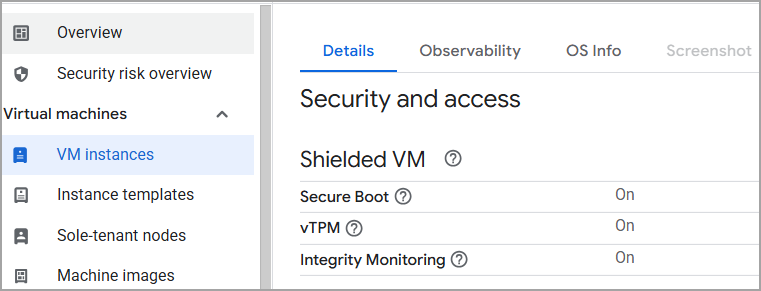
Deploying Scanner Appliance on Marketplace (SCP)
Use the following options for image family and image project to get the latest Qualys Virtual Scanner Appliance image from Marketplace:
--image-family=qvsa --image--project=qualys-gcp-security
Example:
To deploy a Virtual Scanner with the latest qVSA image, you need to specify "--image-family=qvsa --image-project=qualys-gcp-security " in your gcloud command.
Example:
gcloud compute instances create qualys-scanner --image-family=qvsa --image-project=qualys-gcp-security --zone us-east1-b --custom-cpu=2 --custom-memory=4096MiB --metadata=PERSCODE=12345678901234,PROXY_URL=proxy_user:[email protected]:8080 --no-scopes --no-service-account
If you want to deploy a Shielded VM on GCP, you should add these three gcloud parameters:
--shielded-secure-boot \

--shielded-vtpm  \

--shielded-integrity-monitoring.
gcloud compute instances create qualys-scanner --image-family=qvsa --image-project=qualys-gcp-security --zone us-east1-b --custom-cpu=2 --custom-memory=4096MiB --metadata=PERSCODE=12345678901234,PROXY_URL=proxy_user:[email protected]:8080 --no-scopes --no-service-account --shielded-secure-boot --shielded-vtpm --shielded-integrity-monitoring
- For generating Perscode through API, refer to the Add new virtual scanner API from the VM API documentation.
- You receive an 'Activation Code' in the API response, referred to as 'perscode' in the case of the Scanner Appliance.
To deploy Qualys Virtual Scanner Appliance using the latest Marketplace image via Google Cloud CLI
Use the following command:
gcloud compute images list --filter="family=qvsa" --project qualys-gcp-security --sort-by=~creationTimestamp --limit=1 --uri
Post-deployment Progress and Monitoring
Deployment of the Qualys Virtual Scanner Appliance may take up to 10 minutes to complete. Once deployment is complete, the appliance automatically connects to the Qualys Enterprise TruRisk™ Platform for registration. After registration, the appliance downloads the latest software and vulnerability signatures to ensure it is equipped with the most current information.
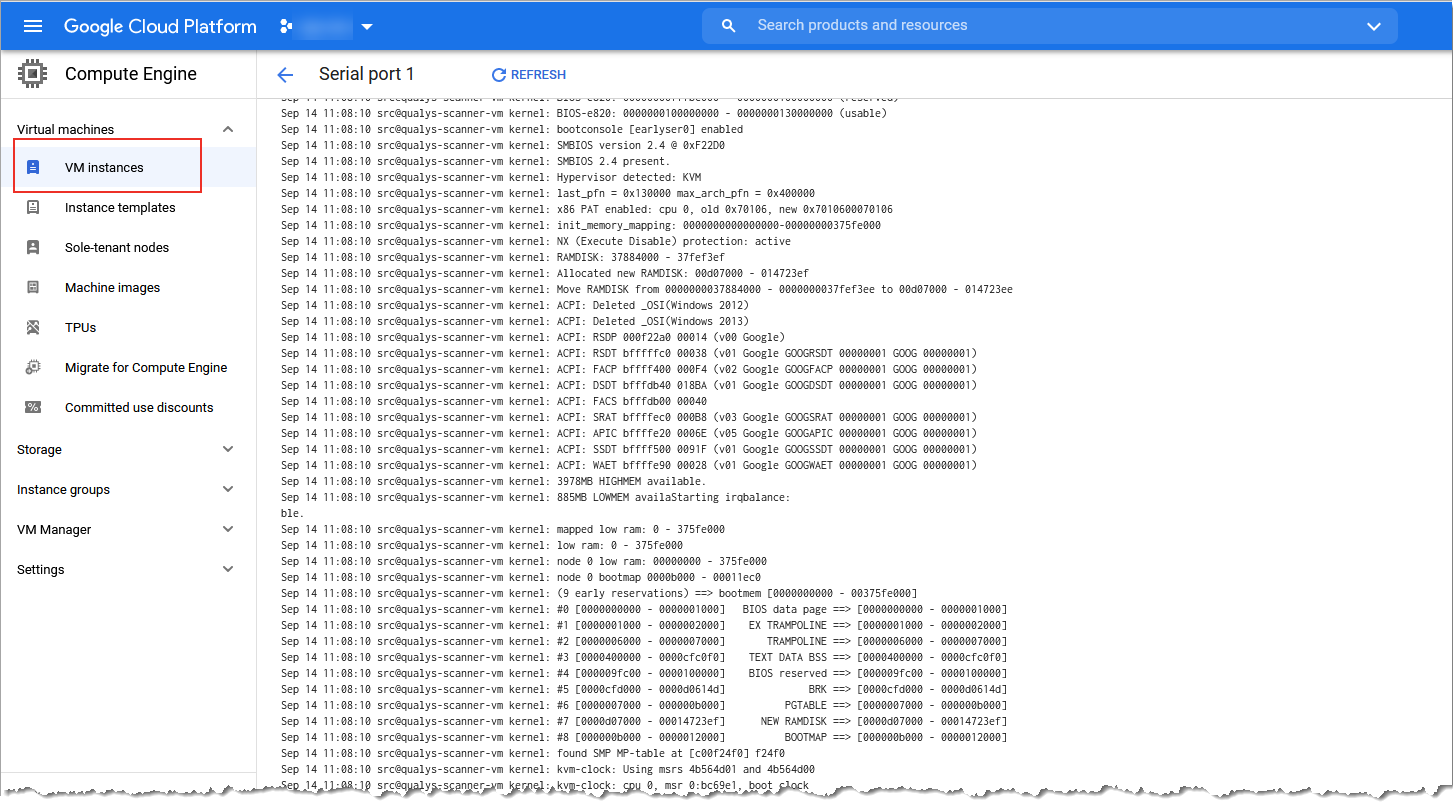
You can monitor the progress of the instance creation in the GCE VM instances.
To view further progress on the appliance configuration or to diagnose any issues, refer to the serial console output.
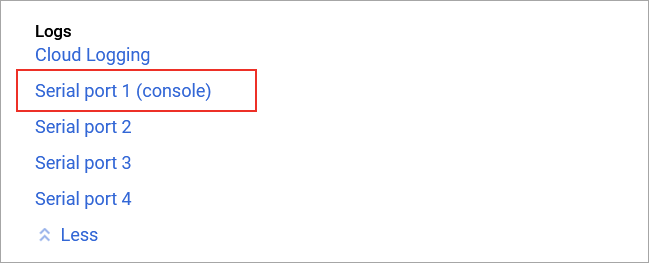
Click 'Serial port 1 (console)' in the logs section.
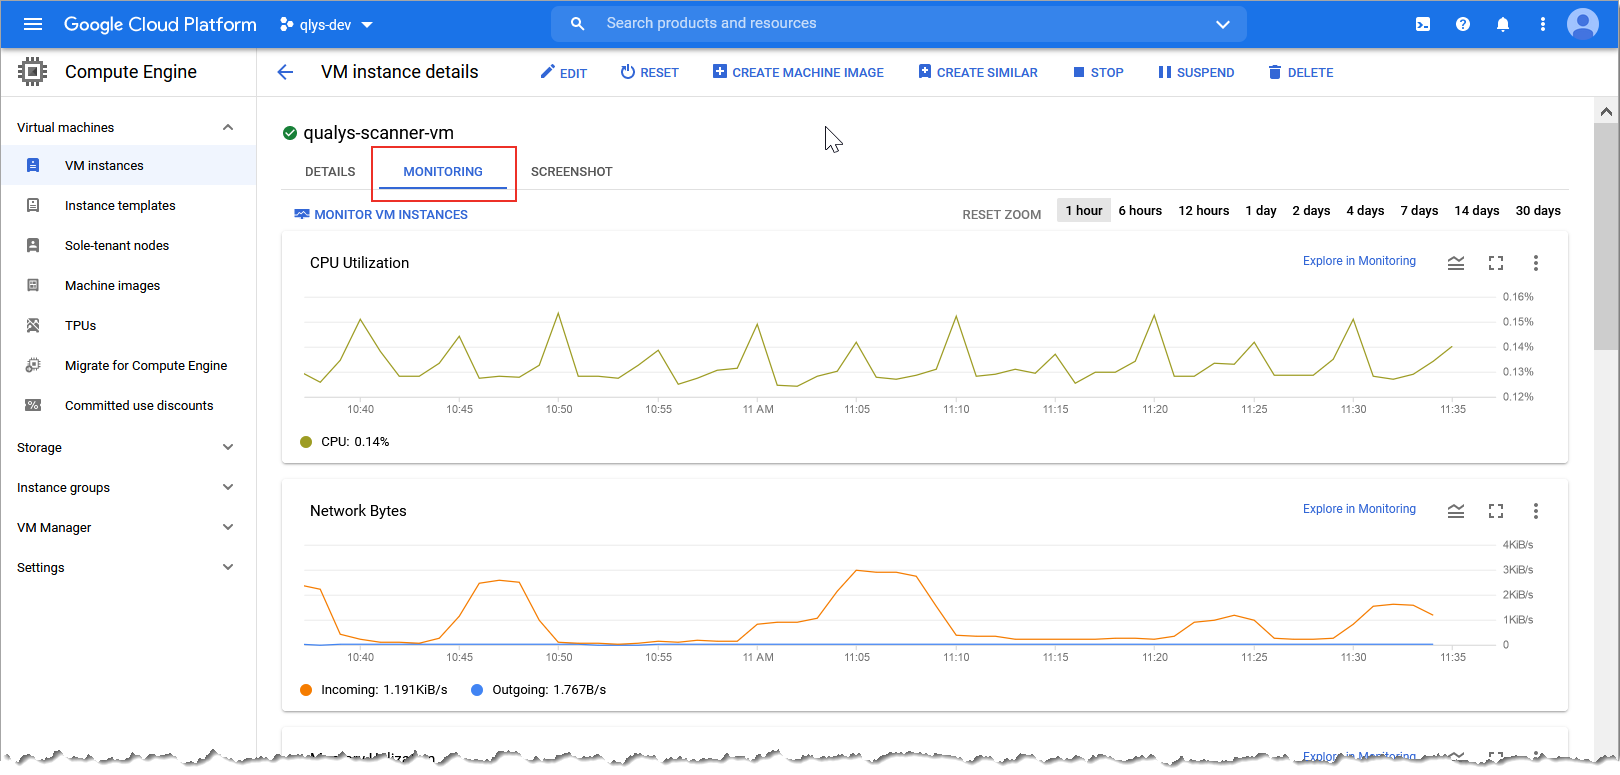
In Google Compute Engine (GCE), you can also check VM status graphs, for instance, resources such as CPU Utilization, Disk IO, and Network status:
From the Qualys Enterprise TruRisk™ Platform UI, you can check the activation status of your Qualys Virtual Scanner Appliance. Click "Check Activation" in the "Add New Virtual Scanner" dialog from which you copied the personalization code.
Learn more about Generating a Personalization Code.
