Download and Install the Plugin
Perform the following steps to download and install the plugin.
The installation is now complete. Read on to learn how to configure the plugin.
-
Download the plugin from the Qualys Community page.
The plugin comes in the form of a zip file.
- Log into your TeamCity instance.
- Go to Administration.
- Click Plugins List.
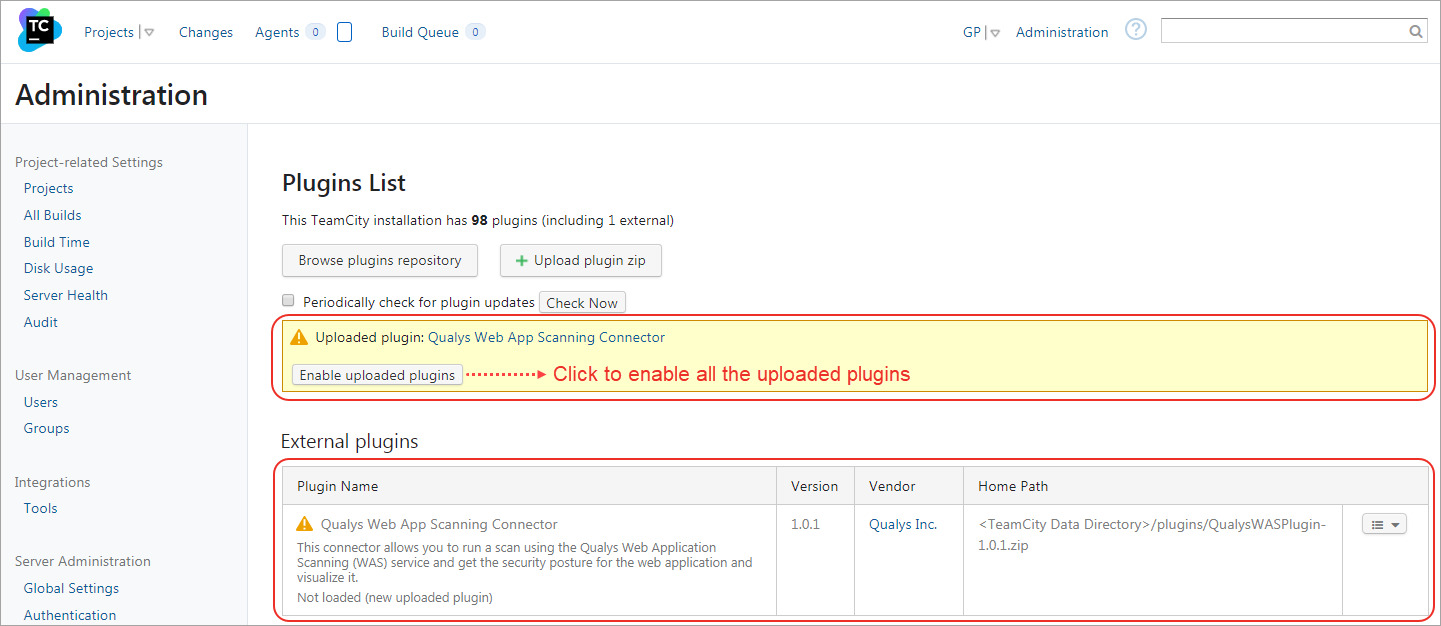
- On the Plugins List page, click Upload plugin zip.

-
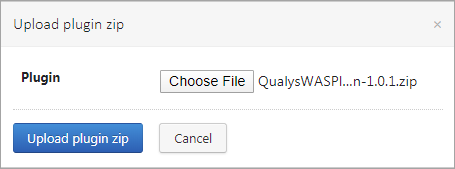
On the Upload plugin zip screen, choose the plugin zip file and click Upload plugin zip.
After uploading the plugin installation file, you can see the plugin listed under the External plugins section. A message is shown to enable uploaded plugins.
-
Click Enable uploaded plugins.
-
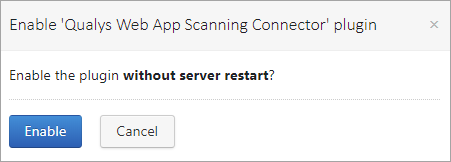
Optionally, if you want to enable only Qualys Web App Scanning Connector, go to the row displaying it in the table under the External Plugins section, click the drop-down in the last column, and select Enable.

-
The plugin is enabled without restarting the server. If you want to restart the server and enable the plugin, click Cancel.
External Plugins