Configure Policy Report Templates
Use report templates to create reports on one or more compliance policies. You can choose an existing template we provide as a starting point, or you can create custom reports by telling us all the settings.
Create new template
To create a new template, navigate to Reports > Templates > New > Policy Template.
Edit existing template
To edit existing templates, navigate to
- Reports > Templates.
- Select the template to be edited > Quick Actions > Edit.
We recommend you save a copy (Select Save As) after making edits.
Make globally available a template
Managers and Unit Managers can select this option to make a template globally available to all users. Once published as a global template, users have the option to save personal copies of the template and can use them as the basis for creating new, custom templates.
Permissions - When selected by a Unit Manager, the template is available to all users in the business unit. When selected by a Manager, the template is available to all users in the subscription.
Tell me about the owner for a template
The user who created the report template is the owner by default. Managers and Unit Managers have the option to change the owner by editing the template.
Owner of Global Report Template
|
User Taking Action |
Current Owner |
Possible New Owner |
|
Manager |
Manager in the Unassigned business unit |
Manager in the Unassigned business unit |
|
Manager |
Unit Manager in a custom business unit |
Manager in the Unassigned business unit |
|
Unit Manager |
Unit Manager in a custom business unit |
Unit Manager in the same business unit as the current owner |
Owner of Non-Global Report Template
Non-global report templates may be owned by Managers, Unit Managers, Scanners, and Readers.
|
User Taking Action |
Current Owner |
Possible New Owner |
|
Manager |
Manager, Scanner or Reader in the Unassigned business unit |
Manager, Scanner or Reader in the Unassigned business unit |
|
Manager |
Unit Manager, Scanner or Reader in a custom business unit |
Manager in the Unassigned business unit |
|
Unit Manager |
Unit Manager, Scanner or Reader in a custom business unit |
Unit Manager, Scanner or Reader in the same business unit as the current owner |
Timeframe selection
To show compliance data for hosts, the following two options are available:
- Show only hosts that have been scanned during the specified period of time - Use this option to only show compliance data for hosts scanned within a certain timeframe. The report summary, host statistics and detailed results sections of your report will be based on the timeframe you specify (under Layout in the template).
- Show only hosts that have been last updated during the specified period of time. For CSV Reports Only - Use this option to only show compliance data for hosts evaluated within a certain timeframe in the report downloaded in CSV format. The report summary, host statistics and detailed results sections of your report will be based on the timeframe you specify (under Layout in the template).
This option is available only for the Policy Audit report in CSV format.
The trend summary and trend graphs are based on the Trend Duration setting (under Trending in the template).
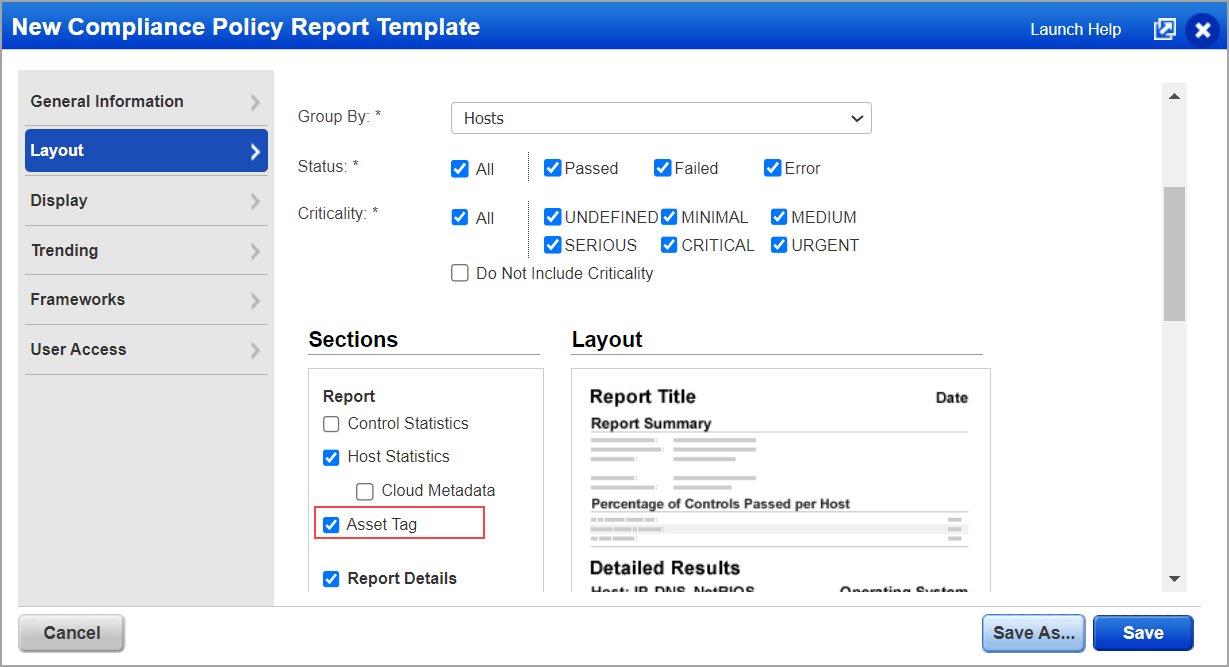
Asset Tag for CSV Reports Only
Using this option, you can include asset tag information in CSV policy reports generated using PCRS.
This option is applicable only when PCRS reporting is enabled. If PCRS is not enabled, this setting does not control the display of asset tags in the CSV report, and asset tags will appear in it. To enable Asset Tag for CSV Reports Only, navigate to:
- Reports > Templates > New > Policy Template > Layout.
- Under Report, enable Asset Tag for CSV Reports Only.
- This option is available only for the policy reports in CSV format.
- To use this feature, it is necessary to have Cloud Platform v10.25 installed.
- For existing policy report templates, this option is not selected by default. If you generate a report using the existing template, the asset tag information will be shown in the CSV report. However, if you modify the existing template for different settings and leave the Asset Tag for CSV Reports Only option unselected, and subsequently generate a report using this modified template, the CSV report will not include asset tag information.
- For new templates, this option is selected by default.
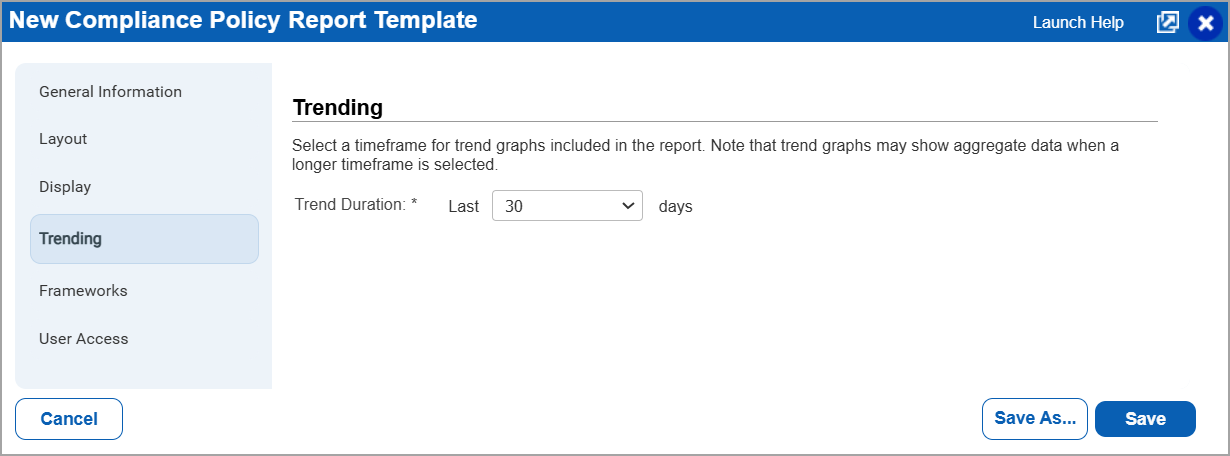
Trend Duration
Your report includes a trend summary and over time trend graphs based on the trend duration you select in the template (under Trending). Trend data for the last 30 days is included by default, but you can adjust this timeframe to be longer or shorter. To enable the Trend Duration, navigate to:
Reports > Templates > New > Policy Template > Trending.
The report summary, host statistics, and detailed results sections of the report are based on the timeframe selection set in the template (under Layout).
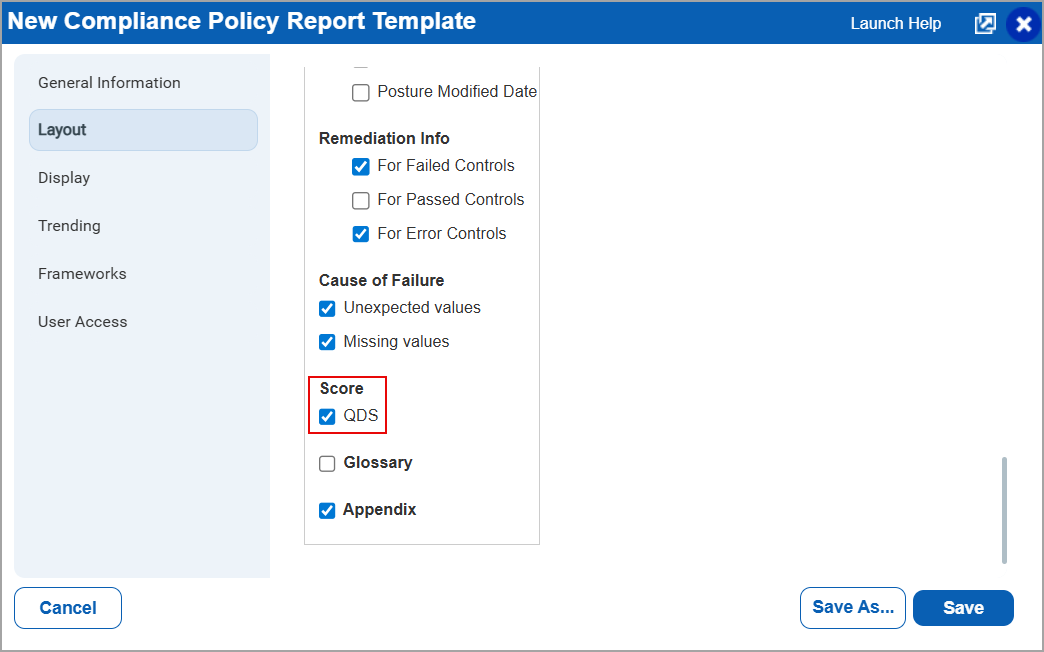
View QDS in Downloaded Compliance Reports
Using this option, you can display the Qualys Detection Score (QDS) in the downloaded CSV, HTML, PDF, and XML reports format. To enable the QDS column in the downloaded reports:
- Navigate to Reports > Templates > New > Policy Template > Layout.
- Under Score, enable QDS.
This displays QDS in the downloaded reports.
- The QDS option is displayed only for the Policy templates Group by Host and Group by Control options.
- For CSV report format type policy templates, the QDS option is displayed for the Group by Control References template type as well.
Tell me about the Criticality Option
Every control is assigned a criticality level or is considered Undefined when there is no criticality assigned.
In the template under Report Layout > Criticality, choose which criticality levels to show in the report. By default, all the criticality levels are selected. If you choose Do Not Include Criticality then the criticality option is not included in the report. The Criticality column does not appear in the Control Statistics section of the report, and the 2 pie charts with the total number of passed and failed controls at each criticality level will not appear in the report.
Learn more about control criticality for PA accounts
Show Cloud Metadata for AWS Assets
By default, your report does not include cloud metadata. If you want to show cloud metadata for AWS assets, select the Cloud Metadata check box under Layout > Sections > Host Statistics.
When enabled, you will see the following cloud metadata for each AWS asset in your report (all formats):
- Cloud Provider
- Cloud Service
- Cloud Resource ID
- Cloud Resource Type
- Cloud Account ID
- Cloud Image ID
- Cloud Resource Metadata
Cloud Resource Metadata for AWS includes: Public IP Address, Private IP Address, VPC ID, Subnet ID, Instance Type, Instance State, Group Name, Group ID, Region Code, Availability Zone, Reservation ID, Is Spot Instance, Local Hostname, MAC Address, Private DNS Name, and Public DNS Name.
Hiding Scan parameters in Reports
By default, your report shows the scan parameters for controls. If you want to hide scan parameters, uncheck the Scan Parameter check box. You find it under Layout > Sections > Control > Evidence.
Tell me about the custom folder
In the custom folder you can add required information like a disclosure statement or data classification (such as Public or Confidential). The text you enter appears in all reports generated from this template, except reports in XML and CSV formats.
Next steps after creating a report template
On creating a report template, you can perform the following:
Launch a report
Create a new report using the report template you've configured. Go to Reports > Templates, select your template in the list, and then select Run from the menu. You can also go to Reports > Reports > New.
Schedule a report
Schedule your report to run automatically - daily, weekly, or monthly - and you get the most up to date vulnerability data with the most accurate trends.
Related Topics
Use our Compliance Scorecard Report to report on multiple policies in a single report.