Creating Patch Job for Linux Assets
Before you go ahead with patch job creation for Linux assets, go through Managing Patch Jobs for Linux Assets, wherein the details about patch jobs for Linux assets, such as supported versions, considerations, and prerequisites are mentioned.
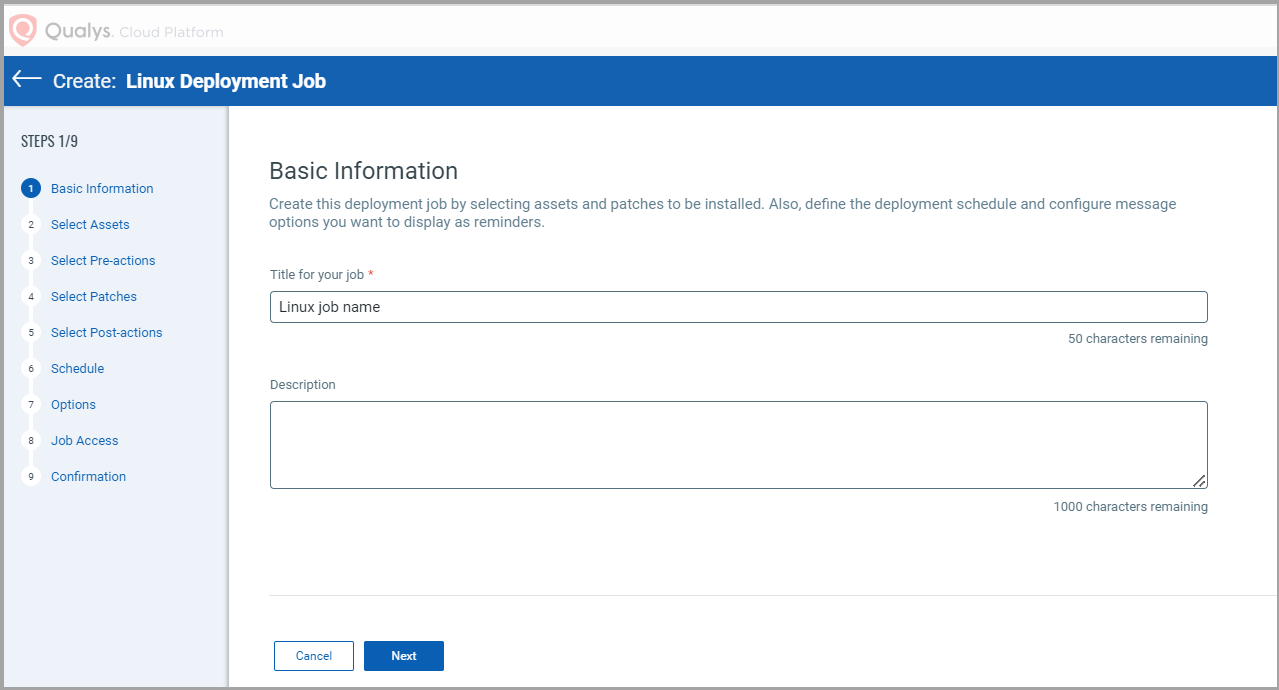
1. Navigate to Jobs > Linux > Create Job.
2. On the Basic Information page, enter a job title and description and then click Next.
3. (Optional) Select Add Exclusion Assets check box to exclude specific assets from the deployment job.
Note: You can include and exclude a maximum of 50 assets from a job.
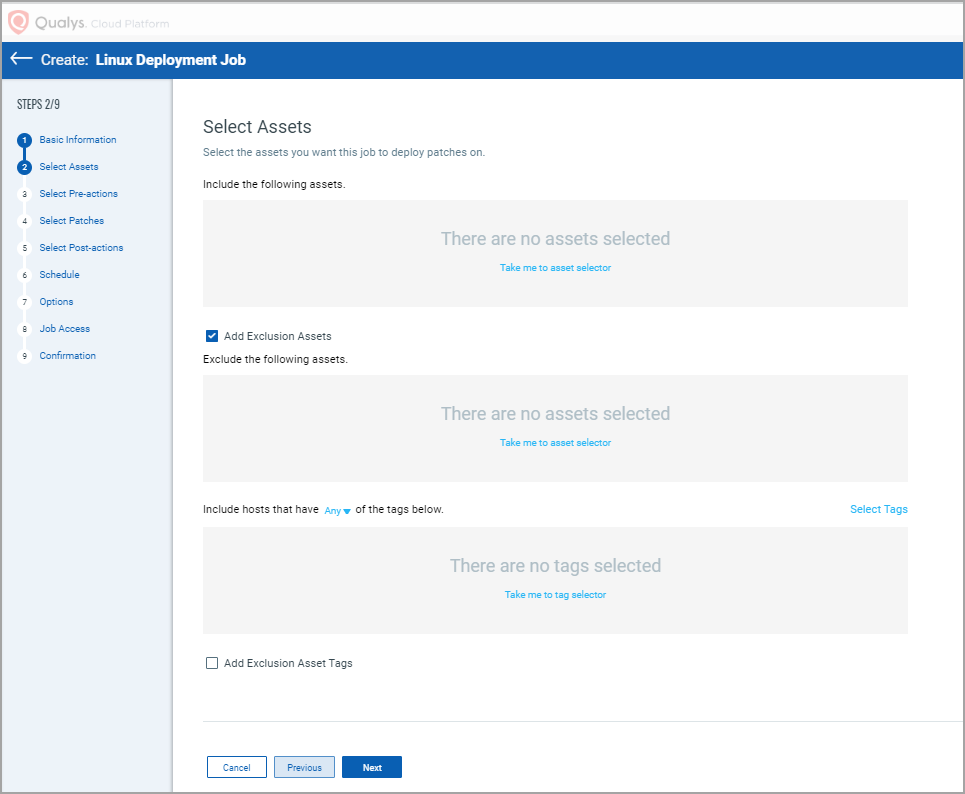
Note: Based on the selected options, the final list of assets is calculated taking into consideration included and excluded assets tags and included and excluded assets.
4. Select assets or asset tags on which you want to apply patches and click Next.
Note: You can include and exclude a maximum of 50 asset tags from a job.
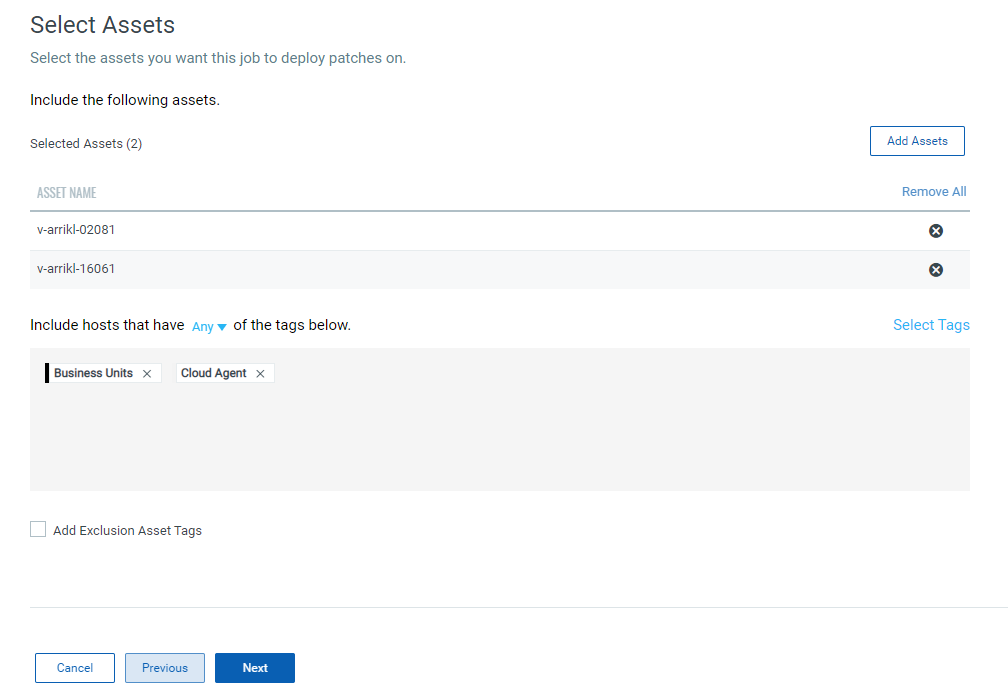
5. (Optional) If you want to exclude the assets with All and Any tags from the deployment job, select the Add Exclusion Asset Tags check box and then select one of the following options and click Next.
- Any – to include assets that have any of the selected tags
- All – to include only those assets that have all the selected tags
The patches are deployed on the selected tags only for assets that are contained in the user's scope.
Note: To understand how final assets are determined for a job, see Which Assets are Included in a Job.
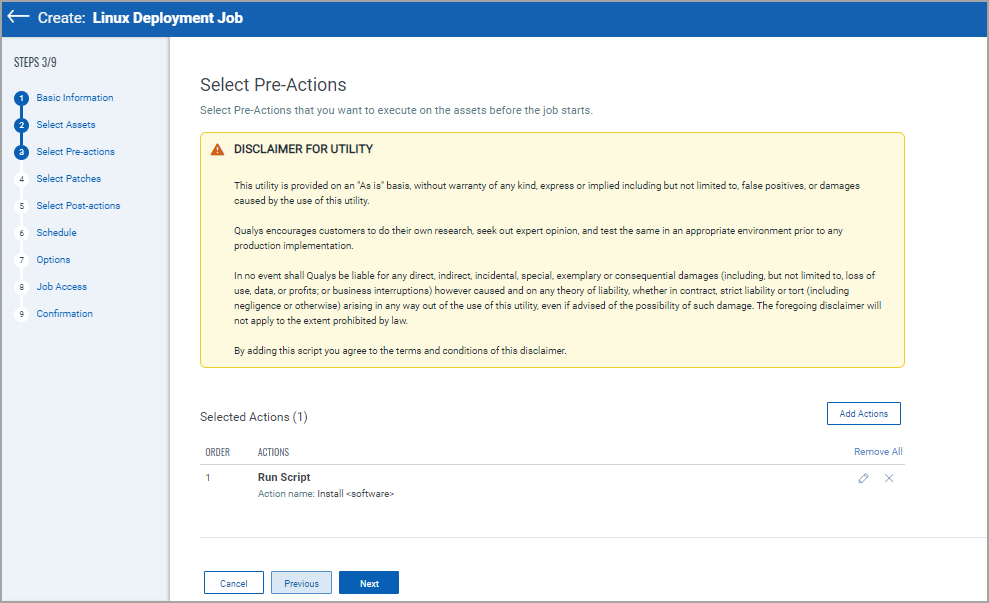
6. Select Pre-action that you want to execute on assets before the job starts. For more information, see About Pre-Actions and Post-Actions.
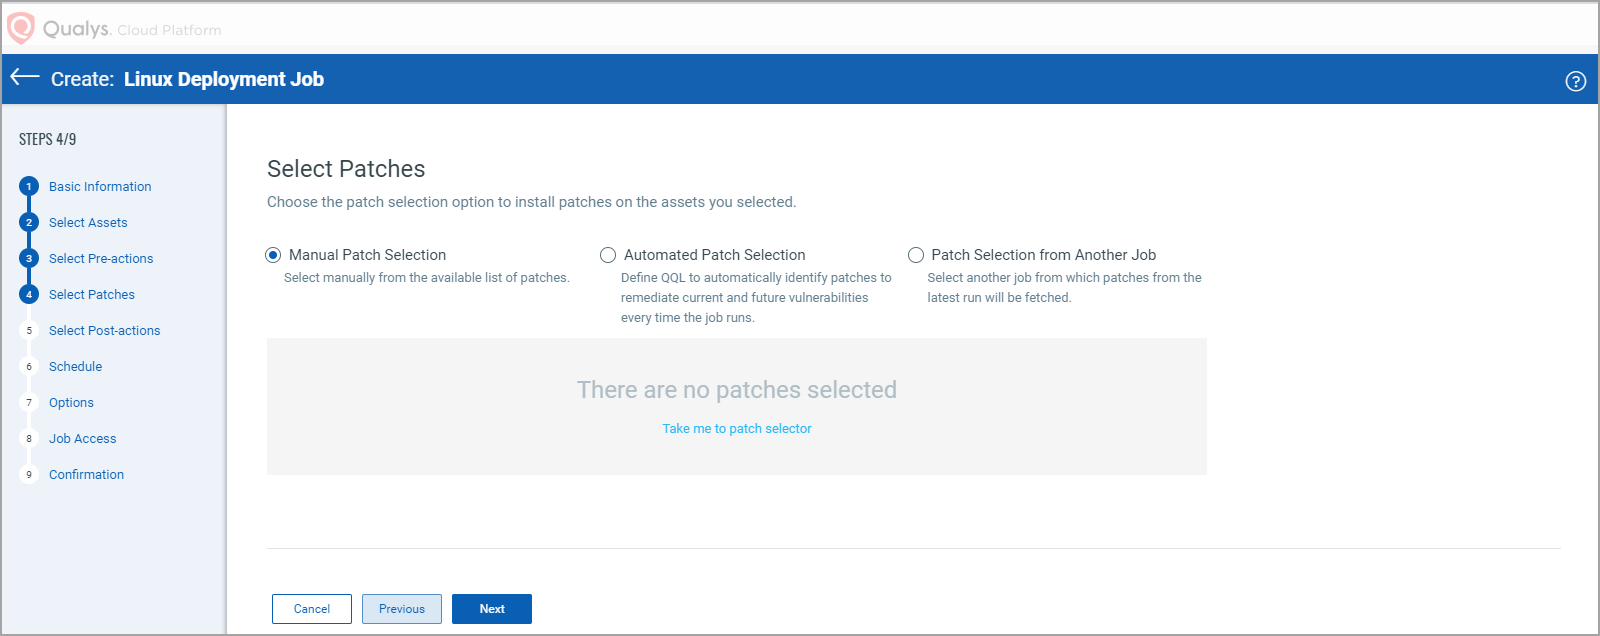
7. Select patches to apply to the assets. You can select one of the following patch selection options:
- Manual Patch Selection
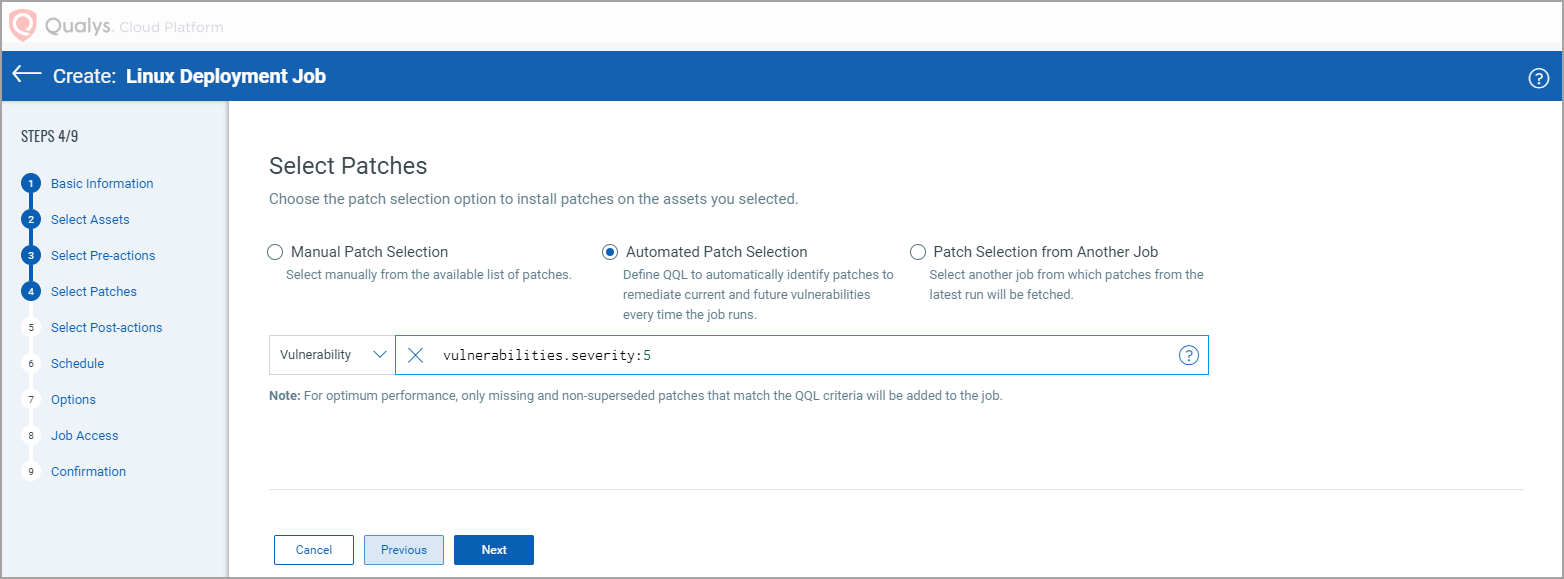
- Automated Patch Selection
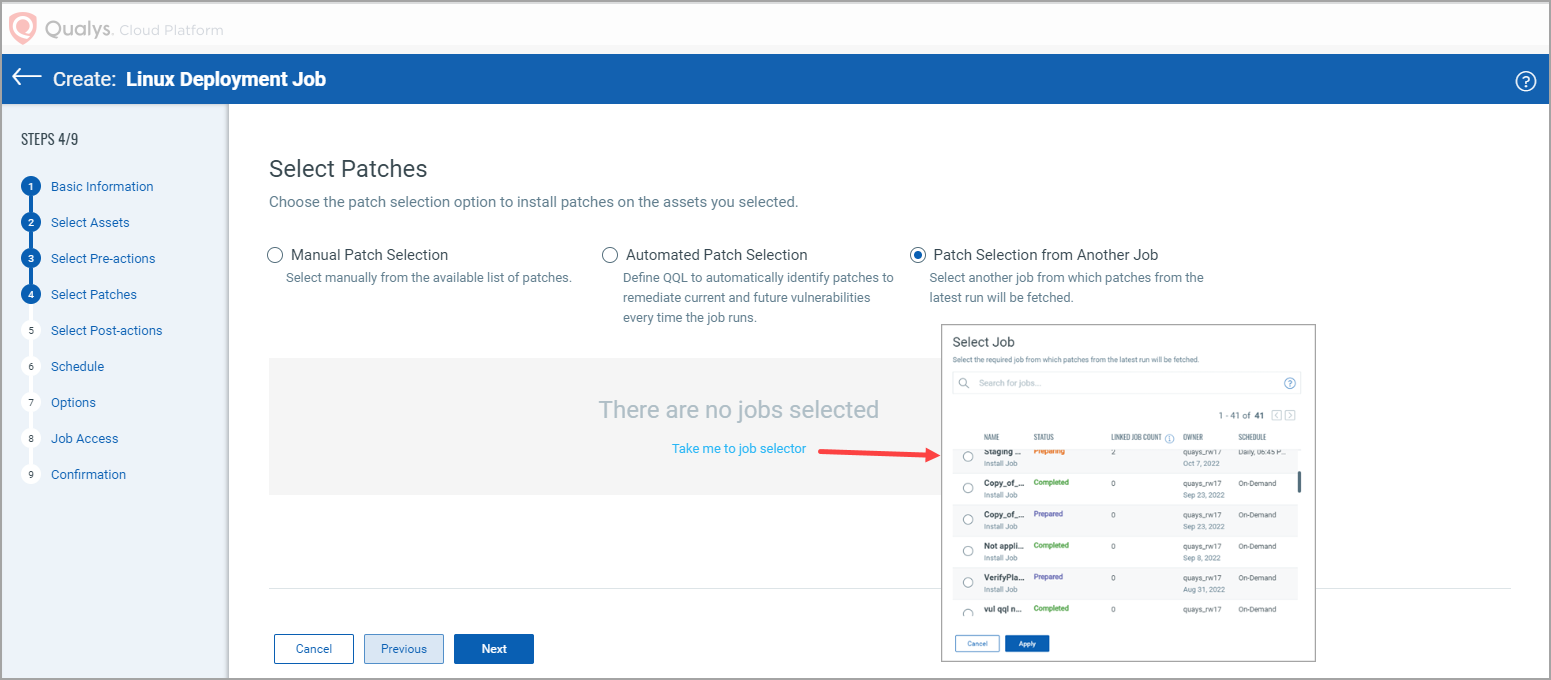
- Patch Selection from Another Job
After you select the Manual Patch Selection option, click the Take me to patch selector link to select patches. On the ‘Patch Selector page’ you can use the Within Scope option to view missing patches within the scope of the selected assets or view all available patches. Select the desired patches and click Add to Job and then click Close.
On the Select Patches pane of the deployment job wizard, click Available Patches if you want to add more patches to the job.
You can use the Qualys Query Language (QQL) to create a criteria to automate the patches that need to be installed for a job based on vulnerabilities or patches. The query can be used for run-once and recurring jobs. You cannot use a combination of a QQL and Patch list to select patches that are added to a job. You must create a job that is executed based on the query or select the patches from the Patch List.
Note: You can use vulnerability tokens to create a QQL-based job only if you have a subscription for the VMDR app. You can use the RTI tokens only if you have an active subscription for the Threat Protection app.
Want to add patches later? Go to the Patches tab, and select one or more patches, then from the Quick Actions Menu of a single patch or from the Actions menu (bulk actions) click Add to Existing Job or click Add to New Job. You cannot add patches later to On-Demand or run-once (non recurring) jobs once they are enabled.
Note that when you modify a patch job using the Add to Existing Job option from the Patches tab, you can add patches, but cannot add target assets or asset tags. To apply patches to an asset that is not added to the job, you can 1) edit an existing job from the Jobs tab, 2) select the asset from the Assets tab and use the Add to Existing Job option, or 3) create a new patch job for that asset.
Note: You can add maximum 2000 patches to a single job. Create another job to add patches above 2000. You can choose to run the scheduled job daily, weekly, or monthly.
After you select the Patch Selection from Another Job option, click the Take me to job selector link. From the 'Select Job' Window, select the job from which you want to fetch the patches from its latest run and click Apply.
Note:
- After you select and apply the job from which you want to fetch the patches from its latest run, its run cycles details, such as the previous run and the next run are shown. The run cycles details are not shown for Run Once and On-demand jobs and jobs with the Disabled status.
- If the selected job has unresolved patches, no patches will be fetched for the job that you create. Also, when you view the job progress of the job that you created, the status will be shown as 'No patch available'.

After selecting the required patches by using the options that are explained, click Next.
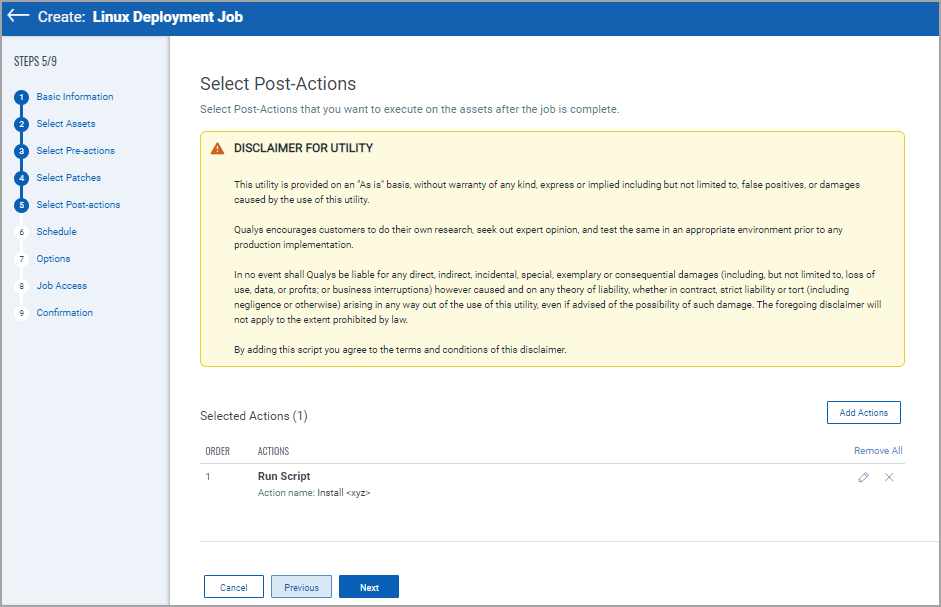
8. Select Post-action that you want to execute on assets after the job completes. For more information, see About Pre-Actions and Post-Actions.
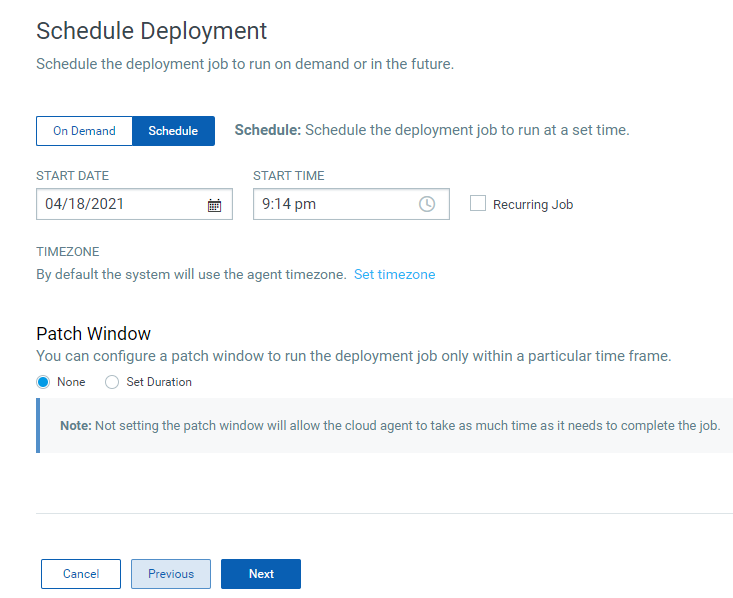
9. On the Schedule Deployment page, select one of the following options and click Next:
- On Demand – to install the patches immediately once the job is created and enabled.
- Schedule – to install the patches at a specified time, set the start date and start time. You can schedule a job to recur daily, weekly, or monthly. For more information, see Scheduling Jobs.
Monthly jobs which are scheduled to run on the 31st of the month will be scheduled every two months (where 31st date is available). You can schedule the job to run on the last day of the month which ensures that the job runs on the last day irrespective of whether the month has 28, 30, or 31 days.
10. Set your Reboot Communication options and click Next.
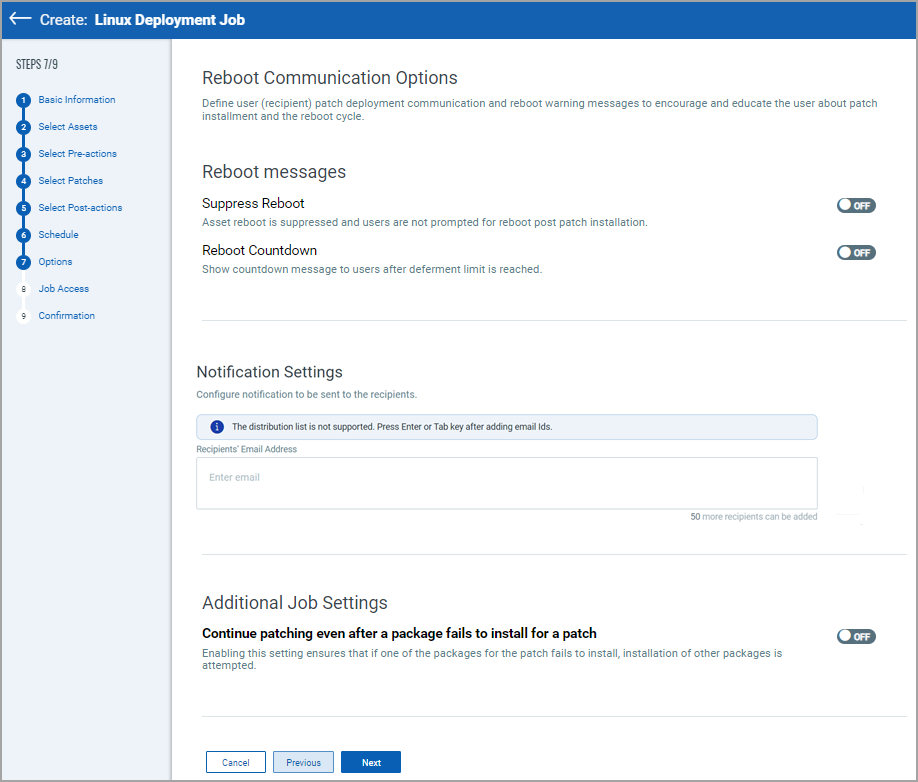
Reboot Messages:
These options are for reboot messages:
Suppress Reboot - This option allows you to patch systems in advance and defer reboot till the maintenance window.
Note: If you enable this option, the agent stops the subsequent patch scans or job deployments and starts again only after the reboot is done.
Reboot Countdown - If deferment limit is set in the Reboot Request, then configure this option to show countdown message to users after deferment limit is reached. When reboot countdown is enabled, this gives the end user an indication of how long it will take before the system is rebooted.
Notification Settings:
You can choose to send email notifications for events, such as a job has started, or a job has been completed to the intended recipients. You can enter a maximum of 50 email addresses. Also, the distribution list is not supported.
Note: For a recurring job, if the email notification is configured, you will receive the email notification once per day for the job run. If the same recurring job is edited and scheduled again for the same day, you will not receive the email notification again on that day.
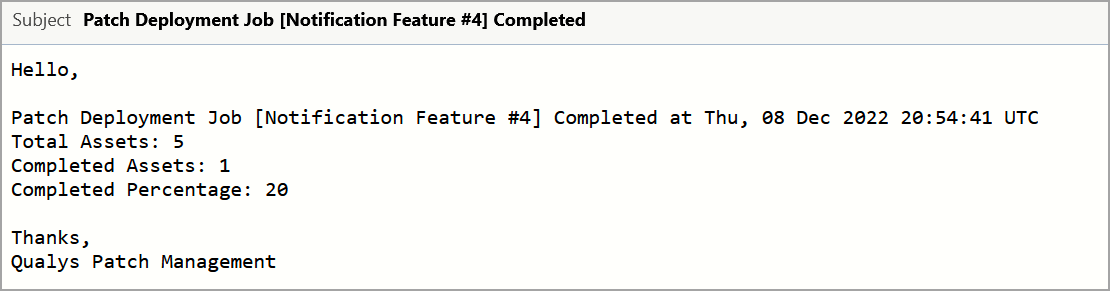
See the examples of the 'Patch Job Started' and 'Patch Job Completed' email notifications respectively.

The Continue patching even after a package fails to install for a patch option ensures that if one of the packages for the patch fails to install, an attempt to install other packages is made.
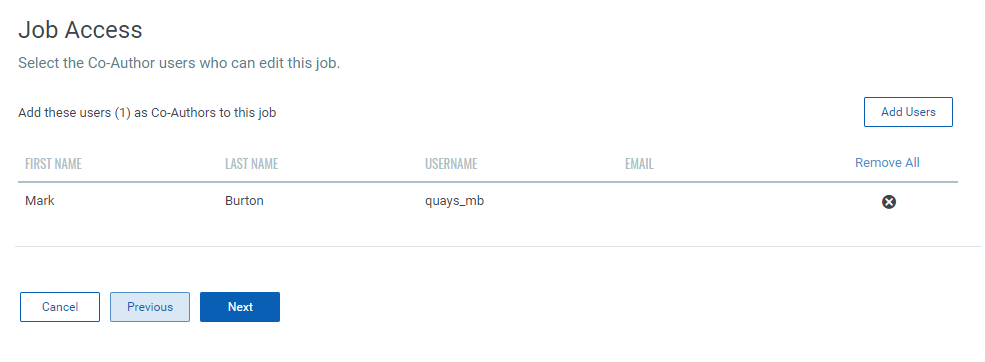
11. On the Job Access page add the co-author who can edit the job and click Next.
12. On the Confirmation page, review the settings and click Save to create the job or click Save and Enable to deploy the job immediately.
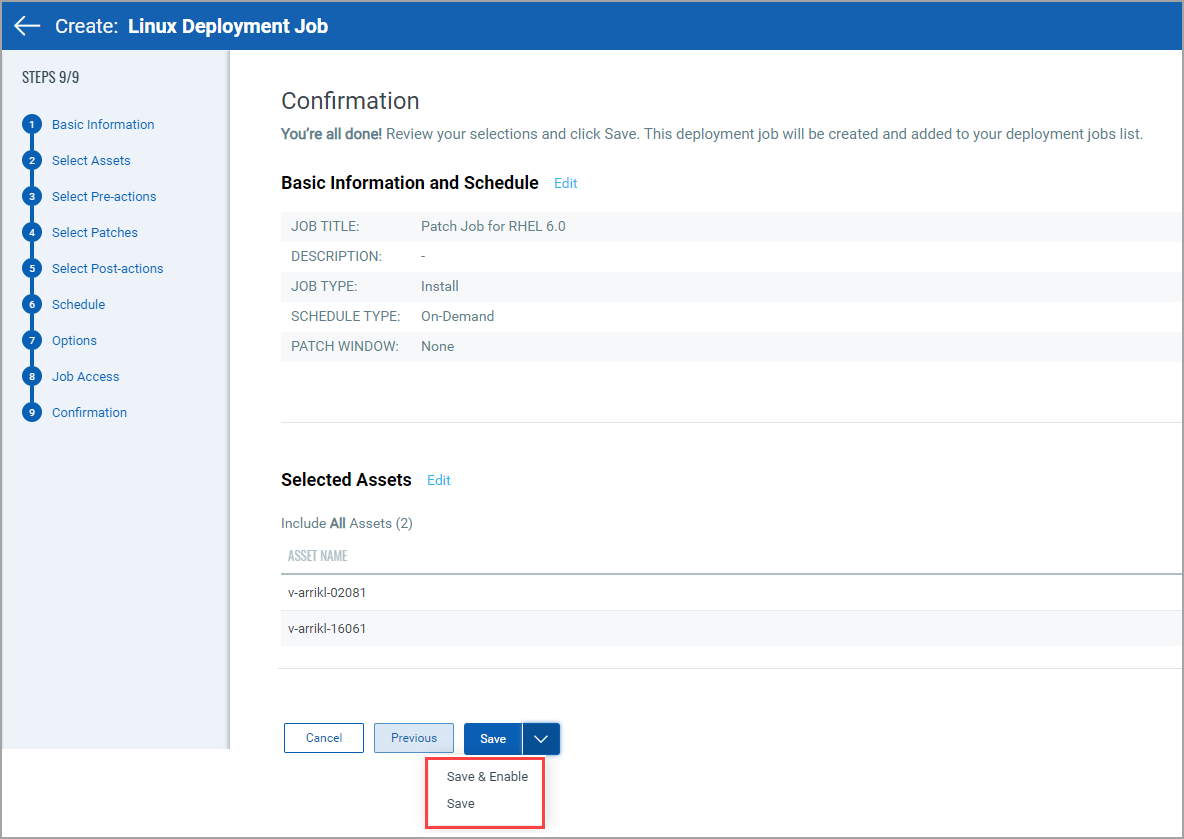
You must enable the disabled job in order to run it. To enable a disabled job, simply go to the Jobs tab, then from the Quick Actions Menu of a job, click Enable. The Save & Enable option should be chosen only when you are confident that job is correctly configured, because this job will begin executing as soon as you "Save" the job. This option is available only when creating a Job the first time, not during editing the job.
Tip: You can use the Disable option to temporarily disable a scheduled job. You can then re-enable the job later at your convenience. On-Demand or run-once (non recurring) jobs cannot be edited or disabled once they are enabled.